Customize ActivID ActivClient During Installation
-
Follow steps 1 to 4 of the standard installation procedure described in Install ActivID ActivClient.
-
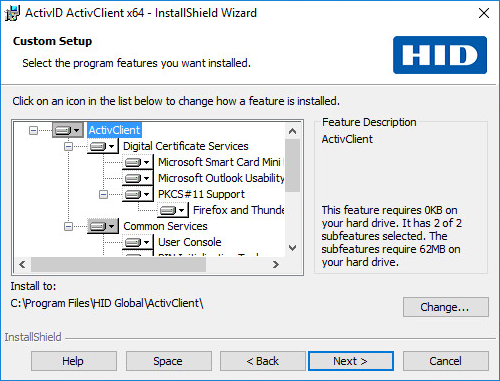
When the Setup Type page is displayed, select Custom, and then click Next.
The Custom Setup page is displayed.
-
Select the program features you want to install from the list using the appropriate option from the right-click menu:
-
To install or add a component , click the
 icon for the component and then click the appropriate installation option in the displayed list.
 -
To remove a component, click the
 icon for the component and then click in the displayed list.
For the complete list of available components and sub-components, see Components and Sub-Components.
Note:-
The Microsoft Outlook Usability Enhancements component requires Microsoft Outlook 2013 (or later).
-
The Firefox and Thunderbird configuration component requires Firefox and Thunderbird ESR 58 or later.
-
-
Click Next to proceed. The Ready to Install the Program page is displayed.
-
Click Install.
-
When the InstallShield Wizard Completed page is displayed, click Finish.
-
Select the Show the readme file option to automatically view the readme file.
-
In order to benefit from all ActivClient services immediately, it is recommended that you restart your workstation after the installation is complete.
See also - Customize the ActivClient After Installation


