Managing External HSMs
Using the ActivID Console, you can manage the configuration (including the encryption keys) of the integrated external HSMs and, optionally, HSM clusters.
Configure the External HSM
The ActivID Authentication Services application is installed on the appliance
The External HSM is prepared as described in Preparing an External HSM for the ActivID Appliance
The existing cryptographic type is ‘Software’
The appliance is in single mode
Before performing a cryptographic migration, it is strongly recommended that you:
Back up the appliance.
Archive the Audit records (as the Audit data is not migrated).
-
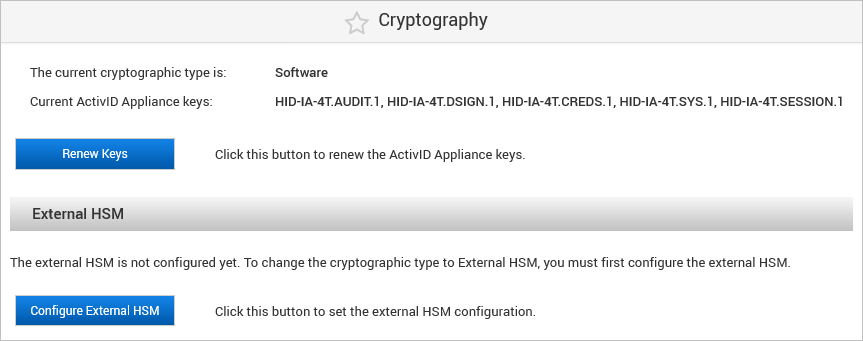
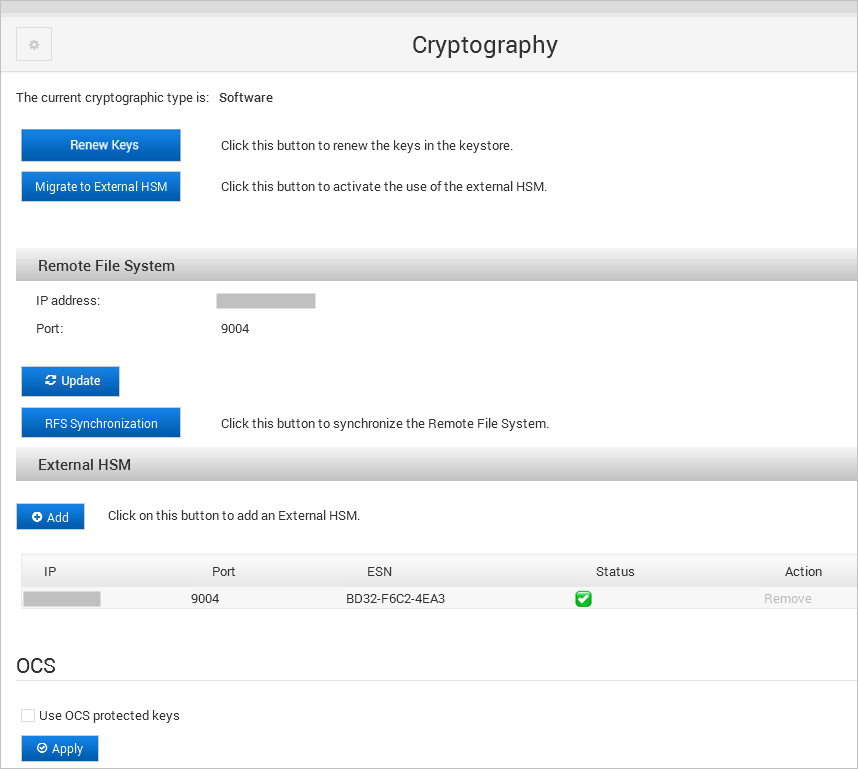
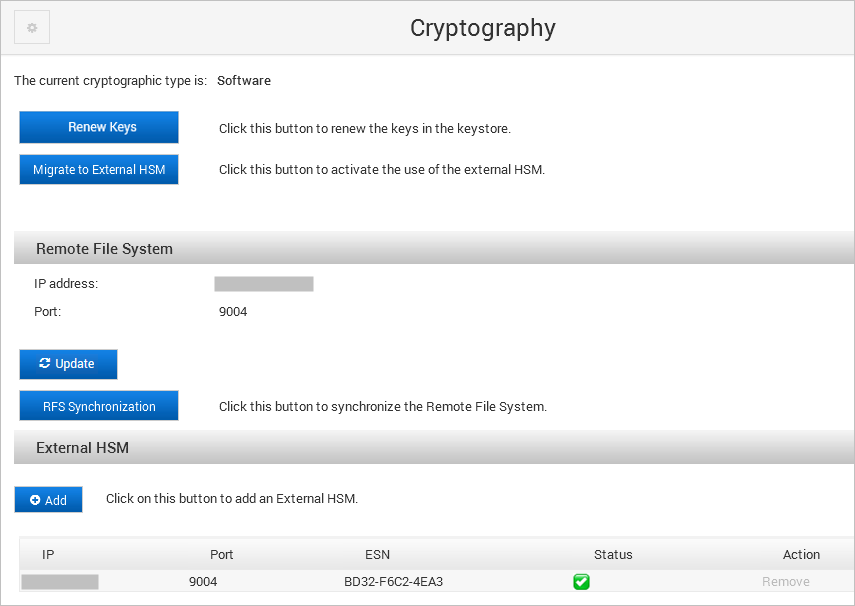
Log on to the ActivID Console and, under System in the left menu, select Cryptography.
-
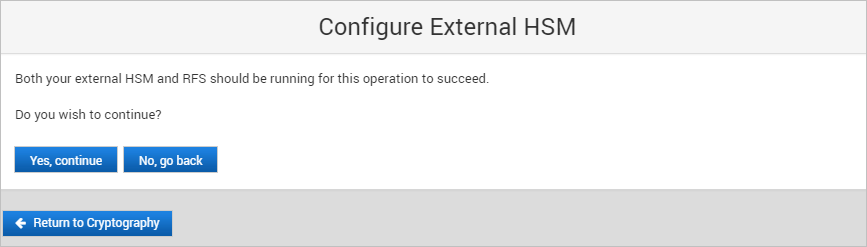
Under External HSM, click Configure External HSM.
-
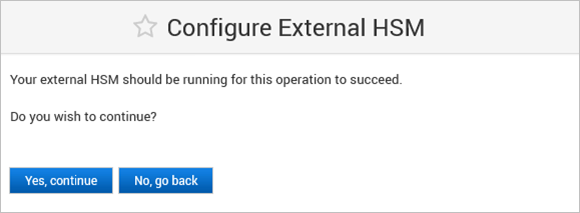
Click Yes, continue.
-
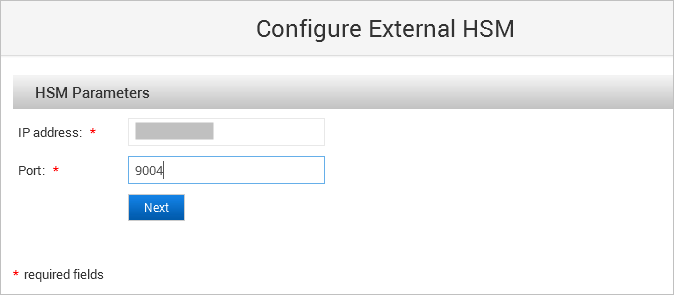
Enter the HSM Parameters and click Next:
-
IP address
-
Port
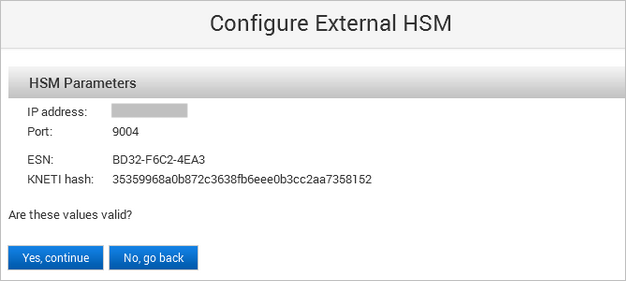
The ActivID Console obtains the ESN and KNETI hash values from the HSM and displays them:
-
ESN – represents the Electronic Serial Number of the HSM unit
-
KNETI – represents the key used to authenticate the HSM unit to the clients
-
-
Click Yes, continue to confirm that the ESN and KNETI hash values are valid to ensure that the correct HSM is configured.
If the values are not correct, click No, go back and enter the correct HSM Parameters.

-
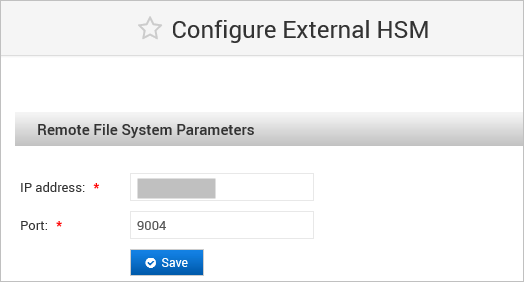
When the ActivID Console has configured the HSM, enter the Remote File System Parameters and click Save:
-
IP address
-
Port
The ActivID Console applies the RFS configuration and performs the RFS synchronization.
It checks if the expected IDP keys/certificates (that should match the defined existing security domains) and ActivID Appliance keys are present in the external HSM (verifying the key type and key length).
If these checks fail, an error message is displayed listing the missing ActivID IDP keys/certificates and the process exits.
-
-
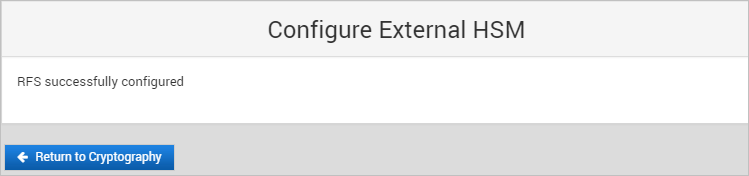
When the RFS is successfully configured, click Return to Cryptography.
-
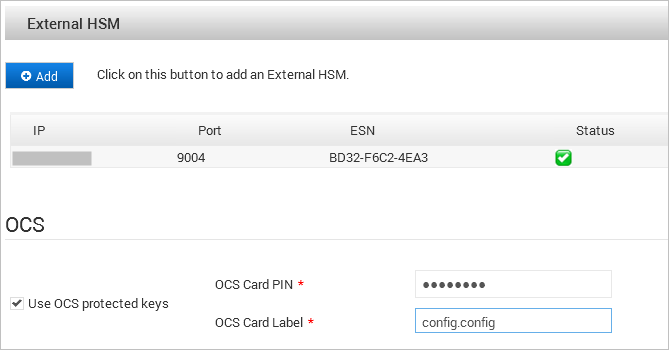
If the ActivID Appliance keys will be protected by the configured OCS card set (instead of by the Entrust module only), under OCS, select Use OCS protected keys.
-
Enter the details of the required OCS card set and click Apply:
-
OCS Card PIN
-
OCS Card Label
Important: Make sure that you configure the correct OCS card set. Once the OCS card set is configured, it cannot be updated/modified. Only the OCS Card PIN can be updated.If you configure the wrong OCS card set, you must restart the external HSM process – reset the ActivID Appliance, restore from a backup, and then perform the migration again with the correct OCS card set.
-
Migrate to the External HSM
The External HSM is configured as described Configure the External HSM.
The existing cryptographic type is ‘Software’.
The appliance is in single mode.
Before performing a cryptographic migration, it is strongly recommended that you:
Back up the appliance to be able to revert to the Software cryptographic type if necessary.
Archive the Audit records (as the Audit data is not migrated).
-
Log on to the ActivID Console and, under System in the left menu, select Cryptography.
-
Click Migrate to External HSM.

-
Click Yes, proceed.
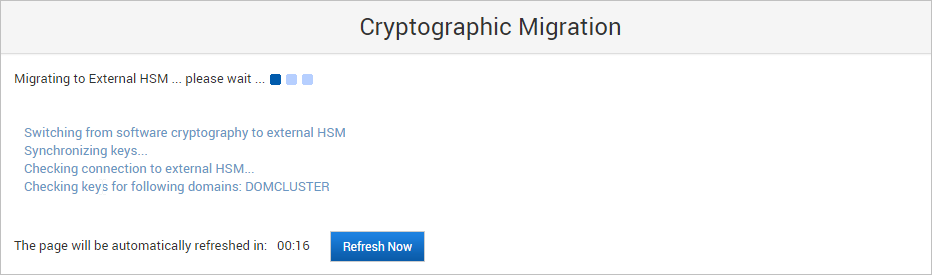 Note: The migration process archives all the non-archived audit records and generates a .csv file on the appliance’s file system (named according to the Archive Now conventions). This file will be pushed to the S/FTP server and deleted from the file system at the next scheduled or on-demand archive operation.
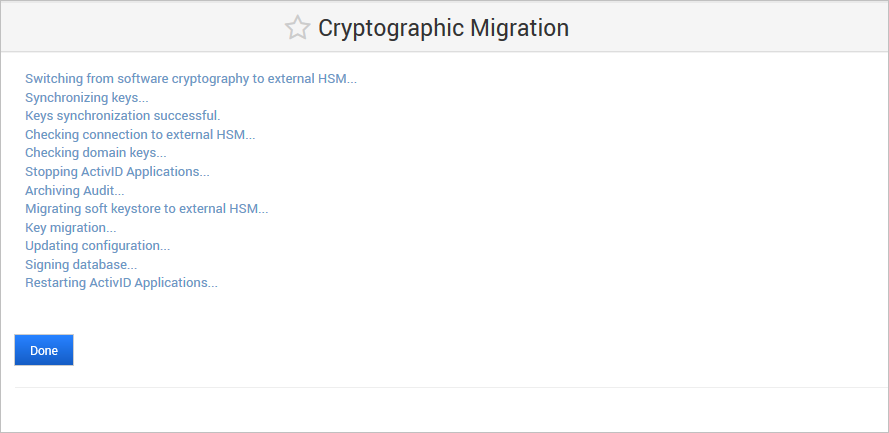
-
Click Done when the migration process is complete.
The ActivID Appliance configuration is updated and the ActivID applications and ActivID Console are restarted.
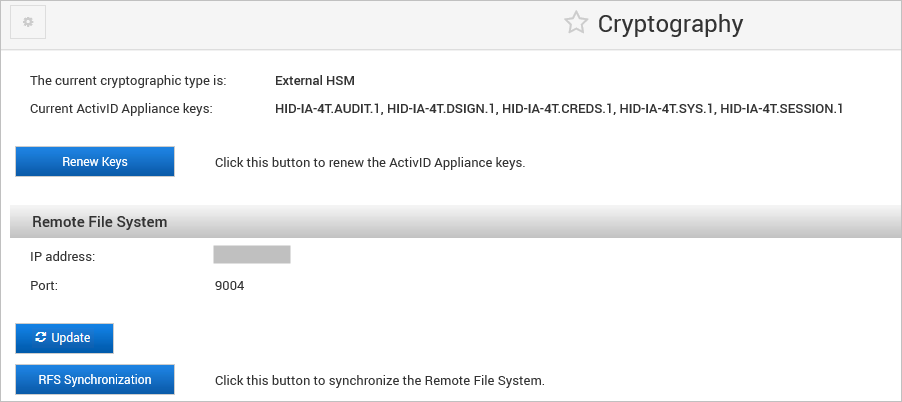
After successful migration, the cryptographic type is now External HSM.
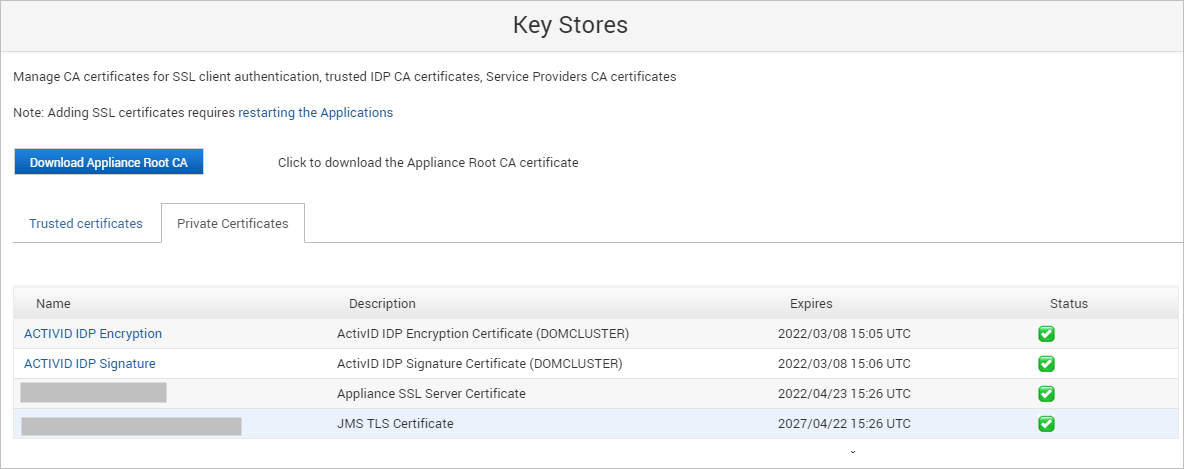
 Important: After a cryptographic migration to the external HSM, the ActivID Authentication Portal Metadata must be re-imported for each configured service provider as new IDP certificates have been created in the external HSM.
-
In the ActivID Console Configuration menu, select Key Stores and verify that the ActivID IDP certificates are present in the ActivID Appliance keystore.
Renew the External HSM Keys
-
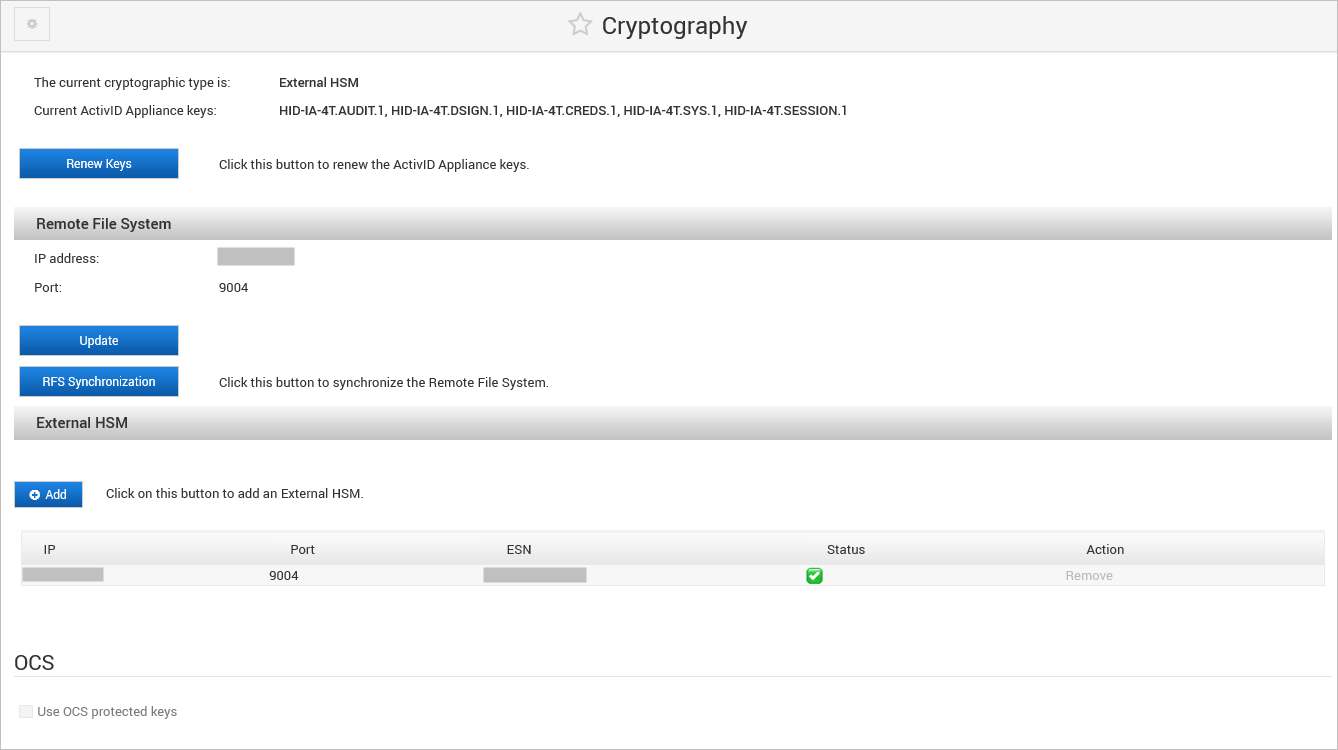
Log on to the ActivID Console and, under System in the left menu, select Cryptography.
-
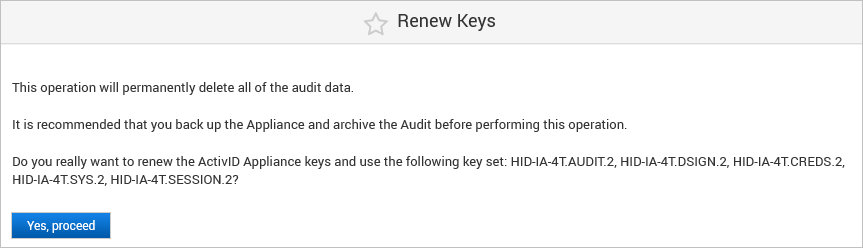
Click Renew Keys.
-
Click Yes, proceed.
-
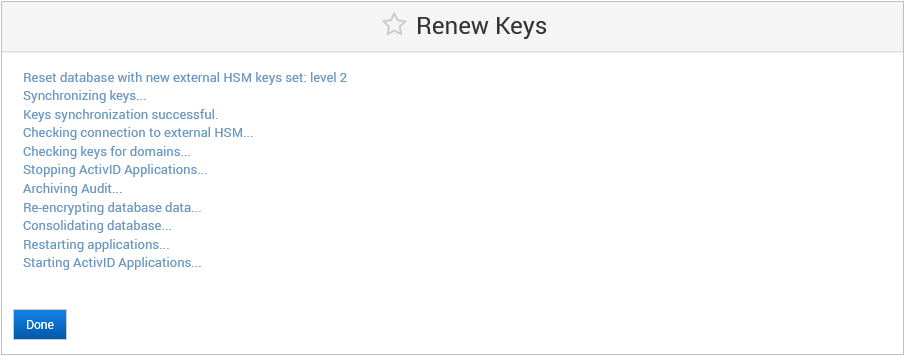
Wait for the renewal process to complete.
-
Click Done.
Modify the RFS Configuration
-
Log on to the ActivID Console and, under System in the left menu, select Cryptography.
-
Under Remote File System, click Update.
-
Modify the Remote File System Parameters as required and click Save.
If you modified the RFS configuration, the ActivID Console performs the RFS synchronization.
Note: If the new security world configuration does not match the existing one, the process exists with an error.
Synchronize the RFS
If you have already created keys on the RFS that will be needed for further operations (for example, you want to add a new domain or renew IDP signing /encryption keys), and you want to check that the keys are successfully configured, you can synchronize with the RFS so that the new key information from the RFS is copied onto the appliance’s file system.
This option is only available when the external HSM has already been configured.
When you update IDP signing or encryption keys, to view them in the ActivID Console keystore, simply restart the ActivID Console.
RFS synchronization is automatically performed during migration, Set Dual Mode, and Add domain operations.
-
Log on to the ActivID Console and, under System in the left menu, select Cryptography.
-
Under Remote File System, click RFS Synchronization.
The ActivID Console performs the RFS synchronization and the new key information from the RFS is copied onto the appliance’s file system.
Update the OCS Card PIN
-
Log on to the ActivID Console and, under System in the left menu, select Cryptography.
 Note:
Note:You cannot define a different OCS card set.
Only the OCS Card PIN can be updated.
-
Under OCS, enter the new OCS Card PIN and click Apply.
If you need to change the OCS card set, you must restart the external HSM process – reset the ActivID Appliance, restore from a backup, and then perform the migration again with the required OCS card set.
Managing Clusters
This section explains how to configure multiple HSM modules in a cluster for failover.
For deployments with Entrust nShield Connect XC, the cluster mode is only available using Entrust firmware version 12.50 or later. Earlier firmware versions do not support the pool mode.
The cluster deployment behavior differs if the ActivID Appliance keys are protected by an OCS card set:
With OCS-protected keys – the cluster of HSMs are set in load-sharing mode. During the cluster deployment, the ActivID Appliance applications will be restarted automatically so there will be a short interruption of services.
With keys not protected by an OCS card set – the cluster of HSMs are configured in Pool mode. Services will not be interrupted.
Add an HSM Module to the Cluster
-
Make sure that the external HSM is up and running.
-
Log on to the ActivID Console and, under System in the left menu, select Cryptography.
-
Under External HSM, click Add.
-
Click Yes, continue.
-
Enter the HSM Parameters for the module to be added and click Next.
The ActivID Console obtains the ESN and KNETI hash values from the HSM module and displays them:
-
ESN – represents the Electronic Serial Number of the HSM unit
-
KNETI – represents the key used to authenticate the HSM unit to the clients
-
-
Click Yes, continue to confirm that the ESN and KNETI hash values are valid to ensure that the correct HSM is configured.
If the values are not correct, click No, go back and enter the correct HSM Parameters.

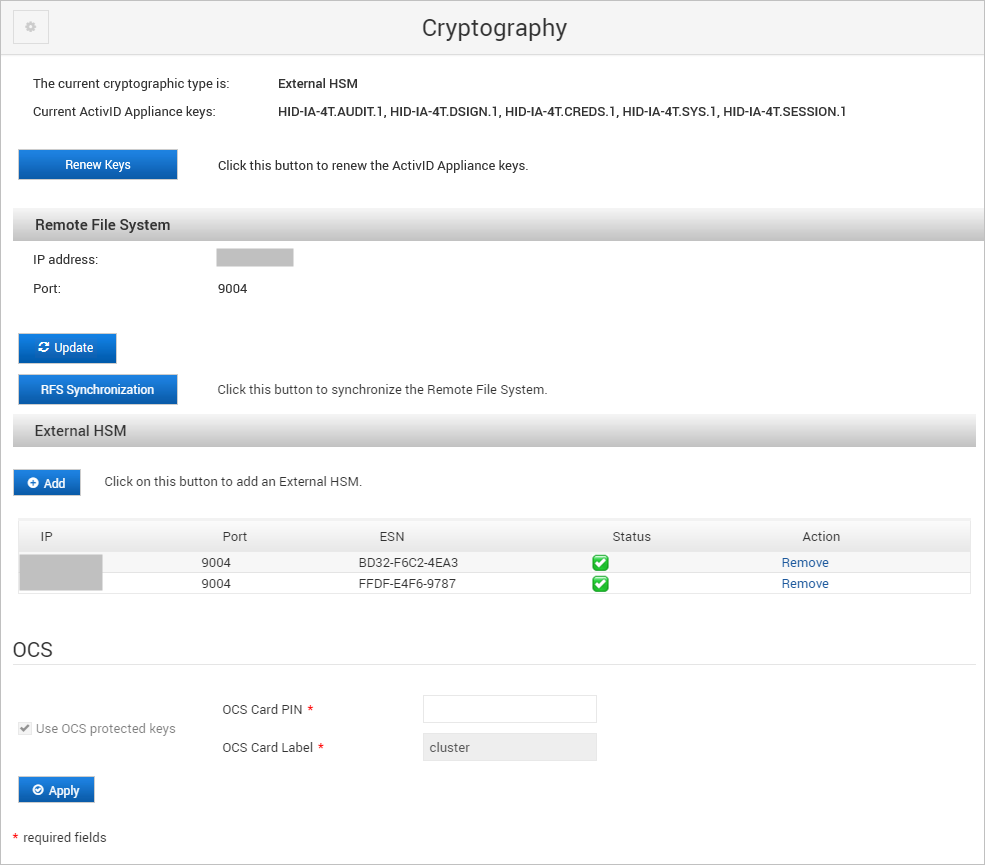
The ActivID Console displays the current configuration with the HSM modules.
-
Under Configuration in the left-hand menu, select Applications.
-
Click Restart all Applications and then Ok so that the new HSM will be taken into account.
Remove an HSM Module from the Cluster
-
Log on to the ActivID Console and, under System in the left menu, select Cryptography.
-
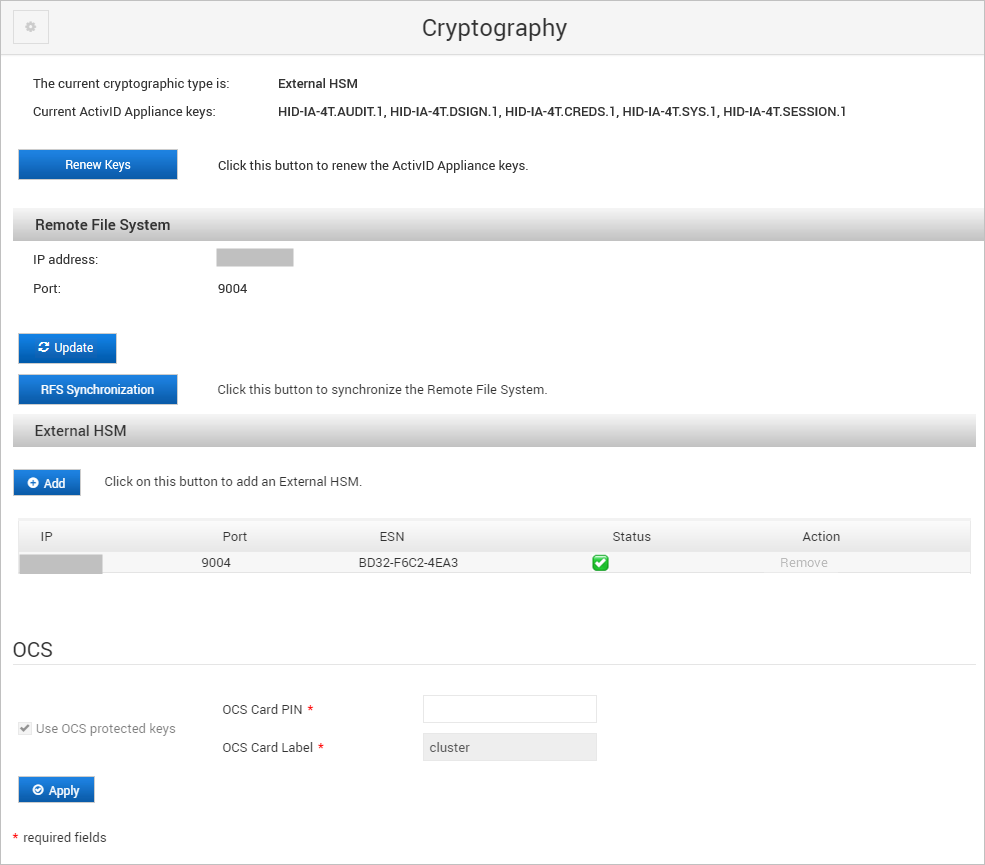
Under External HSM, click Remove in the Action column for the HSM module that you want to remove from the cluster.

-
Click Yes to confirm the removal.
-
Under Configuration in the left-hand menu, select Applications.
-
Click Restart all Applications and then Ok.
See also:


