Configure Support for FIDO U2F Authentication
ActivID AS supports FIDO™ two-factor (U2F) enrollment (via the ActivID Self-Service Portal) and authentication using FIDO-compliant passkeys such as the HID Crescendo® Key Series.
By default, the ActivID AS includes the following elements for FIDO U2F support:
- FIDO Device type - DT_FIDO
- FIDO Credential type - CT_FIDO
- FIDO Authentication policy - AT_FIDO
To configure FIDO U2F support, you can either use the default elements or create new device types, credential types and authentication policies.
This section uses the default elements to illustrate the configuration steps.
Assign the FIDO Authentication Policy to Users
To allow users to authenticate with a FIDO passkey, assign the authentication policy:
-
Log on to the ActivID Management Console as an ActivID Administrator.
-
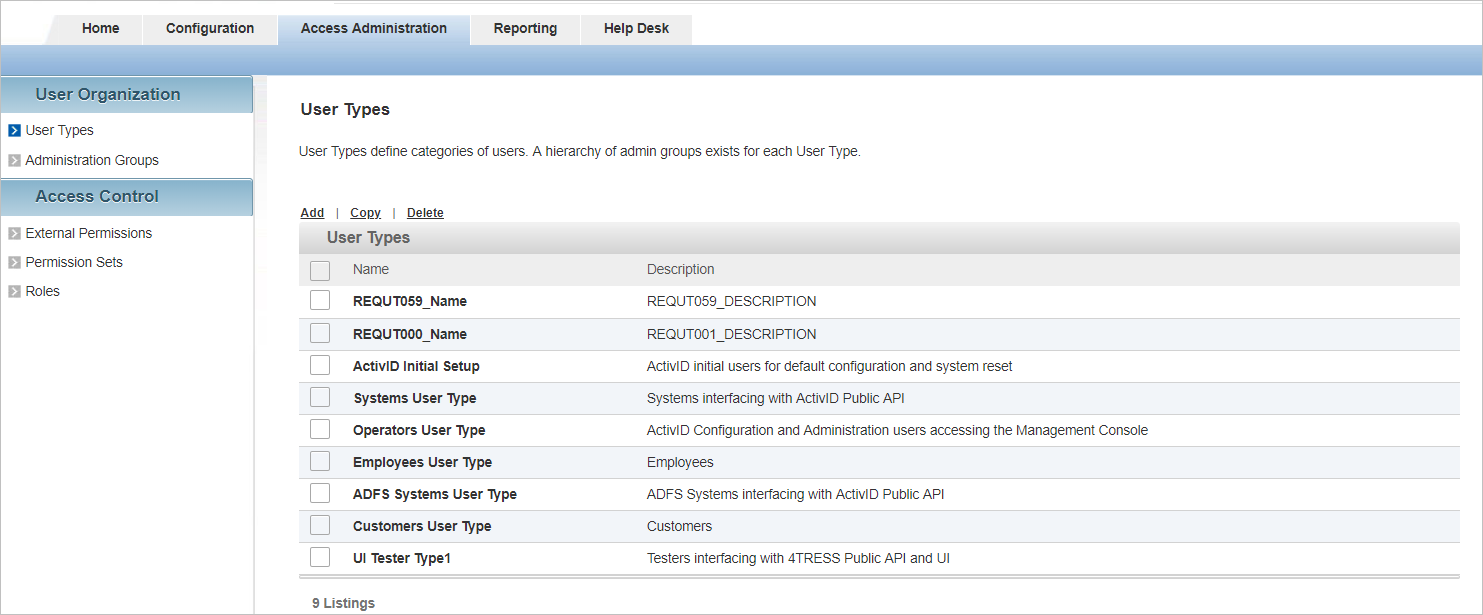
In the Access Administration tab, under User Organization, select User Types.
-
Select the Name for the User Type for the FIDO users (in this examples, Employees User Type).
-
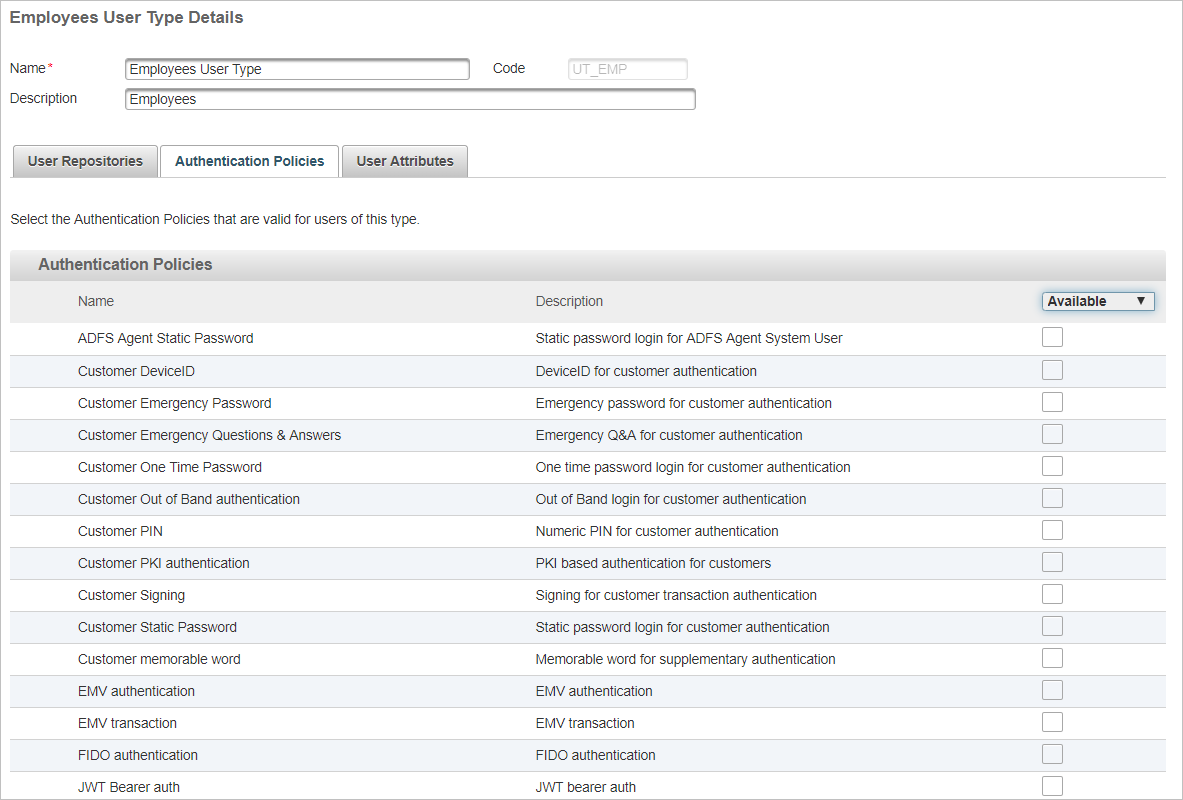
Select the Authentication Policies tab and set the display to view the Available or All policies.
-
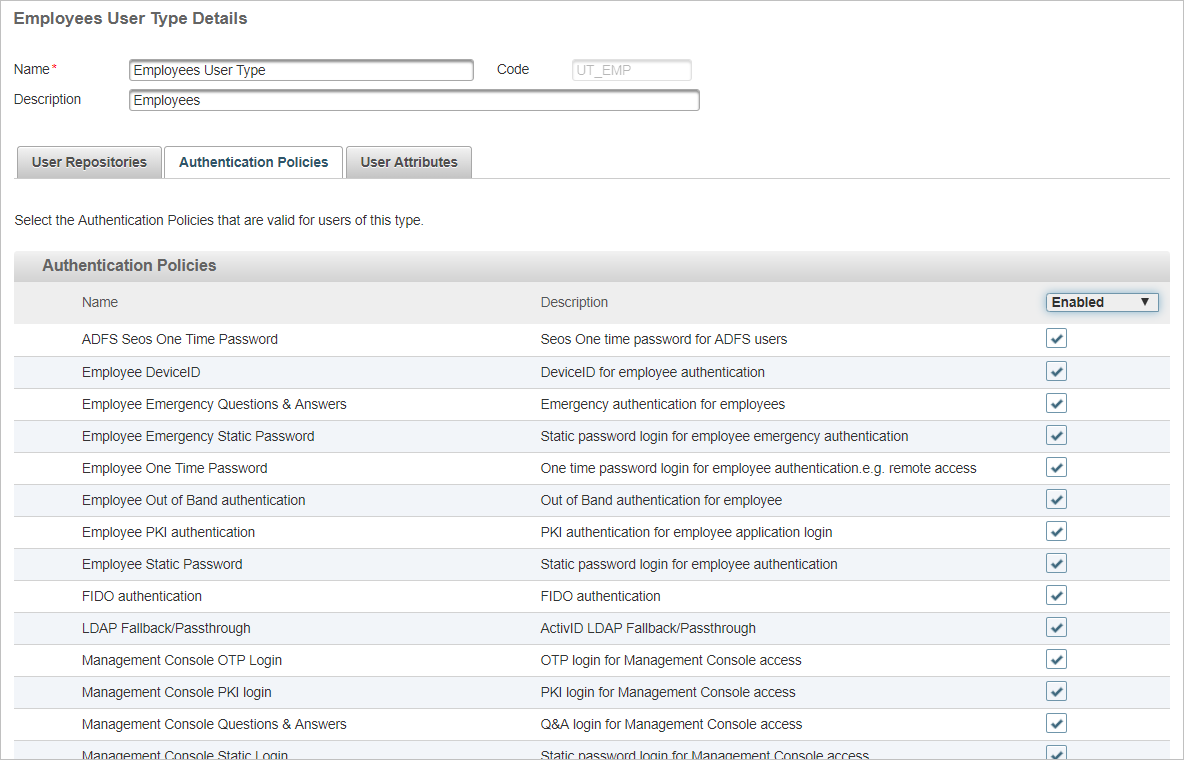
Select the check box for the FIDO authentication policy.
-
Click Save.
Configure the FIDO Authentication Policy for Tiered-Authentication
-
Log on to the ActivID Management Console as an ActivID Administrator.
-
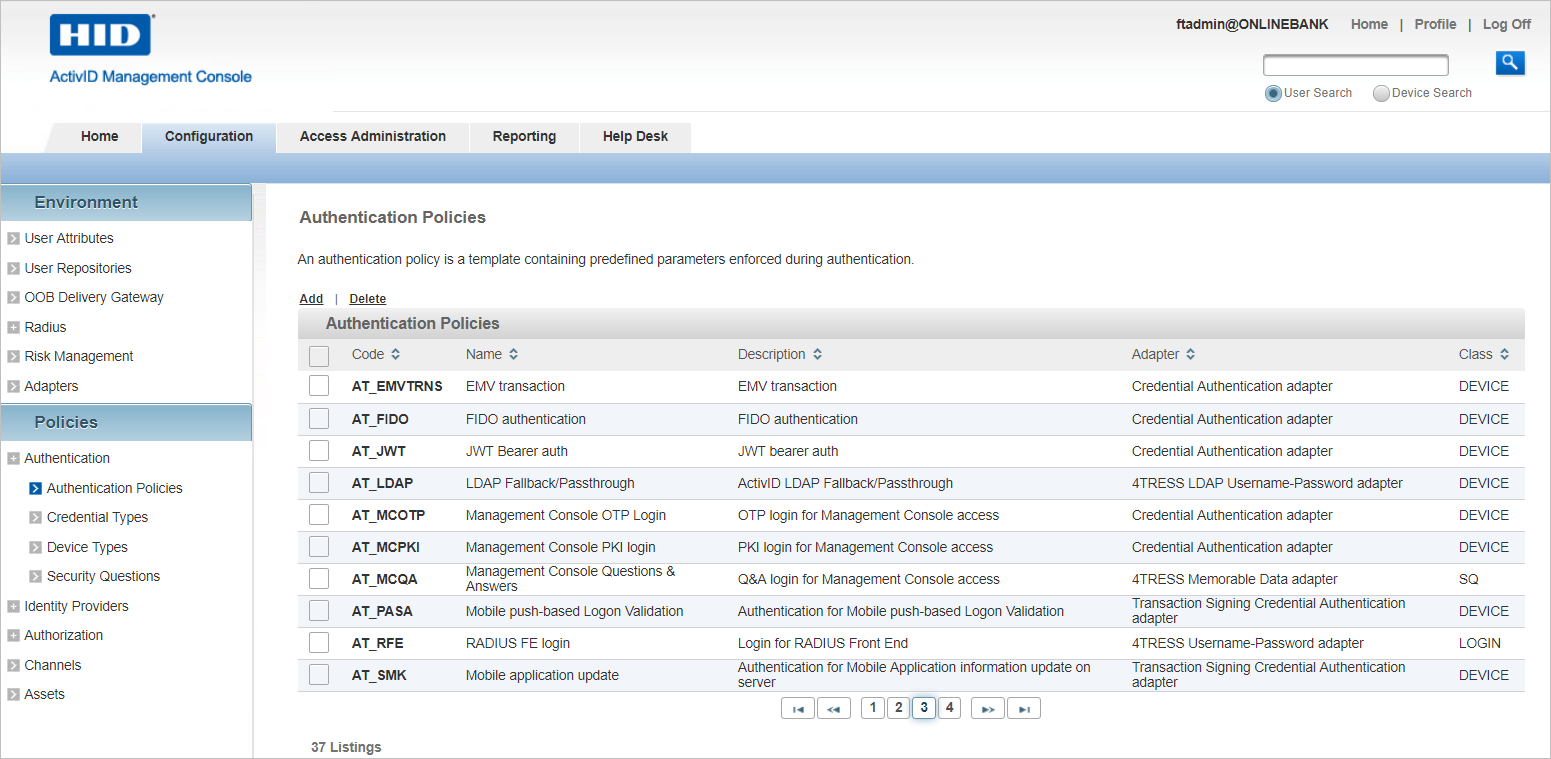
In the Configuration tab, under Authentication, select Authentication Policies.
-
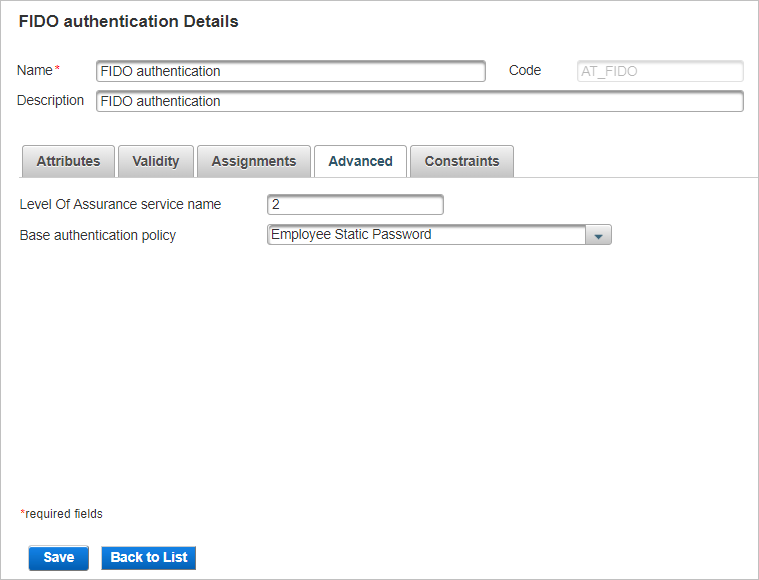
Click on AT_FIDO for the FIDO authentication policy.
-
Select the Advanced tab.
-
Set the Level of Assurance service name.
-
From the Base authentication policy drop-down list, select the ‘parent’ policy (in this example, Employee Static Password).
-
Click Save.

Each assurance level describes the recipient’s degree of certainty that the user has presented an identifier that refers to their identity.
Identity authentication levels of assurance (LOA) service values can be configured with integer values 1, 2, 3, or 4:
1 = Little or no confidence in the asserted identity’s validity.
2 = Some confidence in the asserted identity’s validity.
3 = High confidence in the asserted identity’s validity.
4 = Very high confidence in the asserted identity’s validity.
The FIDO authentication policy will be the ‘child’ policy in the tiered-authentication.
This means the user will need to successfully authenticate with the base authentication policy (that is, a static password), before being prompted to authenticate using FIDO U2F. Both authentications need to succeed for the tiered-authentication to succeed.
Map the Authentication Policies to the GUI Templates
-
Log on to the ActivID Management Console as an ActivID Administrator.
-
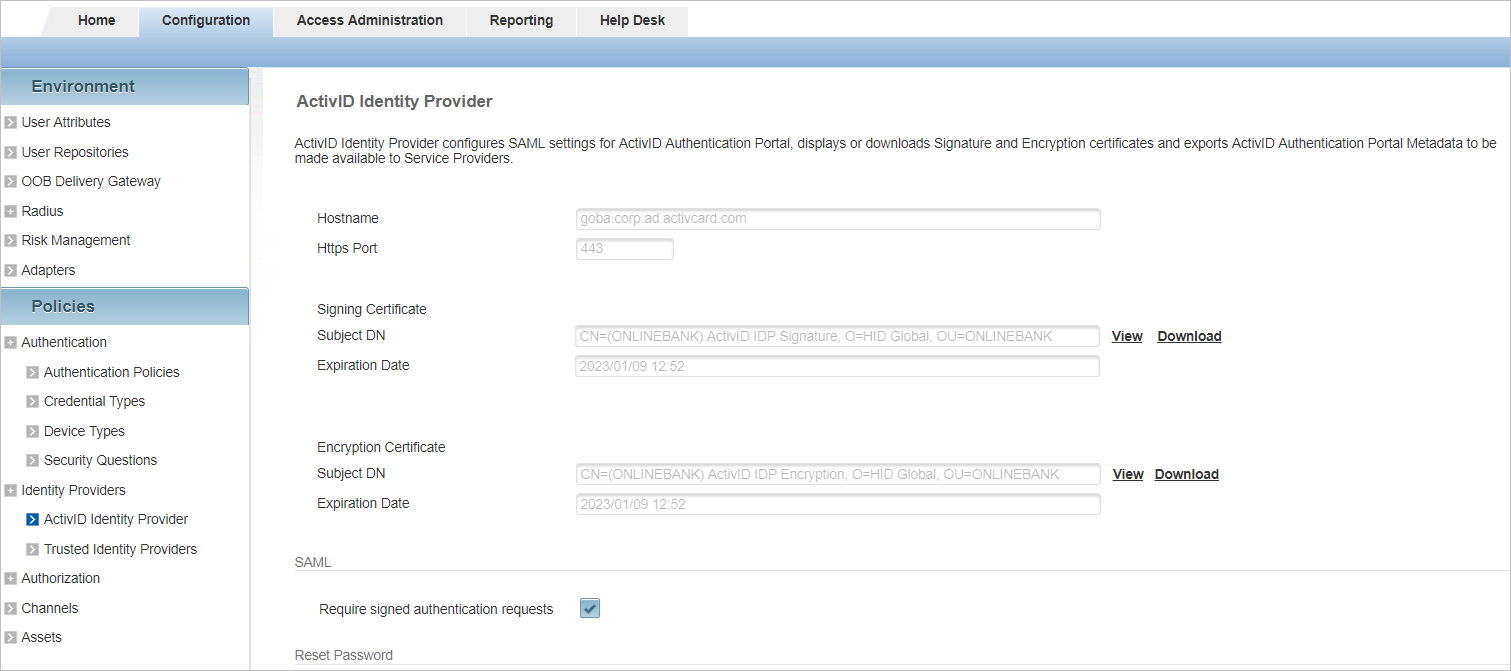
In the Configuration tab, under Identity Providers, select ActivID Identity Provider.
-
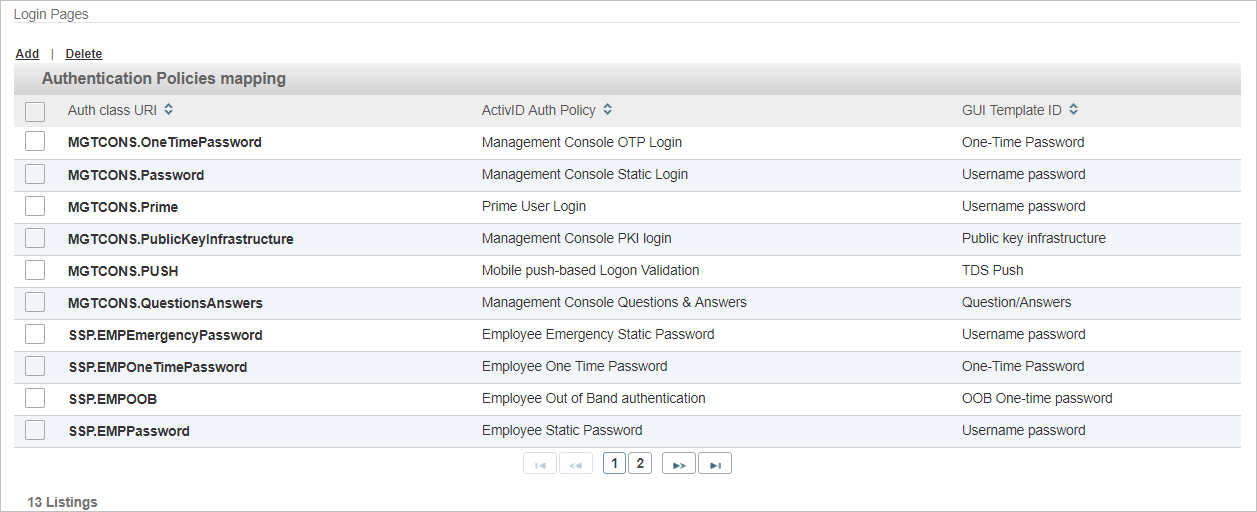
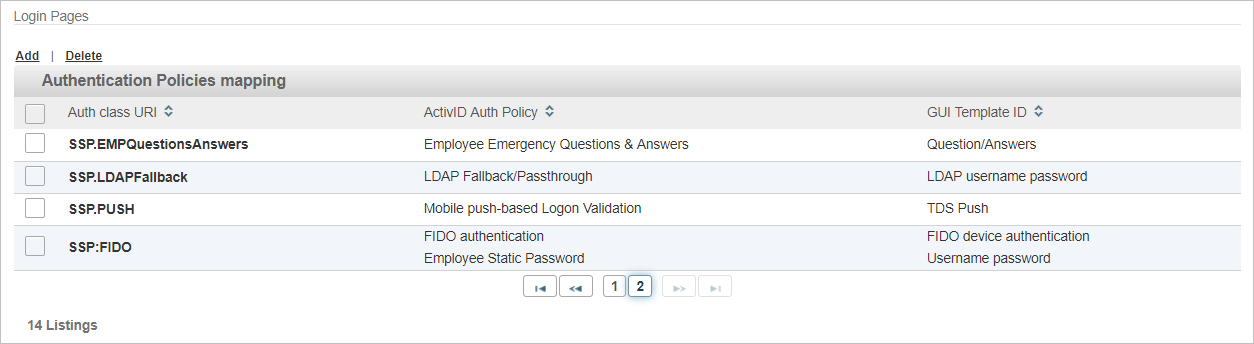
Go to the Login Pages section.
-
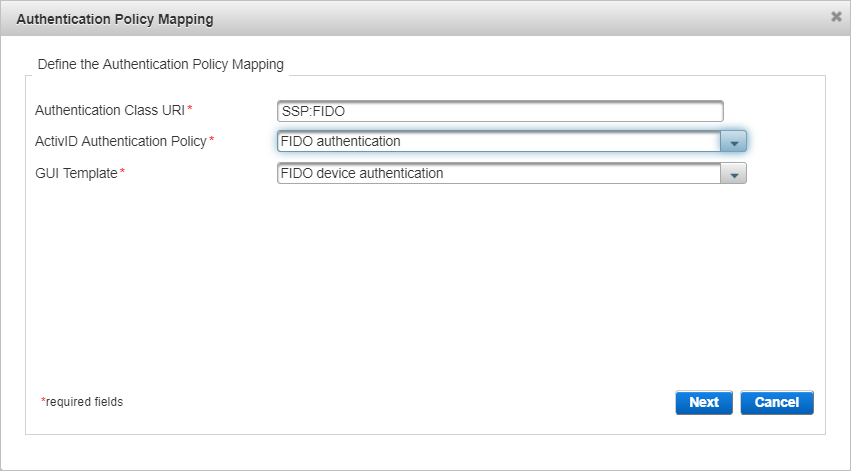
Click Add to create a new mapping for FIDO U2F.
-
In the Authentication Class URI field, enter SSP:FIDO.
-
From the ActivID Authentication Policy drop-down list, select the FIDO authentication policy.
-
From the GUI Template drop-down list, select the FIDO device authentication template and click Next.
-
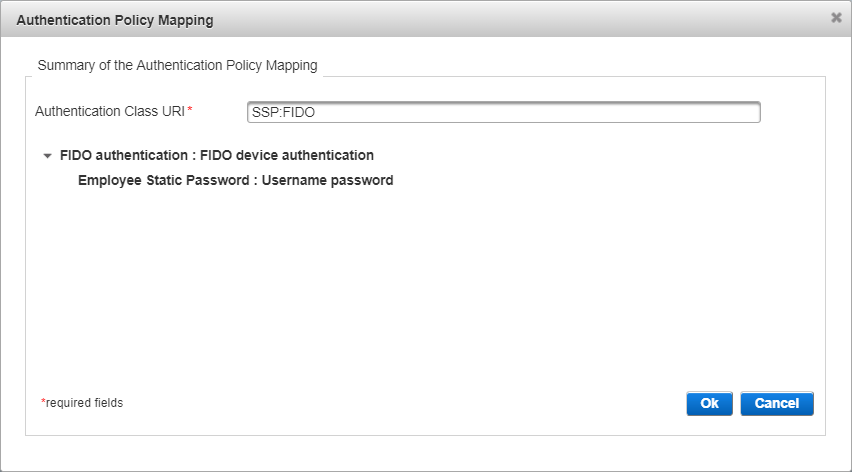
From the ActivID Authentication Policy drop-down list, select the base authentication policy you previously defined as the ‘parent’ policy (in this example, Employee Static Password).
-
From the GUI Template drop-down list, select the Username password template and click Next.
-
Review the tiered-authentication policy mapping and click OK.
-
Click Save.

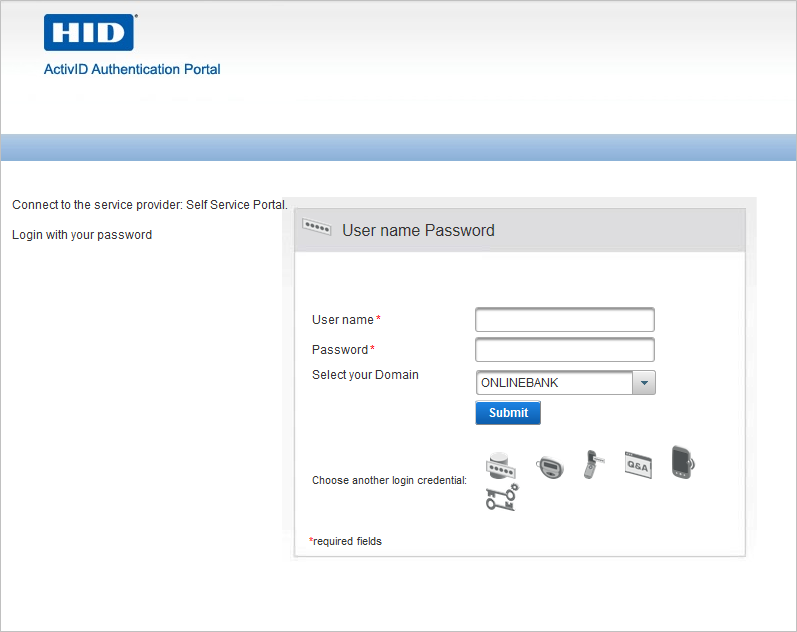
User can now enroll a FIDO passkey and use it for two-factor/two-step authentication. The FIDO tiered-challenge/response authentication icon is displayed in the login page. For example:
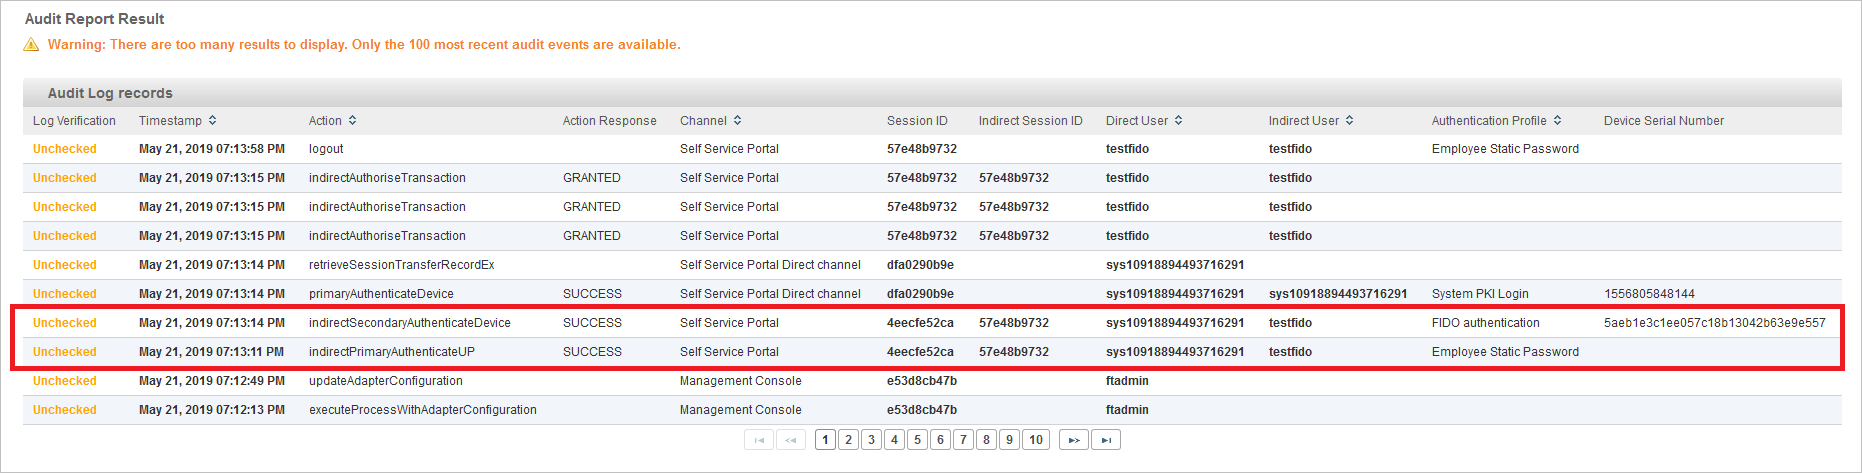
You can view the audit records related to FIDO authentication using the Reporting tab of the ActivID Management Console.