Configure Assets
Assets created in ActivID AS represent business items (such as your customers' banking accounts) and determine the permissions that can be granted to operators and end users.
Assets are managed at three levels - Asset Type Means of categorizing different assets. For example, type of bank accounts., Asset Set Group of Assets of the same Asset Type. and individual Assets Resources on which permissions can be granted. For example, specific user bank accounts..
- An asset can only belong to one Asset Type.
- The actual business item, such as the account itself, resides in systems and databases external to ActivID AS.
Create an Asset Type
-
Log on to the ActivID Management Console as an ActivID Adminstrator.
- Select the Configuration tab and, under Policies, select Assets.
- Code – the unique code identifying the Asset Type
- Name – the name of the Asset Type
- Description – a description of the Asset Type
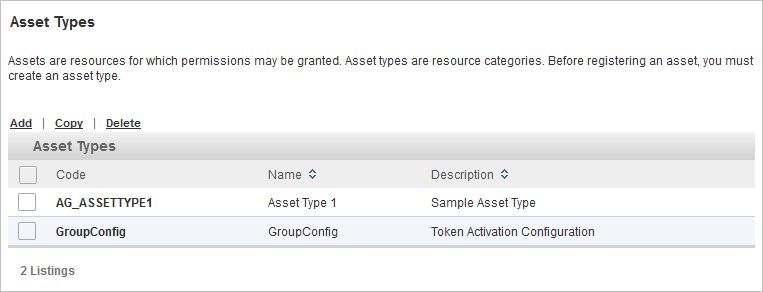
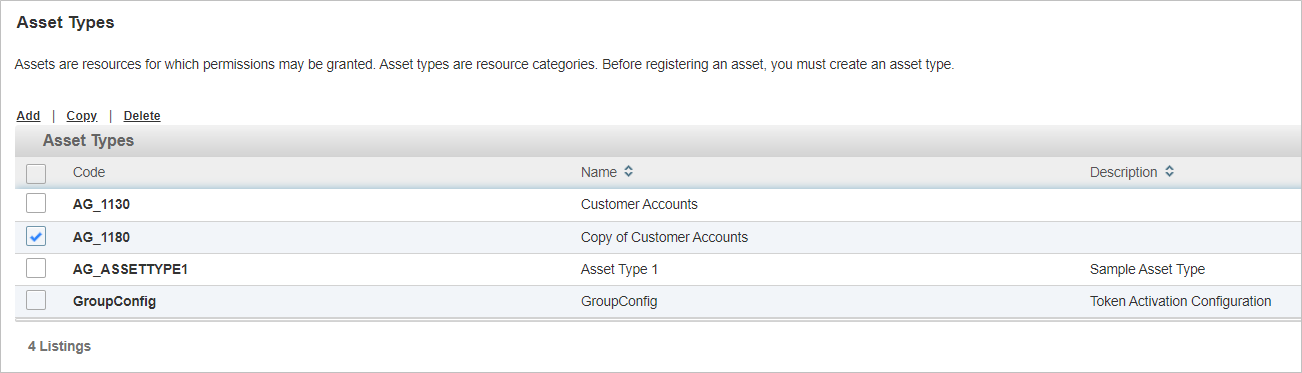
All existing Asset Types are listed in a paged table. The total number is given in the lower left corner.
Each row corresponds to an Asset Type. It provides the following information in the different columns:
Launch the Asset Type Creation Wizard
-
Click Add.
-
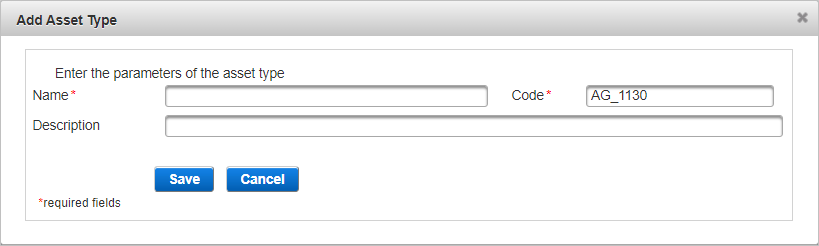
Enter the main information for the Asset Type and click Save:
- Name – should be unique for ease of administration
- Code – a value is automatically generated but it can be changed. It cannot be changed once the Asset Type is created.
- Description – (optional) content is free-format
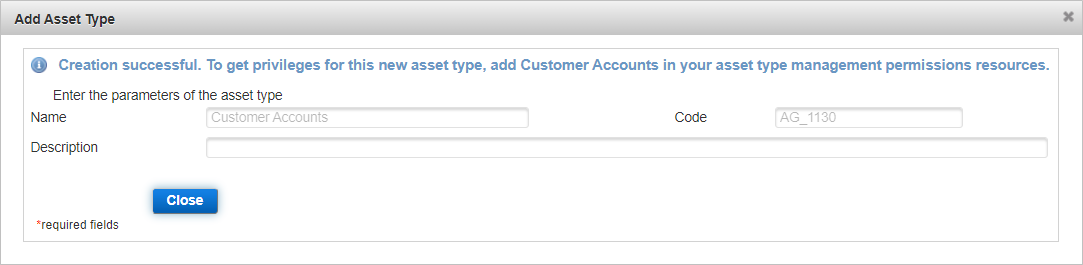
-
Click Close and proceed to Add an Asset Set to an Asset Type.
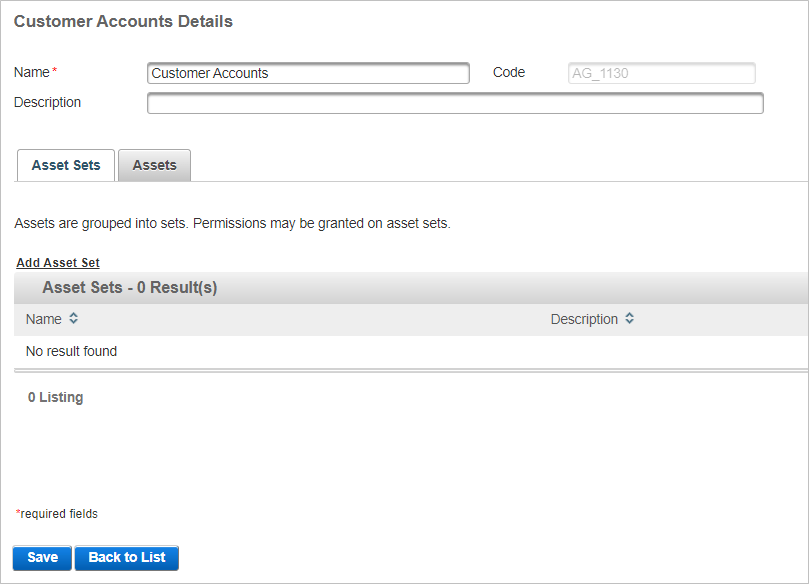
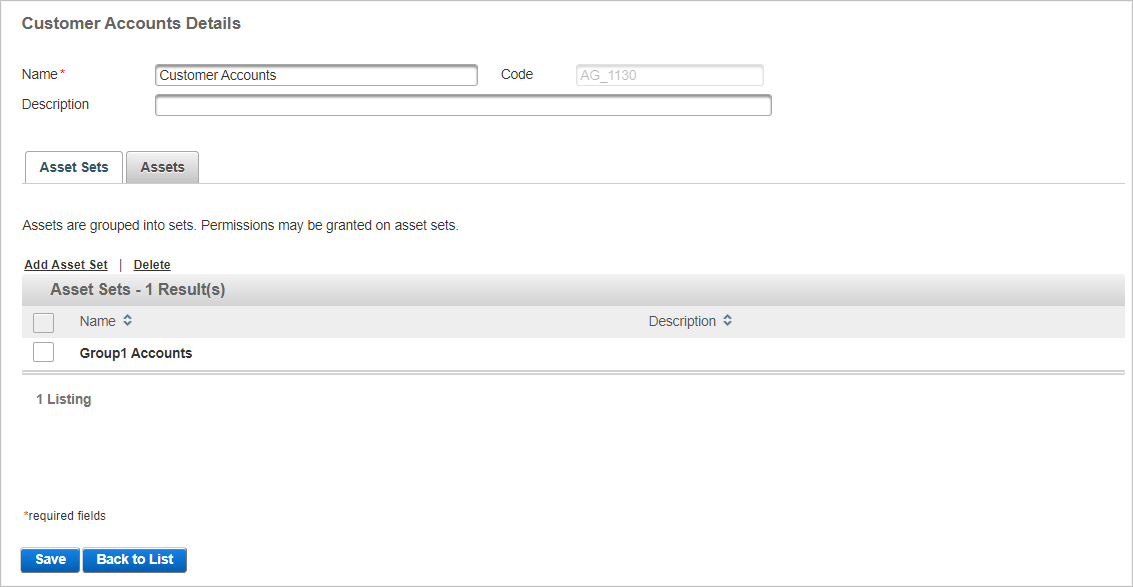
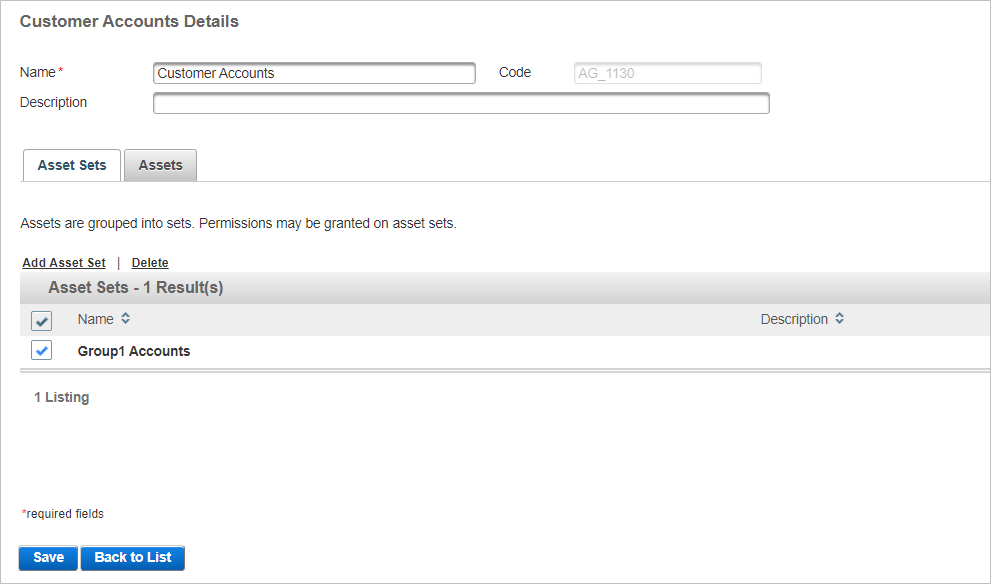
Add an Asset Set to an Asset Type
-
From the list of Asset Types, select the asset type to which you want to add asset sets.
-
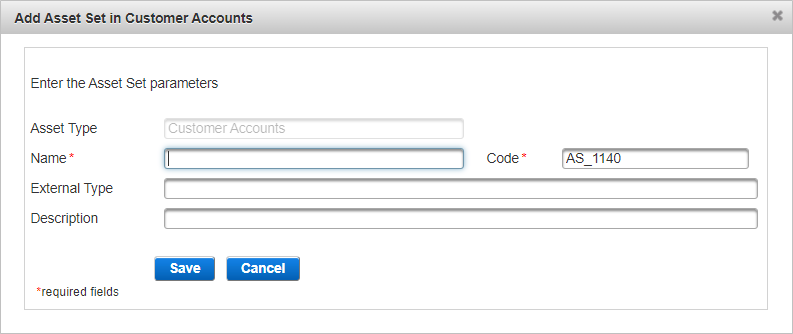
Click Add Asset Set.
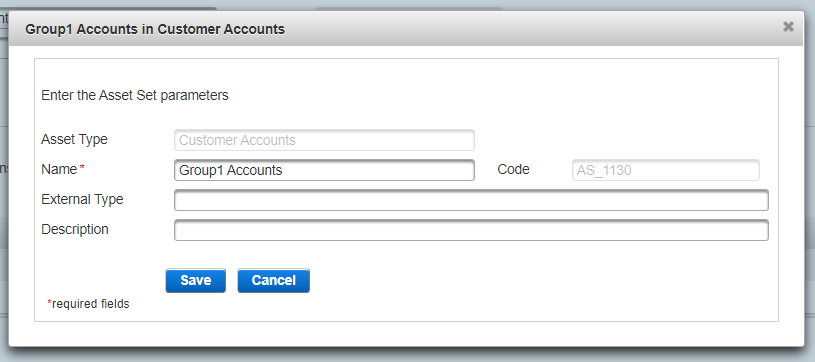
- Enter the main information for the Asset Set and click Save:
- Name – should be unique for ease of administration
- Code – a value is automatically generated but it can be changed. It cannot be changed once the Asset Set is created.
- External Type - optionally, enter a label for use by external applications.
- Description – (optional) content is free-format
-
Click Close and proceed to Assign an Asset to an Asset Set.
Assign an Asset to an Asset Set
-
In the Asset Type Details page, select the Assets tab.
-
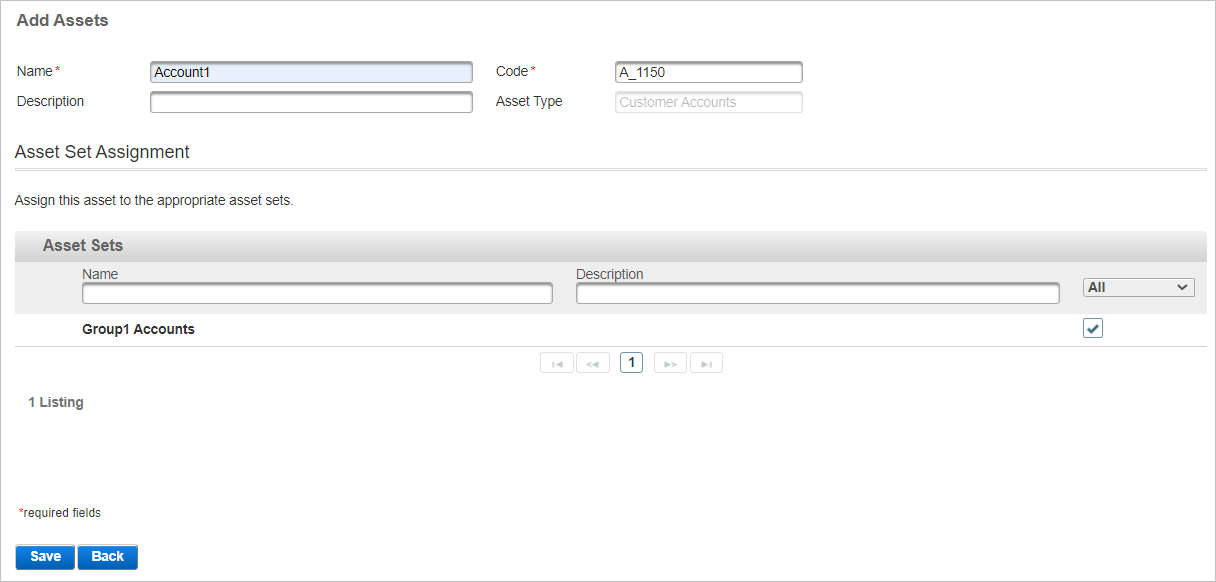
Click Create an asset.
- Enter the main information for the Asset:
- Name – should be unique for ease of administration
- Code – a value is automatically generated but it can be changed. It cannot be changed once the Asset is created.
- Description – (optional) content is free-format
-
Select the check box for the Asset Set to which you want to assign the asset.
-
Click Save.
-
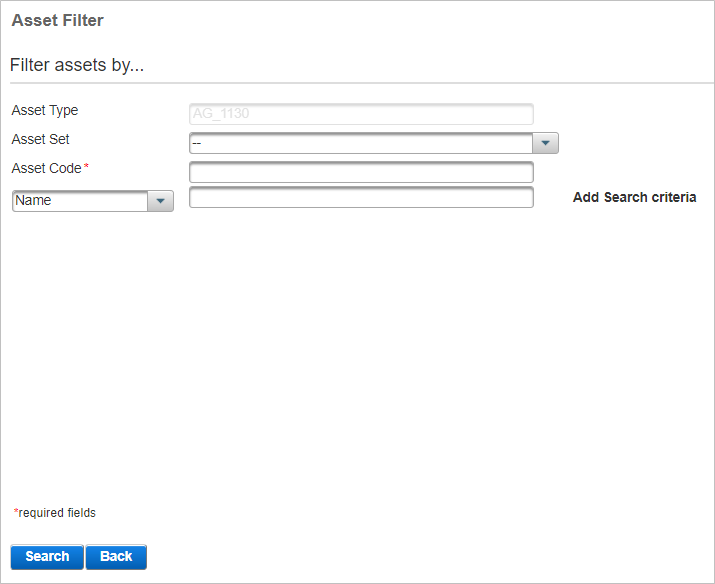
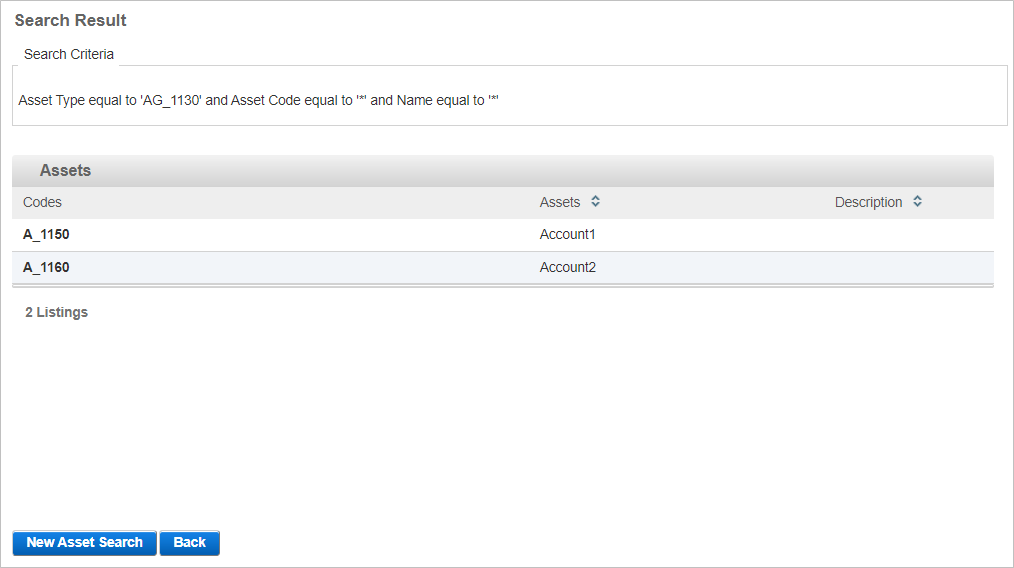
Click Search assets.
-
Select/enter your search criteria and click Search.
-
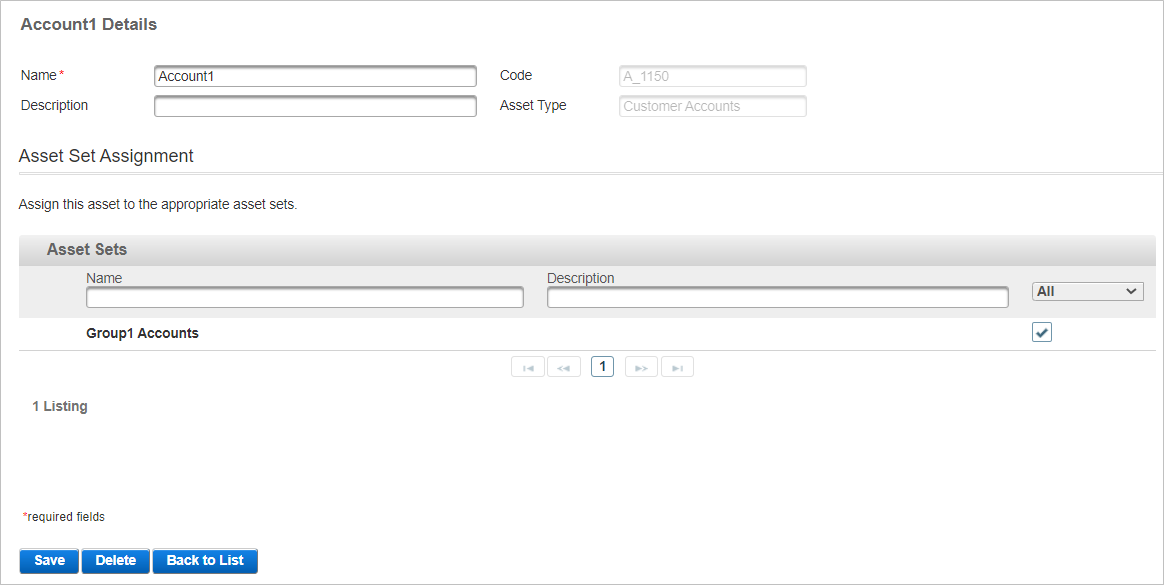
Click the Code of the required Asset.
-
Select the check box for the Asset Set to which you want to assign the asset.
-
Click Save.

You can either create a new asset or search for an existing one:
-
In the Asset Type Details page, click Save.
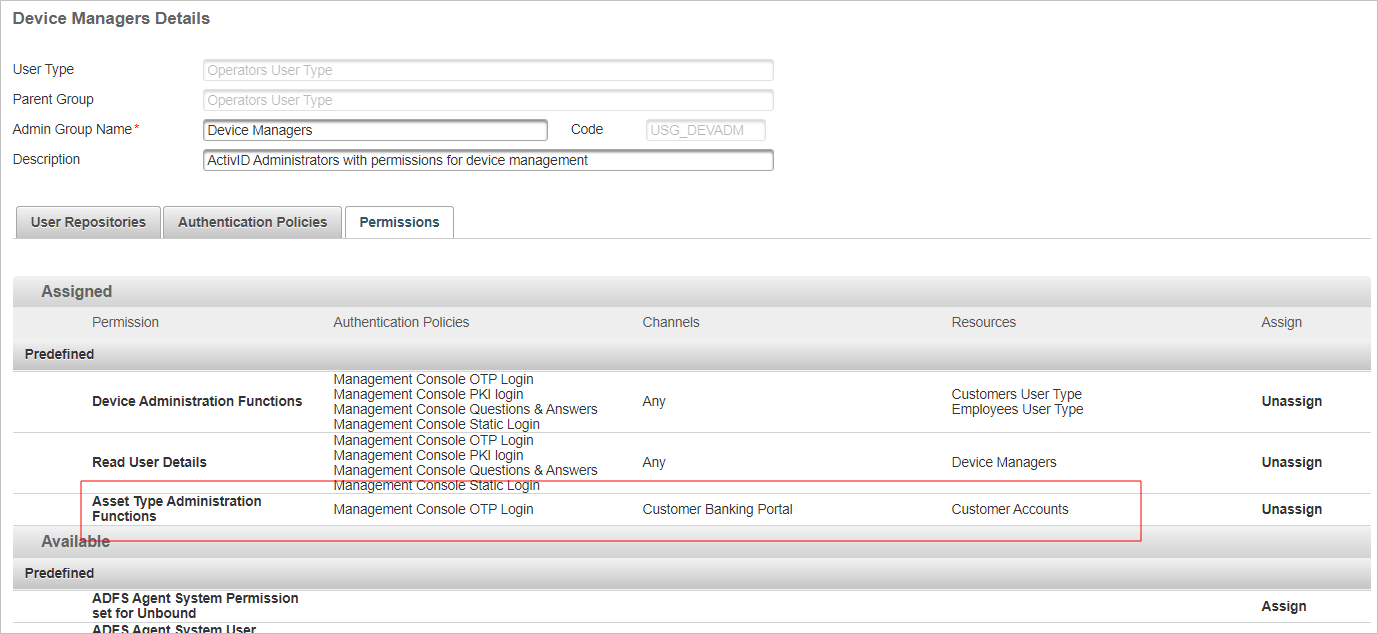
Assign Permissions to Manage an Asset Type
You can assign the authority to manage a specific asset type to an administration group. Group membership determines who has permissions over the assets within the asset type.
-
Log on to the ActivID Management Console as an ActivID Adminstrator.
- Select the Access Administration tab and then Administration Groups.
-
Select the administration group to which you want to assign permissions to manage an asset type.
-
In the administration group Details page, select the Permissions tab.
-
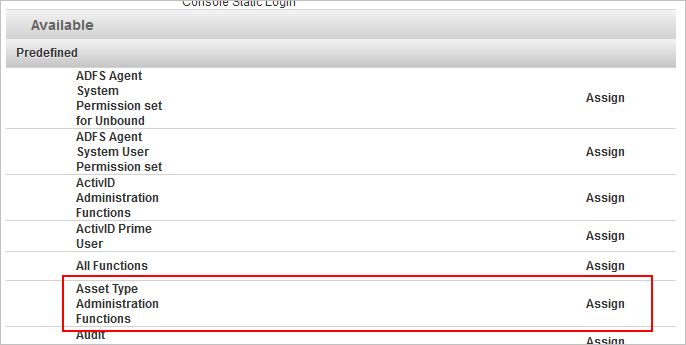
From the Available permission list, click Assign for the Asset Type Administration Functions.
-
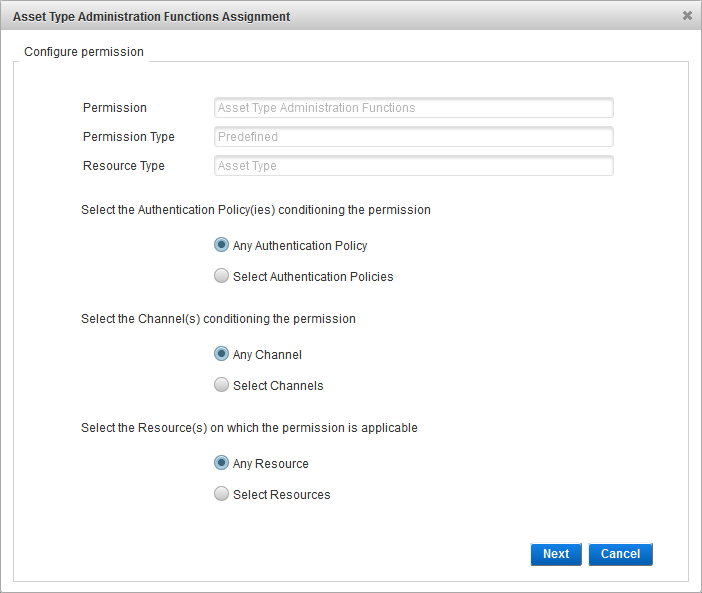
To specify conditions for the permission, select the required option(s) and click Next:
- Authentication Policies
- Channels
- Resources - select Select Resource to specify the Asset Type
- If you selected to apply Authentication Policy conditions to the permissions:
- If you selected to apply Channel conditions to the permission:
- If you selected to apply Resource conditions to the permission:
-
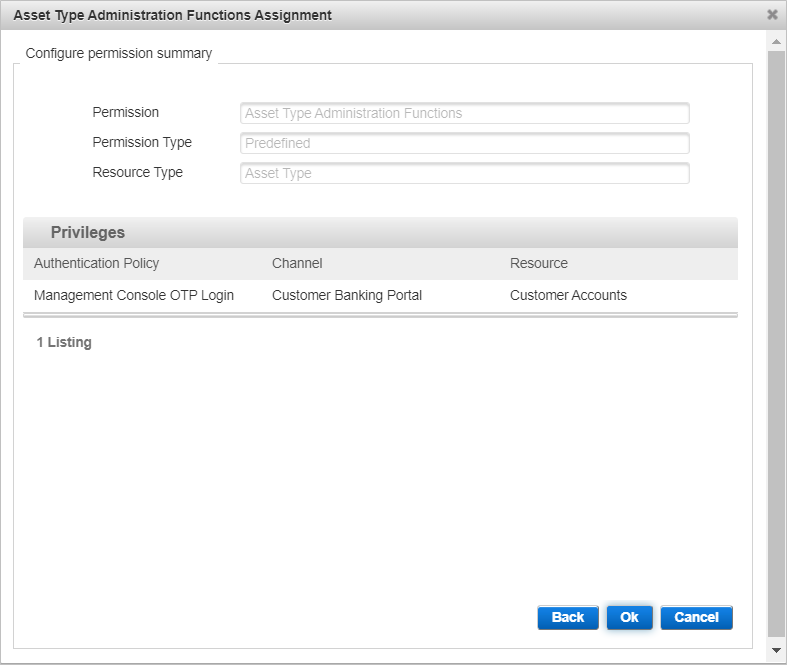
Review the configuration under Privileges and click Ok to apply the settings.
- Click Save.
The subsequent steps depend on your selection. For each conditioning option selected, a configuration page is displayed.
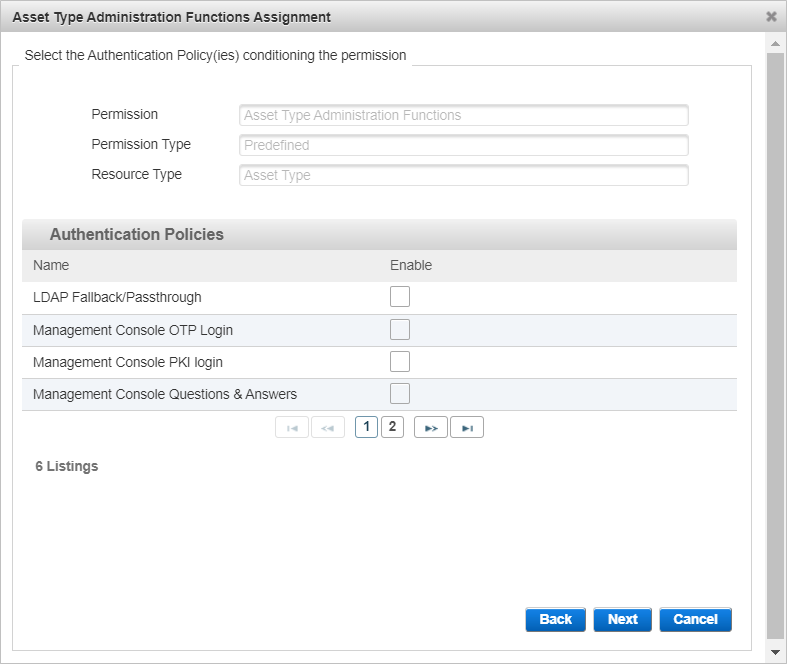
Select the options for the required policies to enable them for the group permission and click Next.
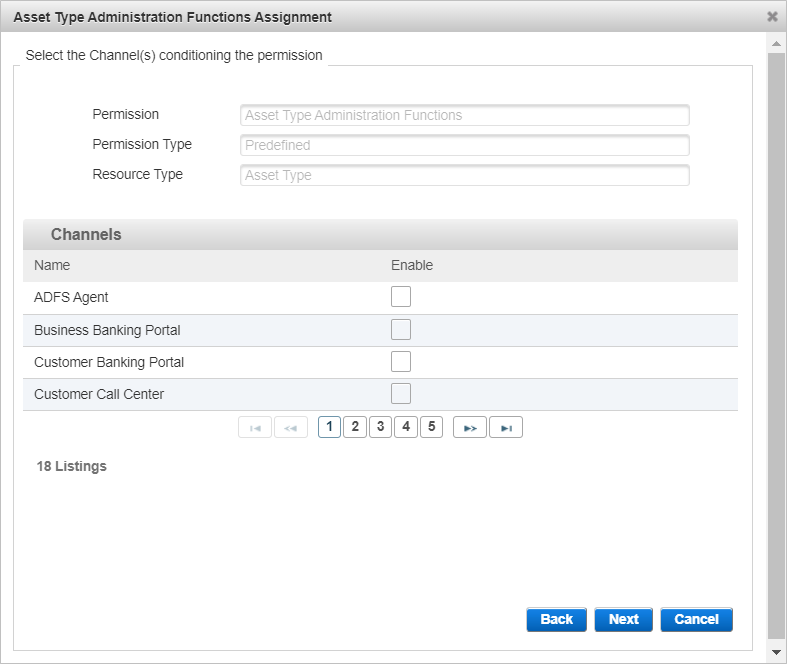
Select the options for the required Channels to enable them for the group permission and click Next.
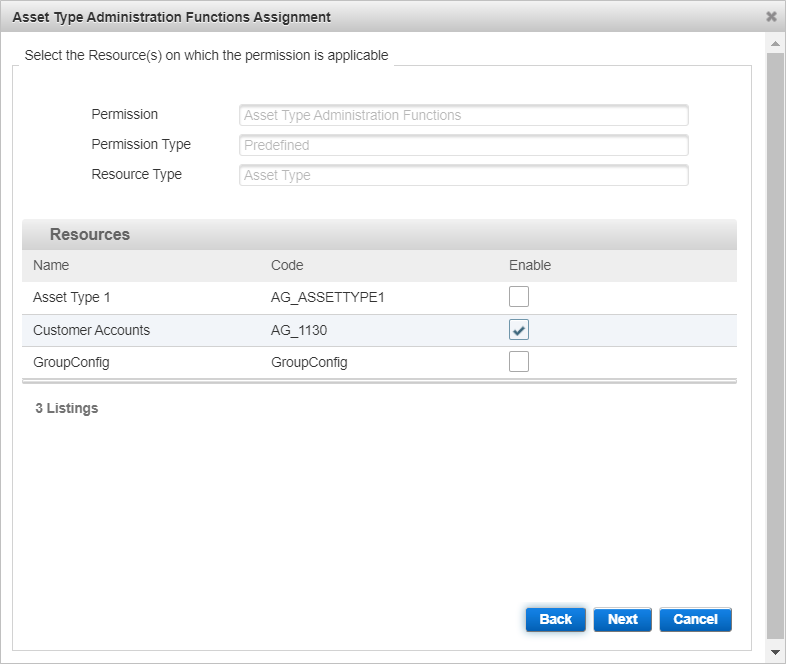
Select the Asset Type as the required Resources to enable it for the group permission and click Next.
When all the conditions are defined, the Configure permission summary page is displayed.
Alternatively, you can click Back to edit the configuration, or Cancel to exit without saving.
The permission is now assigned to the administration group.
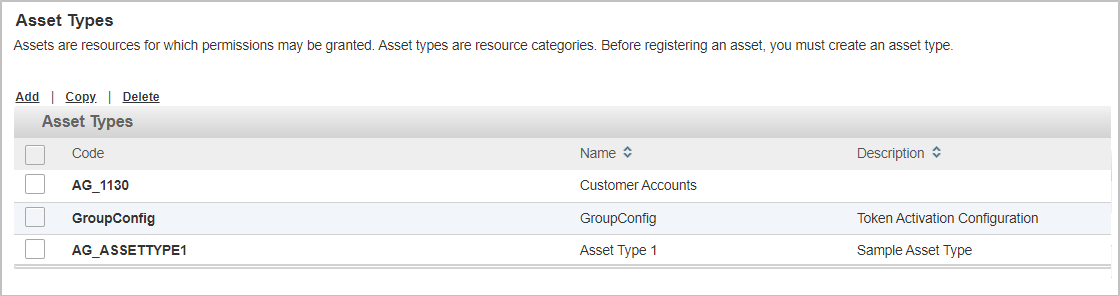
Manage Asset Types
Copy an Asset Type
-
Log on to the ActivID Management Console as an ActivID Adminstrator.
- Select the Configuration tab and, under Policies, select Assets.
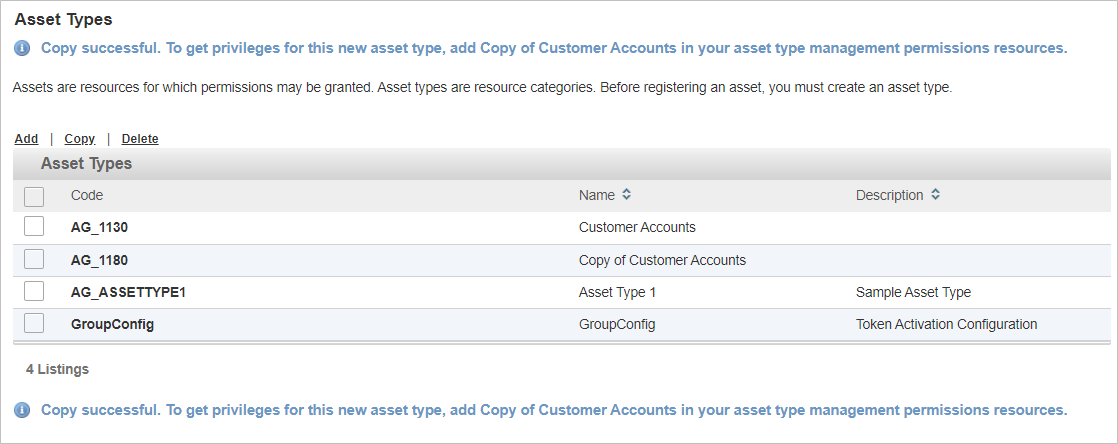
- Select the check box of the Asset Type you want to copy, and then click Copy.
- Edit the new Asset Type as required.
All the tabs are accessible and all settings can be modified except the Code.
Edit an Asset Type
-
Log on to the ActivID Management Console as an ActivID Adminstrator.
- Select the Configuration tab and, under Policies, select Assets.
- Click on the Code of the Asset Type you want to edit.
- Edit the Asset Type settings as required.
- Click Save to apply your changes.
All the tabs are accessible and all settings can be modified except the Code.
If you want to cancel the operation, click Back to List.
Delete an Asset Type
-
Log on to the ActivID Management Console as an ActivID Adminstrator.
- Select the Configuration tab and, under Policies, select Assets.
-
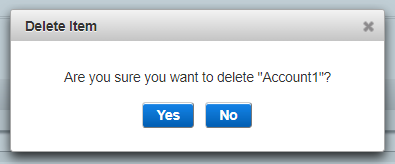
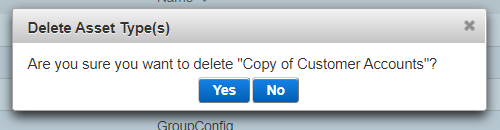
Select the check box of the Asset Type that you want to delete and click Delete.
-
Click Yes to confirm.
Manage Asset Sets
Edit an Asset Set
-
Log on to the ActivID Management Console as an ActivID Adminstrator.
- Select the Configuration tab and, under Policies, select Assets.
-
Click on the Code of the Asset Type in which you want to edit an Asset Set.
- Click on the Name of the Asset Set you want to edit.
- Edit the Asset Set settings as required.
- Click Save to apply your changes.
All the settings can be modified except the Asset Type and Code.
If you want to discard the modifications, click Cancel.
Delete an Asset Set
-
Log on to the ActivID Management Console as an ActivID Adminstrator.
- Select the Configuration tab and, under Policies, select Assets.
-
Click on the Code of the Asset Type from which you want to delete an Asset Set.
-
Select the check box of the Asset Set you want to delete and click Delete.
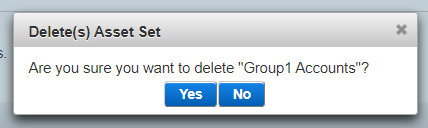
-
Click Yes to confirm.
Manage Assets
Edit an Asset
-
Log on to the ActivID Management Console as an ActivID Adminstrator.
- Select the Configuration tab and, under Policies, select Assets.
-
Click on the Code of the Asset Type in which you want to edit an Asset.
- Select the Assets tab and then click Search assets.
-
Select/enter your search criteria and click Search.
-
Click on the Code of the Asset you want to edit.
- You can edit the Name, Description and Asset Set Assignment.
- Click Save to apply your changes.
If you want to cancel the operation, click Back to List.
Delete an Asset
-
Log on to the ActivID Management Console as an ActivID Adminstrator.
- Select the Configuration tab and, under Policies, select Assets.
-
Click on the Code of the Asset Type from which you want to delete an Asset.
- Select the Assets tab and then click Search assets.
- Select/enter your search criteria and click Search.
- Click on the Code of the required Asset.
- Click Delete.
- Click Yes to confirm.