Managing HID Approve Services
Users can easily manage registered services using the HID Approve menu options.
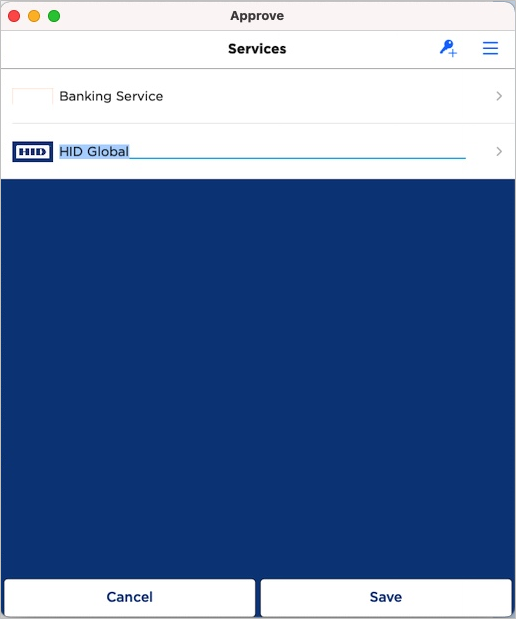
Rename a Service
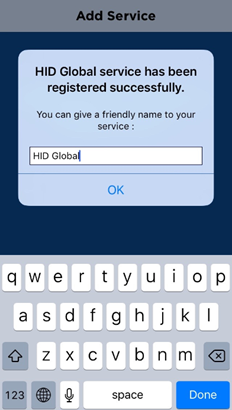
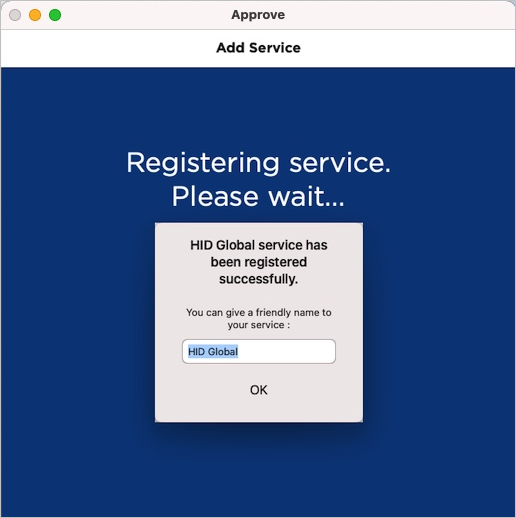
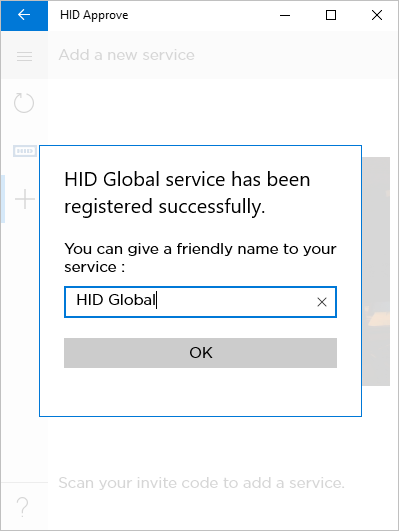
When multiple services from the same Banking provider are registered with the HID Approve application, the user can assign each service a friendly name during registration.
|
iOS/Android |
macOS |
Windows |
|
|
|
|
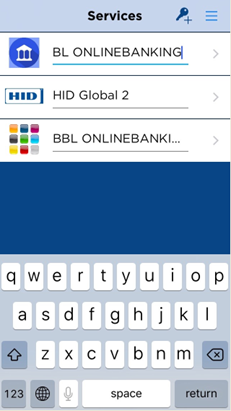
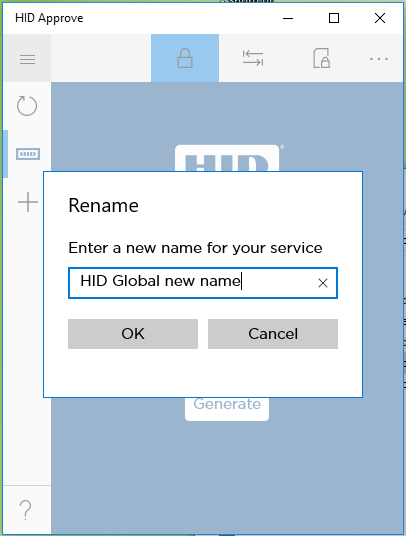
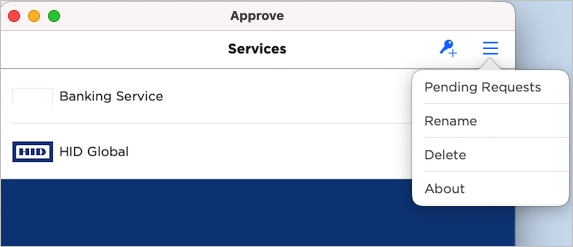
The user can also rename a service at any time using the application’s Services list menu.
|
iOS/Android |
macOS |
Windows |
|
|
|
|
|
Tap Rename. |
Click Rename. |
|
|
|
|
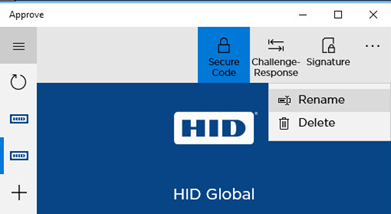
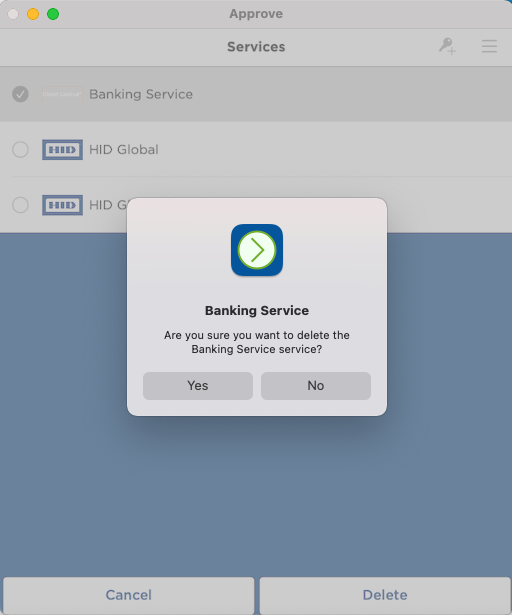
Delete a Service
-
If two or more services are registered, the user can delete a service using the app menu in the list of Services:
iOS/Android
macOS
Windows
-
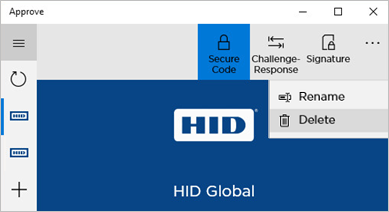
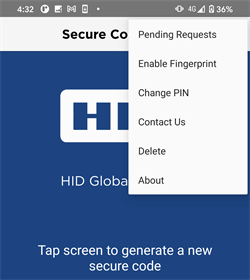
If only one service is registered, the user can delete a service using the app menu from the Secure Code screen:
iOS/Android
macOS
Windows

-
The user taps Delete in the menu.
-
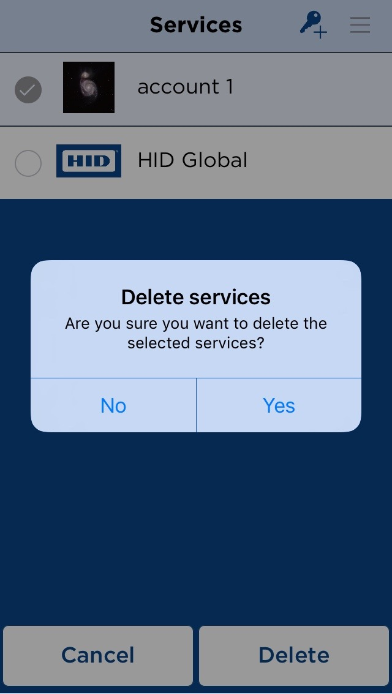
The user selects the service (or services) to be deleted and taps Delete.
iOS/Android
macOS
Windows

-
The user taps Yes to confirm the operation.
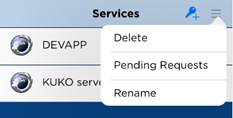
Manage Pending Requests
Notifications for pending requests (logon or action) are displayed as standard messages by the device – for example, in the top of the screen or in the notifications center.
|
iOS/Android |
Windows |
|
|
|
|
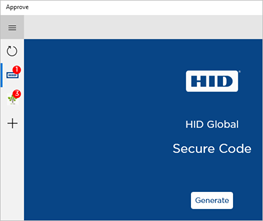
For the iOS/Android versions of HID Approve, a counter of pending requests (for all services) is also displayed on the HID Approve icon on the device desktop.
|
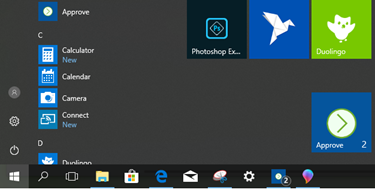
For the Microsoft Windows version of HID Approve, a counter of pending requests (for all services) is also displayed in the Taskbar and in the Start menu when HID Approve is pinned to it.
|


Depending on the device’s configuration, the device might vibrate and/or emit a sound when a new request is received.
Users can process requests using either the device’s in-built notification function or the app’s Services menu.
Process a Request using the Device’s Notification Function
-
The user swipes down to view the request(s) or selects the request in the Windows notifications center.
-
The user selects the request they want to approve or decline.
HID Approve starts and the content of the request is displayed.
Note: If the user dismisses the request, it is no longer available for processing. To process the request, the user must use the app. -
The user approves or declines the validation request.
HID Approve returns to the list of Services (or Secure Code screen if only one service is registered).
Process a Request using the HID Approve App
-
To get the requests for a single service or if only one service is registered:
-
The user launches HID Approve to display the:
-
List of registered services (two or more registered services)
-
Secure Code screen (only one registered service)
-
-
If the user has two or more registered services, the user selects the required service.
iOS/Android
Windows
-
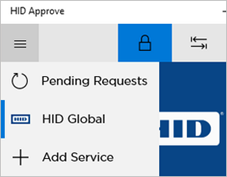
From the menu, the user selects Pending Requests.
If requests are found, a notification is displayed for processing.
-
The user approves or declines the validation request.
HID Approve returns to the Secure Code screen.
-
If there are several pending requests, the user repeats the above steps to process them.
-
-
To get the requests for all services when two or more services are registered:
-
The user launches HID Approve to display the list of registered services.
-
The user swipes down from Services list to the get requests for all services.
-
If there is only a single pending request for all services, the corresponding Validation page is displayed
-
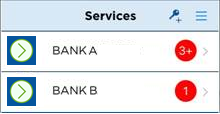
If there are several pending requests, the number is updated in the list of Services (per service)
iOS/Android
Windows
-
-
The user selects the required service.
-
If there is only a single pending request that service, the corresponding Validation page is displayed
-
If there are several pending requests, the Validation page corresponding to the first request is displayed
The user can use the Pending Request option to display the pending requests one after the other.
-
-
The user approves or declines the validation requests.
-
If there are several pending requests, the user repeats the above steps to process them.
-
Change a Password or PIN
For services configured with the key protection policy set to "password", users can either change their PIN/password:
-
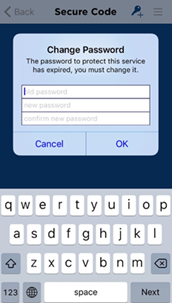
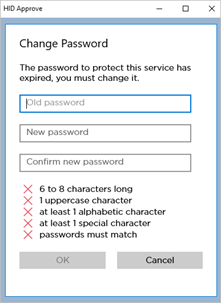
When prompted to do so when the app detects that it has expired:
iOS/Android
Windows
-
Or on-demand from the HID Approve app menu:
-
The user launches HID Approve to display the:
-
List of registered services (two or more registered services)
-
Secure Code screen (only one registered service)
-
-
If the user has two or more registered services, the user selects the required service.
iOS/macOS/Android
Note:The Change PIN/Password option is only available when a password is required to protect the service except if Silent lock mode is configured.
If you have defined a minimum age for the password (HISTMINAGE), a warning is displayed instead of the Change Password fields when the user selects to change the password before the defined period expires. It is recommended that you set the minimum age to 0 to allow changes immediately.
The Change PIN/Password option is not currently available for HID Approve for Windows.
-
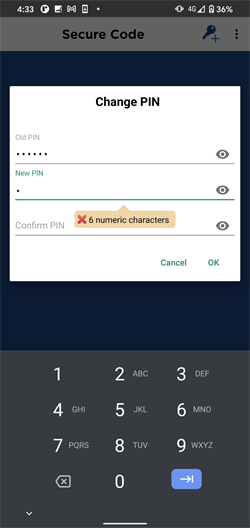
The user selects Change PIN (or Password).
iOS/Android
-
The user defines a new PIN/password that meets the specified criteria.
-
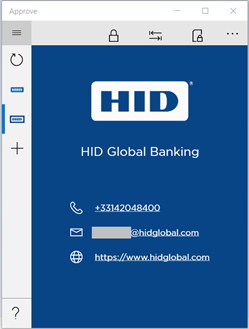
Get Help
As described in Customize the Contact Information, you can define the optional ‘Contact’ menu feature and customize the contact information, allowing end users to request assistance or information for the relevant service.
|
Android |
macOS |
Windows |
|---|---|---|

|
|
|

See Also:
Customize the Credential Expiration Warnings


