Assign an OTP Device to a User
You can assign a device that is already available in ActivID AS or request a new device for the user.

- You must have the respective permission(s) to assign or remove devices. You can also have both permissions simultaneously for device management purposes.
- To be able to fully configure the authentication policy during device assignment, you must have the following permissions:
- Extend authenticator valid period
- Update authenticator expiry threshold
- Update DEVICE authenticator status
If some are missing, either the authentication policy screen is not displayed, or only partial configuration is possible (that is, when segregation of duties is required).
If you have none of these permissions, the authenticator status will be set to "Disabled" by default.
Assign an Existing Device to a User
You can assign a device that is already available (but not yet assigned to a user) in ActivID AS.
-
Follow the steps in Search for Users to search for the user.
-
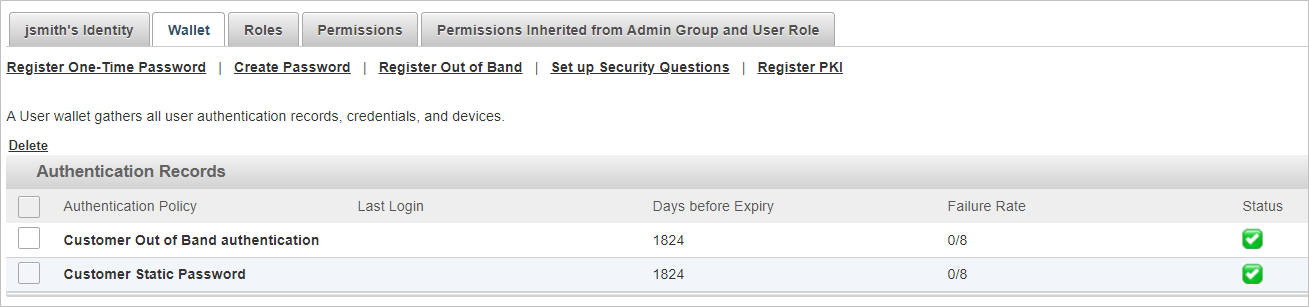
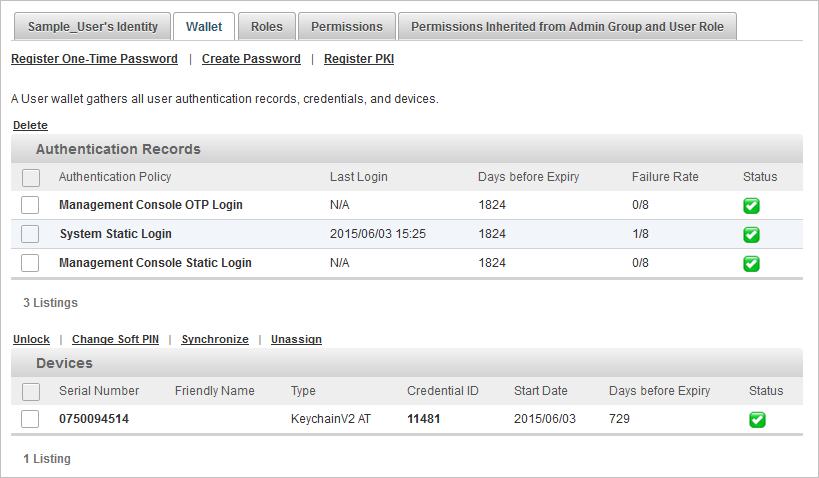
In the user’s Details page, select the Wallet tab.
-
Click Register One-Time Password to select a device for assignment and to create a Device authentication record.
-
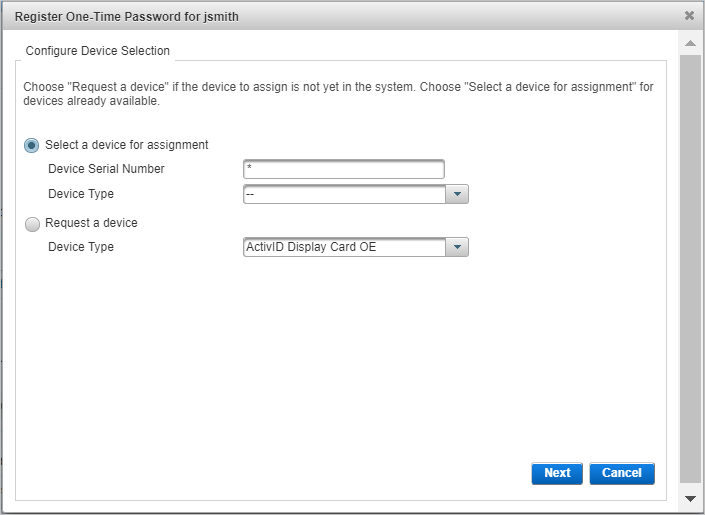
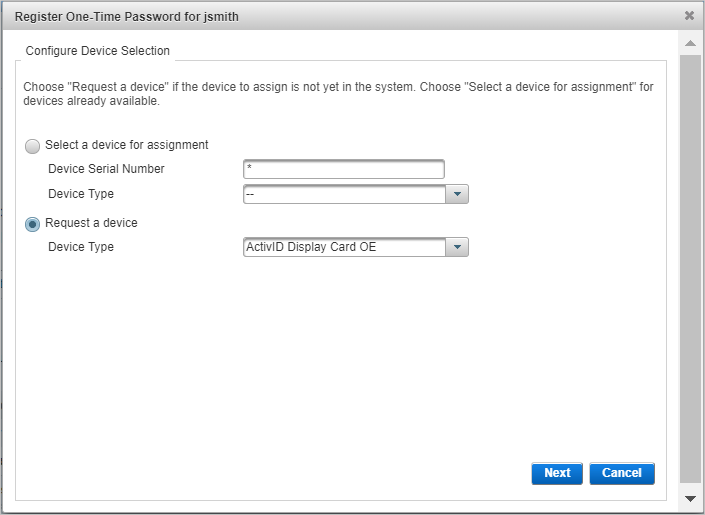
Select the Select a device for assignment option.
Alternatively, you can request a new device for the user.
-
Enter the Device Serial Number.
-
From the drop-down list, select the Device Type and click Next
-
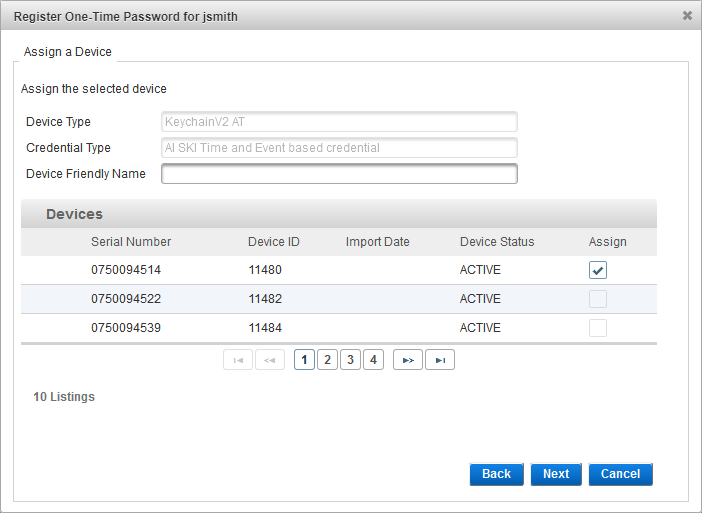
Select the check box in the Assign column for the required device and, optionally, enter a Device Friendly Name, and then click Next.
If the device is assigned to a user already, you cannot assign it to another user. From the list, you can only view unassigned devices (and the user’s own devices if applicable).
-
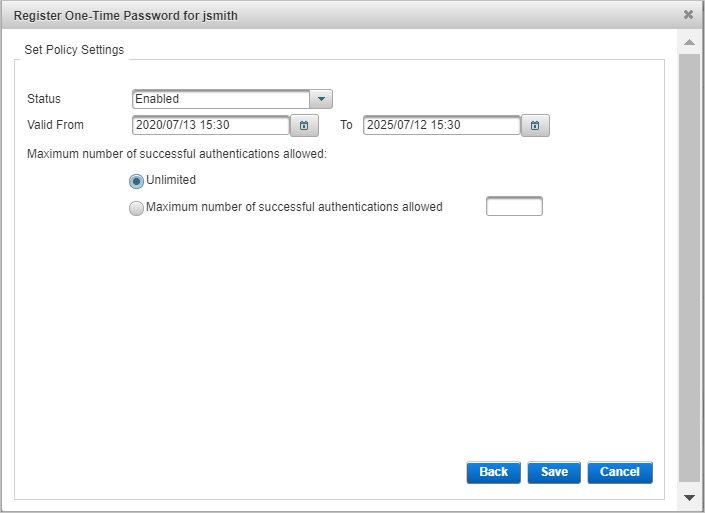
Select the authentication policy that you want to enable for the device and click Next.
-
To change the status, select the required Status from the drop-down list. The default status is Enabled.
-
To change the password validity period, edit the Valid From and To dates.
-
To change the Maximum number of successful authentications allowed, select that option and define it.
-
Click Save.
If you did not enter a device serial number, you are prompted to select the device from the list of available devices that match the selected Device Type.
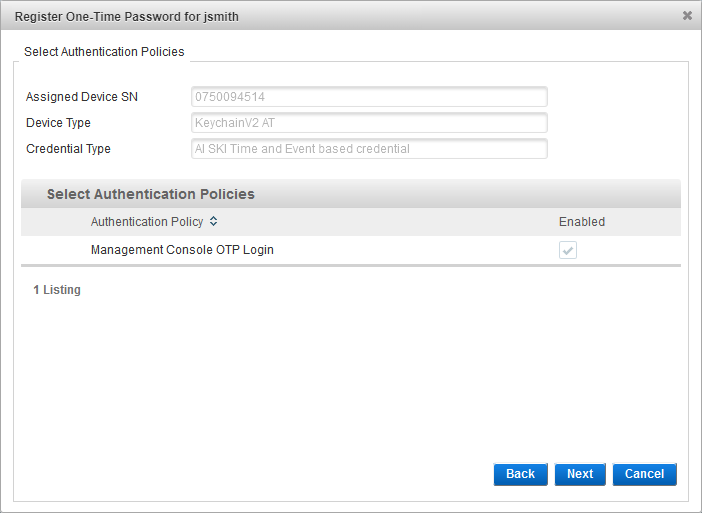
Only the eligible authentication policies are displayed and you can select one or more policies. A Device authentication record is created for each authentication policy.
If the user already has a Device authentication record for the policy, then the device will be assigned but a new record will not be created.
If the assignment is successful, a new authentication record (if applicable) and assigned device are displayed in the user’s Wallet.
Request a New Device for a User
When requesting a device for a user, you will select the type of device and select the purpose for the device.
-
Follow the steps in Search for Users to search for the user.
-
In the user’s Details page, select the Wallet tab.
-
Click Register One-Time Password to request a device and to create a Device authentication record.
-
Select the Request a device option.
Alternatively, you can assign an existing device to the user.
-
From the drop-down list, select the Device Type, and then click Next.
-
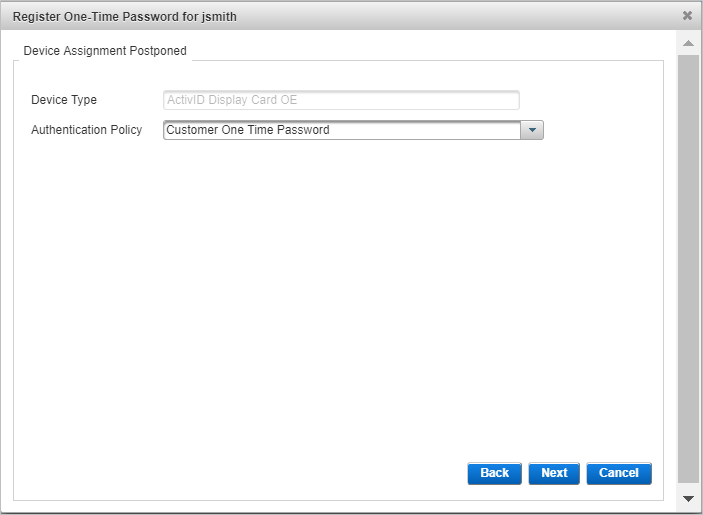
Select the Authentication Policy, and click Next.
-
Modify the attributes of the authentication policy, if necessary.
-
Click Save.
If the process is successful, a Device authentication record is created, and a device issuance request ID is submitted.
-
Click Close.


