Enabling Mirroring
This section explains how to enable mirroring on the Principal server (SERVER-A).
-
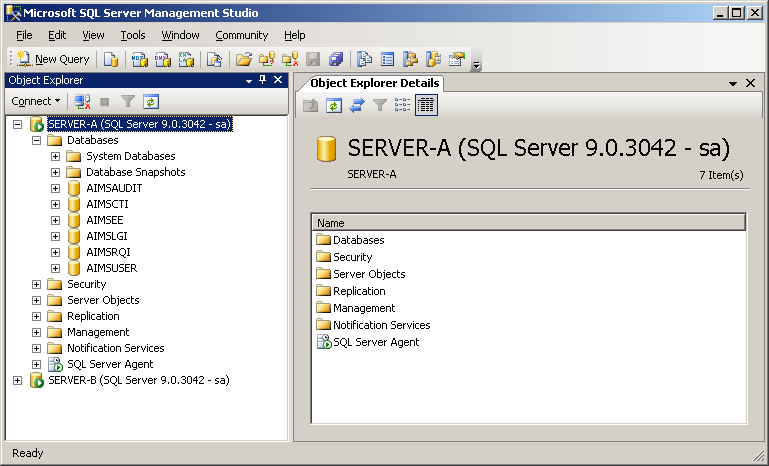
Return to the SQL Server Management Studio on SERVER-A and expand the tree node for SERVER-A.
-
Expand Databases, right-click on AIMSAUDIT, and then select Properties.
-
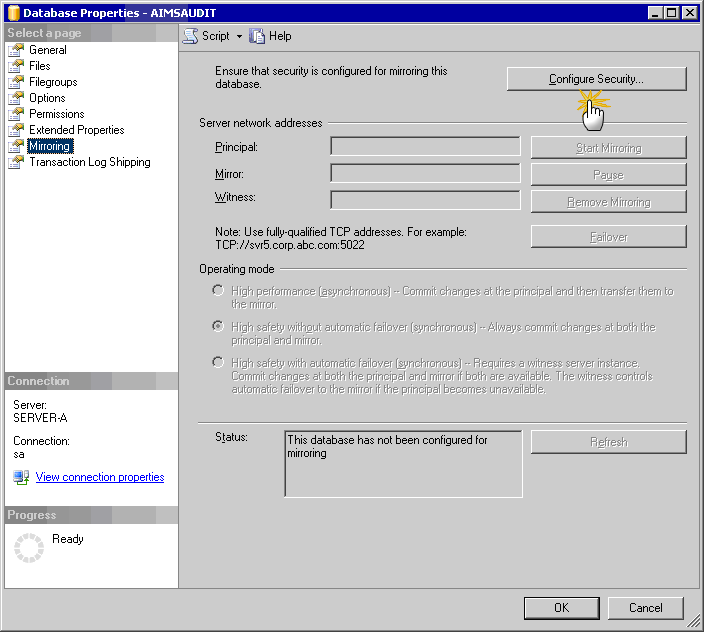
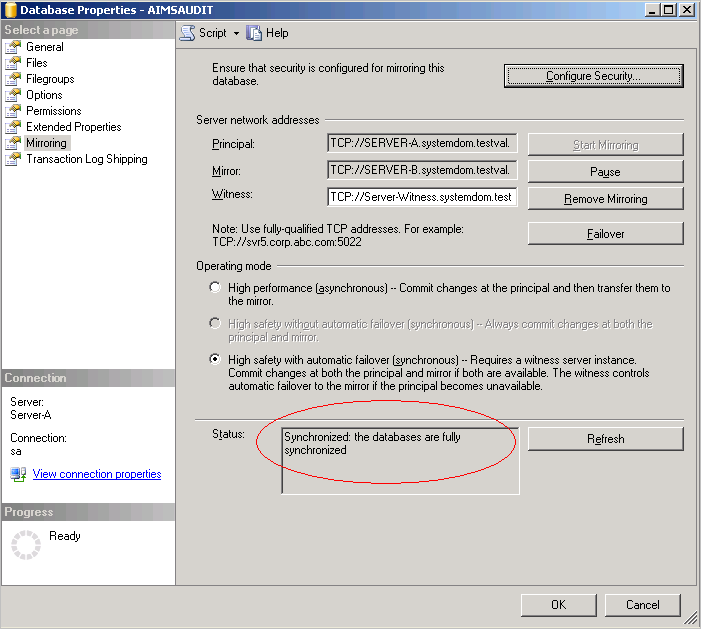
Select the Mirroring page.
-
Click Configure Security.
-
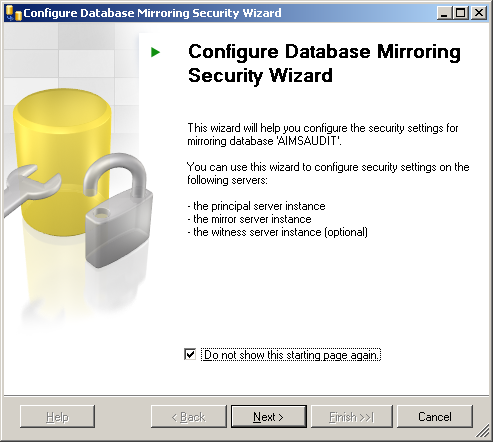
Click Next.
-
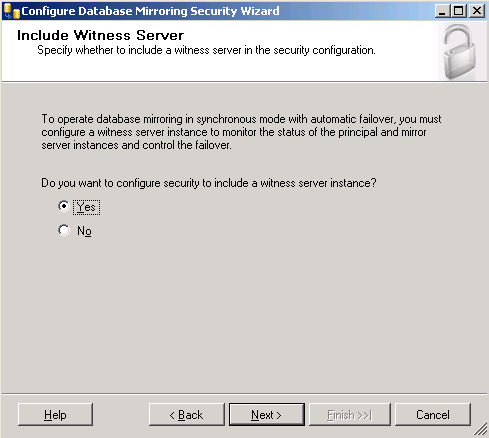
Select Yes, and then click Next.
-
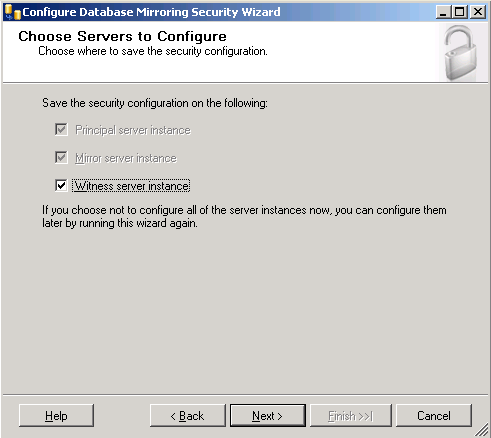
Select Witness server instance, and then click Next.
-
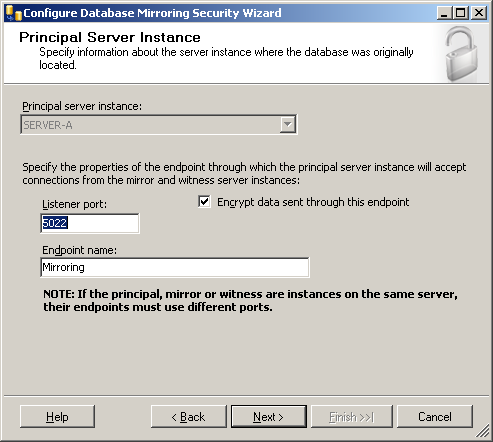
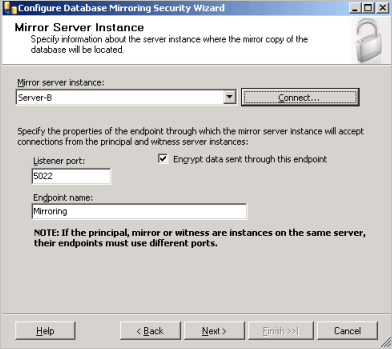
Select the Encrypt data sent through this endpoint option, and then click Next.
-
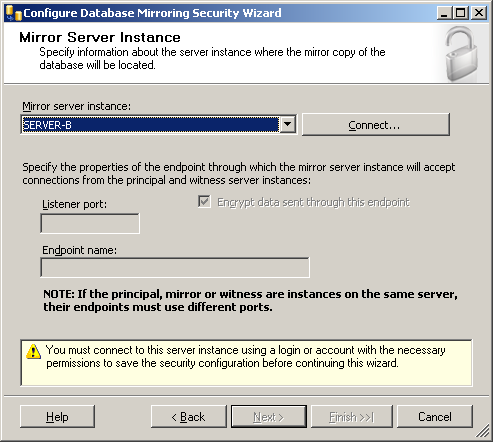
From the Mirror server instance drop-down list, select the server instance you want (in this example, SERVER-B), and then click Connect.
-
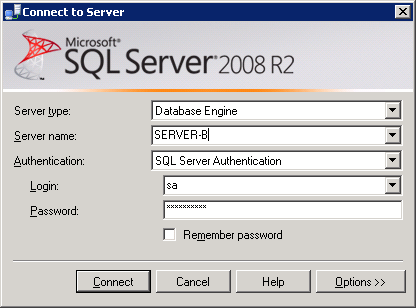
From the Authentication drop-down list, select SQL Server Authentication.
-
Enter the credentials for the SA account, and then click Connect.
-
Click Next.
-
Repeat steps 9 to 12 for the SERVER-Witness.
-
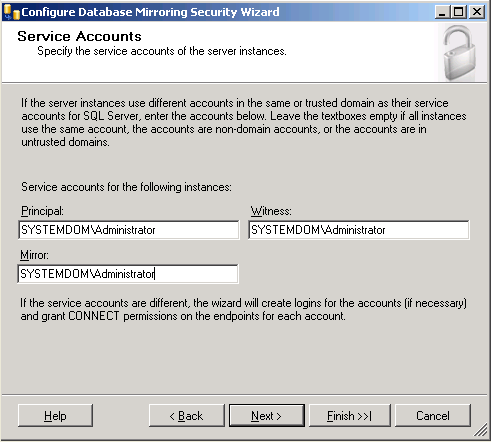
Verify if the SQL server instances for the Principal, Witness, and Mirror servers use the same service account. If they use different service accounts, then enter the appropriate account information in the corresponding textboxes. If they use the same service account, then leave the textboxes empty.
-
Click Next.
-
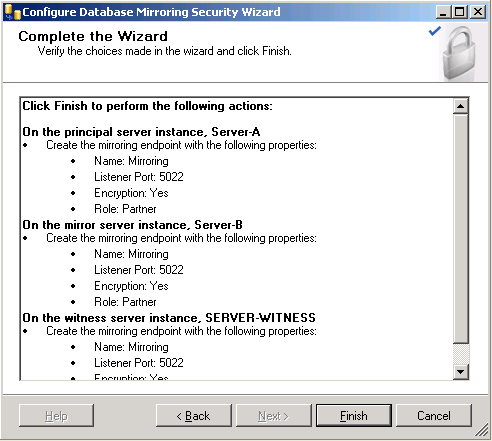
Review your database mirroring configuration choices, and then click Finish.
The Configure Database Mirroring Security Wizard starts the mirroring configuration process.
-
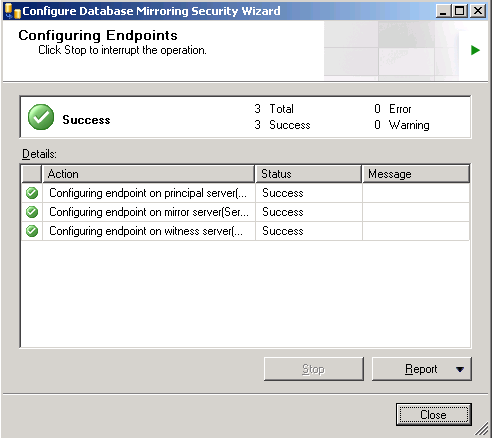
Verify that the Status of the configuration on all servers is Success, and then click Close.
-
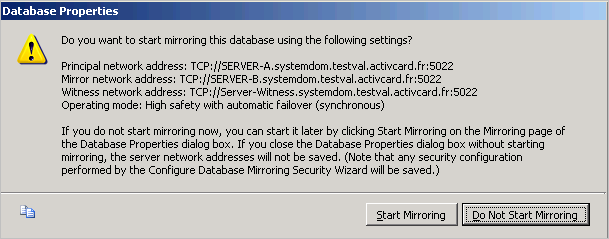
Click Start Mirroring.
A success message is displayed in the Status section (as illustrated next).
-
Click OK.
-
Repeat steps 2 to 19 for the other ActivID CMS databases (AIMSCTI, AIMSEE, AIMSLGI, AIMSRQI, and AIMSUSER).
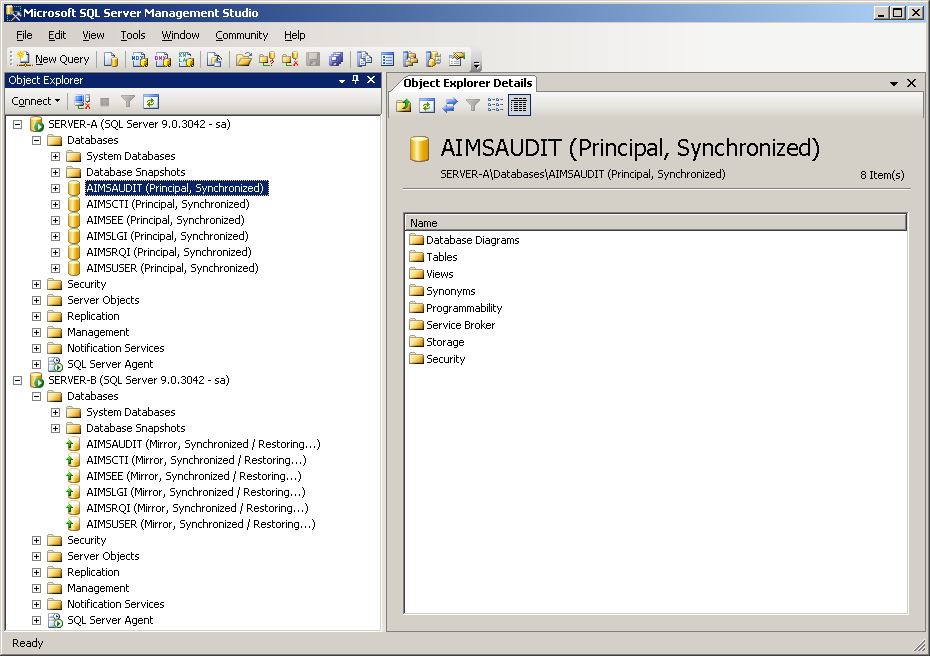
After you have enabled mirroring for all of the ActivID CMS databases, you should have six databases in the synchronized state, as illustrated next.
ActivID CMS Databases Synchronized
-
Principal—Synchronized on SERVER-A
-
Mirror—Synchronized /Restoring on SERVER-B


