Requesting the Key Recovery Agent Certificate
-
Connect to Microsoft Certificate Services. You will be asked for a user name and password if you are not already logged on to the CA server domain. This displays the Microsoft Certificate Services Welcome page.
Note: Log on using the ActivID CMS Server User credentials.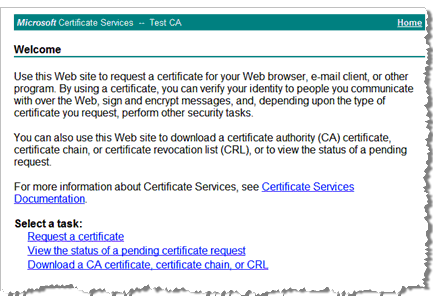
-
Click Request a certificate.
-
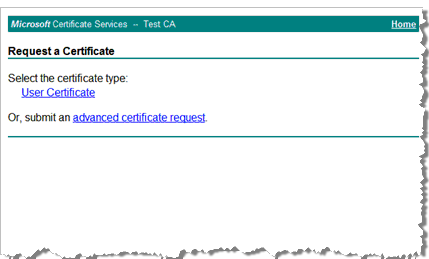
Click advanced certificate request.
-
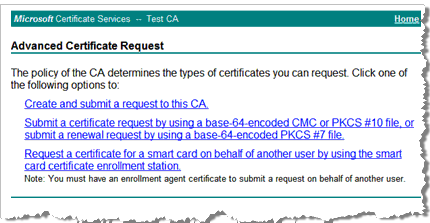
Click Create and submit a request to this CA.
-
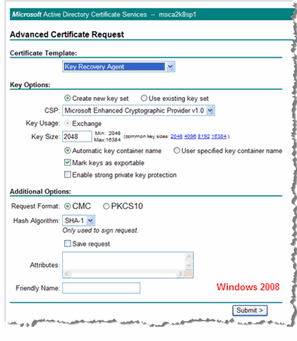
Certificate Template—In the drop-down list, select Key Recovery Agent.
-
Key Size—Enter the appropriate size, or click the appropriate size in the common key sizes adjacent to the text box.
-
Select the Mark keys as exportable option.
Important: Leave the Friendly Name box blank. The Key Recovery Agent certificate MUST NOT have a friendly name. -
Click Submit.
-
Connect to ActivID CMS, and open the Repositories Management page.
-
In the Certificate Authorities section, locate the CA you want to update, and then click Update. The Certificate Authority Update page is displayed.
-
Name—Enter a valid, unique name for the CA within ActivID CMS. If Active Directory and the CA are installed on the same host system, then the information in the Active Directory and Certificate Authority boxes should be the same.
-
Recovery support—Select either the Yes or No option. If you select Yes, then enter the .pfx file path in the Recovery Agent box and type the password in the Recovery Agent’s password text box.
-
Click Test to check the connectivity result, which will be displayed in Test Report box.
-
Click Update. A confirmation message is displayed.
For more information, refer to Configuring a PKI Application Using a Microsoft CA.


