Binding a Device
By binding a device, you associate (or assign) the serial number of a device to a user. When you assign a device to a user, it does not impact the content of the device.
Also, printing can be done at the card binding stage. In order to personalize the chip with the end user information and credentials, the user must connect to the ActivID CMS User Portal to self-enroll the card. You must have completed all the steps in Issuing an Initial Device to a User in Your Directory.
-
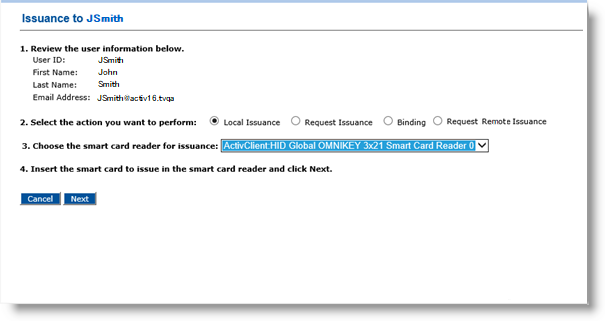
Go to the Issuance page.
-
If your administrator has configured the system to allow updating of some of the user information, then complete the attributes as required. This might include capturing the user’s picture.
-
For the Select the action you want to perform option, select Binding.
-
Accept the default card reader or choose another card reader.
-
Insert the card into the reader, and then click Next.
The Issuance to <user name> page appears:
-
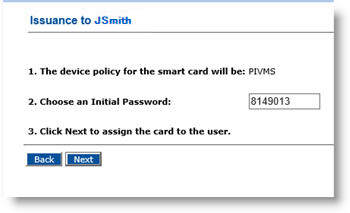
From the Select the device policy for the smart card drop-down list, select the device policy for chip personalization.
-
If only one device policy is configured, then it is selected by default.
- If you are only binding the card, then select the device policy that you want the user to use when s/he enrolls the card using the ActivID CMS User Portal.
-
-
In the Choose an Initial Password field, enter a password. This is the password the user enters on the ActivID CMS User Portal to enroll the device. The password is valid only for a single connection.
-
If the Initial Password field does not appear, then ActivID CMS has generated a random password and sent it to the user by email.
-
If a password is shown in the Initial Password field, then ActivID CMS is configured to generate a random password. If you want to change the password, then enter a new password in the field.
- If two Initial Password fields appear populated with asterisks, then enter the same password in both fields.
Note:
About the Initial Password:-
This step applies only if the ActivID CMS administrator selected the Initial Password authentication method to self-enroll devices.
-
Depending on how your administrator configured the Security Settings page to authenticate users, this field might look different.
-
-
Click Next. A success message appears.
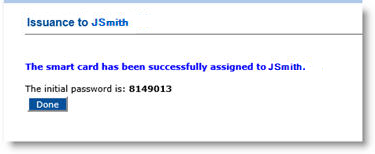
During this step, ActivID CMS only binds the device. There is no physical change done on the device itself. Optionally, you can print information on the surface of the card. Then, the user personalizes the device using the ActivID CMS User Portal.
-
Click Done. Remove the card from the printer or card reader.


