Configuring ActivID CMS for Printing
Installing image capture software
Supported printers
Configuring Fargo® printers
Make sure that you have a printer attached to ActivID CMS.
-
Select the Configuration tab.
-
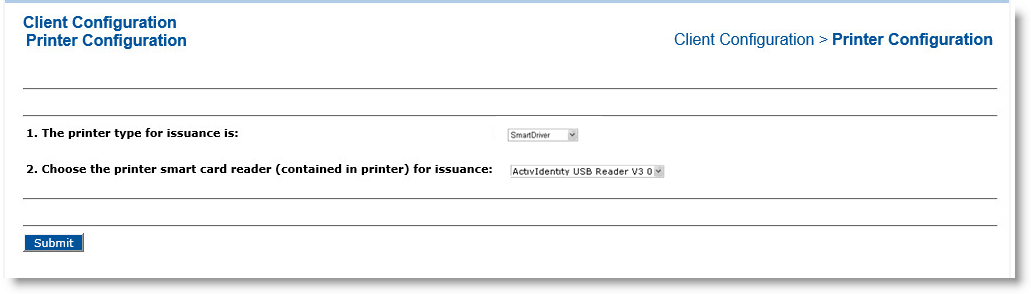
Click the Client Configuration sub-tab to display the Printer Configuration page.
-
From the The printer type for issuance is drop-down list, select the printer type.
-
Select the card reader for the printer type displayed in the Choose the printer smart card reader drop-down list.
Important: You can only deploy ActivID CMS with one type of printer. -
Click Submit.
-
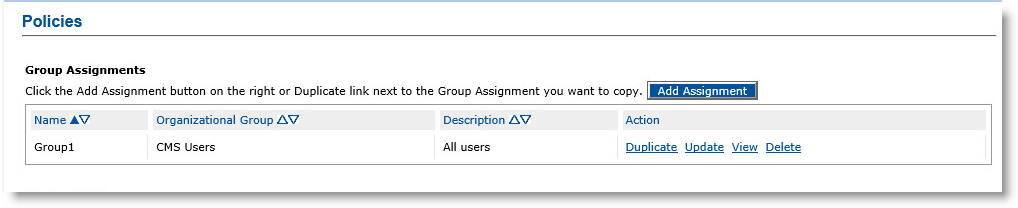
Select the Policies tab to display the Policies page.
-
Click Add Assignment to display the Group Assignment Creation page.
-
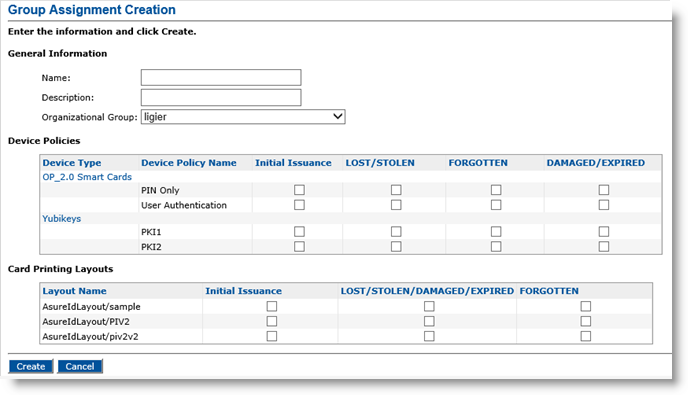
In the General Information section, enter values in the following text boxes or click to select an option in the drop-down list:
-
Name—Defines the name of the group assignment.
-
Description—Describes the group assignment.
-
Organizational Group drop-down list—Select the group to which the device policies will be assigned.
-
-
In the Device Policies table, select the Initial Issuance option.
-
In the Card Printing Layouts table, select the appropriate card printing layout option.
-
Click Create.
Topics in this section:


