Adding the Key Recovery Agent Certificate Template
-
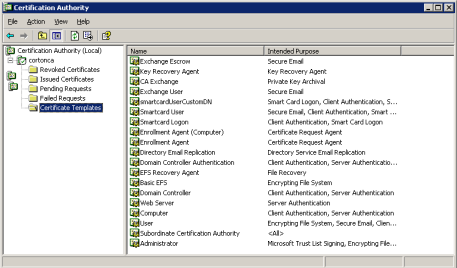
On the Microsoft CA machine, from the Start menu, click Programs, point to Administrative Tools, and then click Certification Authority. The Certification Authority window is displayed.
-
In the console tree, expand Certification Authority, right-click Certificate Templates, click New, and then click Certificate Template to Issue. The Enable Certificate Templates window is displayed.

-
Select the Key Recovery Agent template, and then click OK.
-
In the certificate templates, right-click and click Manage.
-
A new Manage templates window is opened. In the Details pane, right-click the Key Recovery Agent certificate template, and then click Properties.
-
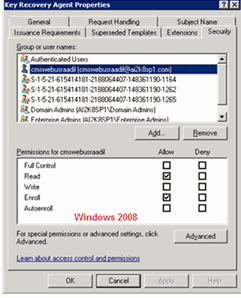
In the KeyRecoveryAgent Properties window, select the Security tab.
-
In the Group or user names list, select the CMS User.
Note: If the correct ActivID CMS user does not appear in the list, see Setting Permissions for the CMS Server Service Account for information on how to add the ActivID CMS User. -
In the Permissions for CMS User box, in the Allow column, select the Read and Enroll options, and then click OK.
-
Select the Issuance Requirements tab.
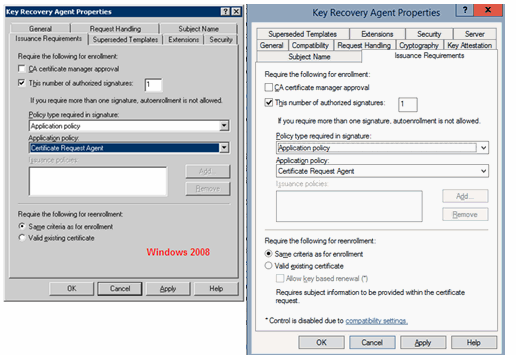 Important: Clear the CA certificate manager approval option—if needed.
 -
Select the This number of authorized signatures option and enter 1 in the adjacent text box.
-
Select Policy type requirement as Application Policy and Application Policy: Certificate Request.
-
Click Apply.


