Configuring for Entrust Datacard nShield HSM
To configure Microsoft CA enrollment agent for an Entrust Datacard® (formerly Thales®) nShield™ HSM, perform the following steps:
-
Install the Entrust Datacard nShield HSM and associated software (including the Entrust Datacard client) on the CA server. For details refer to the Entrust Datacard technical documentation.
-
Installing the Entrust Datacard nCipher CNG (Cryptography Next Generation) Provider as described below.
-
Configuring the Enrollment Agent Template as described below.
-
Configuring the Key Recovery Agent Template as described below.
-
Issuing the RA Certificate as described below.
-
Issuing the KRA Certificate as described below.
You must install the Entrust Datacard (formerly Thales) nCipher CNG provider on the CA server and the ActivID CMS server.
To install the CNG provider, perform the following tasks:
-
Run the Setup.exe file and make sure to select the components related to the following nShield Cryptography Service Providers (CSP): CryptoAPI (CAPI) and CryptoAPI Next Generation (CAPI-NG or CNG).
-
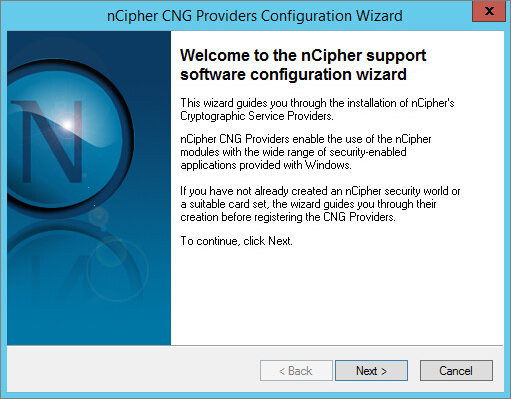
Once installed, run the nCipher CNG Providers configuration wizard located on Windows in C:\Program Files (x86)\nCipher\nfast\bin\capingwizard64.exe
-
Click Next.
-
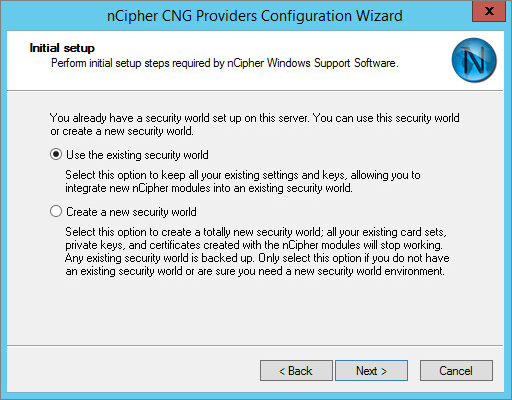
Select Use the existing security world, and click Next.
-
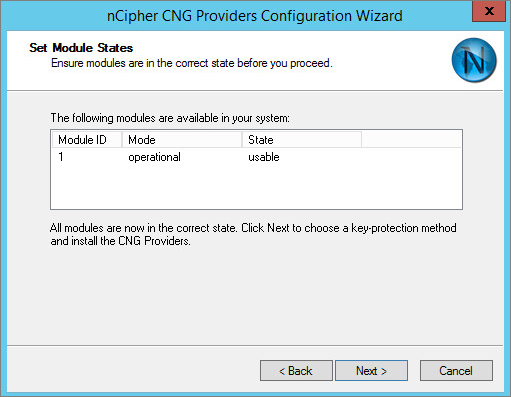
Select the module, and click Next.
-
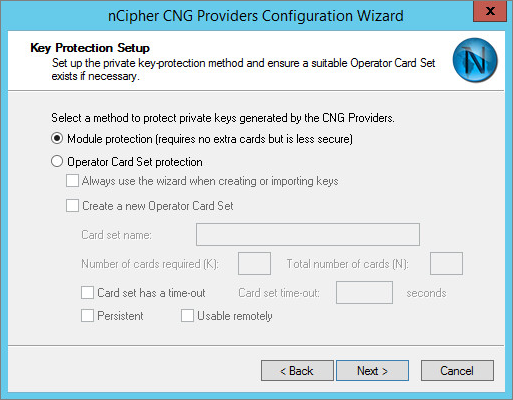
Select Module protection (requires no extra cards but is less secure), and click Next.
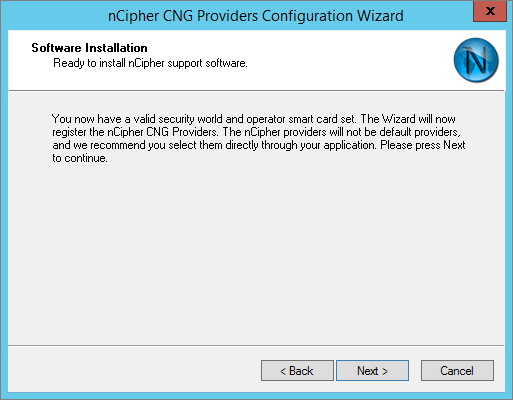
-
Click Next.
-
Click Finish.
-
If the CA is on another machine, the CNG provider might not display.
-
The Enrollment Agent is used for the RA (Registration Authority) feature of Microsoft CA.
To configure the Microsoft CA Enrollment Agent template, perform the following tasks:
-
On the computer that is hosting your enterprise CA, on the Windows desktop, click Start, point to Programs, point to Administrative Tools, and then click Certification Authority.
-
In the navigation pane, expand the CA name, right-click Certificate Templates, and then click Manage.
-
In the Certificate Templates console, in the results pane, right-click on a template having Certificate Request Agent as its intended purposes, and then click Duplicate Template.
-
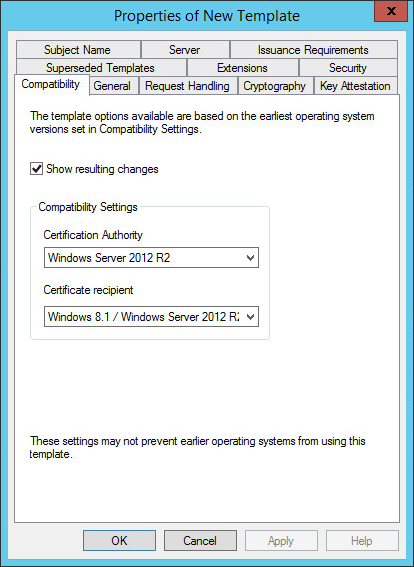
In the Properties of New Template dialog box, in the Compatibility tab, select Show resulting changes, and then click OK.
-
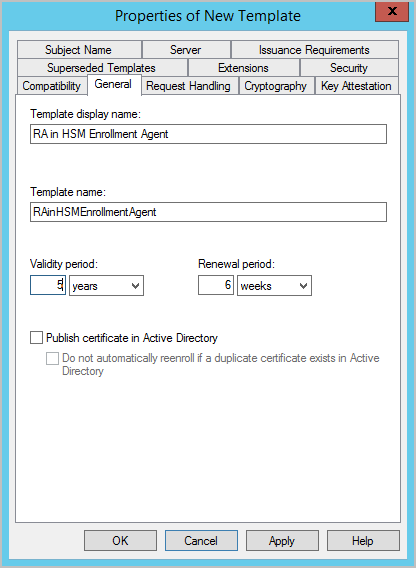
In the General tab, enter a Template display name for this template; (in this example, RA in HSM Enrollment Agent) and click Apply.
-
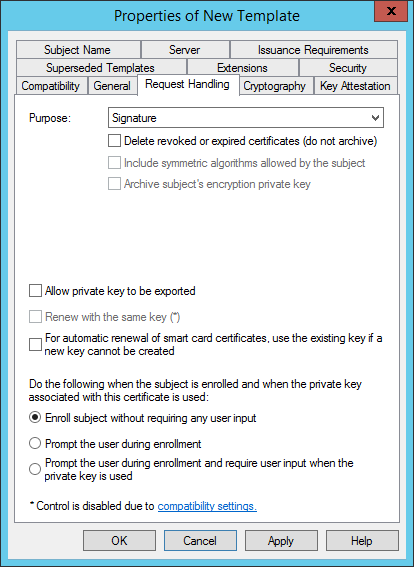
In the Request Handling tab, make sure the Purpose is Signature and select Enroll subject without requiring any user input, and then click Apply.
-
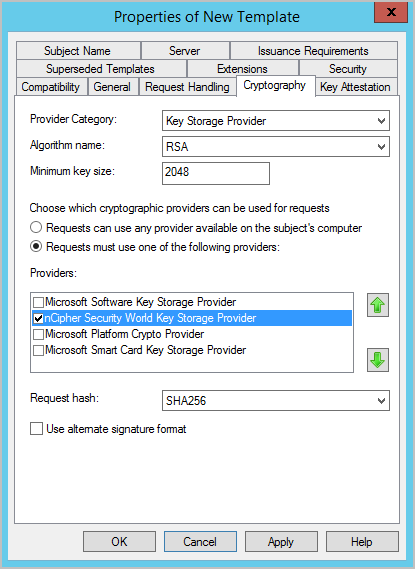
In the Cryptography tab, select nCipher Security Key Storage Provider, and then click Apply.
-
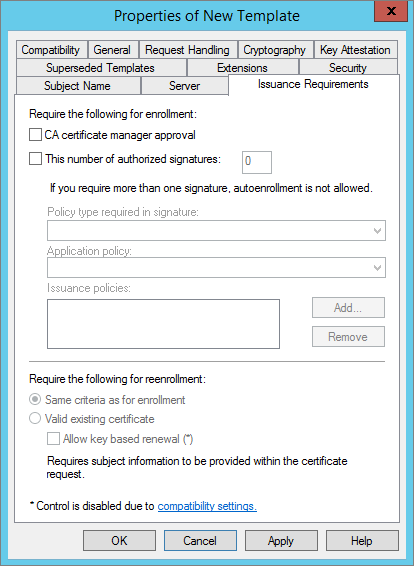
In the Issuance Requirements tab, make sure that none of the options are selected (as illustrated above), and then click Apply.
-
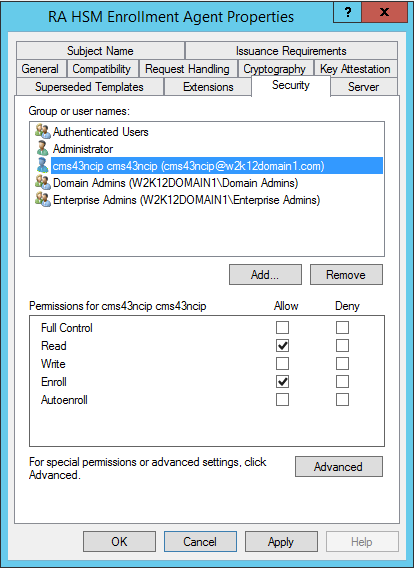
In the Security tab, select the Enroll permissions for the CMS Server service user of your ActivID CMS server so that they can enroll the certificate using the RA HSM Enrollment Agent template.
-
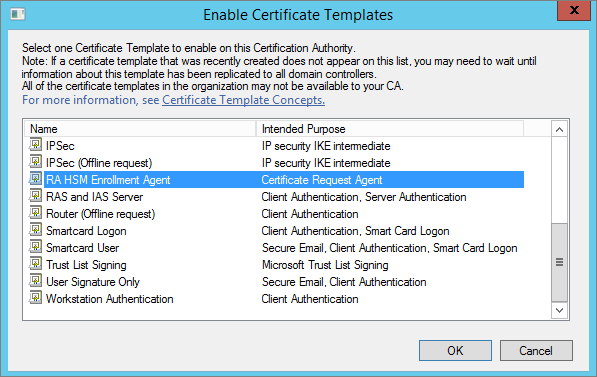
In the navigation pane, right-click on Certificate Templates, then select New > Certificate Template to issue.
-
Select the template on the ActivID CMS server that you want to enable, and click OK.
Create a template for creating the KRA certificate in the HSM.
-
In the Certificate Templates console of your Certificate Authority, right-click Key Recovery Agent, and then click Duplicate Template.

-
In the Properties of New Template dialog box, in the Compatibility tab, select Show resulting changes, and then click OK.
-
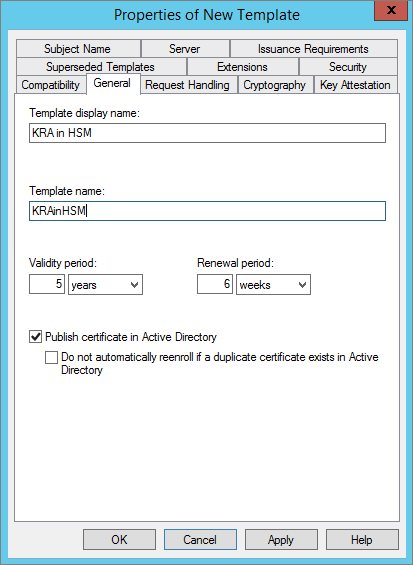
In the General tab, enter a Template display name for this template (in this example, KRA in HSM), and click Apply.
-
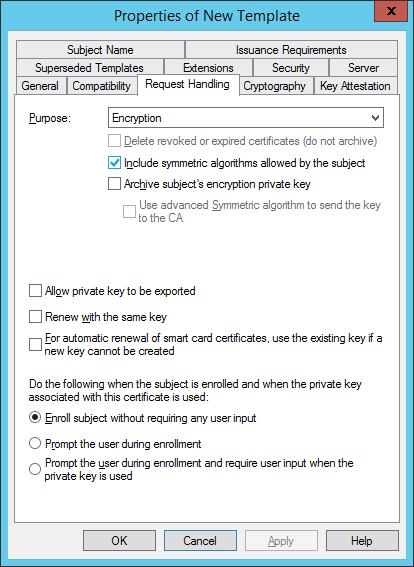
In the Request Handling tab, make sure the Purpose is Encryption and select Enroll subject without requiring any user input, and then click Apply.

-
In the Cryptography tab, select nCipher Security Key Storage Provider, and then click Apply.
-
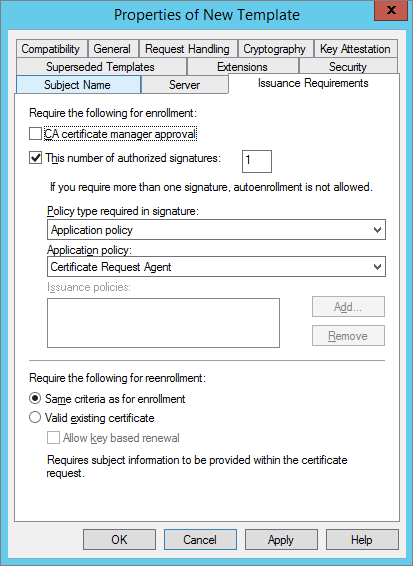
In the Issuance Requirements tab, configure enrollment to require one authorized signature using the Certificate Request Agent application policy (as illustrated above), and then click Apply.
-
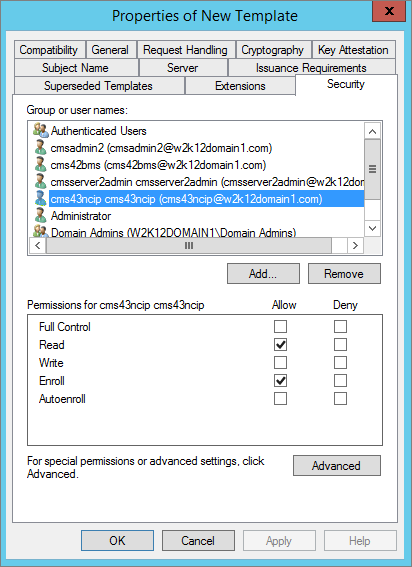
In the Security tab, select the Enroll permissions for the CMS Server service user of your ActivID CMS server so that they can enroll the certificate using the KRA in HSM template.
-
Click OK.
-
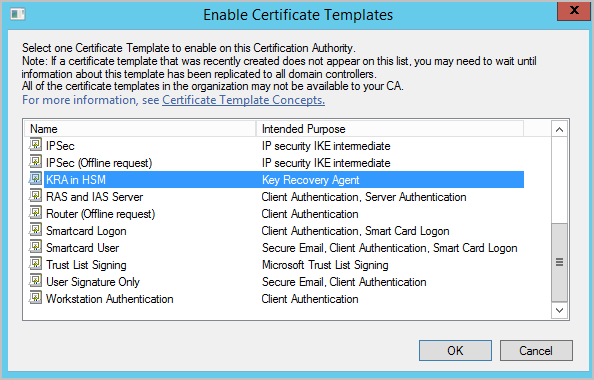
Select the template to enable on the ActivID CMS server, and click OK.
You must load the RA certificate into the keystore of the user where ActivID CMS is configured, and remove any system level certificates.
To issue the RA certificate, perform the following tasks:
-
Log on to the ActivID CMS server as the CMS Server user and open an MMC console with the Certificates snap-in for My User account.
-
Expand the Certificates – Current User node, go to Personal and then right-click on Certificates.
-
Point to All Tasks and select Request New Certificate…
-
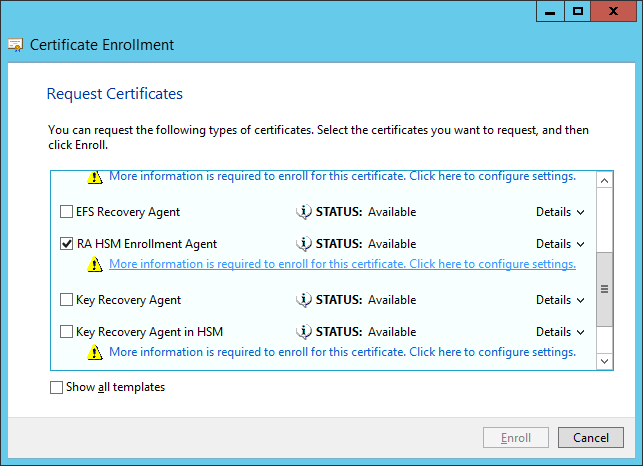
Select the new template (in this example, RA HSM Enrollment Agent) and click the link to configure the certificate properties.
-
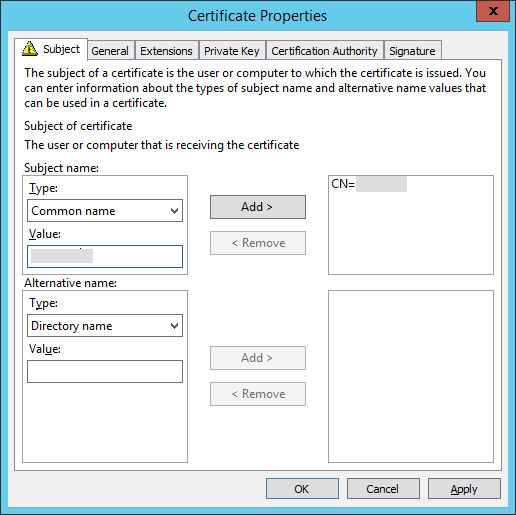
Enter the name of the CMS Server user as the Subject name and click OK.
-
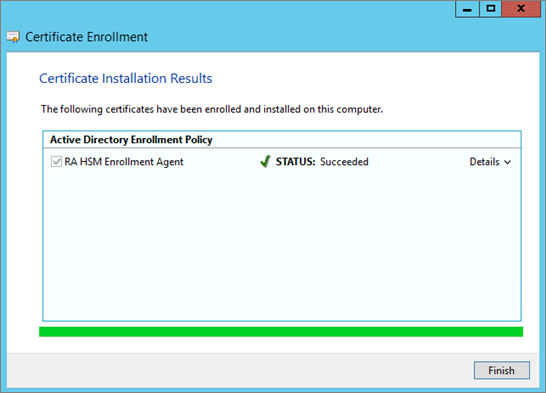
Click Enroll, and perform any other template actions applicable to your security policy.
-
Click Finish, and make the template available for issuance.
You must load the KRA certificate into the keystore of the user where ActivID CMS is configured, and remove any system level certificates.
-
Log on to the ActivID CMS server as the CMS Server user and open an MMC console with the Certificates snap-in for My User account.
-
Expand the Certificates – Current User node, go to Personal and then right-click on Certificates.
-
Point to All Tasks and select Request New Certificate….
-
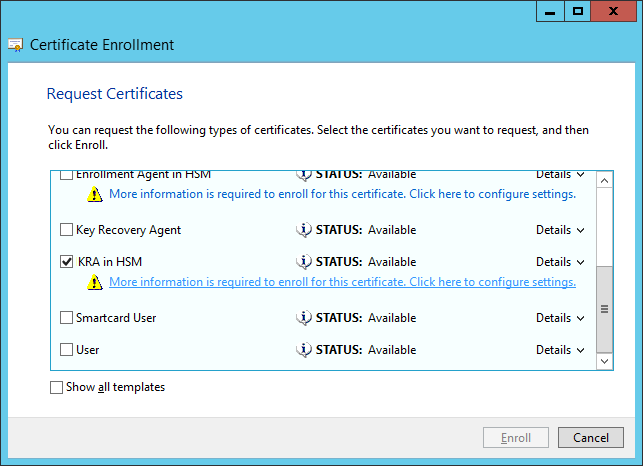
Select the new template (in this example, KRA in HSM) and click the link to configure the certificate properties.
-
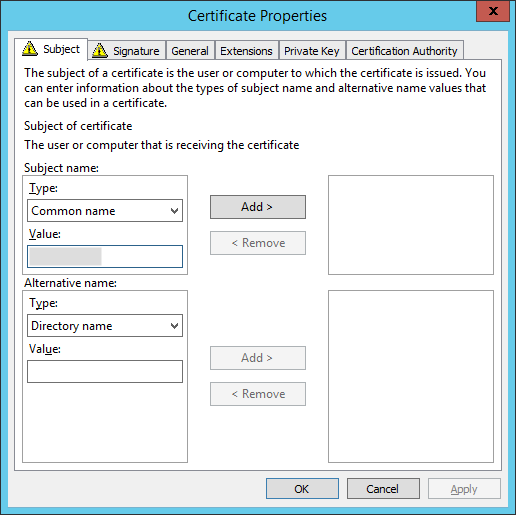
In the Subject tab, enter the name of the CMS Server user as the Subject name.
-
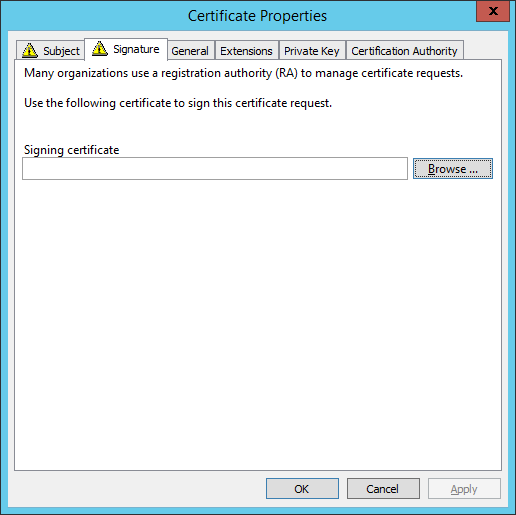
In the Signature tab, select the Enrollment Agent certificate that you created in section Configuring the Enrollment Agent Template and click OK.
-
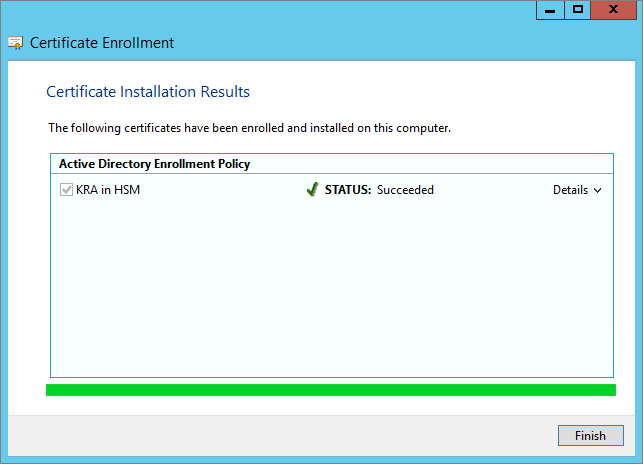
Click Enroll, and perform any other template actions applicable to your security policy.
-
Click Finish.
-
To use the certificate in ActivID CMS, you must export it as a .cer file.
-
Right-click on the certificate, point to All Tasks and select Export.
-
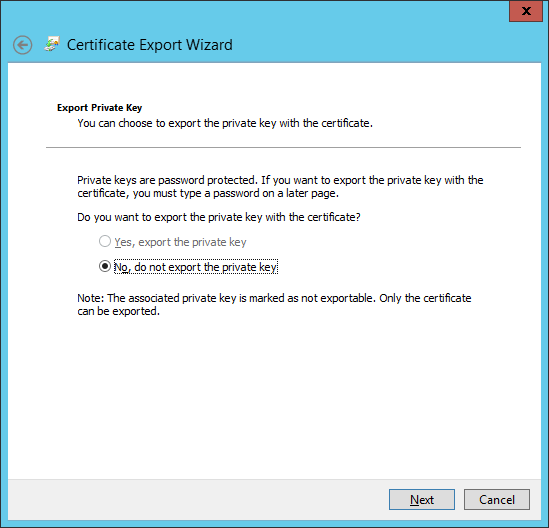
Select No, do not export the private key and click Next.
-
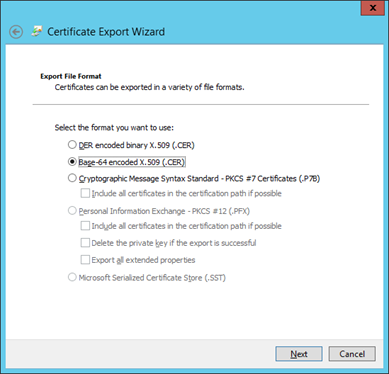
Select Base-64 encoded X.509 as the format and click Next.
-
Follow the wizard instructions to complete the export.
-
-
To make the certificate visible to ActivID CMS as PKCS#11, it must be re-targeted using the Entrust Datacard (formerly Thales) KeySafe tool.
-
Launch the KeySafe tool, click on the Keys button and locate the KRA certificate.

-
In the Key Details section, copy or make a note of the Key Instance.
-
Using PowerShell, go to the nCipher installation directory (C:\Program Files (x86)\nCipher\nfast\bin) and type the following command:
Copy.\generatekey.exe --retarget pkcs11 protect=token from-application=caping from-ident=s-1-5-
21-1111689120-393781896-32317366-1105--
58b7b764bc0deebbd188c90ed4a5cdb6f8904234 plainname=KRA_pkcs11Where the:
-
“protect” value must be “token”.
-
“from-application” value must be “caping”.
-
“from-ident” value is the Key Instance noted above.
-
“plainname” value is the label of the key to generate (in this example, KRA_pkcs11).
You are prompted for the storage of the keymodule passphrase.
Note: You may be prompted with “from-ident: Source key identifier?” that will suggest key identifiers with a default key identifier. In that case you should re-enter the from-ident value of the original command line or hit Enter if it corresponds to the default value.
When the certificate is successfully retargeted, it is visible as a PKCS#11 application. Look for the key label used in the previous command (for example, KRA_pkcs11).
-
- Add the KRA certificate to the CA key archival configuration as described in Enabling Key Archiving with a Microsoft CA.


