Task 1: Installing the nCipher Software
-
You must install one of the following Java products prior to installing the nCipher components:
-
Java Runtime Environment (JRE)
- Java Developer Kit (JDK)
-
-
You must install the 64-bit version of the nCipher Security World software.
-
Connect the Ethernet cable to the nShield Connect unit (use the Ethernet port 1 or 2).
-
Double-click the Setup.exe file to start the installation.
-
When the Welcome window is displayed, click Next.
-
Click Yes to accept the license agreement, and click Next.
Note: The remaining steps in this procedure are not intended to replace nCipher technical documentation. Read and review the nCipher material, follow the presented prompts, and note any additional tips documented here.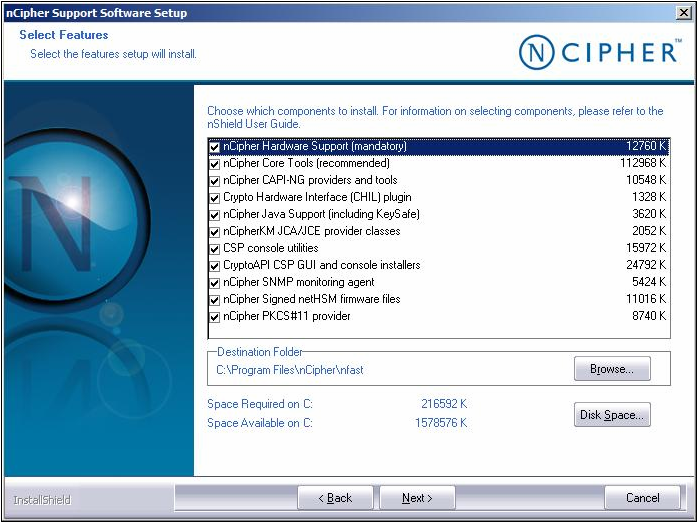
-
When the Select Features window displays, complete the following tasks:
-
Accept the default options that are already selected.
-
Accept the default installation directory.
Important: It is strongly recommended that you accept the default installation directory. In this documentation, the installation directory is referred to as <installdir>. - Click Next.
-
-
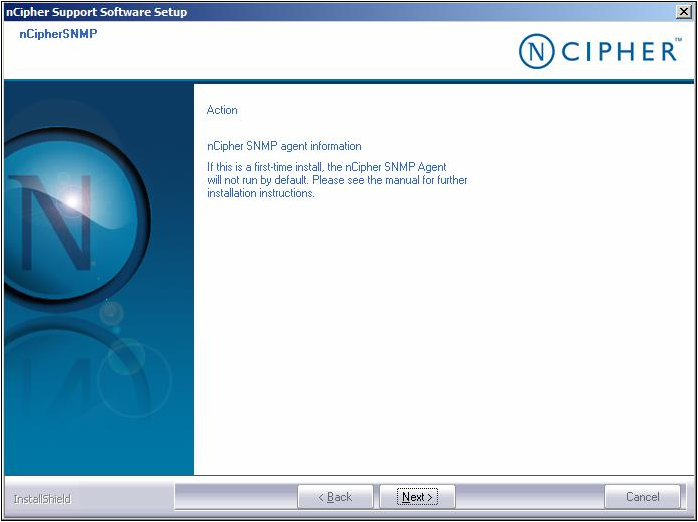
Click Next.
-
Click Next.

-
Select Yes to enable the Security Assurance Mechanism, and then click Next.
-
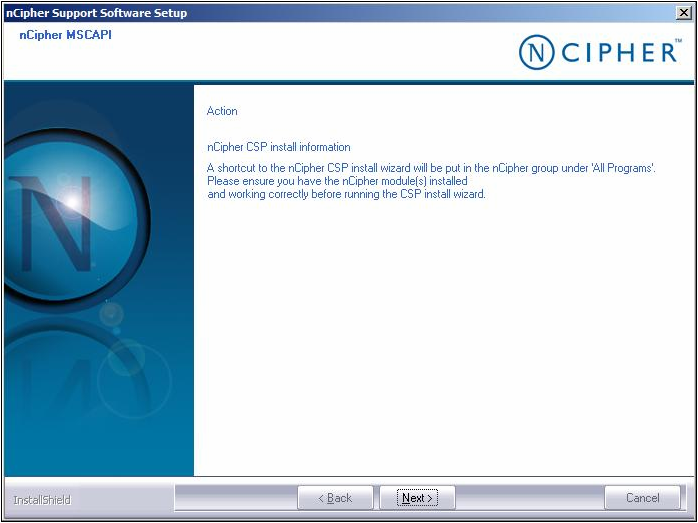
In the nCipher PKCS#11 window, complete the following tasks:
-
Click Yes to enable the Security Assurance Mechanism (default option).
-
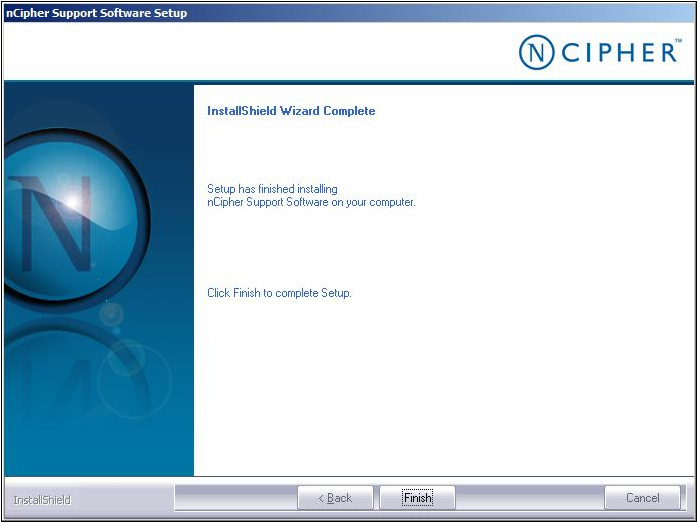
Click Next to display the Installation Completed message.
-
-
Click Finish when the Installation Completed message displays.


