Adding a Passkey-Enabled Service
This section describes how to configure a passkey-enabled service for devices supporting FIDO applications.
Registering ActivID CMS as an Application in Microsoft Entra ID
ActivID CMS must be registered as an application with Microsoft Entra ID to be able to connect to Entra ID services. For details on this procedure, refer to Register an application with the Microsoft identity platform.
When you are registering your application with Microsoft Entra ID, make sure you set up the following configuration:
-
During the initial registration, create a single-tenant application by choosing the Accounts in this organizational directory only option in the Supported account types section.
Note: After the initial registration is complete, you can find the Application (client) ID and the Directory (tenant) ID in the Overview section for the application created. These correspond to the Client ID and Tenant ID which are required when you are configuring the Passkey-Enabled Service in ActivID CMS (see below). -
Add a client secret credential for your application in the Certificates & Secrets section (under Manage) and make sure you take note of the Value displayed.
Important: The Value displayed for the client secret credential created corresponds to the Client Secret required for configuring the passkey-enabled service in ActivID CMS (see below). This Value is only displayed once, so you must remember to keep a copy of it.Note: Currently, the only credentials supported with passkey-enabled services in ActivID CMS are passwords (secrets). -
Add the following application permissions in the API Permissions section (under Manage):
-
Group.Read.All
-
User.Read.All
-
UserAuthenticationMethod.ReadWrite.All
Note: Leave the delegated User.Read permission as is. -
-
Once these permissions are set, click on Grant admin consent for <your tenant>; the status for these permissions should change to "Granted for <your tenant>" with a green checkmark next to each.
When you have set up your application in Microsoft Entra ID as described here, you can then configure the related passkey-enabled service in ActivID CMS. Make sure that you have noted the Value of the client secret credential, as well as the Application (client) ID and Directory (tenant) ID before proceeding with the next section.
Configuring the Passkey-Enabled Service
-
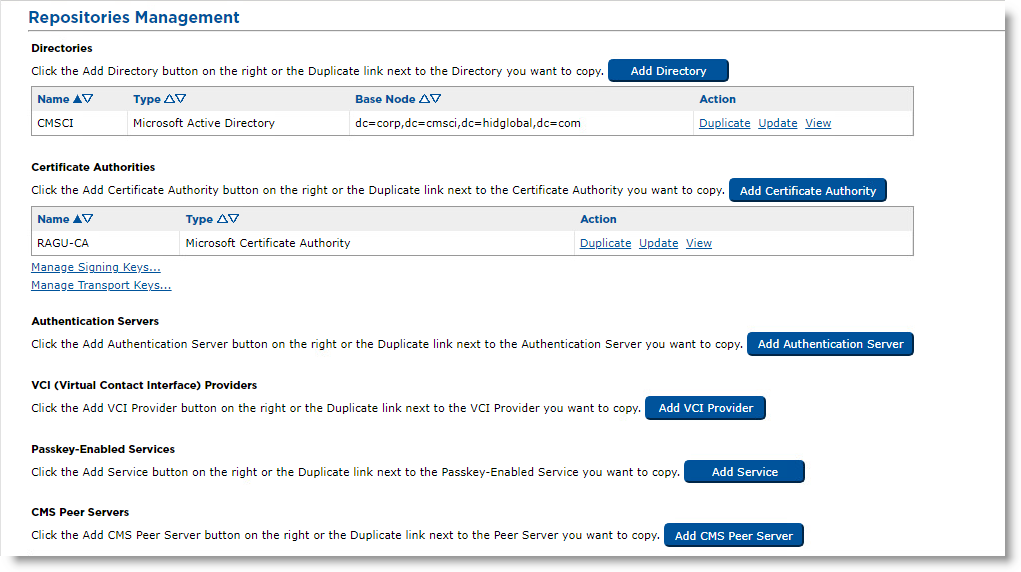
From the ActivID CMS Operator Portal main page, select the Configuration tab.
-
Click the Repositories sub-tab.
-
In the Passkey-Enabled Services section, click Add Service.
-
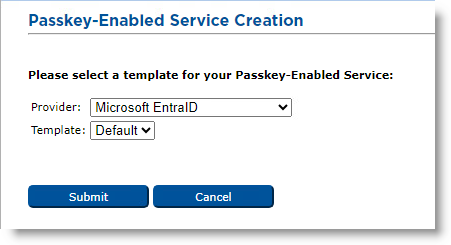
Provider drop-down list—Select Microsoft Entra ID.
-
Template drop-down list—Select the template for this service.
-
Click Submit. The Passkey-Enabled Service Creation page appears.
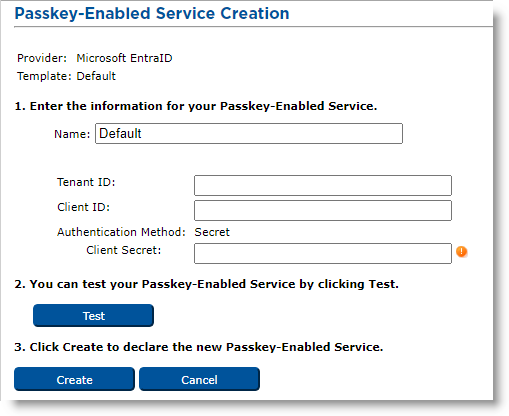
- Enter a Name for the service.
- Enter the Tenant ID, the Client ID and the Client Secret.Note: These fields must be completed using information from the application created in Microsoft Entra ID; see Registering ActivID CMS as an Application in Microsoft Entra ID for details.
-
Click Test. The result is displayed in the Test Report box.
-
Click Create. A confirmation page is displayed.
-
Click Done.


