Procedures for Managing the Transport Key
The Transport Key (TK) is used internally to secure communications between the Credential Provider (a plug-in to ActivID CMS that is in charge of communication with the CA) and the core ActivID CMS components that communicate with the device.
For Entrust, the TK is also used as an additional layer of security when private keys are exchanged between ActivID CMS and Entrust (for key escrow and key recovery operations).
After you have installed ActivID CMS, a default transport certificate is installed the first time you launch the application. The TK is stored in either an HSM, or in software (depending on your environment and requirements).
-
The default key length is 2048.
Note: This default key length of 2048 is only applicable for the certificate installed when you launch the application the first time. Any transport keys created subsequently will have a default key length of 3072. -
The default certificate subject DN for the automatically installed certificate is: CN=ActivIdentity self-generated transport certificate.
You can use any of the CA’s standard encryption templates for the TK certificate. ActivID CMS will not remind you to check the expiration/revocation of the TK certificate.
You can generate either a TK and a Certificate Signing Request (CSR), or a TK and a self-signed certificate.
-
Go to the Repositories Management page.
-
In the Certificate Authorities panel of the page, click Manage Transport Keys. The Transport Keys page appears:

-
For Storage Option, select either Software or Hardware.
It is recommended that you use an HSM (the hardware option) for production environments. For test or lab environments where ActivID CMS is reinstalled several times with the same HSM, ActivID CMS deletes any previous TK present in the HSM the first time that it is started after the installation.
-
From the Key Length drop-down list, select a key length.
-
For Subject, enter a subject DN.
-
Click Generate key & CSR. The CSR is displayed as shown below:
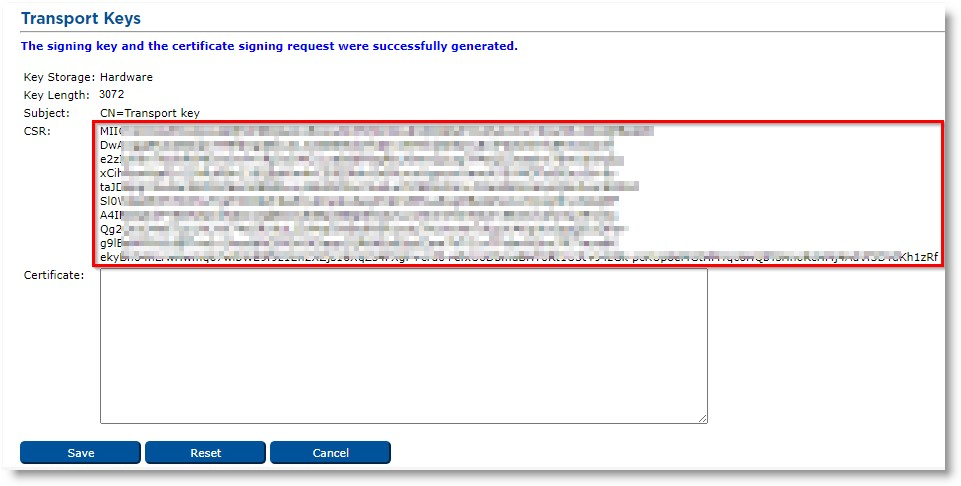 Important: Copy the CSR and paste it into a file. You need to keep this file as it will be required in order to update your transport key.
 -
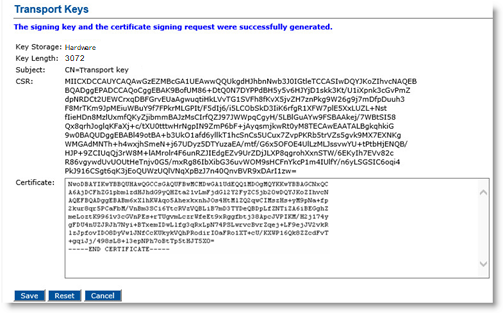
Use the CSR to generate a certificate on your CA, and save this certificate as a base64-encoded text file.
Warning!
You must use a CA that accepts a base64 certificate request and is able to generate/output a certificate file from it. If you do not have this type of CA, or you prefer not to use a CA, then use Option 2 below to generate a Transport Key with a Self-Signed Certificate. . -
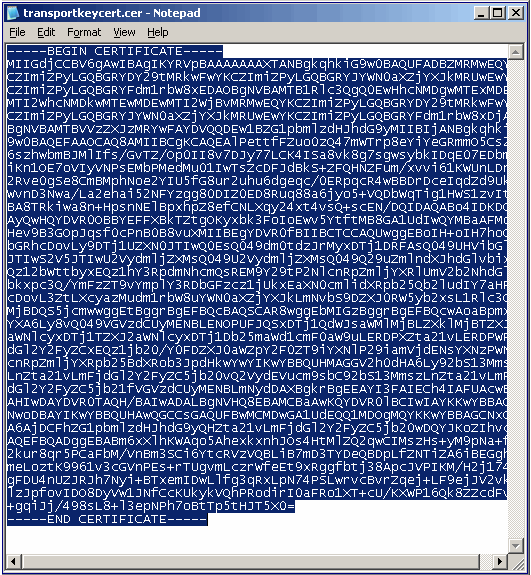
Copy the .txt file content using a text editor (such as Notepad), and then close the window.
-
Paste the saved content into the Certificate box, and then click Save.
-
When the confirmation message appears, click Done.
-
Go to the Repositories Management page.
-
In the Certificate Authorities panel of the page, click Manage Transport Keys. The Transport Keys page appears:

-
For the Storage Option, select either Software or Hardware.
-
From the Key Length drop-down box, make a selection.
-
For Subject, enter a subject DN. .
-
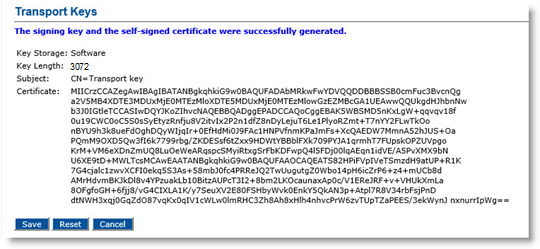
Click Generate key & self-signed certificate.
-
Click Save.
-
When the confirmation message appears, click Done.
Before you can update a TK certificate, the CA must be installed, configured, and running. In addition, you must have already generated a Certificate Signing Request (CSR) in base64 format (see Option 1: Generate a Transport Key and Certificate Signing Request).
-
Go to the Repositories Management page.
-
In the Certificate Authorities panel of the page, click Manage Transport Keys. The Transport Keys page appears.
-
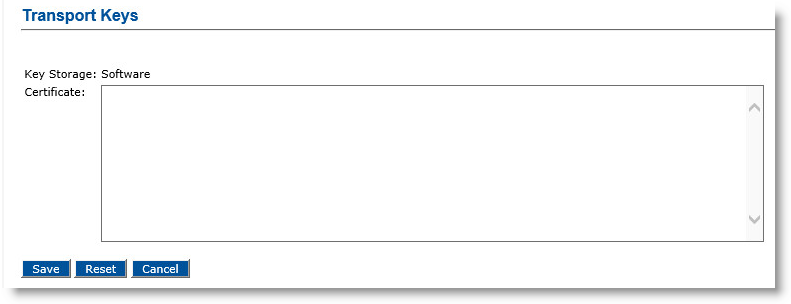
Click Update.
-
Download the certificate from your CA based on the CSR you previously generated (which must be in base64 format).
-
Save the certificate as Transport.txt.
-
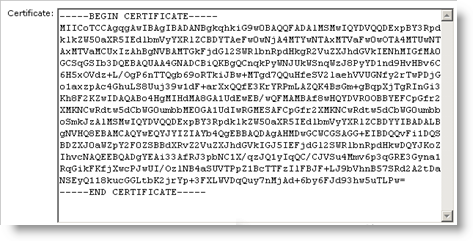
Open the file and copy its content.
-
Paste the content into the Certificate box, and then click Save.
-
When the confirmation message appears, click Done.
-
Go to the Repositories Management page.
-
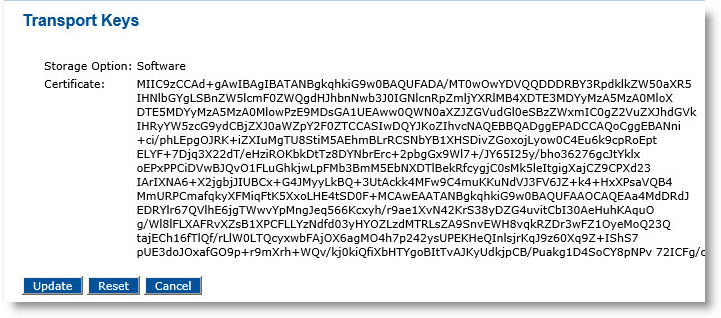
In the Certificate Authorities section of the page, click Manage Transport Keys. The Transport Keys page appears:
-
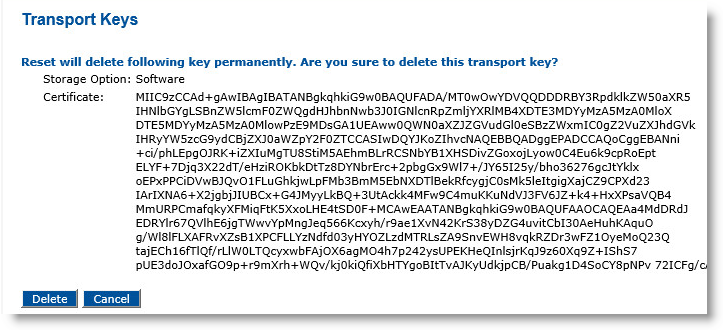
Click Reset.
-
Click Delete.
-
When the confirmation message appears, click Continue.


