Test the PIV / PIV-I Configuration
This section describes how to test the PIV configuration by issuing a PIV-compliant smart card in a one-step issuance mode, using a Face-to-Face device policy.
You have properly configured the ActivID CMS server and at least one device policy for PIV card issuance.
You have a custom biometric solution developed, for example, starting from our sample, and you have configured CMS to use that solution.
You have a blank or recycled PIV-compliant card available.
ActivID CMS cannot issue a PIV / PIV-I card without first receiving a Card Production Request (CPR). In a production environment, the CPR is sent by the Identity Management System (IDMS).
In a testing environment, as it is shown in the following sections of this documentation, IDM is not present, and the sending of the CPR is going to be simulated using one of the PIV Toolkit testing tools.
In the example shown in this section, the PIV card is issued with both the user’s fingerprint and facial Image biometric samples. In your own environment, one or both of these applications may not be present within your smart card deployment. However, the fingerprint sample enrollment is mandatory for a PIV-compliant workflow.
-
Install ActivID ActivClient on the Issuance station. For more information concerning the supported environment, refer to ActivID CMS System Environment.
Note: Starting with ActivID CMS 5.8, the ActivID ActivClient middleware is no longer required. -
Install the required software for your biometric device.
The following steps are illustrated using a Precise Biometrics configuration. The resulting FMR data is compatible with any reader for verification.
-
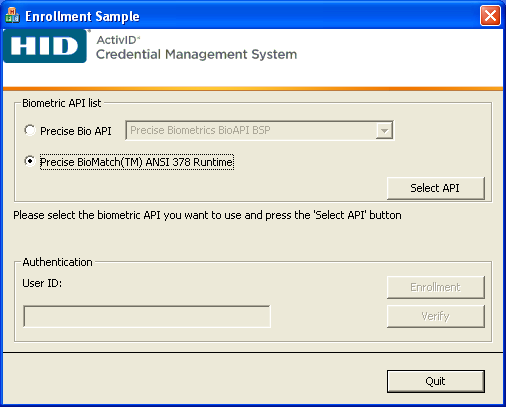
Open the EnrollSample.exe file in Tools\PIV\PreciseEnrollSample\bin on the ActivID CMS distribution. The Enrollment Sample Application will be launched.
-
Biometric API list—Select Precise BioMatch ANSI 378 Runtime, and then click Select API.
If you are using the legacy Precise BioMatch API, select Precise Biometrics BioAPI BSP from the drop-down list and then click Select API.
-
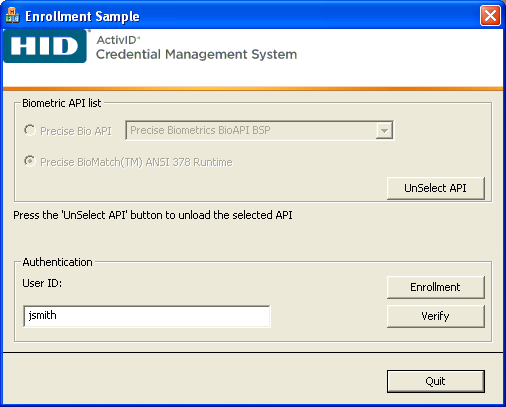
User ID—Enter the name of the owner of the test card. This name does not have to correspond to any existing user ID in your directory. For example, use the generic jsmith.
-
Click Enrollment.
-
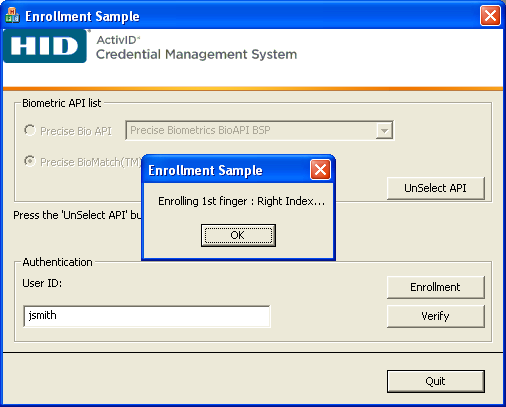
Click OK.
-
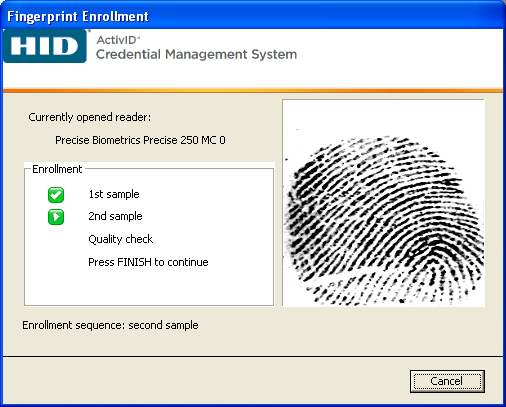
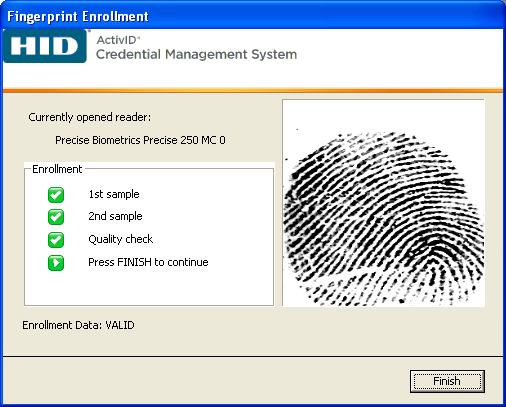
Place the owner’s right index finger on the fingerprint reader.
-
Place the same finger on the fingerprint reader for a second sample.
-
Click Finish.
-
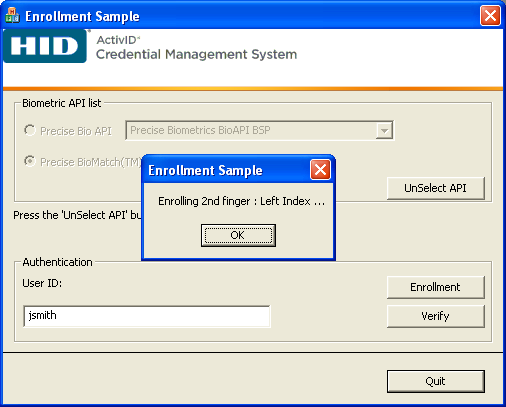
Click OK.
-
Repeat steps 6 to 8 with your left index finger.
-
Place the owner’s right index finger on the fingerprint reader for verification.
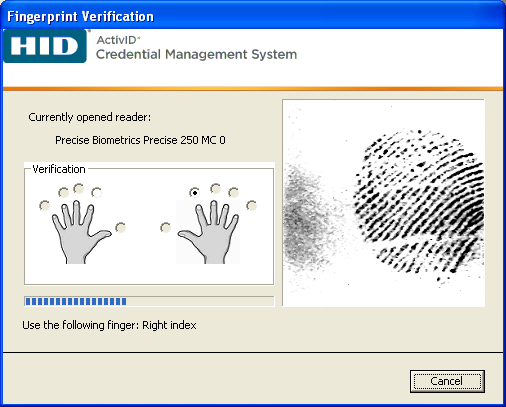
This procedure verifies that the fingerprint enrollment has been successful.
-
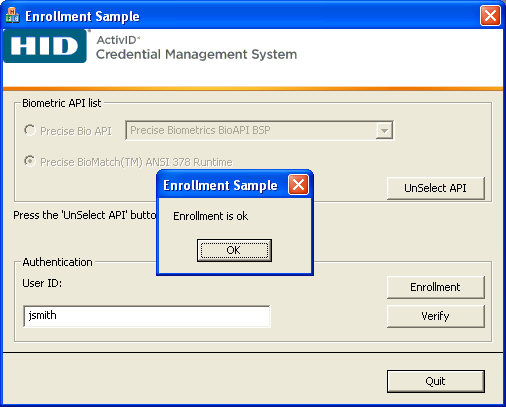
Click OK. In this example, a jsmith.fmr file will be generated in the Tools\PIV\PreciseEnrollSample\bin directory.
However, the PIV Toolkit testing tools in the ActivID CMS distribution do not provide a tool to personalize the facial image. A .jpeg photo encoded in the base-64 format is used in the CPR Samples (Tools\PIV\CPRSigning\CPR 2.1.8 sample.extended.xml). Use this in a test environment.
Locate the sample image in between the tag <hsp:Photo> </hsp:photo>.
To be usable in the sample CPR, both biometric samples (fingerprint and facial image) must be converted into a base-64 format.
A sample CPR (CPR 2.1.8 sample.unusable finger.signed.xml) is provided to demonstrate a disabled fingerprint (marked as permanently unusable).
Task 1: Format the Fingerprint Sample
Java Developer Kit (JDK) is installed,
JAVA_HOME path is set in the environment variables.
-
Copy the <%user ID>.fmr file that was generated in the Tools\PIV\PreciseEnrollSample\bin directory.
Note: The Precise Biometrics reader is no longer supported in the current version of ActivID CMS but this procedure is kept for illustrative purposes. -
Paste the file into the Tools\PIV\makeBase64 directory.
-
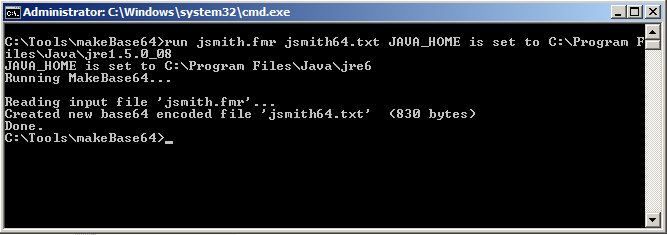
While in the Tools\PIV\makeBase64 directory, from the Command Prompt Window, run:
Copyrun<%user ID>.fmr <%user ID>b64.txtIn the makeBase64 directory, a new <%user ID>b64.txt file is generated.
Task 2: Format the Facial Image Sample
Convert your facial image into the ANSI 385 format which is the format supported by the PIV CPR. To do this, you can use a tool from Aware®, Inc. that you can find on the following Web site:
This section describes how to generate a sample Card Production Request (CPR) required for issuing a PIV card using ActivID CMS. ActivID CMS cannot issue a PIV card without first receiving a CPR. The CPR contains a list of user-specific attributes (such as a name, a fingerprint, or a facial image) that will be stored in the PIV Metadata database and loaded onto the PIV card during device issuance.
To generate a CPR, first customize the unsigned version of a sample CPR. You must edit the user attributes with real values, and then generate the signed version for device issuance. To find out more about CPR signing, refer to the readme.txt file in Tools\PIV\CPRSigning directory.
-
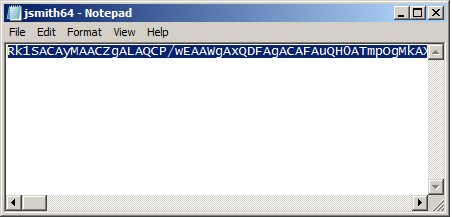
In the makeBase64 directory, open the newly created <%user ID>b64.txt file with WordPad. This file contains the user’s fingerprint in base64 format.
-
Remove all the carriage returns and copy the entire line.
-
In the Tools\PIV\CPRSigning directory, right-click the CPR 2.1.8 sample.xml file, and then select Edit.
-
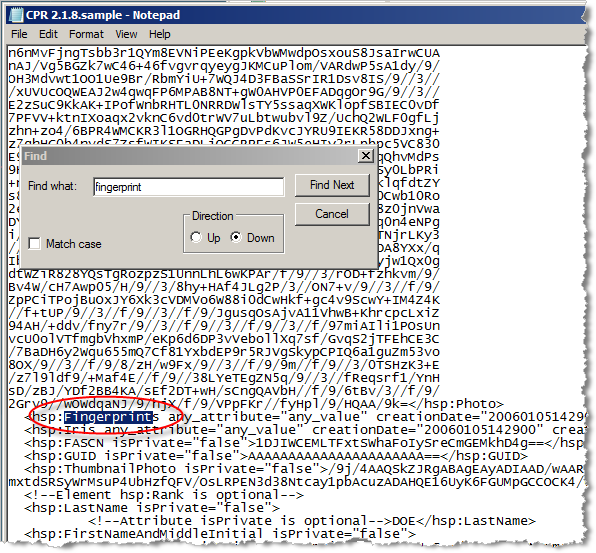
From the Edit menu, select Find, and then locate the line containing the entry Fingerprints.
-
Replace all content on this line between the signs “>” and “<“ (starting with Rk1 and finishing with AAA=) with the line you copied in step 2.
The CPR now contains the real fingerprint data of the future user. In the same way, you can also customize other CPR entries, such as the owner’s last name (entry LastName), address (entry Address), and e-mail (entry Email).
-
In the makeBase64 directory, open the newly created <resized user>b64.txt file with WordPad. This file contains the user’s facial image in base64 format.
-
Remove all the carriage returns and copy the entire line.
-
In the Tools\PIV\CPRSigning directory, open the CPR 2.1.8.sample.xml file with WordPad.
-
Find and locate the section containing the entry Photo.
-
Replace the content in this section between the signs “>” and “<“ (starting with RkF and finishing with 9k=) with the line you copied in step 7.
The CPR now contains the real values of fingerprint and facial image of the user. Customize the other CPR entries.
-
To save this file, click Save As, and enter an appropriate name for the file. For example, CPR 2.1.8.sample_custom.xml.
-
In the Tools\PIV\CPRSigning directory, locate the SignCPR.bat file. Right-click the file, and then click Edit.

-
Replace the entry CPR 2.1.8.sample.xml file with the CPR 2.1.8.sample_custom.xml you just saved.
-
Replace the entry CPR 2.1.8.sample.signed.xml file with the CPR 2.1.8.sample_custom.signed.xml, your new signed CPR file).
-
Save the file.
-
Run the SignCPR.bat file. A signed version of the CPR will be generated as shown in the following example.
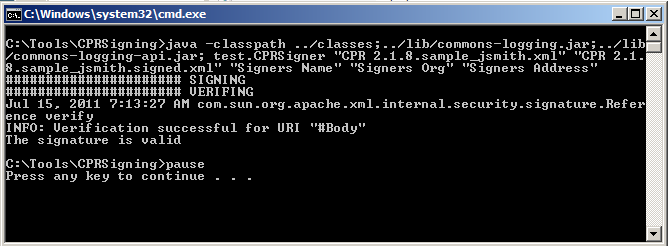
The signed version of the file (CPR 2.1.8.sample_custom.signed.xml in the example) will be created in the Tools\PIV\CPRSigning directory.
-
In the Tools\PIV\simuIDPRS directory, locate the testCREATE-CPR.bat file. Right-click this file, and then click Edit.
SimuIDPRS is a testing tool containing files which simulate the sending of the CPR to ActivID CMS.
-
In the variable section starting with UPDATE VARIABLES IN THIS SECTION, perform the following steps:
-
Replace the USERID entry “John G. Doe” with the real name of the future user (for example, <%user ID>).
-
Replace the CPR entry “CPR 2.1.8.sample.signed.xml” file with the “CPR 2.1.8.sample_custom.signed.xml” file (your signed CPR file).
-
Replace the POLICY entry “F2F” with the name of the device policy that will be used for the test PIV card issuance.
-
Replace the CMSHOST entry with the correct host name (for example, “cmsserver.domain.com”).
-
Replace the OPERATOR entry “client.pfx” with the actual path to the .pfx file that contains the client certificate used by the ActivID CMS Operator, for example: C:\Program Files\HID Global\Credential Management System\certificates\client.pfx.
-
Replace the TRUST entry “root.cer” with the path to the actual .cer file that contains the root certificate of the CA that issued the ActivID CMS server certificate, for example, C:\Program Files\HID Global\Credential Management System\certificates\root.cer.
-
Replace the PASSWORD entry “hidglobal” with the password used for the client.pfx certificate.
-
If necessary, you can replace the default CMSPORT entry “443” (HTTPS).
-
-
Save the file.
-
Run the testCREATE-CPR.bat file. This tool uses the CCMAPI to simulate operations performed by a PIV Identity Management System (IDMS).
This section describes how to issue a test PIV card using the ActivID CMS Operator Portal.
In the ActivID CMS Operator Portal, verify that a pending Card Production Request (CPR) has been generated for the future user.
-
Select the Requests tab, and then click Overview.
-
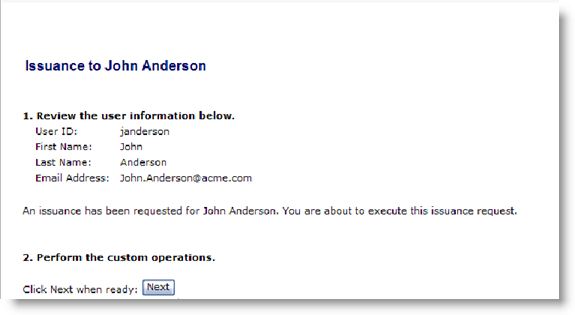
Select the Device Issuance tab, and then search for the user who will be issued the card.
-
Click Next.
The future user is prompted to place a finger (left or right) on the biometric sensor to initiate fingerprint verification.
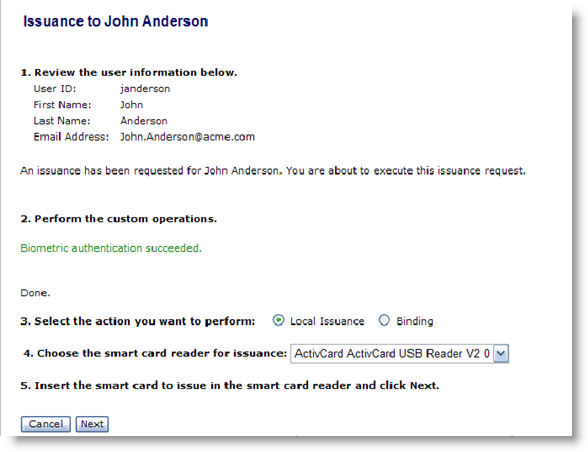
If the fingerprint verification is successful, then the Device Issuance page appears.
-
Select the type of issuance you want to perform.
Note: Select Local Issuance for face-to-face issuance, or Binding for self-issuance. -
Insert a blank card into the reader, and then select the card reader you want to use from the drop-down list.
-
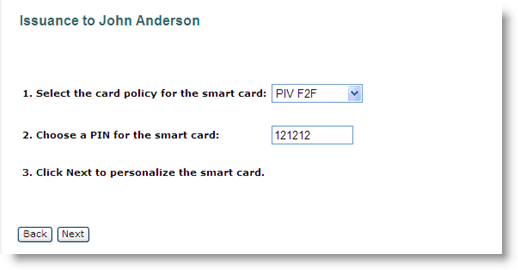
Click Next. The Device Issuance page appears.
-
Select the device policy you want to apply to the card. If only one device policy has been configured, then it will be selected by default.
-
Enter the PIN for the smart card (smart card initial PIN).
-
Click Next to personalize the card for this user.
If ActivID CMS is configured for two biometric authentications (one before device issuance and one after device issuance), then fingerprint verification must be performed before the card is activated.
Device issuance takes one of two forms. If you previously selected Local Issuance, then you should see a success message telling you to remove the card from the reader. If you previously selected Binding, then complete the remaining steps.
-
When prompted, enter the Initial Password. This password must be communicated to the future user as it will be required to perform the self-issuance in the User Portal. In the ActivID CMS Security Setting, the “Authentication method when card is blank and bound” is set to the Initial Password. This could also be set to an LDAP Password or Security Questions.
-
Click Next. The card is assigned to the user.
-
Have the future user connect to the User Portal, insert the assigned card, and then click Start.
-
When prompted, have the user log on with the user name and the Initial Password.
-
When prompted, have the user perform fingerprint verification after which the card will be issued.


