Installing Validation Authority on Windows
-
Double-click the ValidationAuthority-7.4.exe file.
A progress bar is displayed.
-
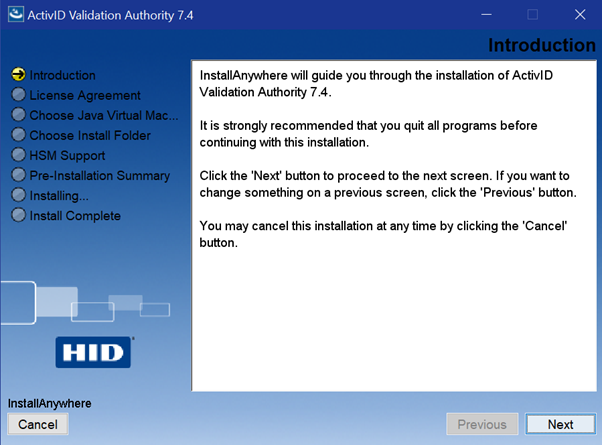
Click Next.
-
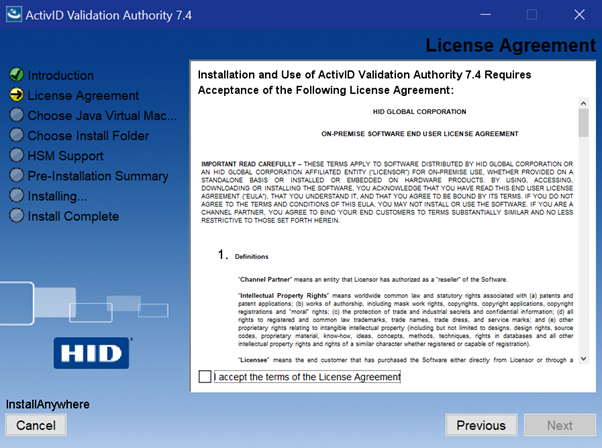
Review and accept the License Agreement, and then click Next.
-
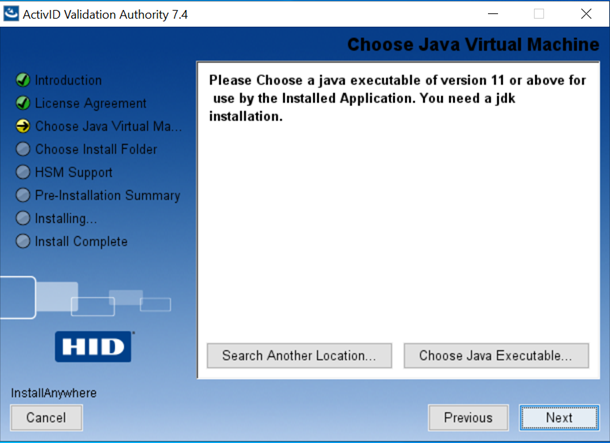
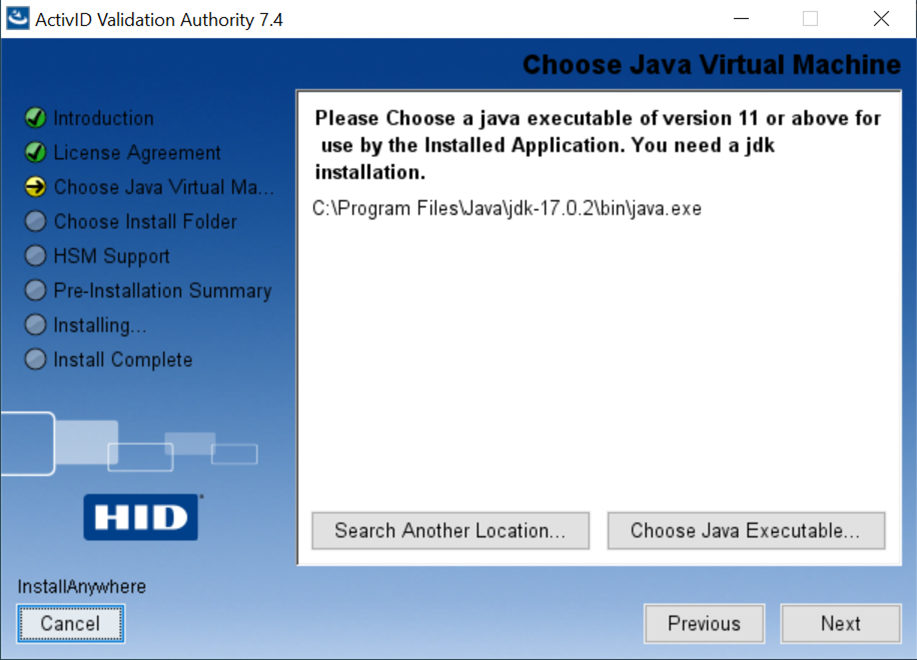
Click Choose Java Executable.
-
When prompted, locate the OpenJDK or Oracle JDK executable and click Open. Then, click Next.
-
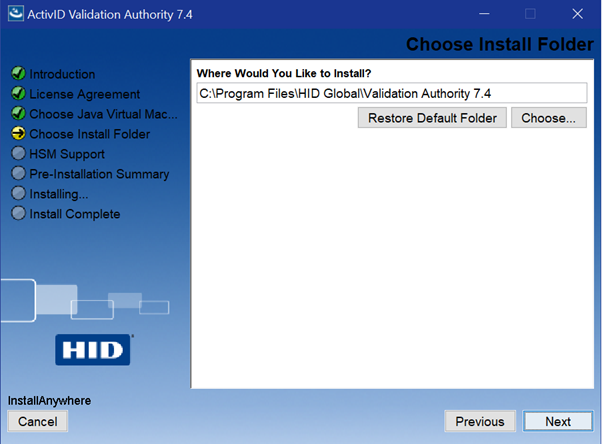
Select the location for the Install Folder (for example, <drive>:\Program Files\HID Global). Then, click Next.
Warning!Make sure that the folder is empty when selecting the install folder in the installation.
If the C:\Program Files\HID Global\Validation Authority folder exists, then a warning message will be displayed:

-
If your deployment works with a Hardware Security Module (HSM), select the Install Support for an HSM option. Then, click Choose to open a file browser and select the directory containing HSM libraries. You must choose the libraries for the same architecture (64-bit) as the Java virtual machine selected in step 4. After making your selection, click Next.
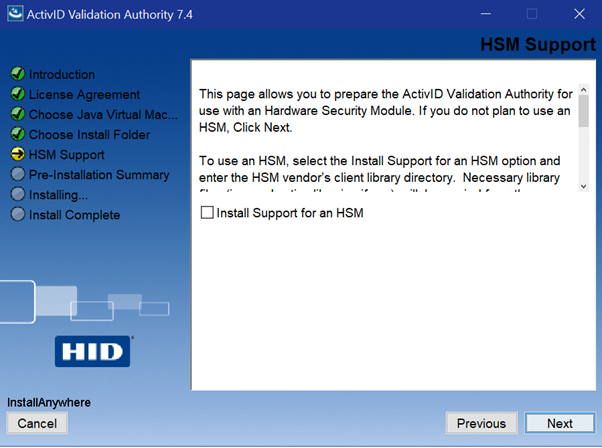
The Installer will copy the required library files into the Validation Authority library directory. For details on the specific directory for each HSM type, see the specific section in this document.
Note:The configuration page for HSM support is not available in console mode. For more information, see section Command Line Installation - Console Mode.
Alternatively, if your deployment does not work with an HSM, simply click Next.
-
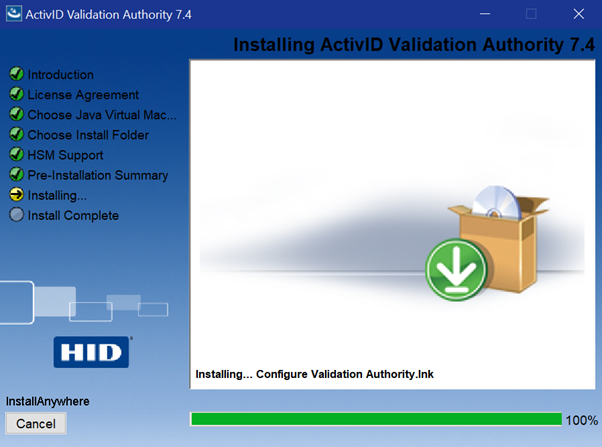
Review the Pre-Installation Summary. Then, click Install.
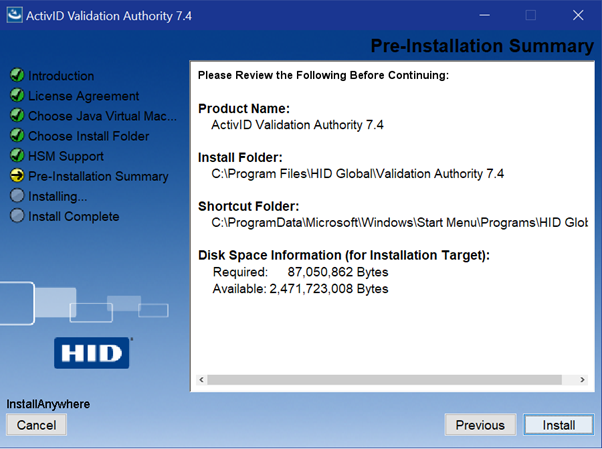
A progress bar is displayed.
-
When the success message is displayed, click Done.
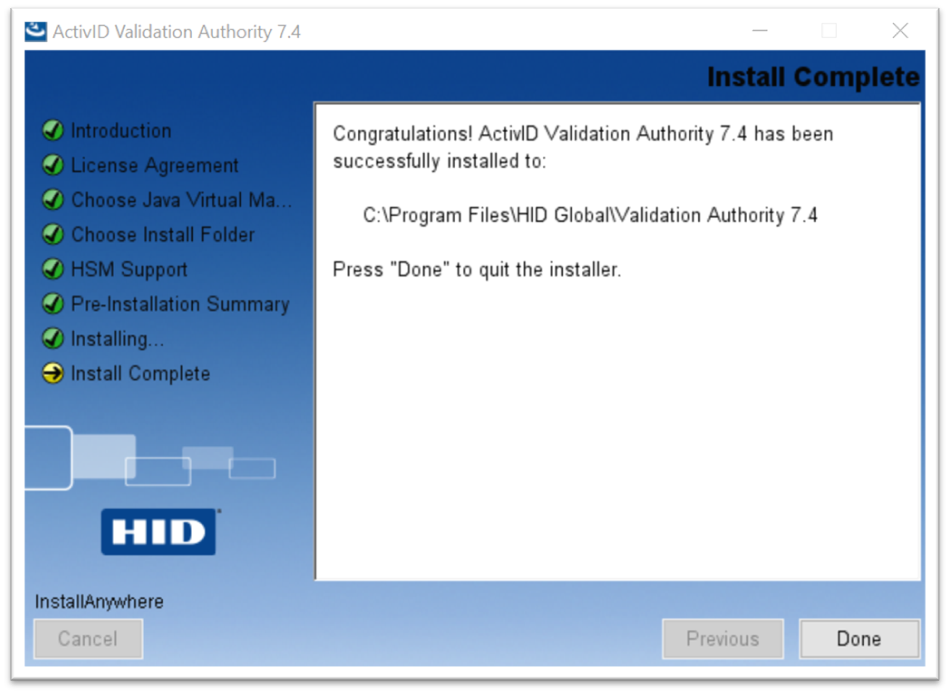
The Windows installation process creates an ActivID Validation Authority service, which is set to start automatically when the server is restarted. The installation process also creates Start menu shortcuts that you can access as follows:
Important:Note the following while installing Validation Authority 7.4 version:
In all the supported Windows servers, it is observed that while installing the Validation Authority 7.4, the default Log On As is Local Service in the created ActivID Validation Authority service.

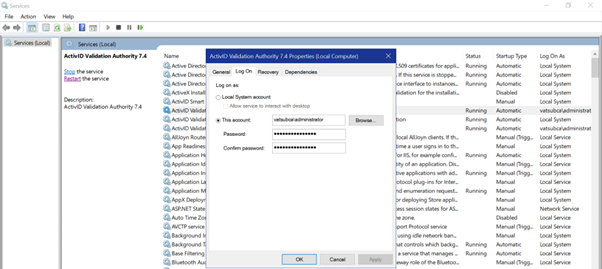
If the VA is installed as a local service in the Windows services, follow the below process to avoid any access level issues:
-
Right click on the ActivID Validation Authority service, select properties.
-
In the Properties wizard, select the Log on tab.
-
Select This account, you will be prompted to enter your administrator credentials.
-
Restart the VA, now you can see Log On As is changed to Local System.
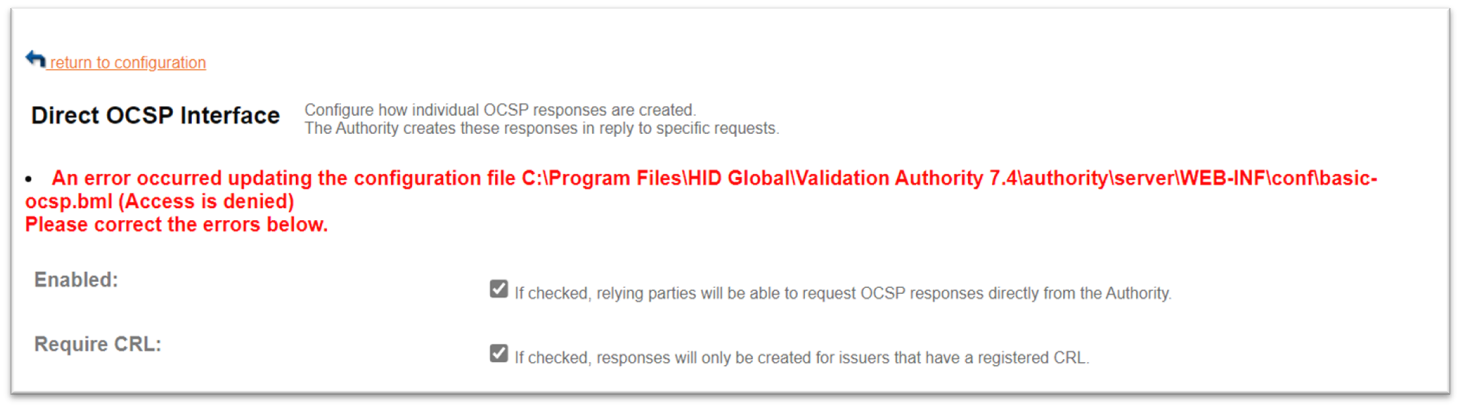
If your Log On As is Local Service, you will encounter following errors:
-
The below error appears in Windows server, when Selecting the Require CRL option and clicked the Update button in Direct OCSP Interface configuration.
-
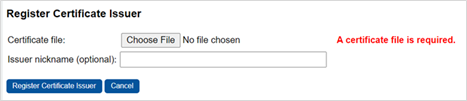
This error appears in Windows server, while registering any issuer certificate.
-
-
Select Start > Apps By Name > HID Global > Validation Authority Management Console.


