Installing the Smart Data Bridge for Windows
To install the Smart Data Bridge for Windows, follow the below steps:
-
Launch the installer by double-clicking the .exe file located in the following directory of the ActivID Validation Authority distribution: \Products\SmartDataBridge-7.4.exe.
-
Go through the displayed instructions then click Next.

-
Review the license agreement, accept the terms, and then click Next.

-
Click Choose Java Executable and click Next. When prompted, select an Open JDK executable, and then click Next again.


-
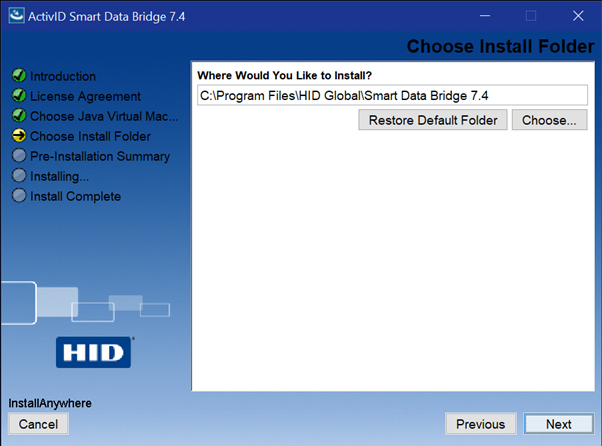
"Choose Installation folder" screen will appear.
Important: Make sure that the destination folder is empty before you select the installation folder.
-
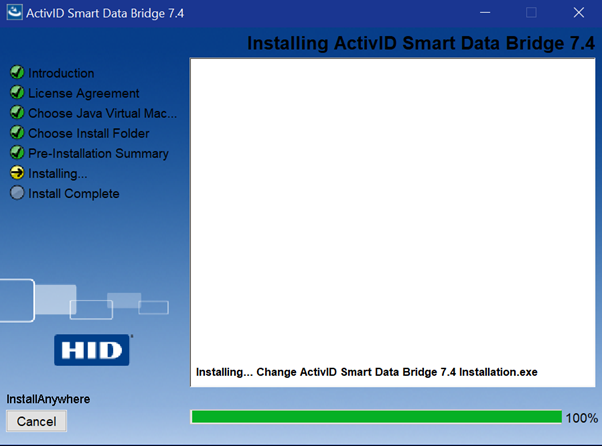
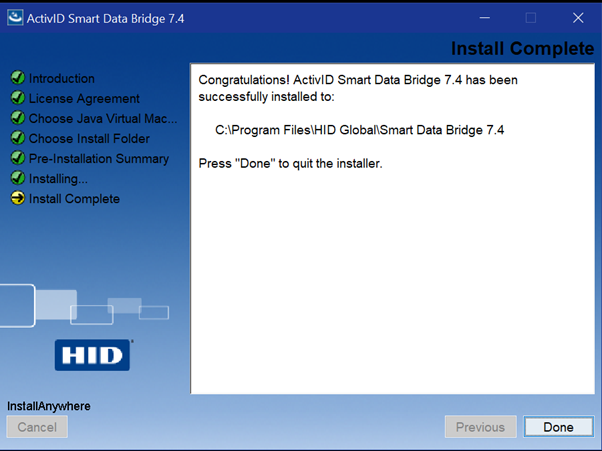
Review the summary installation information and click Install. Wait while the progress dialog is displayed, and then when prompted, click Done.


Note the following while installing Smart Data Bridge 7.4 version:
In all the supported Windows servers, it is observed that while installing the Smart Data Bridge 7.4, the default Log On As is Local Service in the created ActivID Smart Data Bridge service.
If SBD is installed as a local service in the Windows services, follow the below process to avoid any access level issues:
-
Right click on the ActivID Smart Data Bridge service, select properties.
-
In the Properties wizard, select the Log on tab.
-
Select This account, you will be prompted to enter your administrator credentials.
-
Restart the SDB, now you can see Log On As is changed to Local System.


