Perform the Installation
Perform the following steps to install the Desktop Validation Client:
-
Launch the installer by double-clicking the Desktop Validation Client x64.msi application included in the download.
Important: For installing the ActivID Desktop Validation Client using the Windows GPO, refer to Distributing Software Using Windows Group Policy. -
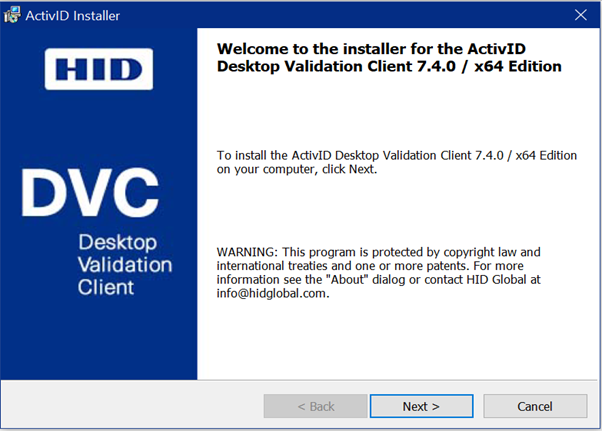
The Installer displays the following window. Click Next to continue.
-
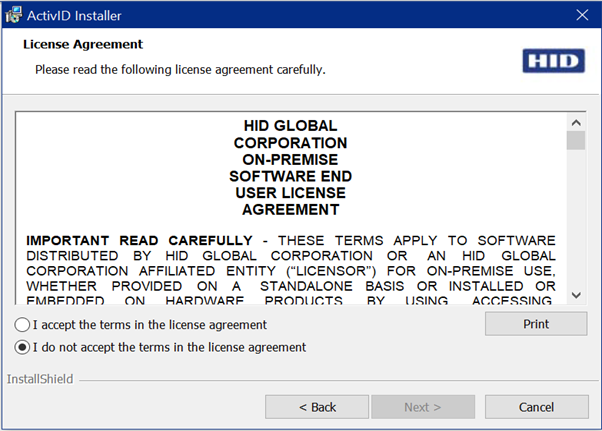
Read the license agreement. Select the appropriate check box and click Next.
-
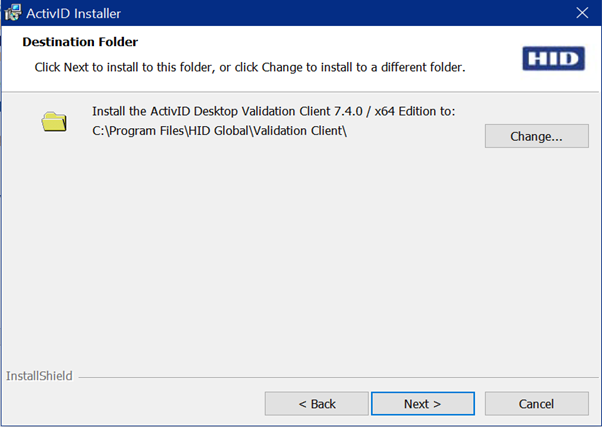
Select the installation directory for the Validation Client software. The default choice is C:\Program Files\HID Global\Validation Client.
Click Change if you want to select a different installation directory. Click Next.
-
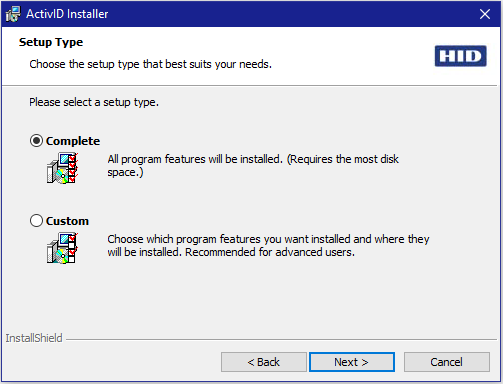
Select the type of installation that you want to perform.
-
The Complete installation option installs all program features (the Validation Client Service, Validation Client Monitor, Management Console, and Validation Test Tool) in the location you selected in step 4.
-
The Custom installation option allows you to select which optional program features are installed, and which are not installed. You can also check to make sure that there is sufficient disk space available on the currently selected installation location and change the installation location if necessary.
If you chose to perform a Custom installation, after you click Next the installer will display the following window that allows you to select the program features to be installed:
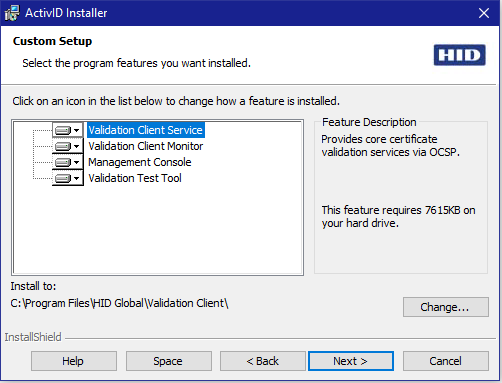
Using the drop-down menus, you can choose to install the following:
-
Validation Client Monitor
-
Management Console
-
Validation Test Tool
Click Space to check on the amount of space available on local hard drives. Click Change to alter the location where the selected program features are installed.
-
-
Click Next. The Installer displays the following window:
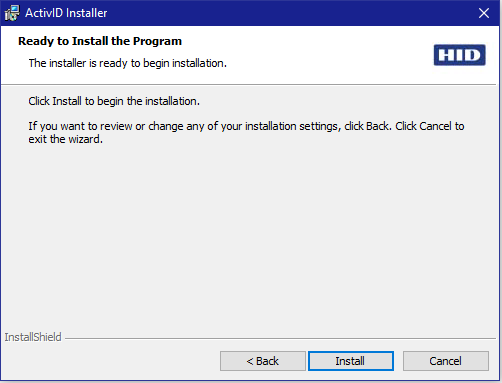
If you want to make changes, click Back until you reach the appropriate window, make your changes, and click Next as needed until you return to the review page. To accept the selections and begin, click Install.
-
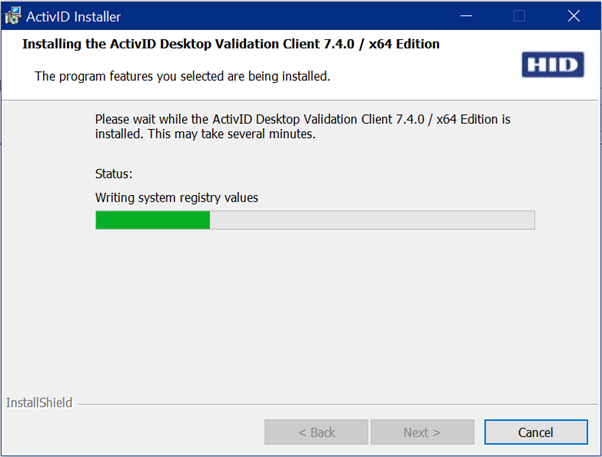
The Installer shows the progress of the installation with the following window:
-
After the installation process is complete, the Installer displays the following window:

-
Click Finish to exit the Installer.


