Add an Issuer-Responder Mapping
To add a new Issuer-Responder Mapping, complete the following steps:
-
Click Add. The Issuer-Responder Mapping dialog displays.
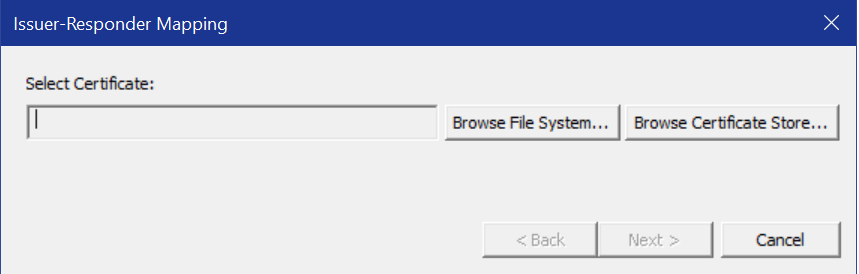
Select an issuer certificate using one of the following options:
-
Click Browse File System to select a certificate from the file system. The standard Windows Open file dialog displays. Browse the list of certificates in the file system, select the desired certificate and click Open.
-
Click Browse Certificate Store to use a certificate from your Windows certificate store. The Select Certificate dialog displays.
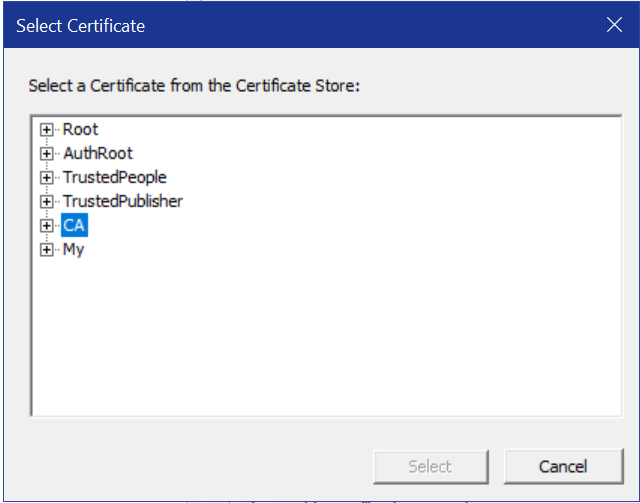
Browse the list of certificates in the certificate store, select the desired certificate and click Select.
-
-
Click Next. The Issuer-Responder Mapping dialog continues with the following.
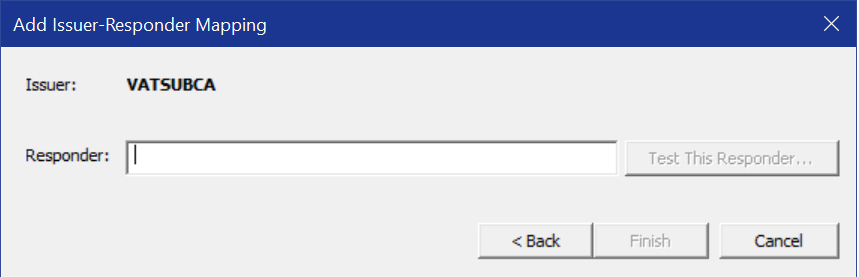
Enter the responder’s URL (HTTP or HTTPS) in the Responder text box.
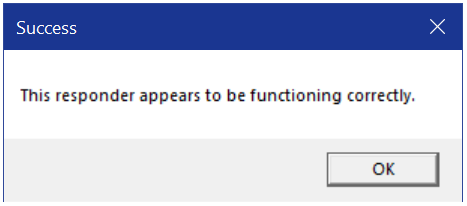
(Optional) Click Test this Responder when the button activates to send an OCSP request to the specified responder. If the responder returns a correctly formatted OCSP response, the Management Console displays a Success message.
If the responder does not return a correctly formatted OCSP response, the Management Console displays an Error message.

If you get an Error message, click OK, check your entry, and try again. (For troubleshooting tips, see Chapter Troubleshooting) If you get a Success message, click OK.
-
Click Finish.
You can add multiple responder URLs to the same issuer (see the Management Console figure shown in the Specify the Responders to Query for an example of an issuer which is mapped to multiple responders).


