Export the Configuration
-
Select the Default user from the User drop-down list and click Create Installer.
-
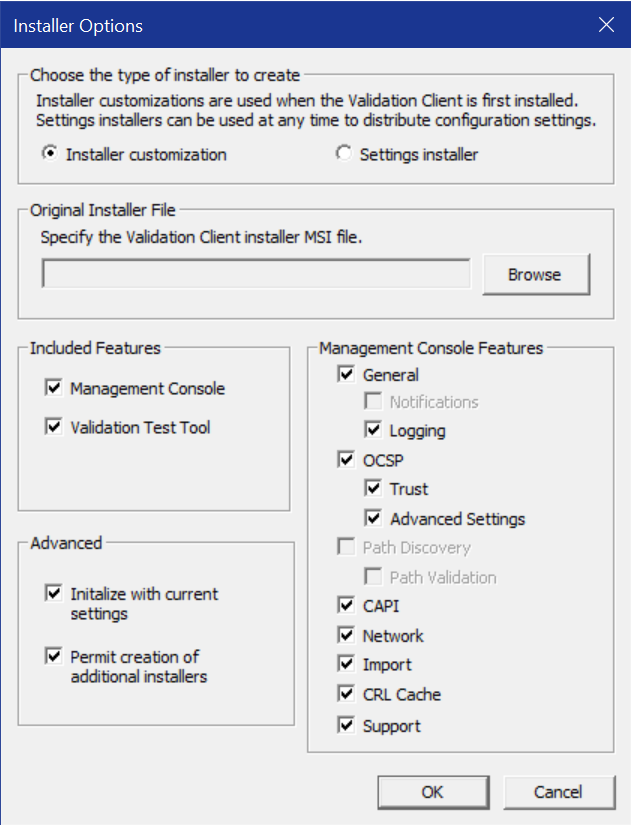
The Management Console displays the Installer Options dialog.
-
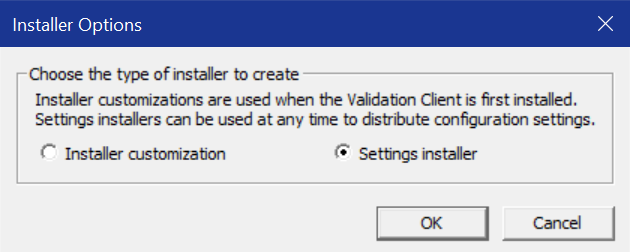
Select the type of installer that you want to create. You can create one of the following types of installer:
-
Installer customization – This type of installer allows you to customize a Validation Extension installation. This operation creates a Windows Installer Transform (.mst) file.
-
Settings installer – This type of installer allows you to export the Validation Extension settings so that they can be installed on other computers. This operation creates a Microsoft installer file (.msi). When you select Settings installer, the Installer Options dialog changes to:
-
-
(Installer customization only) In the Included features area, select the program features that you want the customization to include.
-
(Installer customization only) In the Advanced features area, select any of the following installer options:
-
Initialize with “Default User” settings – This option allows you to deploy an installer customization without any preconfigured settings, other than those selected on the Installer Options dialog. If you deselect this option, the installer customization includes preconfigured settings.
-
Permit creation of additional Installers – This option allows the deployed installer customization to create additional installer customizations or settings installers.
-
-
(Installer customization only) Select the Management Console Features on which you want end-users to be able to make configuration changes.
-
(Installer customization only) Click Browse. The Management Console displays a Windows file browser window.
Locate the original installer package (the default is SerVE for Microsoft IIS.msi). Click Open.
-
Click OK to create a customization package with the specified choices or click Cancel to exit the Installer Options dialog without creating a customization package.
-
The Management Console displays a Save As dialog box.
Select a directory in which to save the customization package and click Save.
-
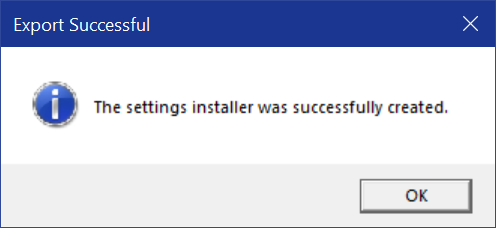
The Management Console displays a notification when the save has completed.
-
Click OK. The target directory (from step 10) contains the customization package with an icon similar to:
Installer Customization:
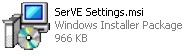
Settings Installer: