Distributing Software Using Windows Group Policy
To distribute software using Windows Group Policy, complete the following steps:
-
Place SerVE for Microsoft Domain Controller.msi and your custom .mst file (see Chapter Deploying the Extension for more information in a network share accessible by all computers. If none exists create a share (for example, \\server\swdistribution_share\serve).
-
Open Microsoft Management Console with the Group Policy snap-in. Be sure to select Default Domain Policy.
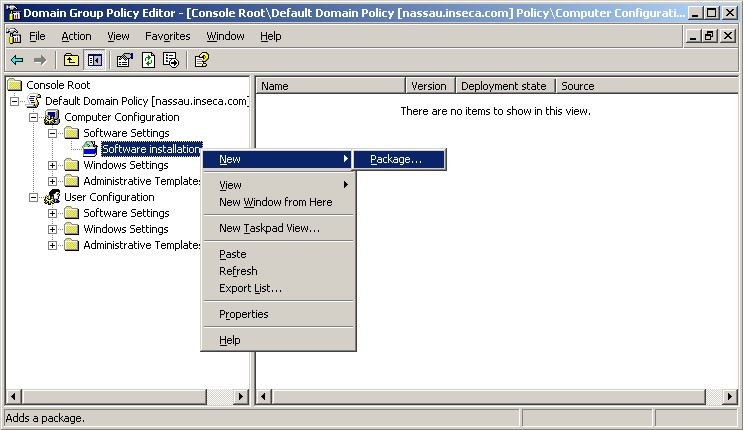
Expand Computer Configuration and Software Settings, right click Software Installation, and select New and Package.
-
The standard Windows Open dialog box will appear.
Select the previously created network share through My Network Places. This will use the UNC (Universal Naming Convention) path to the installer file rather than a drive letter. The latter will fail.
-
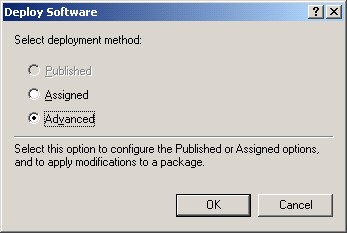
Click Open. The Deploy Software dialog box will appear.
-
Select Advanced and click OK. The ActivID SerVE for Microsoft Domain Controller Properties tabbed dialog box will appear.
Most settings can be left as they are. Installer customizations are added through the Modifications tab.
-
Click OK to publish the software to all computers in the domain.


