Configure Network Settings
The following sections provide details on each link displayed on the Networking page.
View Current Network Settings
-
In the Administration section of the navigation bar, click Networking.

-
Click view the current network configuration.
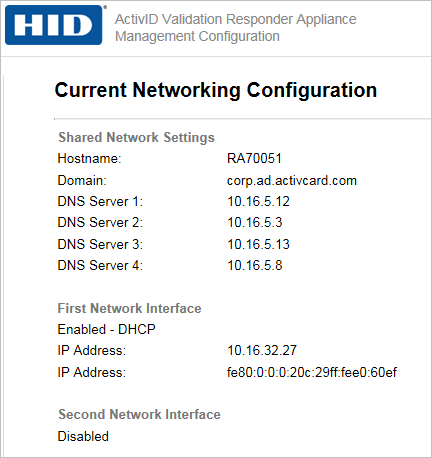
The Current Networking Configuration page shows whether or not each available network interface is enabled, the IP address currently assigned to it, and how it obtained the IP address (DHCP or static configuration).
Configure Shared Networks Settings
Shared network settings refer to those settings that are used on all enabled interfaces on the Validation Responder Appliance.
-
These include the hostname that identifies the Validation Responder Appliance, the domain where the Validation Responder Appliance is located, the default network gateway, the DNS servers that the Validation Responder Appliance uses to resolve external hostnames, and static routes that specify how packets are routed.
-
The hostname and domain are configured during the initial configuration of the Validation Responder Appliance.
-
The default gateway is configured during initial configuration if you chose to use static networking.
Add DNS Server to the Configuration
-
In the Administration section of the navigation bar, click Networking.
-
Click configure shared network settings.
-
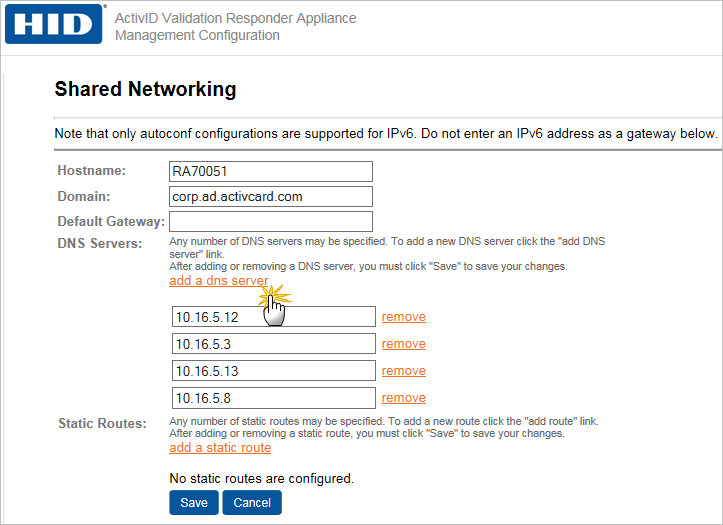
Click add a dns server.
-
When prompted, enter the IP address of the DNS server in the empty field that is displayed.
-
Click Save.
Delete DNS Server
-
In the Administration section of the navigation bar, click Networking.
-
Click configure shared network settings.
-
Click Remove to the right of the DNS server.
-
Click Save.
Add Static Route
-
In the Administration section of the navigation bar, click Networking.
-
Click configure shared network settings.
-
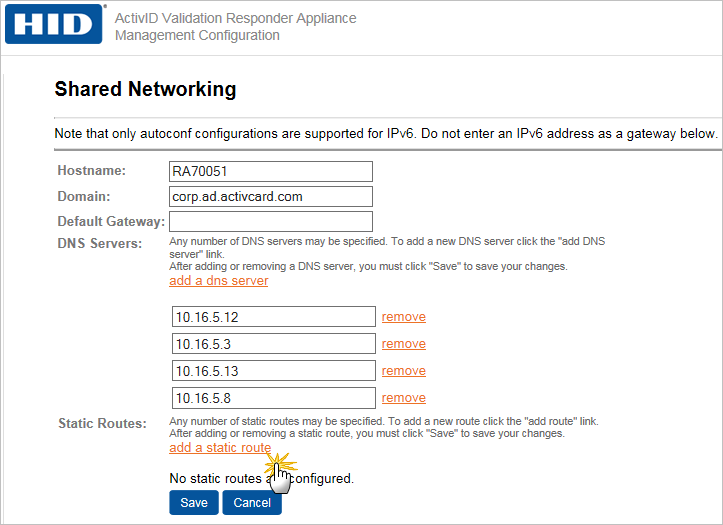
Click add a static route.
-
Enter the Network, Netmask, and Gateway.
-
Click Save.
Delete Static Route
Go to Networking > configure shared network settings, and then click remove to the right of the static route.
Configure Proxy Settings
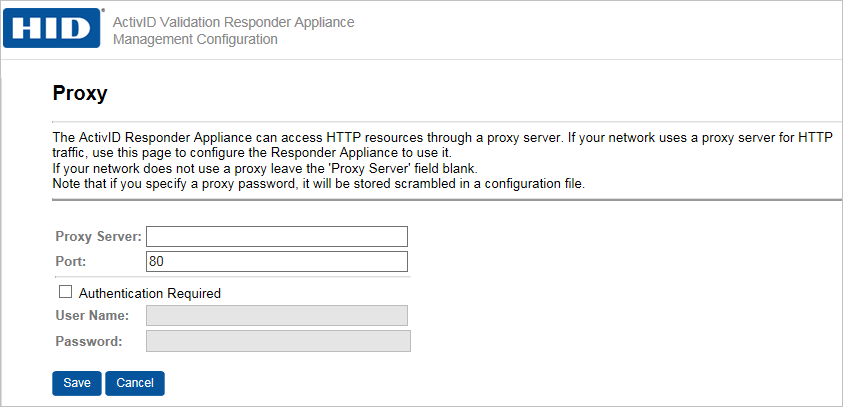
If required, then the Validation Responder Appliance can access HTTP resources through a proxy server. You can specify the proxy if your network uses a proxy server for HTTP traffic.
-
In the Administration section of the navigation bar, click Networking.
-
Click configure proxy settings.
-
For Proxy Server, enter the hostname or IP address.
-
Enter the Port of the proxy server.
-
Select Authentication Required, if required, and then enter the User Name and Password.
-
Click Save.
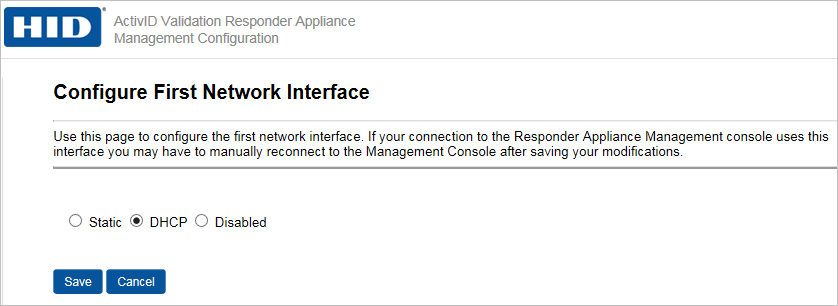
Configure Network Interface(s)
Each enabled Validation Responder Appliance network interface must be assigned an IP address. This address can be either a static IP address or one obtained dynamically from a DHCP server. Every Validation Responder Appliance includes two network interfaces. You can purchase an add-on module that provides two additional network interfaces.
-
In the Administration section of the navigation bar, click Networking.
-
Click configure the first network interface.
Important: Because the Validation Responder Appliance’s underlying operating system uses host-based routing, it is possible to connect to the Validation Responder Appliance using disabled IP addresses. You must reboot the Validation Responder Appliance to completely disable the connection using a disabled IP address.
-
Select an option:

-
Static: Select this option to specify a static IP address configuration option. When prompted, enter the Validation Responder Appliance’s IP address and Subnet mask.
-
DHCP: Select this option to obtain an IP address for the interface.
-
Click Save.
-
To configure a second network interface, on the Networking page, click configure the second network interface.
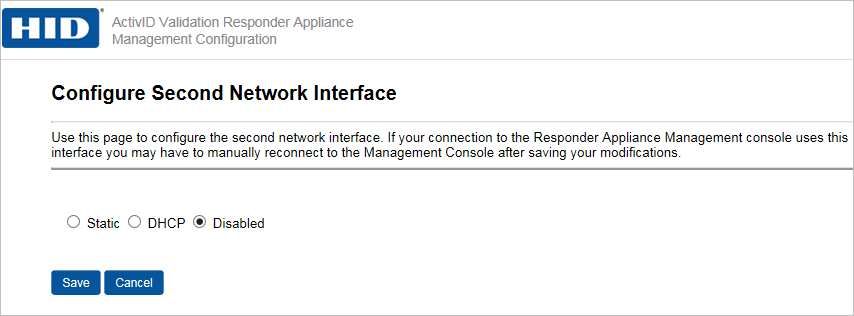
The steps are the same as listed earlier in this section for configuring the first network interface.
-
Click Save.


