Installing the DigitalPersona Lite Client
The DigitalPersona Lite Client is a lightweight client application adding support for authenticating to the DigitalPersona Identity Server using fingerprint and PKI Smart Card credentials.
It does not have a graphical or command line interface and has no other features in common with the other DigitalPersona clients.
For a description of DigitalPersona Lite Client features, see Using the DigitalPersona Lite Client.
Prerequisites
Before installing the DigitalPersona Lite Client on a computer, make sure it meets the system requirements and prerequisites, and that you have Administrative Rights on the computer.
Deployment Considerations
If your environment includes more than one installation of DigitalPersona LDS Server, and if those servers are not part of the same AD LDS configuration set, then your DigitalPersona LDS Lite Clients should be part of an OU where you can create a GPO defining the specific AD LDS instance name where the DigitalPersona LDS Server is hosted.
See the AD LDS instance name setting.
Upgrading from Previous Versions
Detailed information about upgrading and migrating existing deployments is available in the Upgrade Notes provided in the Documentation folder of the DigitalPersona LDS package.
Compatibility
This version of DigitalPersona Lite Client is compatible with the following DigitalPersona products:
-
DigitalPersona Access Management API (Previously Altus Auth SDK)
-
DigitalPersona Web Components (Previously Altus Confirm SDK)
-
DigitalPersona Server*
Install DigitalPersona Lite Client Locally
-
Launch the installer from the DigitalPersona Lite Client folder of the product package:
-
Run Setup.exe from the DigitalPersona Lite Client folder of the product package.
-
Or, for silent mode, enter setup.exe /s /v” /qn” at the command line.
-
-
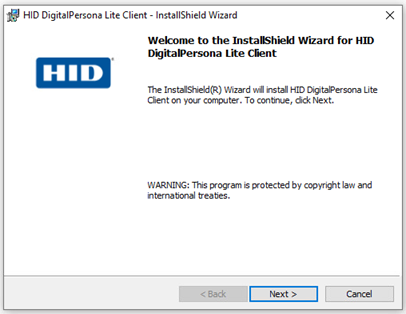
When the Welcome page displays, click Next to proceed with the installation.
-
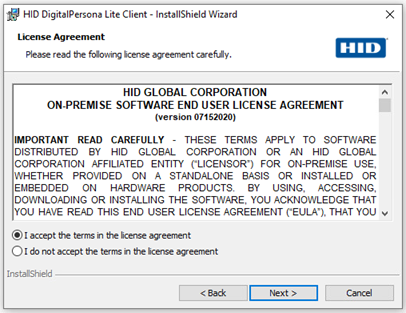
Read the License Agreement page. If you agree, select the I accept the terms in the license agreement button and click Next.
-
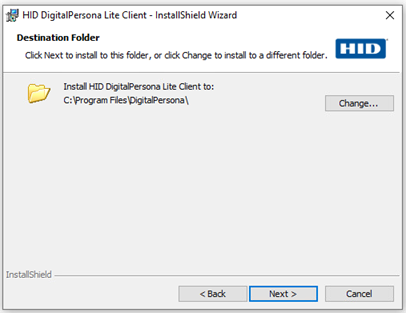
On the next page, you can specify the folder that DigitalPersona Lite Client will be installed in. If you want to install it to the default location, click Next.
Otherwise, click Change to specify a new location and then click Next to continue.
-
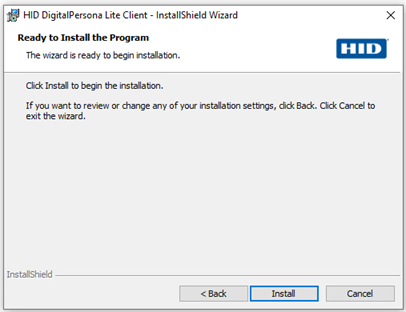
Click Next and then Install, to begin installation.
-
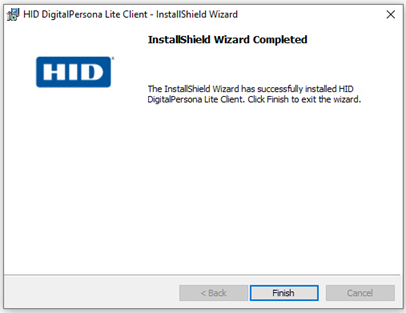
When installation is complete, a final page displays. Click Finish.
-
When prompted to do so, click Yes to reboot the computer, or No if you plan to restart the computer later.
After the computer restarts, and at every subsequent restart, the DigitalPersona client software automatically attempts to locate all DigitalPersona Servers for the domain and its site.
-
If more than one DigitalPersona Server is found, the client will choose the DigitalPersona Server for authentication that offers the most efficient connectivity.
-
If no DigitalPersona Servers are found, the client will perform authentication locally.
For a description of DigitalPersona Lite Client features, see Using the DigitalPersona Lite Client.
Install DigitalPersona Lite Client Remotely
The installer for the DigitalPersona Lite Client uses Microsoft Windows Installer (MSI) technology, which allows administrators to remotely install or uninstall the software using Active Directory administration tools, or other software deployment tools.
This installer is only compatible with program distribution (installation or uninstallation) to computers.
Some steps will vary depending on the operating system version.
It cannot be used for program distribution to users.
-
For mixed 32- and 64-bit environments, copy the entire contents of the DigitalPersona Lite Client folder to a network share.
-
(Optional) To install only to a specific OU, create a Group Policy Object (GPO) that will be used to distribute the software package.
-
Install any prerequisites (see System Requirements) on the target computers.
-
Assign the package:
-
Start the Group Policy Management snap-in from the Windows Server Manager, Tools menu, selecting Group Policy Management.
-
In the Group Policy Management tree, under the appropriate domain, right-click Default Domain Policy and choose Edit from the context menu. This will launch the Group Policy Management Editor.
-
In the Group Policy Management Editor, open Computer Configuration, Policies, Software Settings, Software installation.
-
Right-click Software installation and select New, Package from the context menu.
-
In the Open dialog box, type the full Universal Naming Convention (UNC) path of the shared installer package that you want. For example, \\file server\share\file name.msi.
Important: Do NOT use the Browse button to access the location. Make sure that you use the UNC path of the shared installer package. -
Click Open.
-
In the Deploy Software dialog, click Assigned, and then click OK.
The package is created and listed in the right panel of the Group Policy Management Editor window.
-
For 32-bit installation packages only:
-
Right-click the package and select Properties.
-
On the Deployment tab, click Advanced.
-
Deselect the Make this 32-bit X86 application available on Win64 machines checkbox.
Note: If this checkbox remains selected, the application will not install.
-
-
-
Installation will begin on each client during the first reboot after the computer obtains the deployment policy (that is, during the next scheduled AD policy refresh or as a result of running GPUPDATE\FORCE on the local computer).
Install DigitalPersona Lite Client Patches Remotely
The installer for the DigitalPersona Lite Client uses Microsoft Windows Installer (MSI) technology, which allows administrators to remotely install patches to software using Active Directory administration tools, or other software deployment tools.
For mixed 32- and 64-bit environments, follow these steps twice - patching the administrative installation files for both environments.
This installer only works for computer-based policy installation, not user-based.
The following steps assume that an administrative installation package has been created as described in Install DigitalPersona Lite Client Remotely.
Some steps will vary depending on the operating system version.
-
Update the installation package by opening a command prompt session and type the following command to patch the previously created installation package:
Copymsiexec.exe /a [path\name of original MSI file]
msiexec.exe /p [path\name of updated MSP file]\ /a [path\name of administrative installation file] -
Redeploy the application:
-
Start the Group Policy Management snap-in - from the Windows Server Manager Tools menu, select Group Policy Management.
-
Right-click the GPO that governs the computers you want to update and select Edit. This will launch the Group Policy Management Editor.
-
In the Group Policy Management Editor, navigate to Computer Configuration/Policies/Software Settings/Software Installation.
-
Right-click the previously deployed DigitalPersona client software package and select All Tasks\Redeploy application. Confirm your intent to redeploy the application.
-
-
Installation will begin on each client during the first reboot after the computer obtains the deployment policy (that is, during the next scheduled AD policy refresh or as a result of running GPUPDATE\FORCE on the local computer).
Install DigitalPersona Lite Client using the Command Line
The DigitalPersona Lite Client can also be installed or uninstalled using MSI at the command line.
The syntax of the msiexec command is shown below and is followed by a description of the command line options, parameters and values available:
msiexec /i setup.msi [INSTALLDIR=”<directory>”] [ADDLOCAL=<software>] [BIOMETRICDATA=<location>] [REMOVE=<software>] [TRANSFORMS=<list of transform files>] [/qn] [other MSIEXEC options]Command Line Options
| Options | Description |
|---|---|
|
/i |
(Required) Indicates that MSI will be used to install the DigitalPersona software. It must be followed by the full pathname to the setup.msi file. |
|
|
(Optional) Hides the user interface when installing the software on the computer, allowing a “silent install.” If used, it is placed at the end of the command line. |
Parameters
The following parameters can indicate where the software should be installed on the computer and what components should be included or removed.
| Parameters | Description |
|---|---|
|
INSTALLDIR |
(Optional) Specifies the location where the DigitalPersona Lite Client software should be installed. If a folder is not specified, the software will be installed in the following directory - C:\Program Files\DigitalPersona |
Uninstall the DigitalPersona Lite Client
You can remove DigitalPersona Lite Client using the Add or Remove Programs option in the Control Panel or through MSI.
In the Control Panel, the software is listed as DigitalPersona Lite Client.
You must have local administrative privileges to modify or uninstall the DigitalPersona Lite Client.


