Deploying Microsoft Intune
If you are using the DigitalPersona AD solution, you must deploy the DigitalPersona LDS solution to leverage the Microsoft Entra ID integration.
This section describes how to deploy and configure the Microsoft Intune, which is used to define DigitalPersona policies corresponding to the GPO settings contained in the traditional ADMX files shipped with the product.
For further information about Microsoft Intune and MDM, see:
Licensing
Microsoft’s Intune is included in the following licenses.
-
Microsoft 365 E5/E3
-
Enterprise Mobility + Security E5/E3 purchased
-
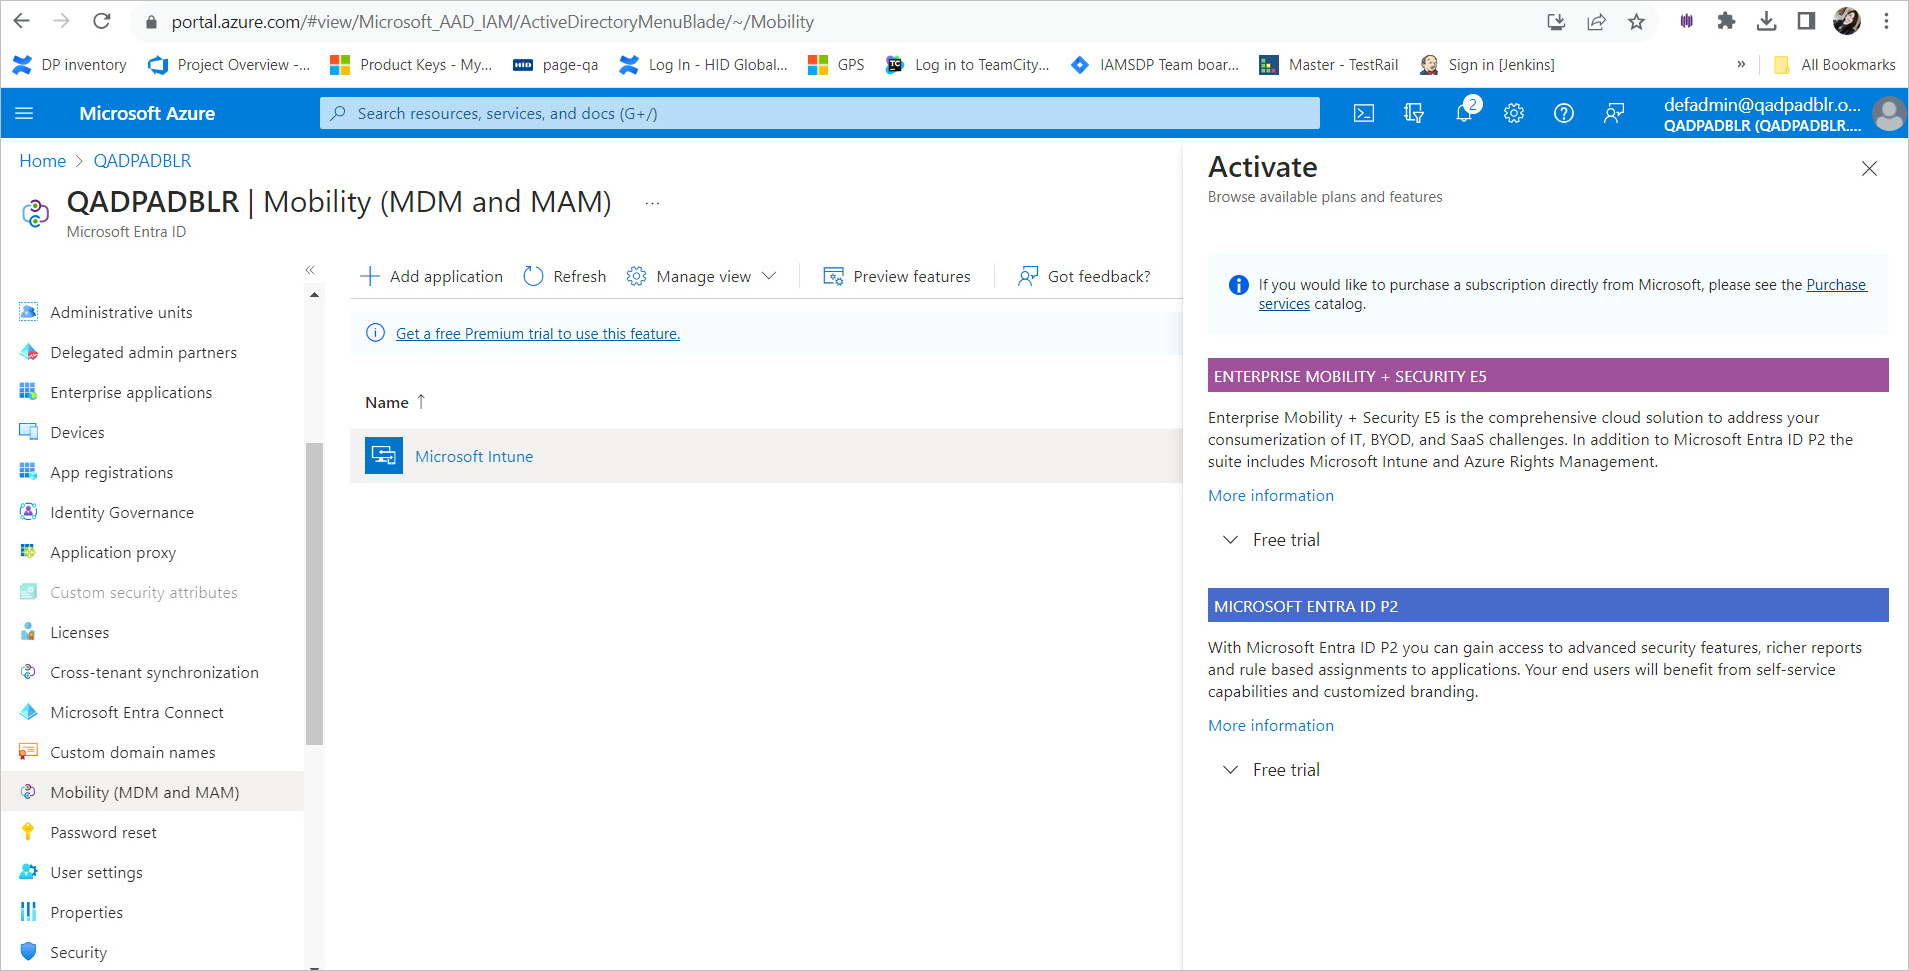
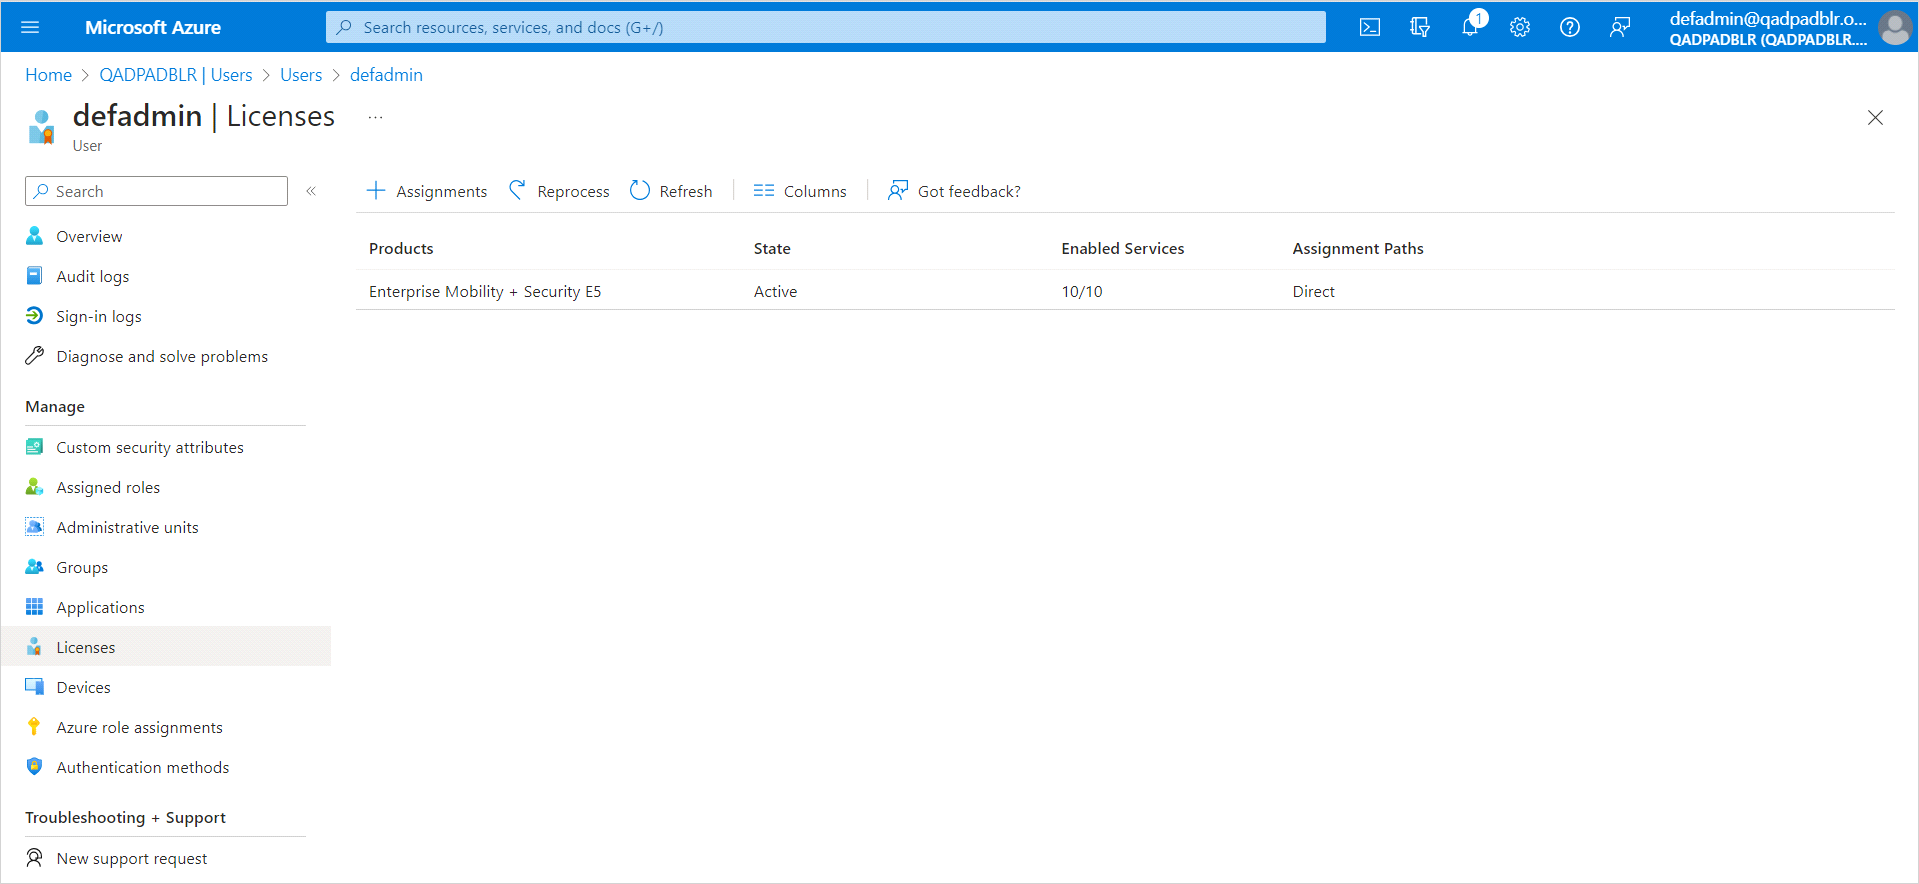
Ensure that Mobility (MDM and MAM) in your Microsoft Azure active directory is assigned with Enterprise Mobility + Security E5 as illustrated below.
-
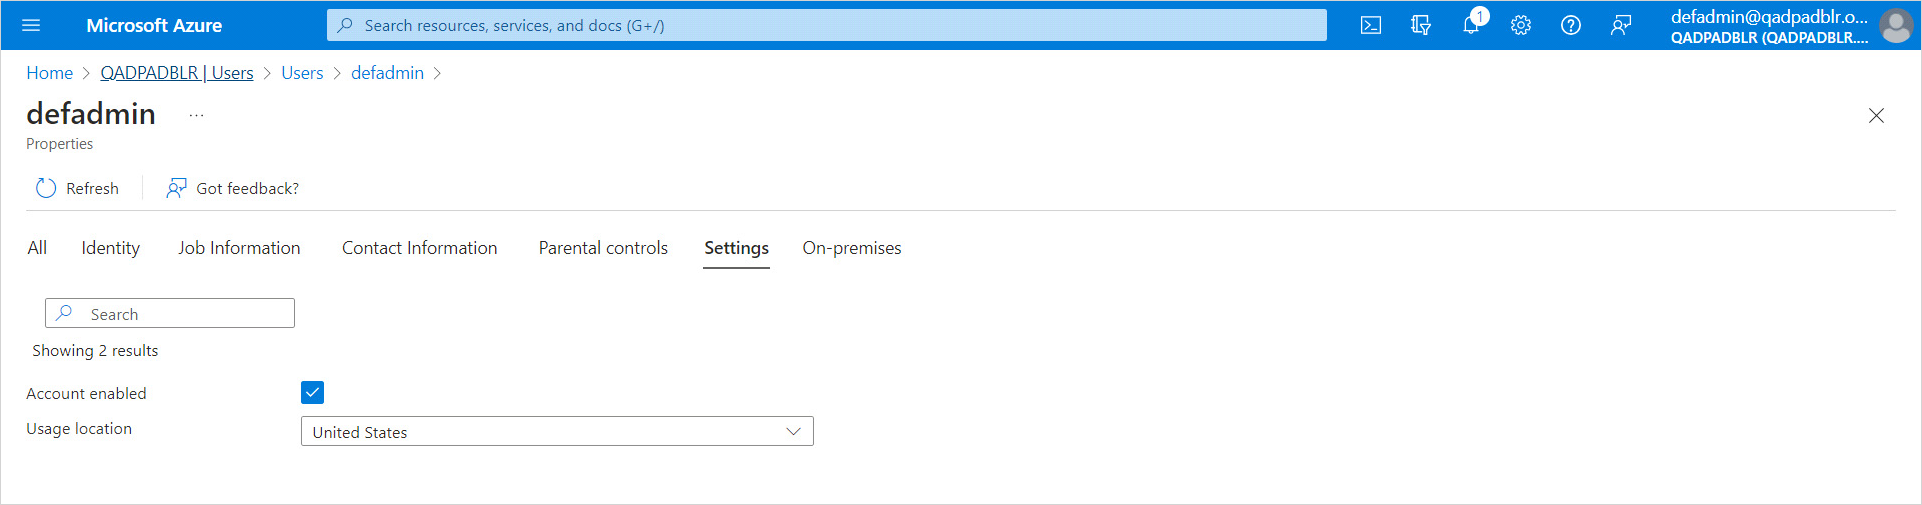
The user's location must be specified first due to the allocation of licenses on a per location basis.
-
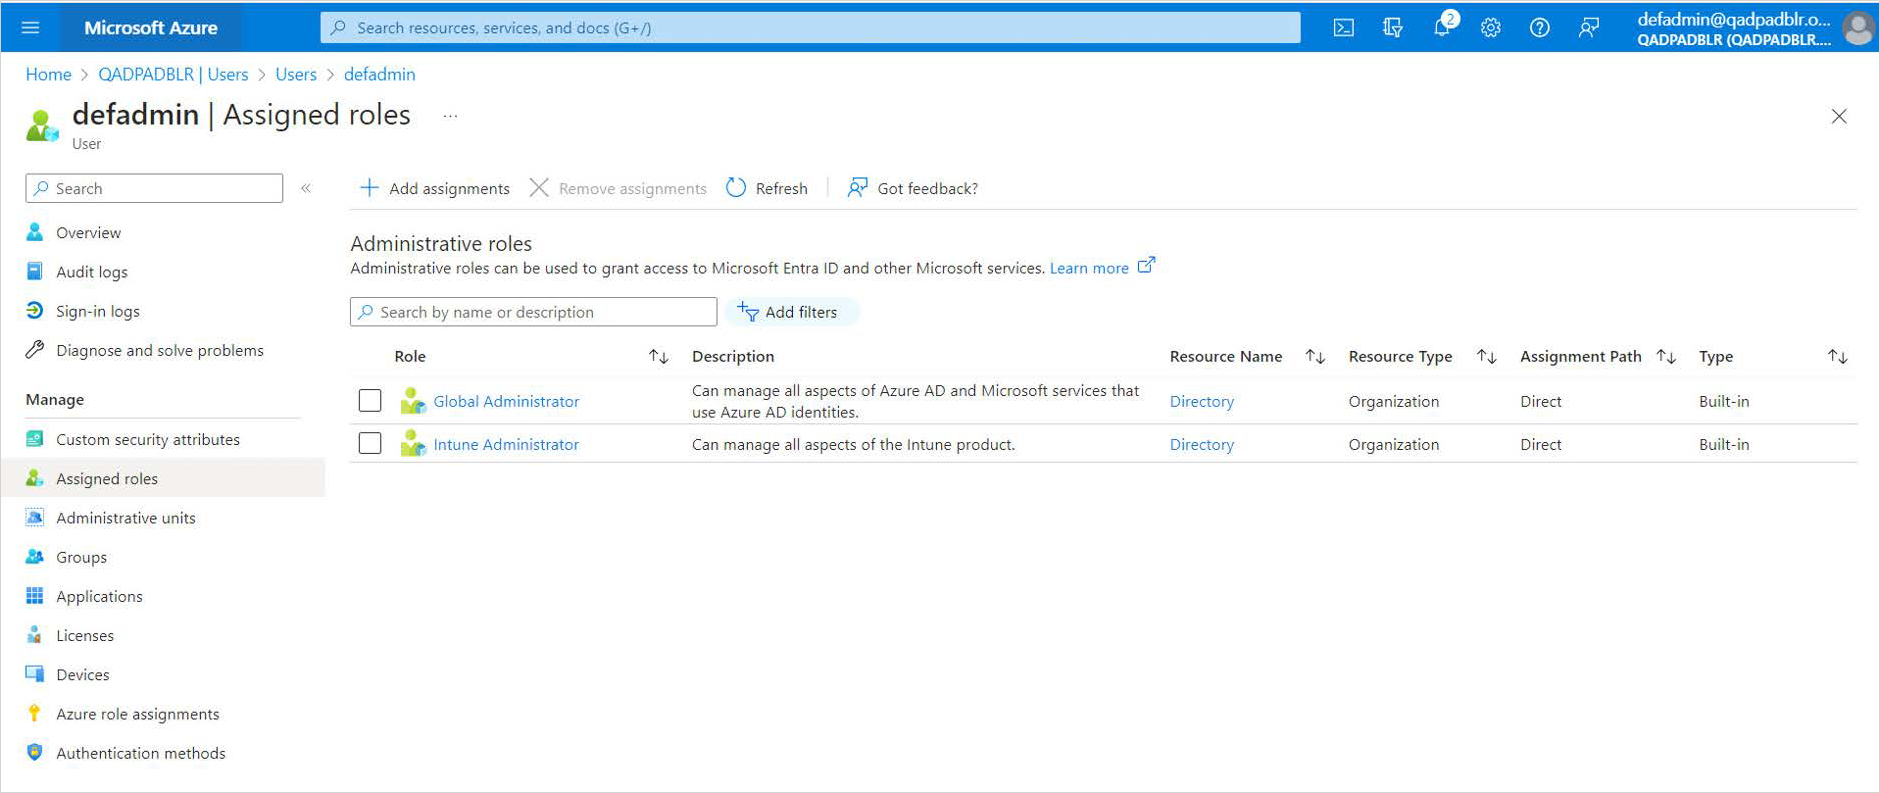
Make sure that the Microsoft Azure AD user has both roles assigned as illustrated below.
 Note: An Intune license cannot be assigned to a user without a usage location specified. Otherwise, the Microsoft Azure Portal will throw the following error.
{"errorCode":"LicenseAssignmentError","localizedErrorDetails":null,"operationResults":[{"objectId":"a55081af-a69a-49f0-9397-463e18f787ab","displayName":"Employee","status":0,"details":"0"}],"timeStampUtc":"2020-04-10T08:01:55.0497997Z","clientRequestId":"060cf7fe-5c49-41ea-9055-3f17ef83b013","internalTransactionId":"7f109903-878f-4799-aac9-cfbc390956b2","tenantId":"cc0a623a-bdf2-48ec-b069-1d161beb9948","userObjectId":"8685d2f7-2f35-41a4-8cff-8f5f13eed2e3","exceptionType":"AggregateException"}
Joining a Client to Microsoft Intune
You can join a client machine to Microsoft Azure by using the Microsoft Company Portal app found in the Microsoft Store.
-
Log on to a Microsoft Windows 10 machine with an Microsoft Azure AD user (for example, employee@mycompany.onmicrosoft.com).
-
Open the Microsoft Store and search for Company Portal.
-
Install the Company Portal app.
-
Use the app to join Microsoft Intune as outlined in the following Microsoft article:
https://docs.microsoft.com/en-us/mem/intune/user-help/enroll-windows-10-device
Enroll a Device in Microsoft Intune
An alternative is to enroll the device directly in Microsoft Intune by following the steps below.
-
On the Microsoft Azure Portal, go to Microsoft Azure Active Directory, Devices and click Device settings.
-
Ensure All is selected under Users may register their devices with Azure AD.
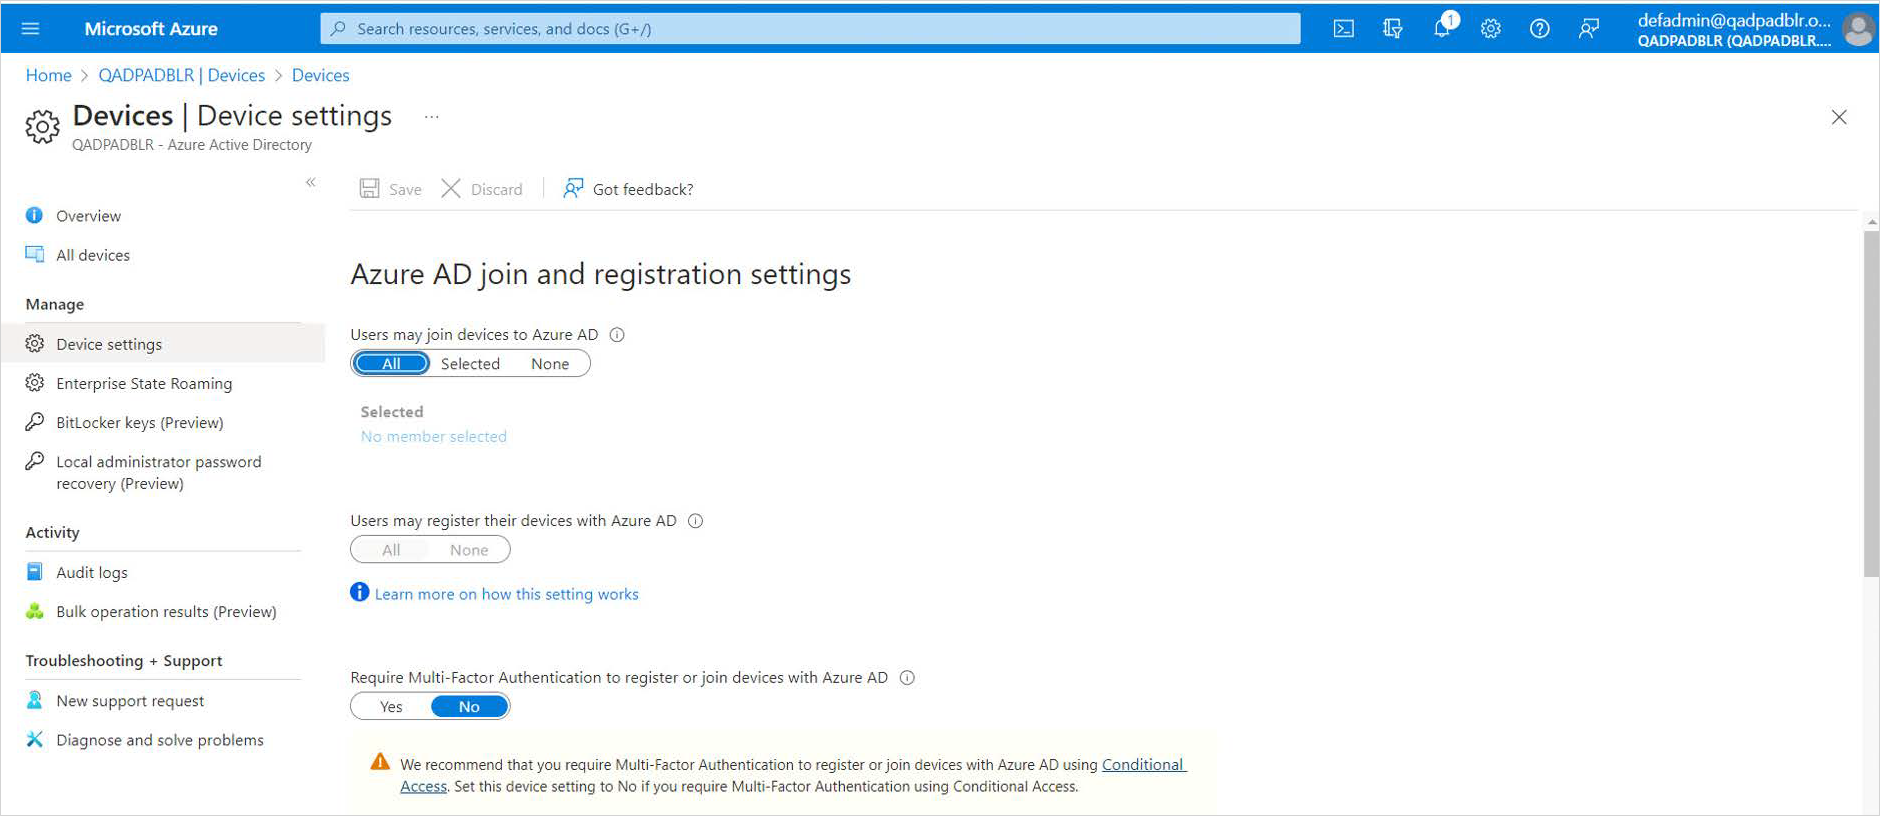
-
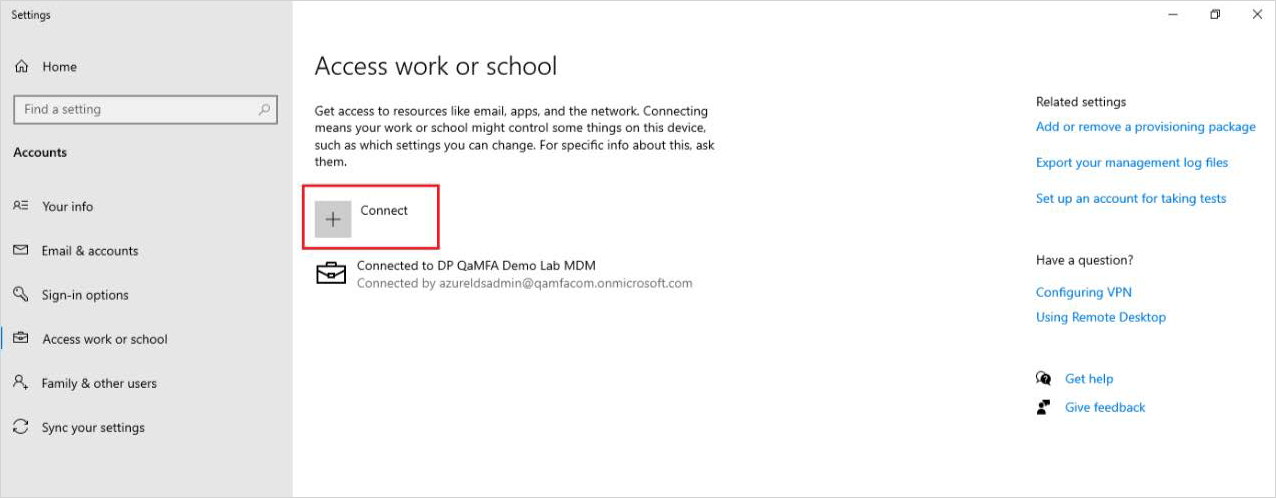
On the client/workstation machine, go to Access work or school and then click on the Enroll only in device management option.
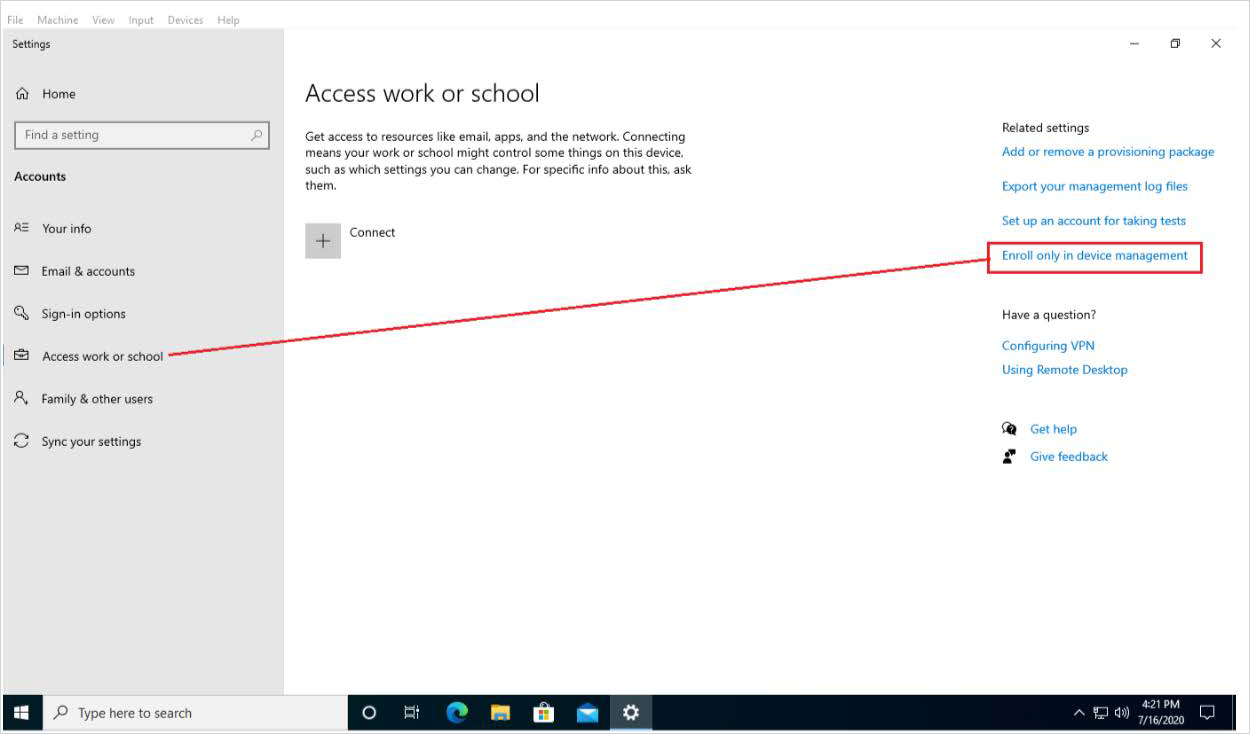
-
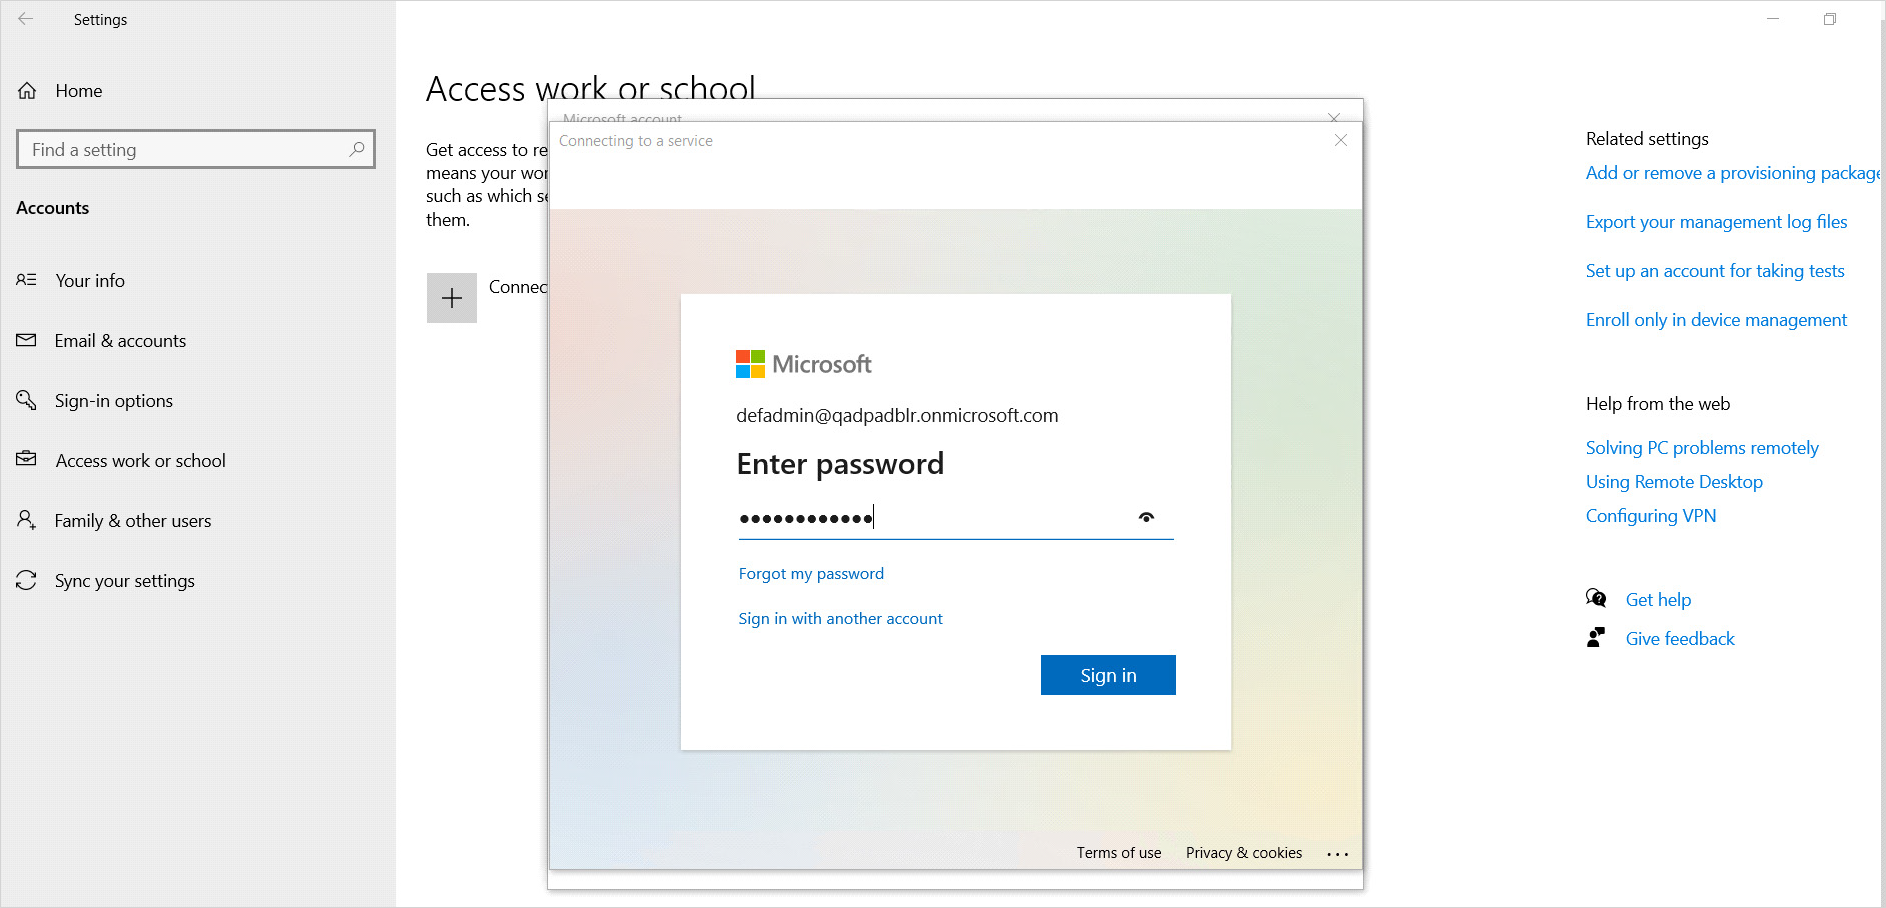
Enter the Microsoft Azure username as illustrated below.
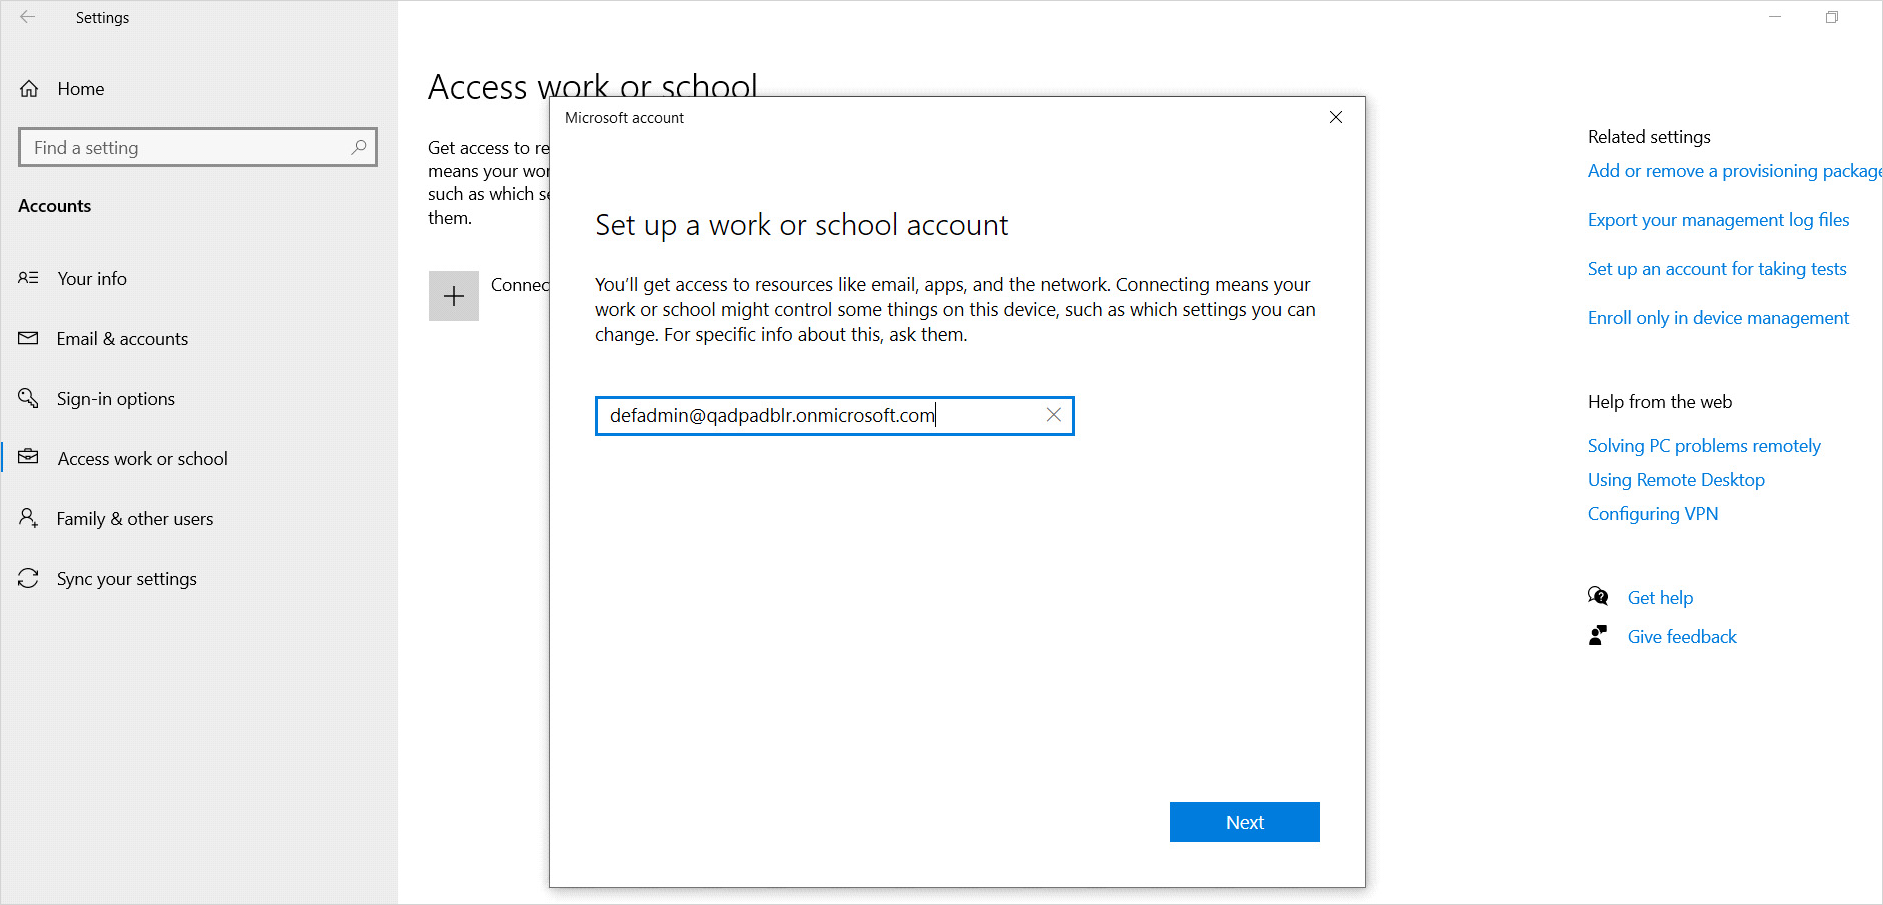
-
Enter the password and click Next.
The next screen confirms that Microsoft Intune services are being connected.
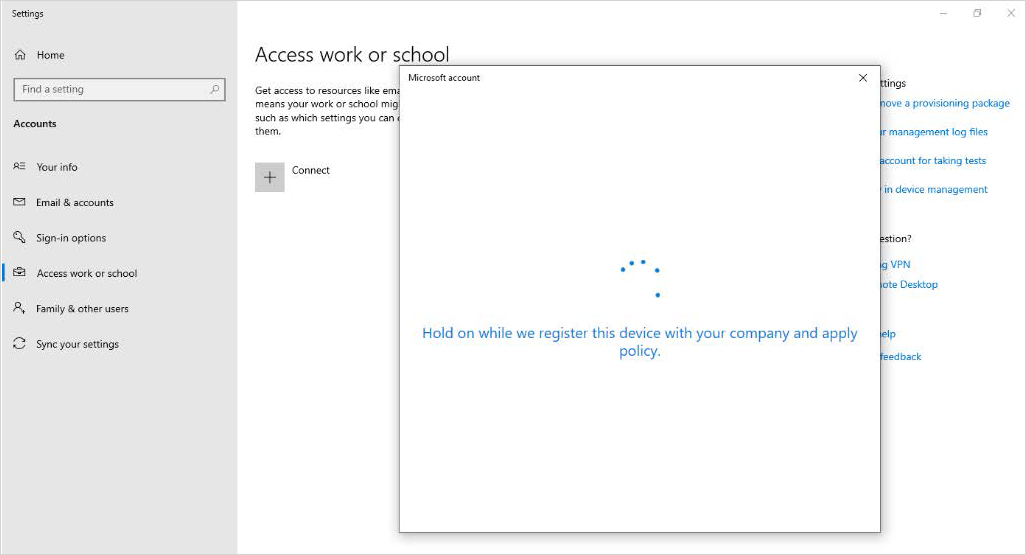 Note: It will take a few minutes to connect.
 -
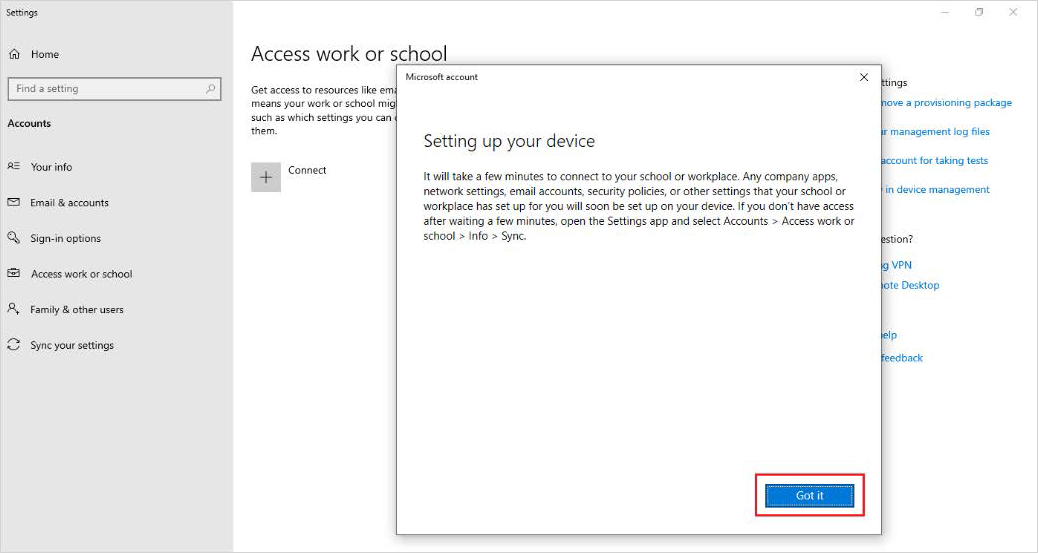
Read the reminder of the content and then click Got it.
-
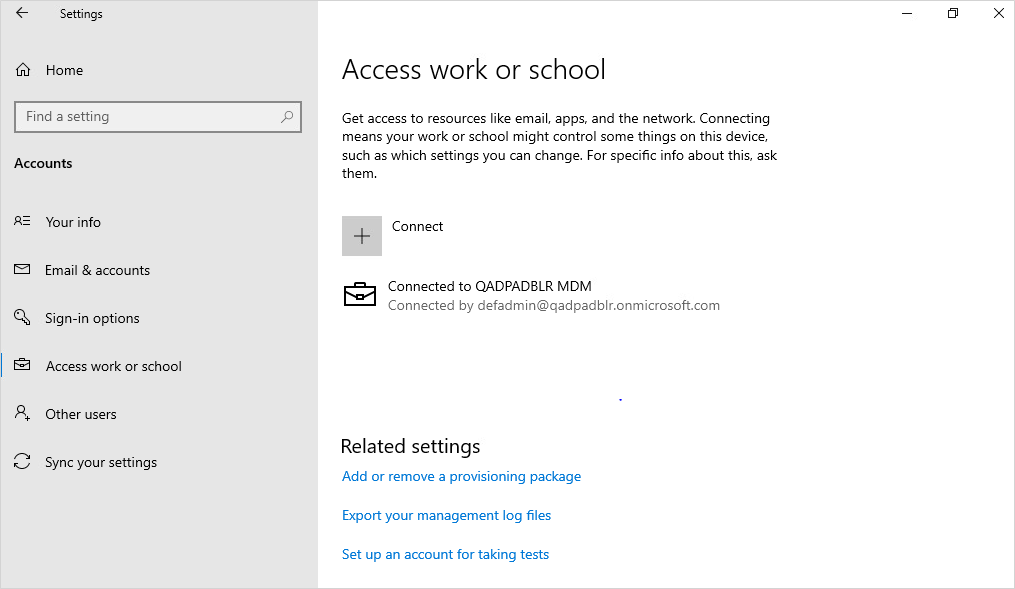
Once the device is enrolled in Microsoft Intune, the highlighted section below confirms that the windows machine was successfully enrolled in Microsoft Intune. This means that upon sync this machine can get Microsoft Intune policies.
-
The next step is to join the device to the Microsoft Azure Active Directory. On the same screen click Connect.
-
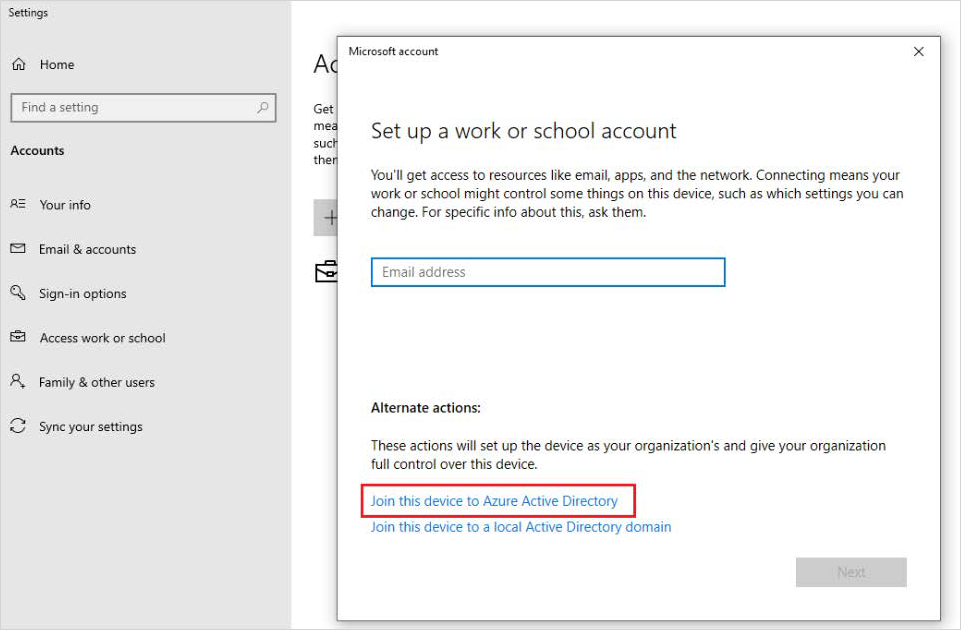
Click Join this device to Azure Active Directory.
-
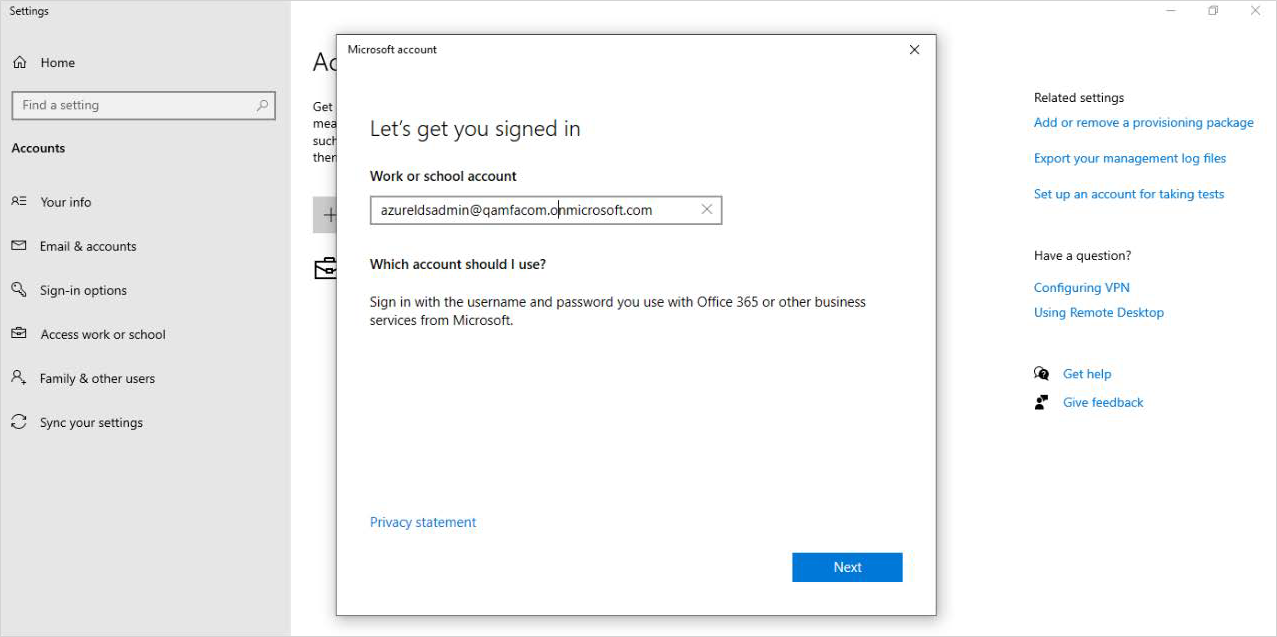
Enter your Microsoft Azure Username.
-
Enter your password and click Sign in.

-
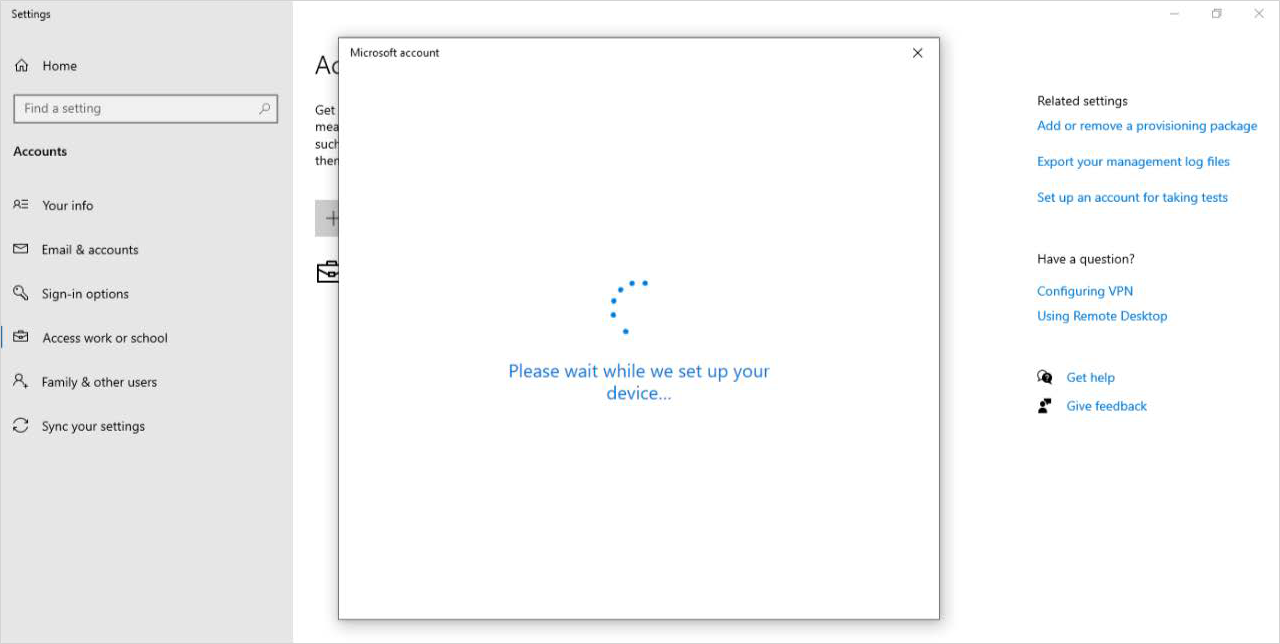
Wait for the system to set up your device.
-
Check to make sure that connection information is correct, then click Join.
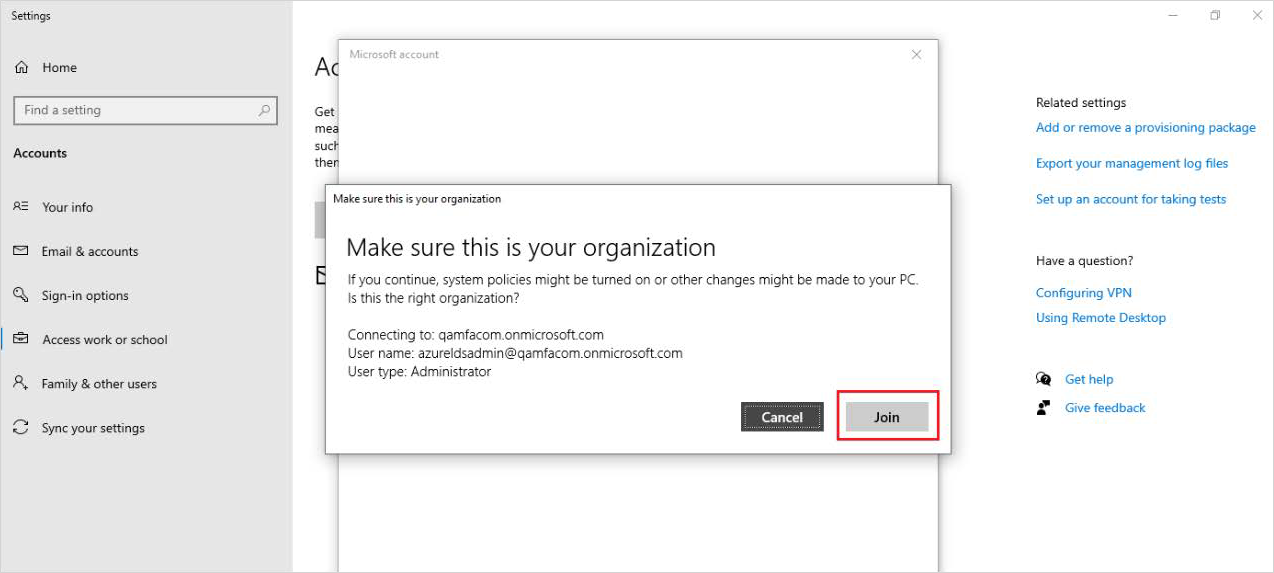
-
Once the device is successfully connected to Microsoft Azure Active Directory, the following screen displays. Click Done.
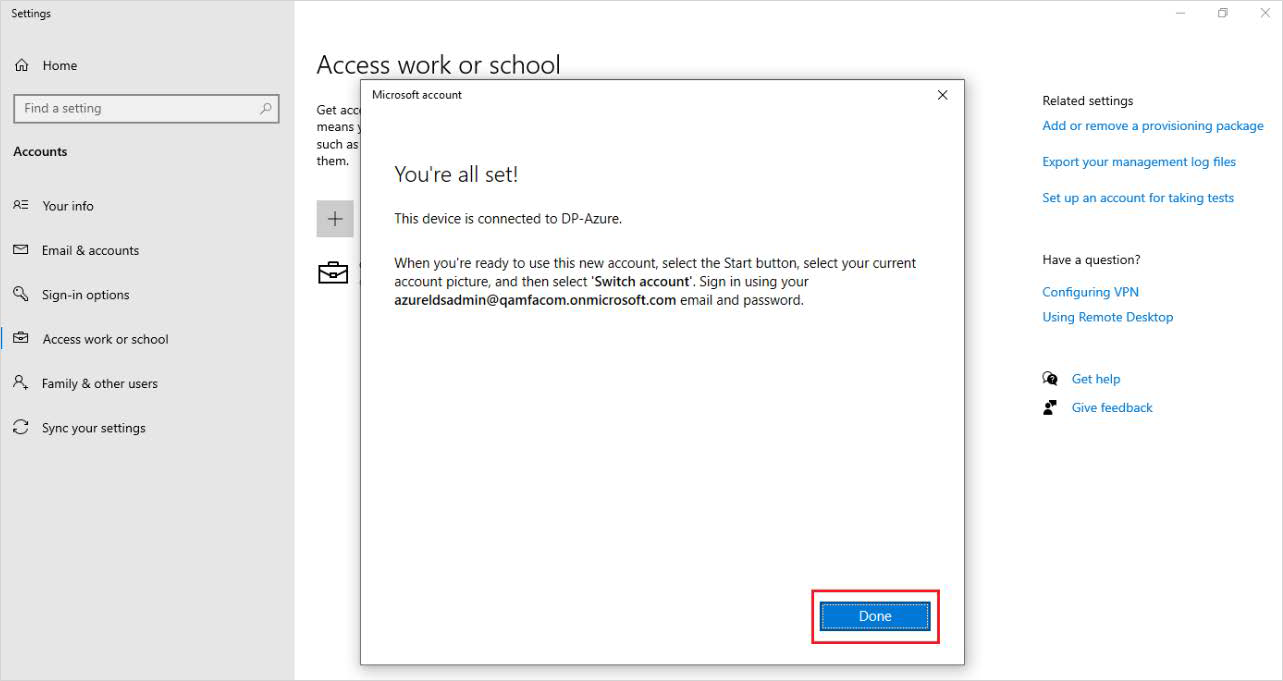
Now any Microsoft Azure user from the Microsoft Azure domain can log in to this machine.
-
After you click Done the following screen is displayed.
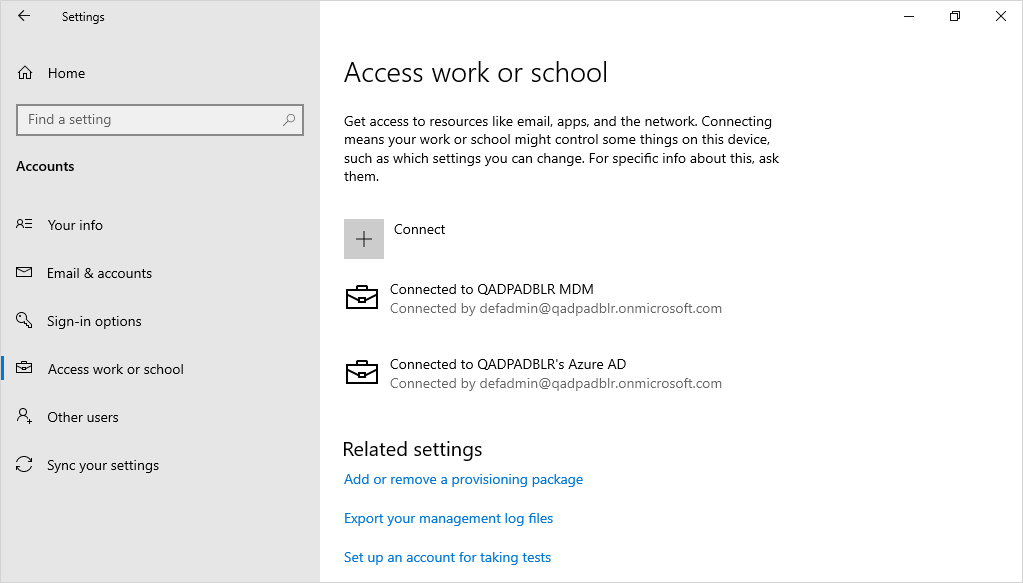
-
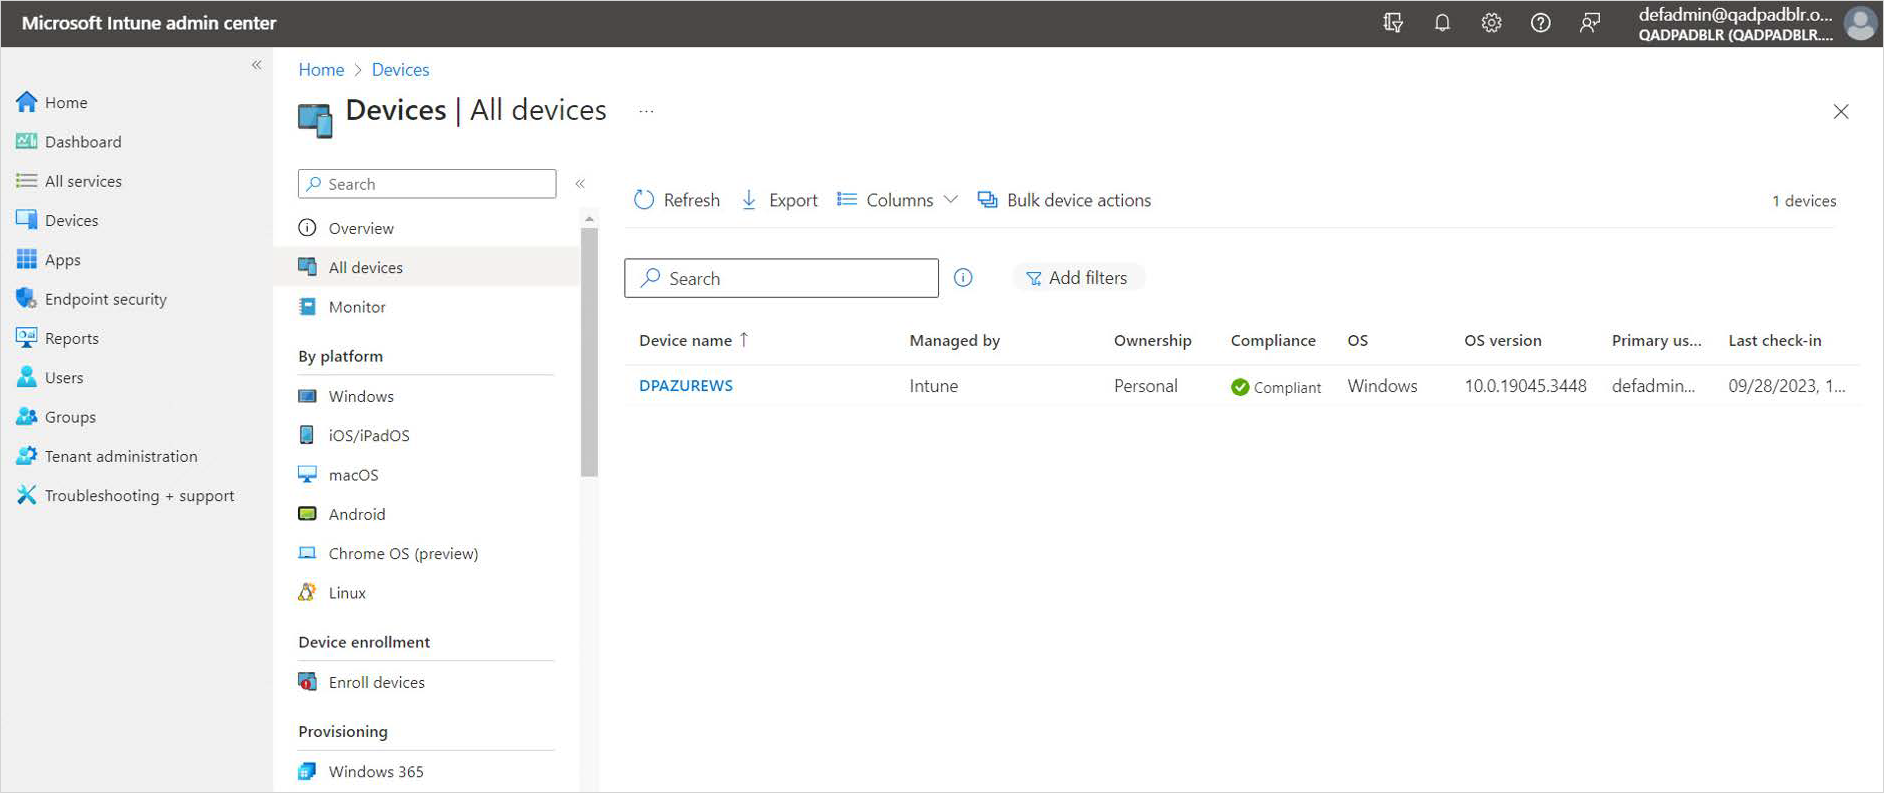
You can confirm that the device is connected by going to the Microsoft Azure Portal, and under Intune | All Devices you will see the added device.
Upload DigitalPersona ADMX Files
Windows.admx
DPCA_LDS_Root.admx
DPCA_LDS_General.admx
DPCA_LDS_Servers.admx
DPCA_LDS_IDServer.admx
DPCA_LDS_Intune.admx
DPCA_LDS_DesktopApps.admx
DPCA_LDS_PasswordManager.admx
DPCA_LDS_EvForwarding.admx
-
In the Microsoft Intune admin center, go to Devices then Configuration and select Import ADMX.
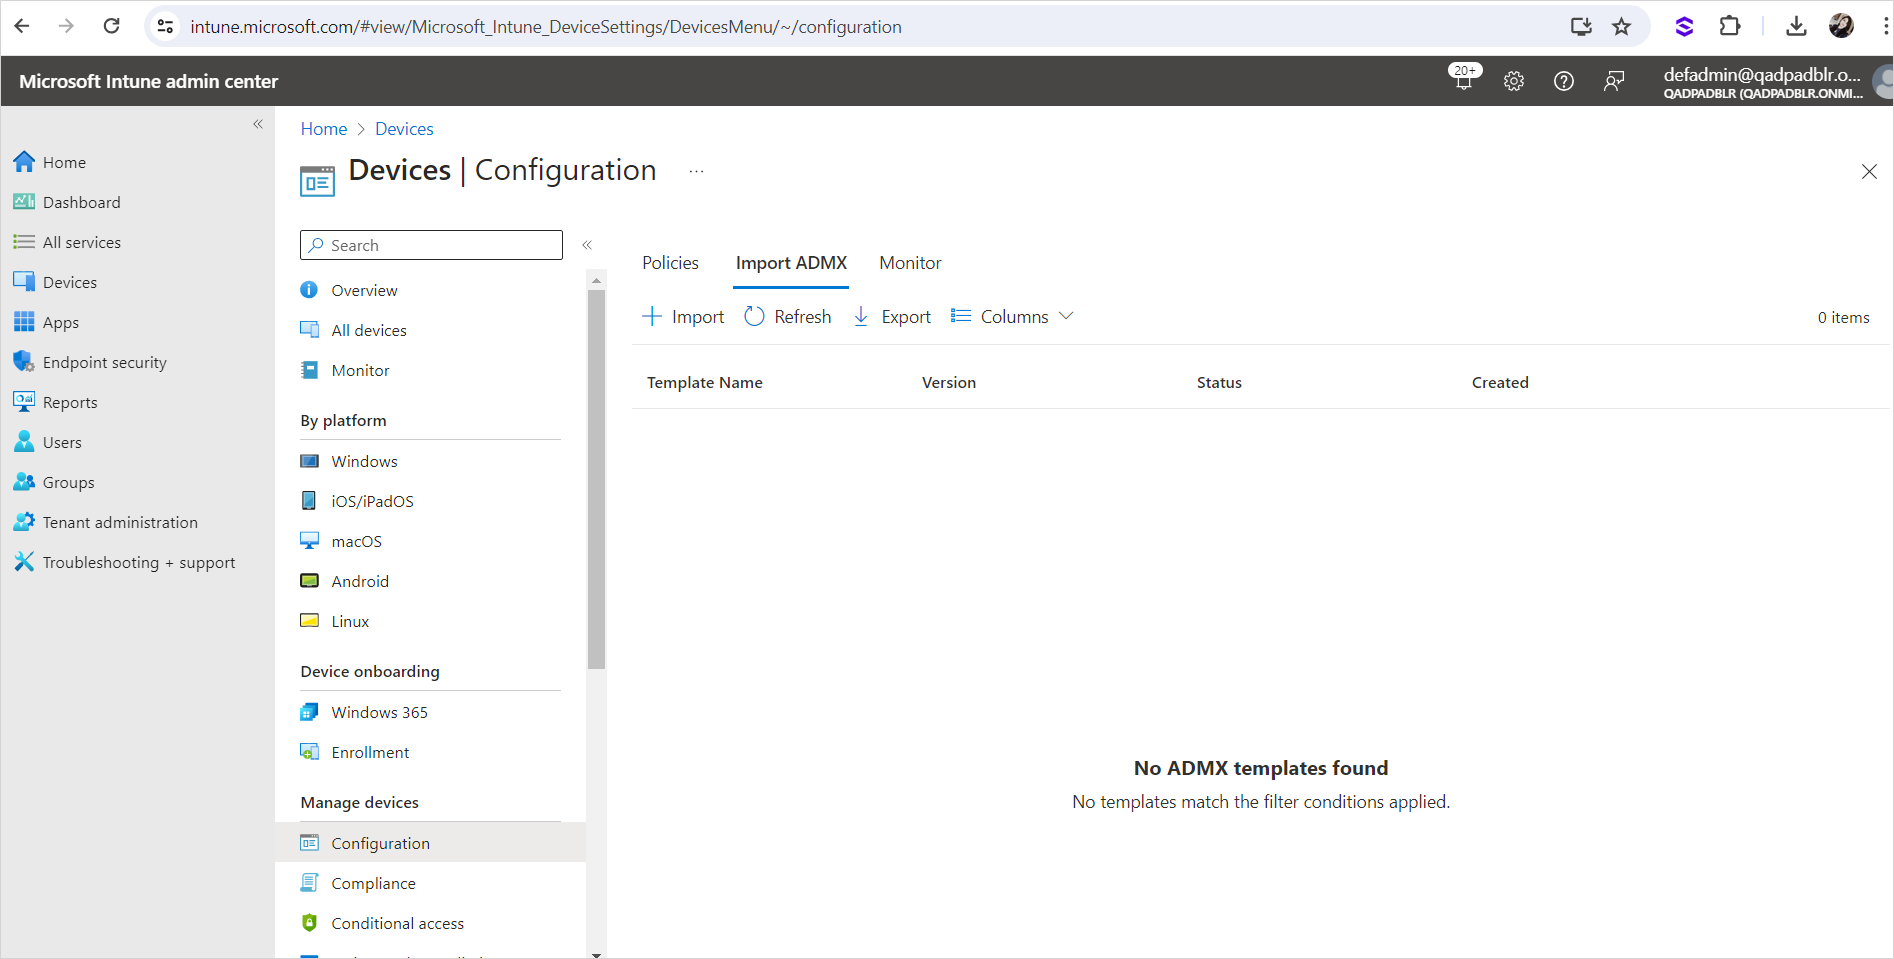
-
Click Import.
-
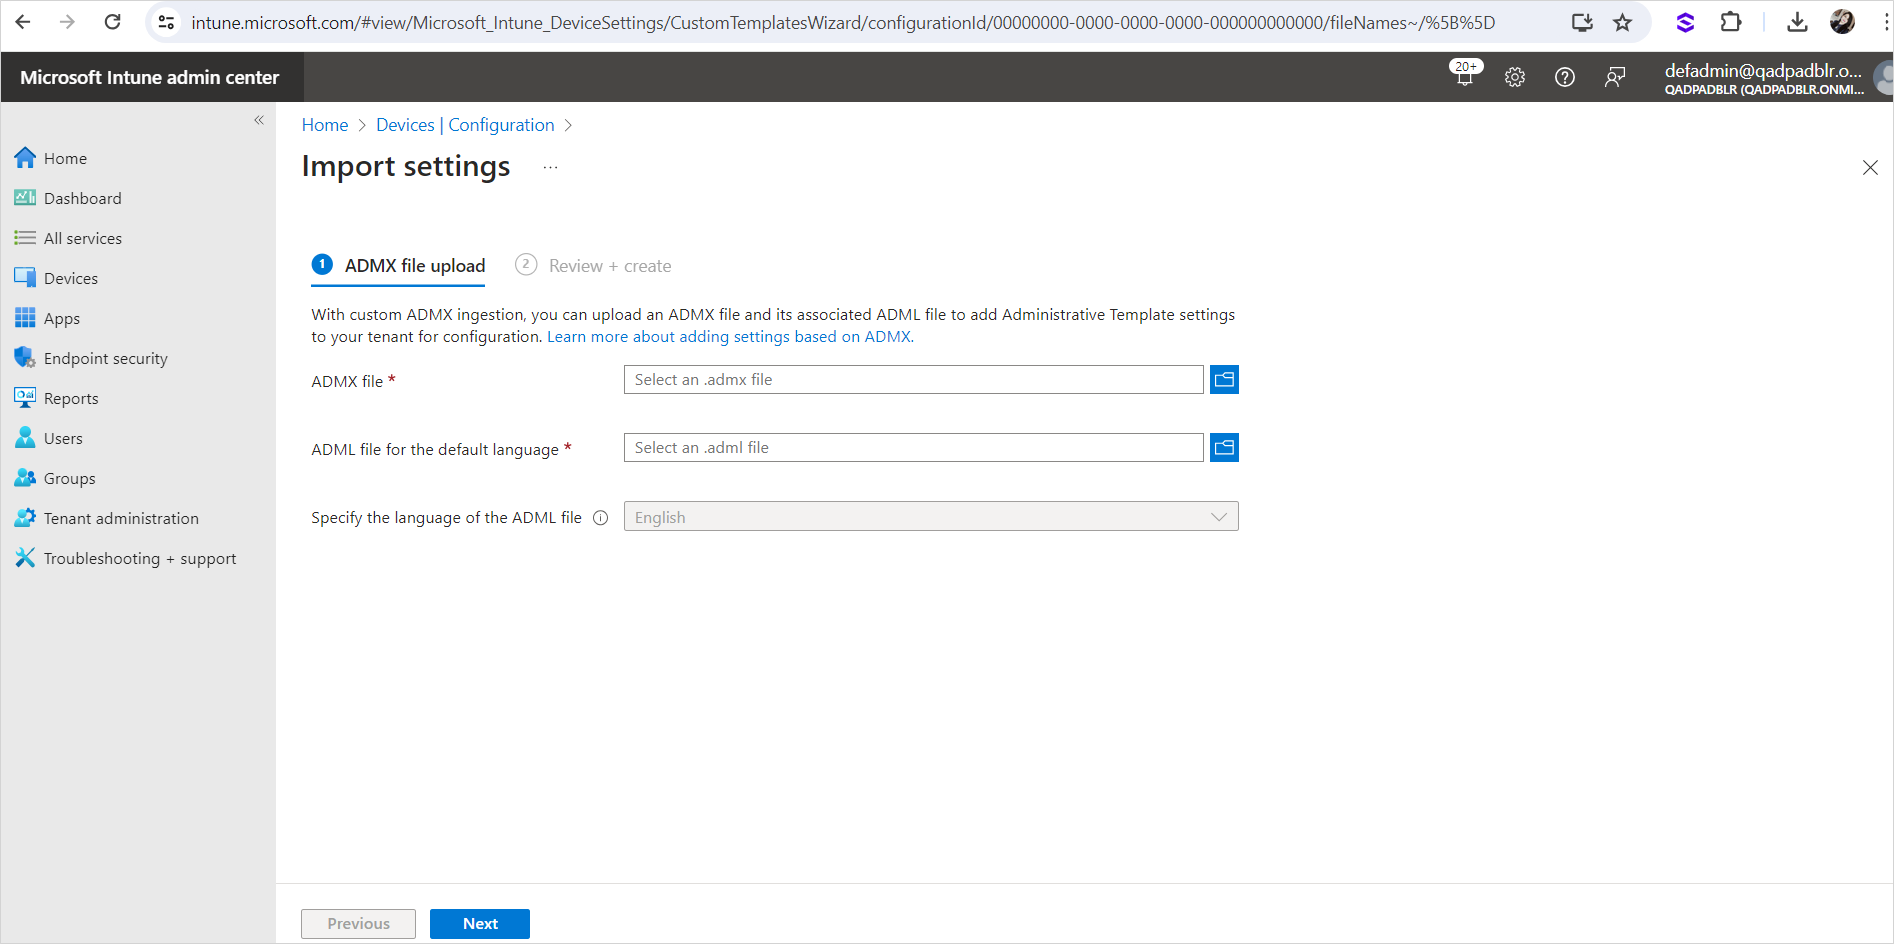
Click on
 to browse for the ADMX file.
 -
Select the Windows.admx file in the C:\Windows\PolicyDefinitions directory.

-
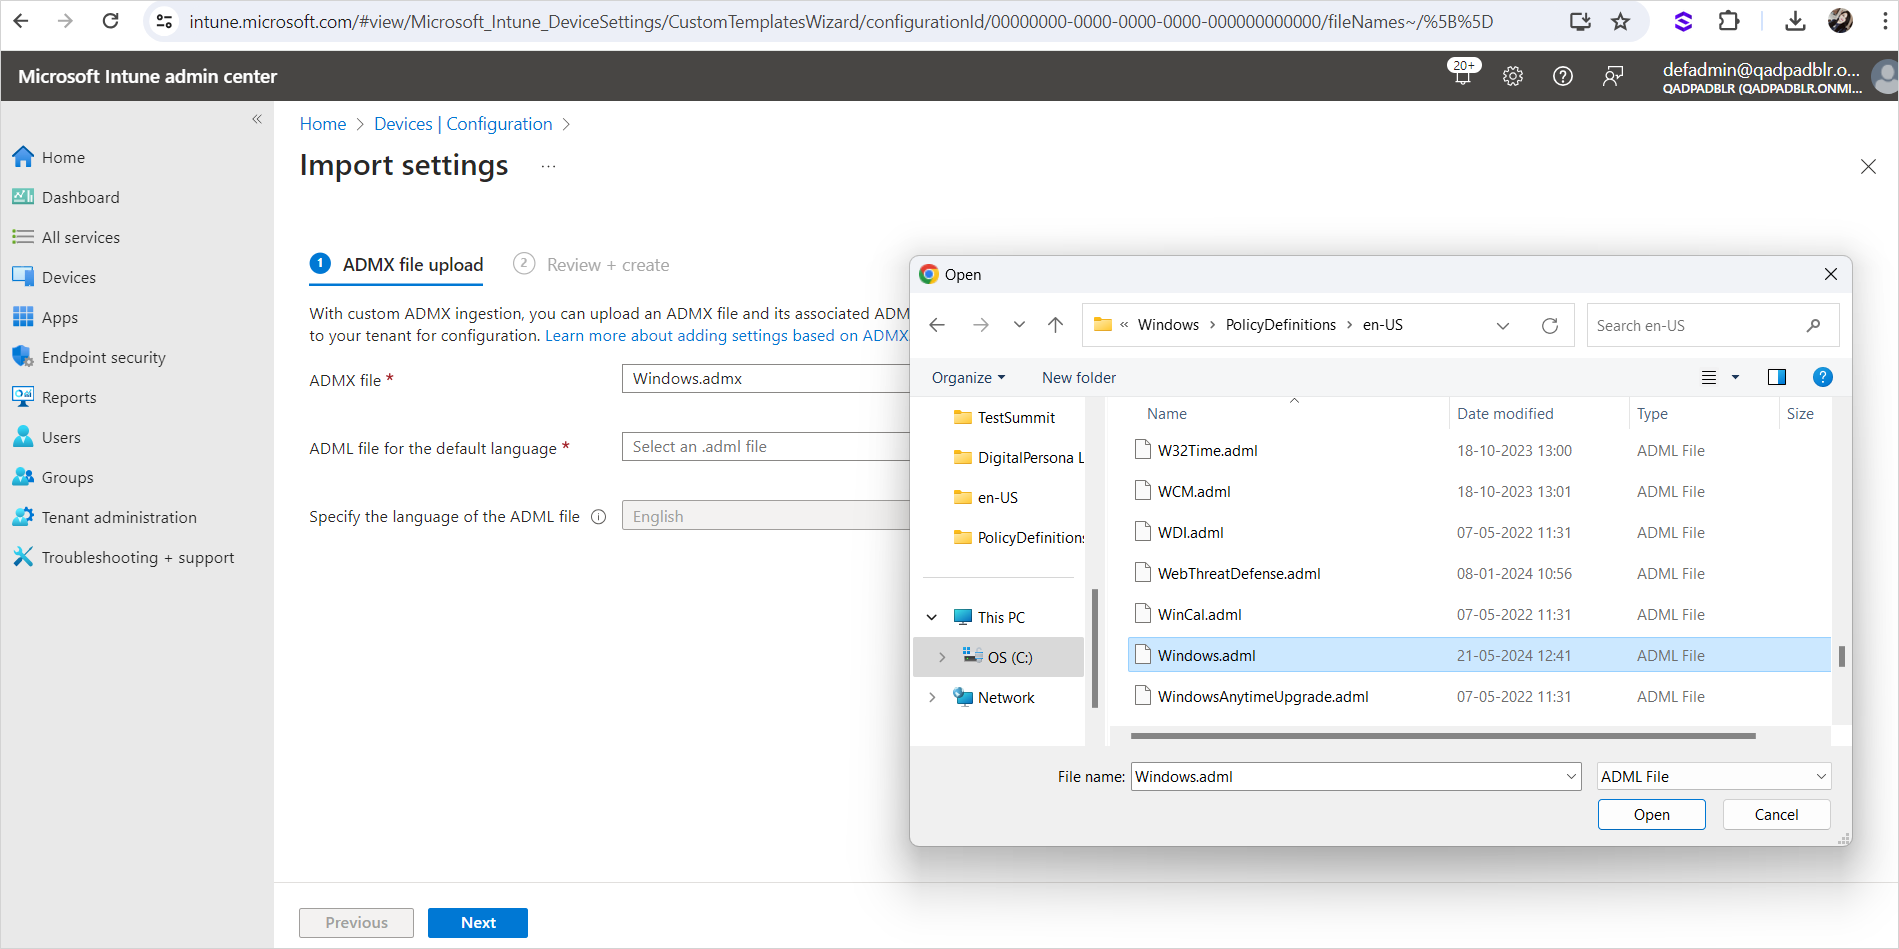
Click on
to browse for the ADML file. -
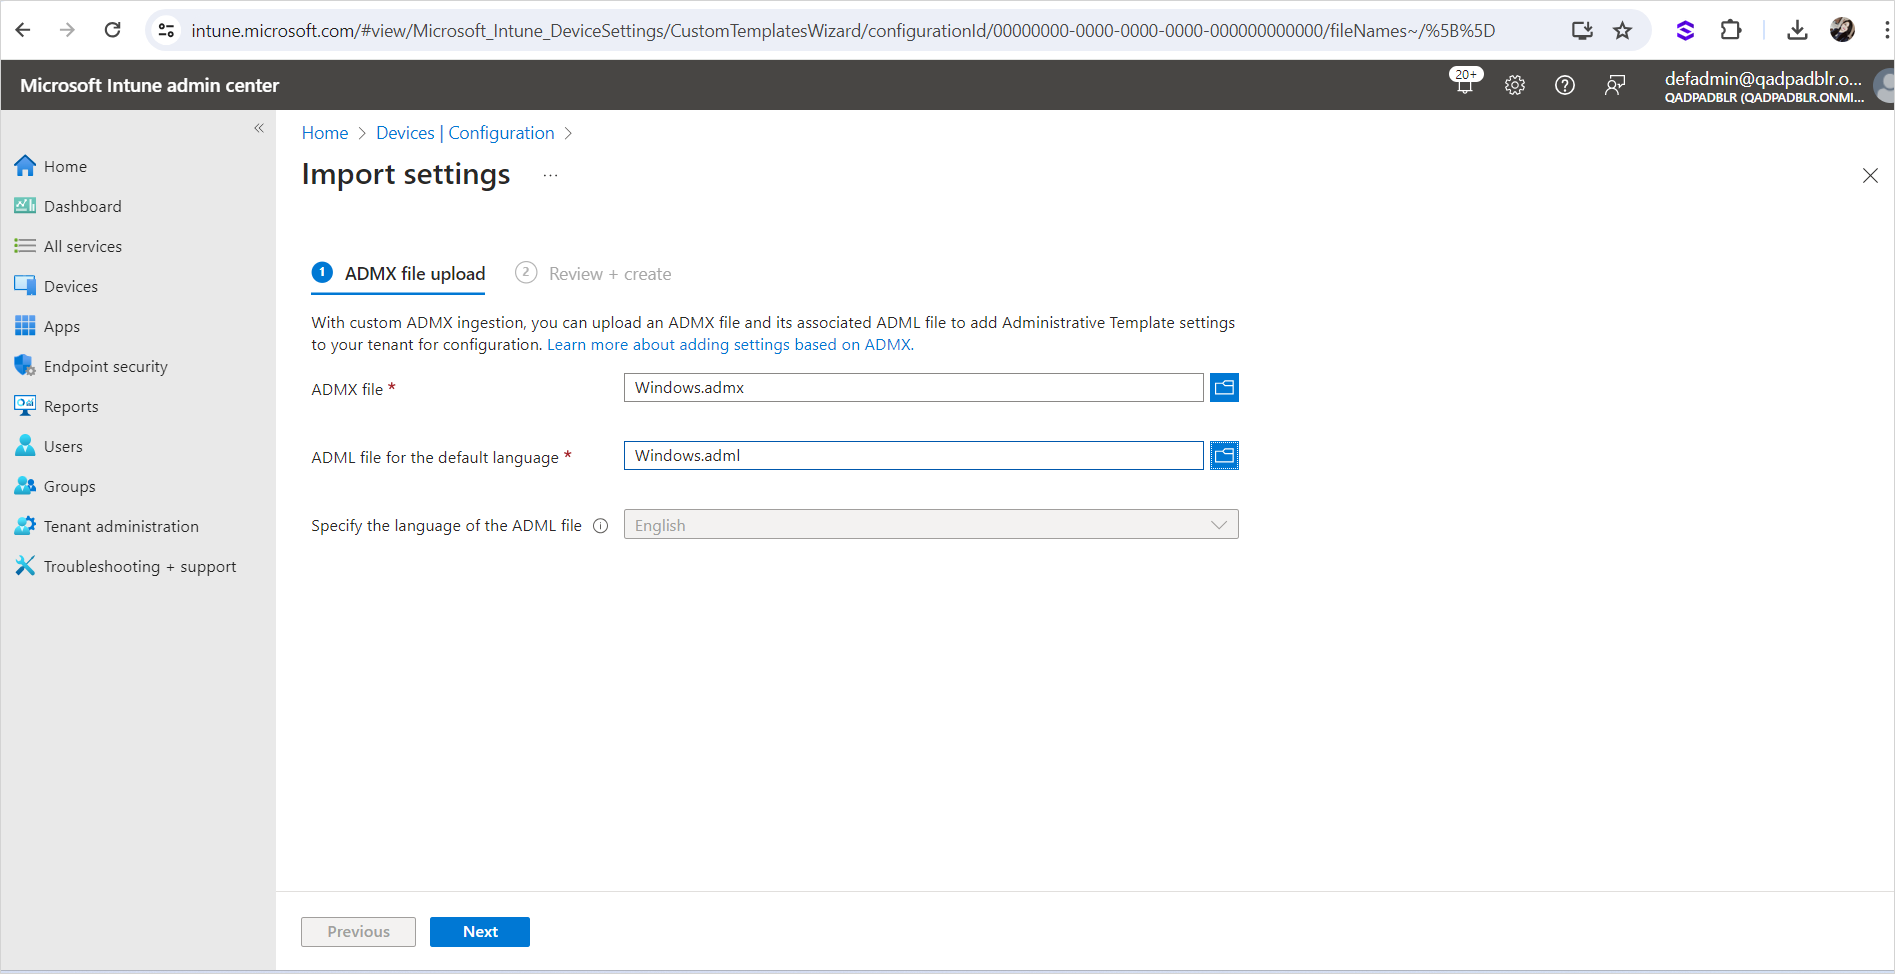
Select the Windows.adml file in the C:\Windows\PolicyDefinitions\en-us directory.
-
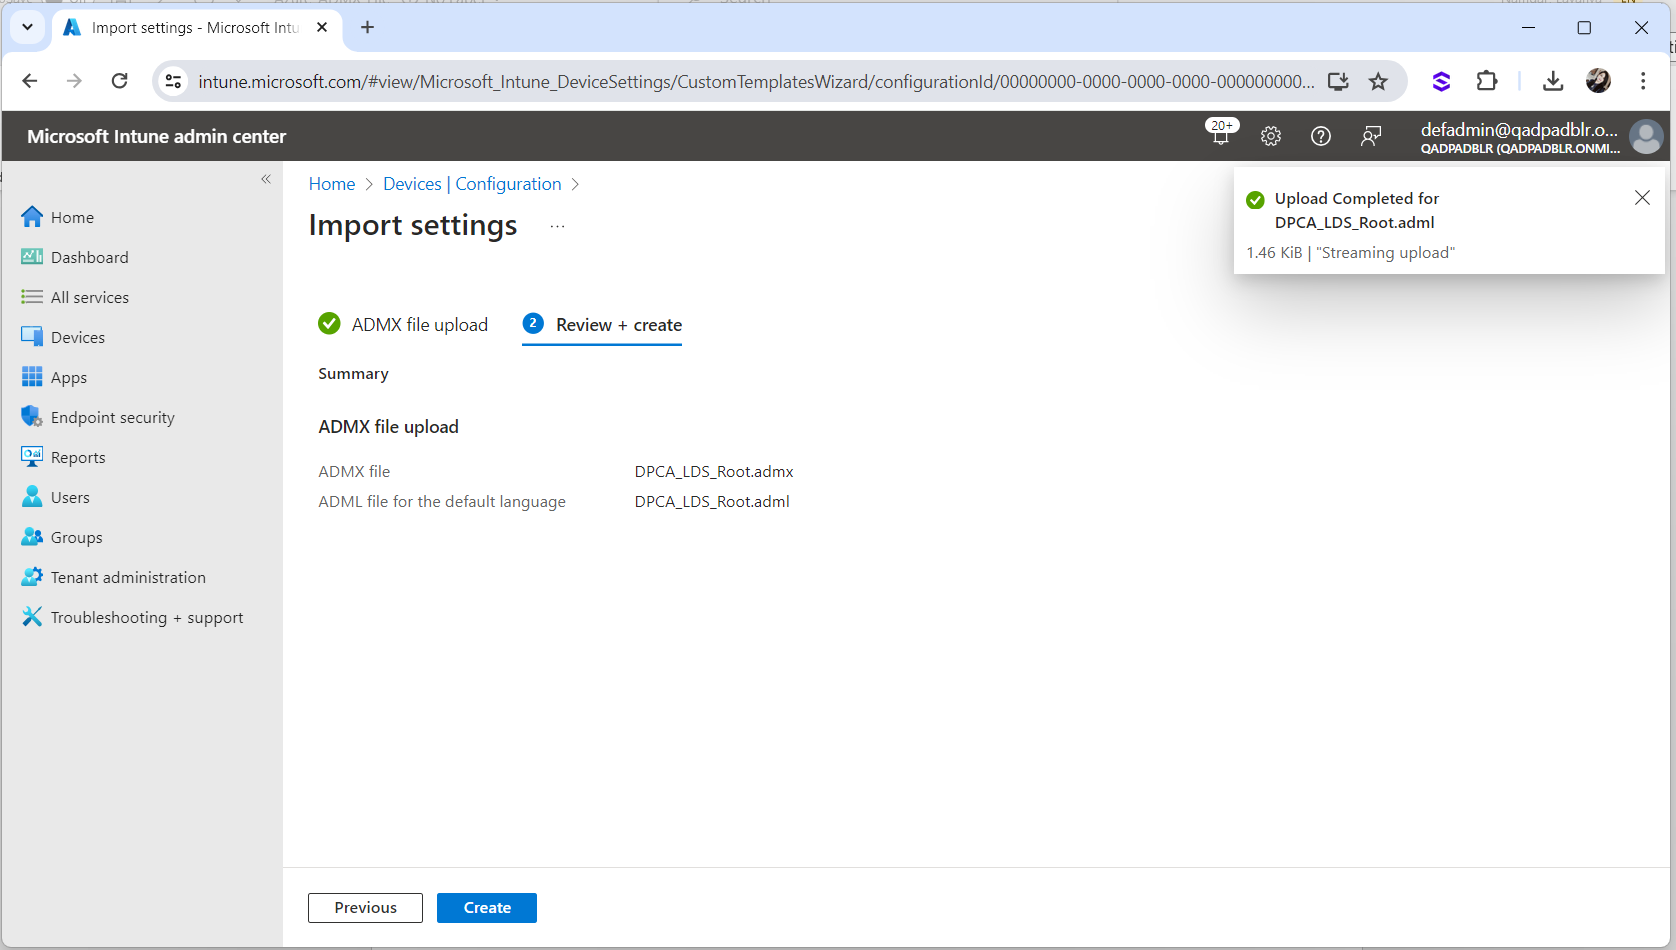
Click Next.
-
Click Create.

“Upload in progress” should be displayed:
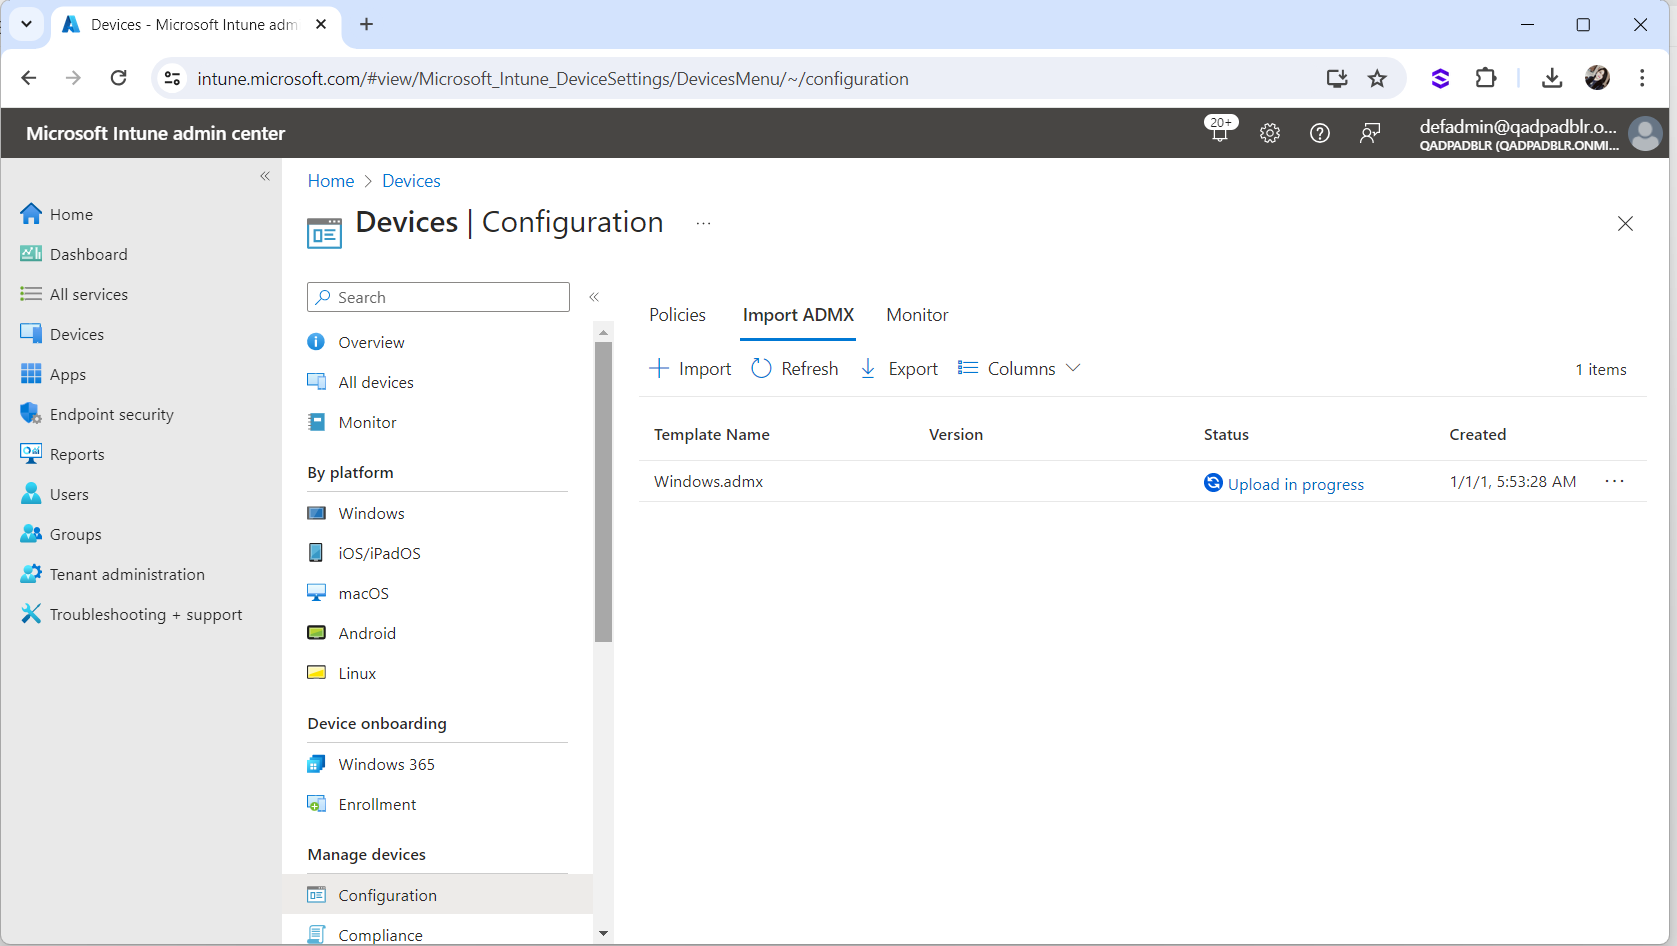
-
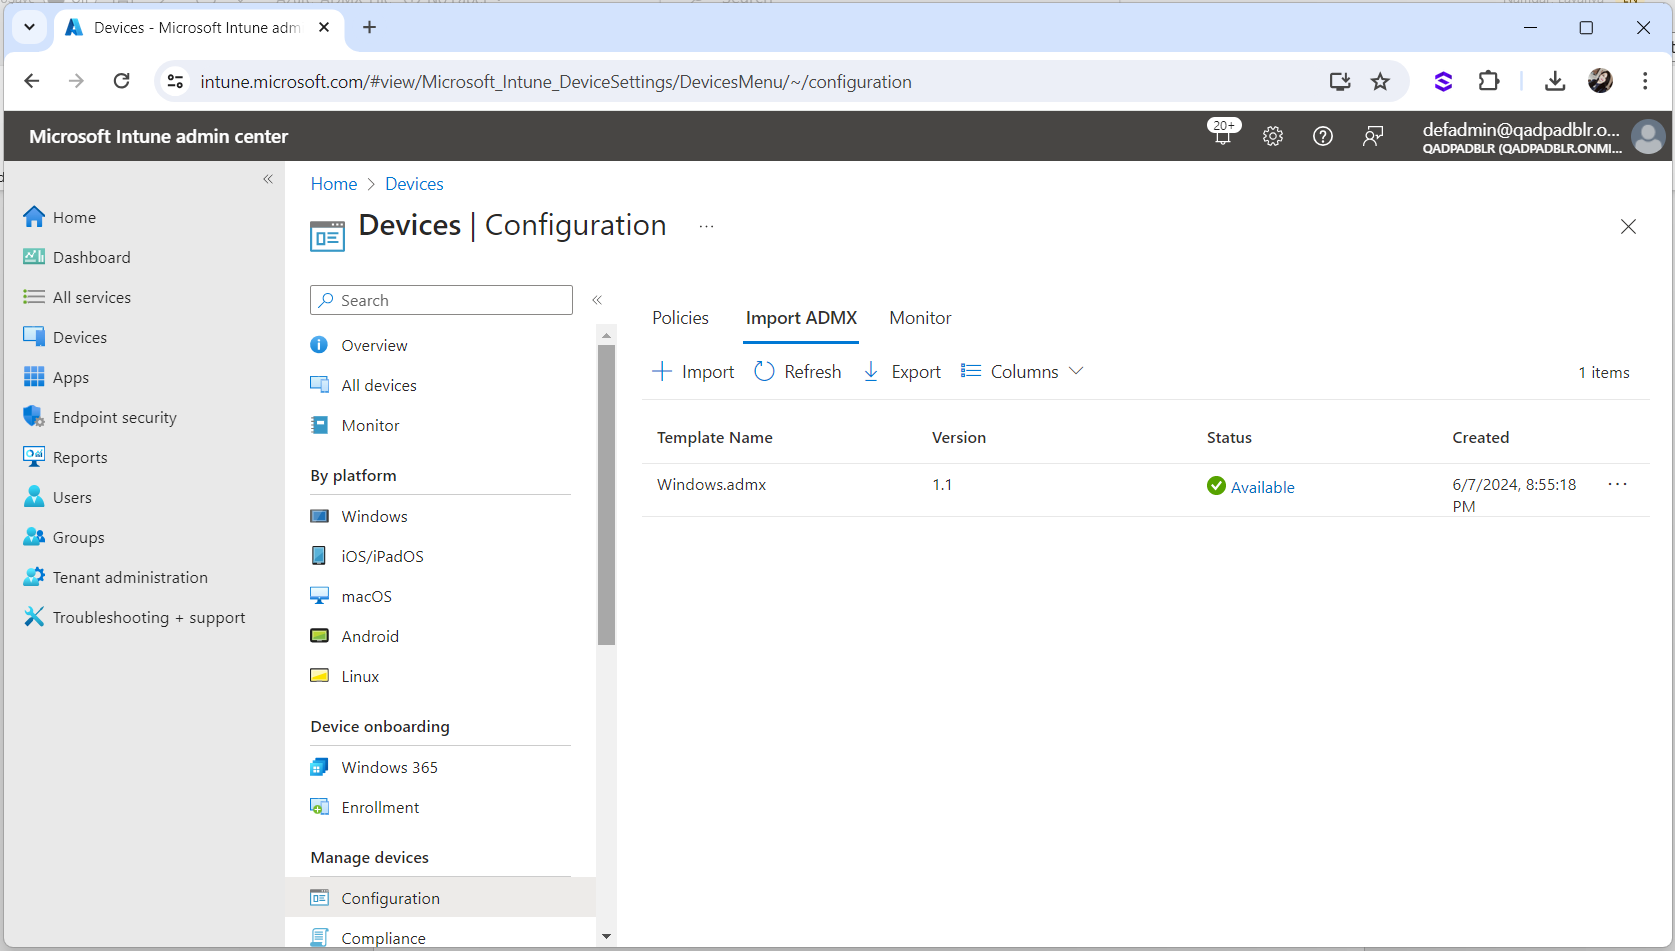
The Upload will take a few minutes. Keep refreshing until the status is shown as “Available”.
-
Open the DigitalPersona LDS Azure Administration Tools package which should have following contents:
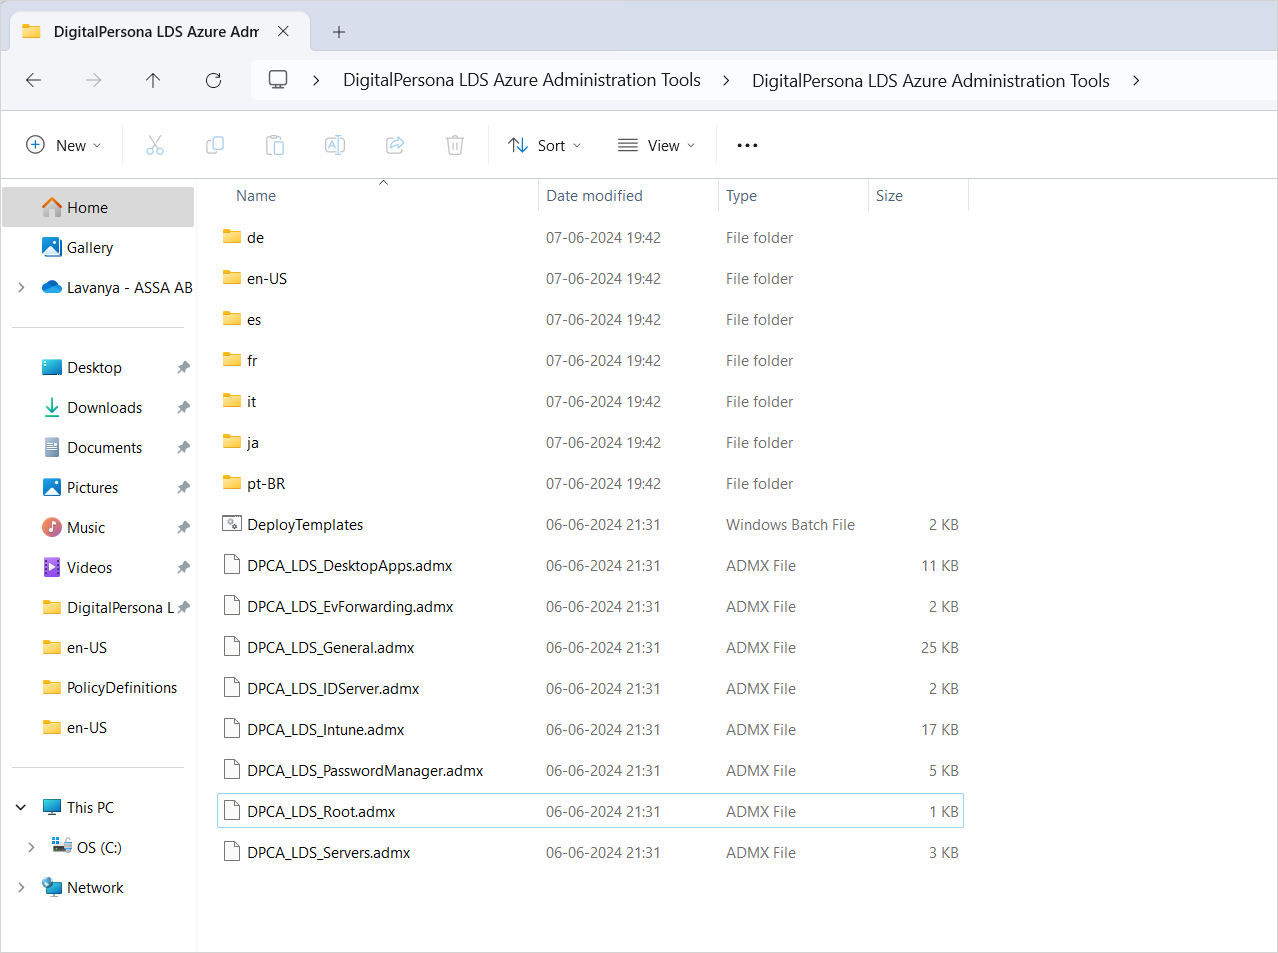
-
In the Microsoft Intune admin center, go to Devices and then Configuration.
-
Click Import and click on
to browse to the ADMX file from the DigitalPersona LDS Azure Administration Tools package as illustrated below: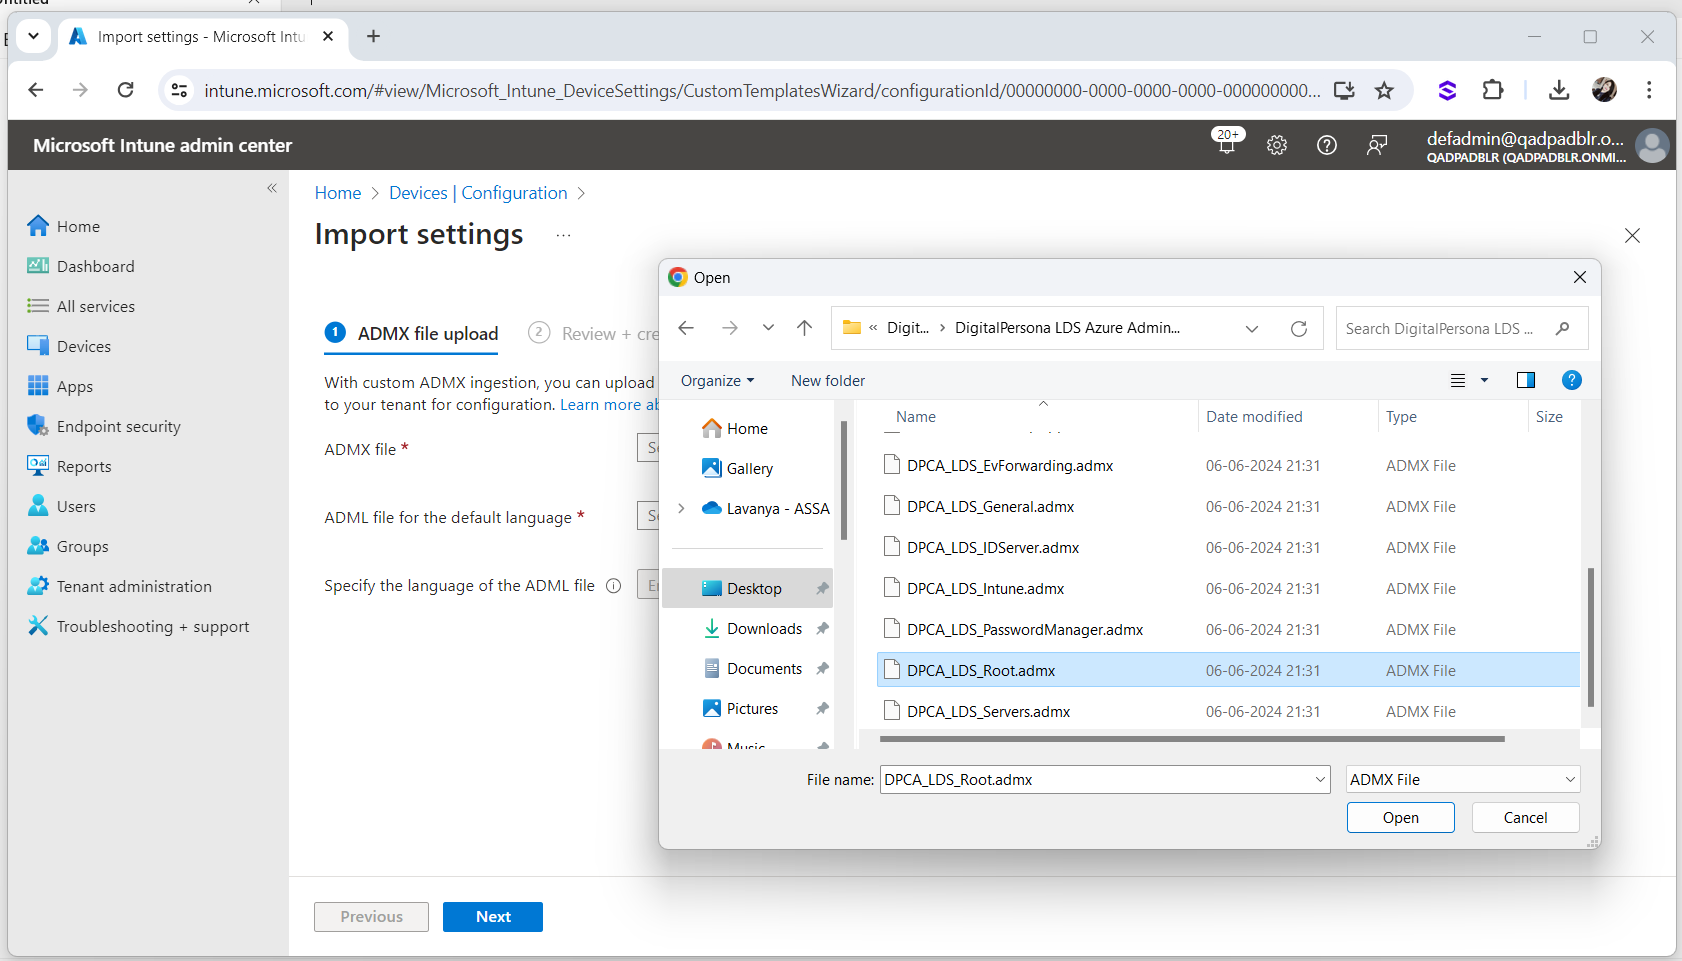
-
Select the DPCA_LDS_Root.admx file.
-
Click on
to browse to select the ADML file and go to the en-us directory in the package and select the DPCA_LDS_Root.adml file:
-
Click Next and then Create.
“Upload in Progress” should be displayed as status.
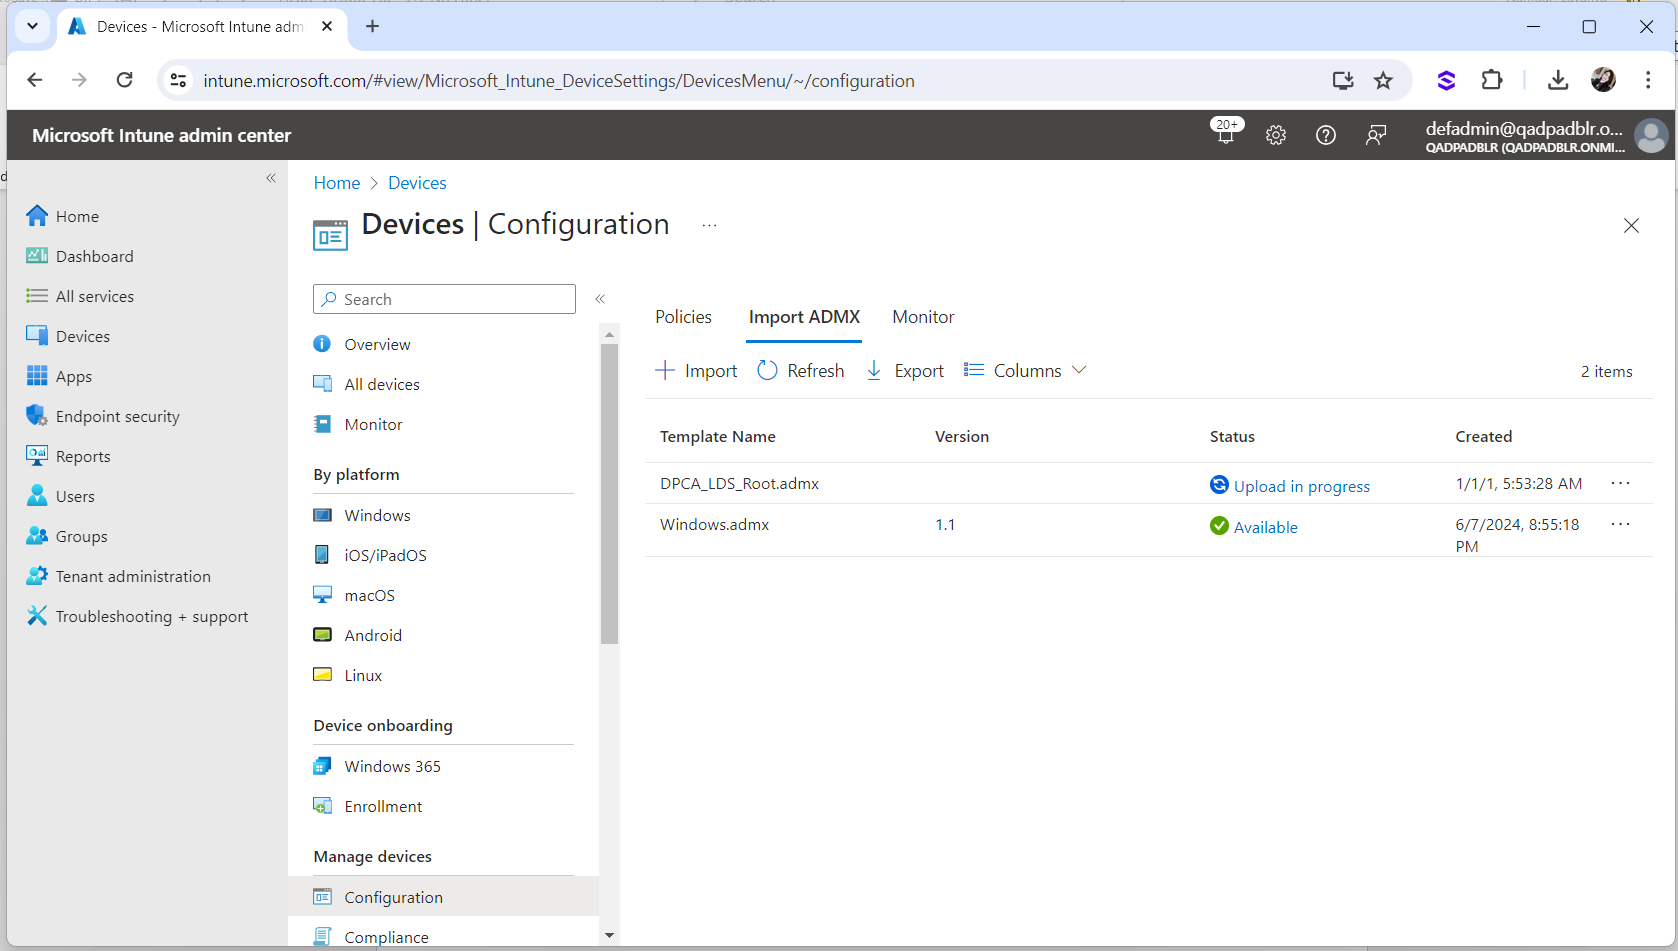
-
Wait until the ADMX file is uploaded and the status is updated to "Available" as illustrated below:
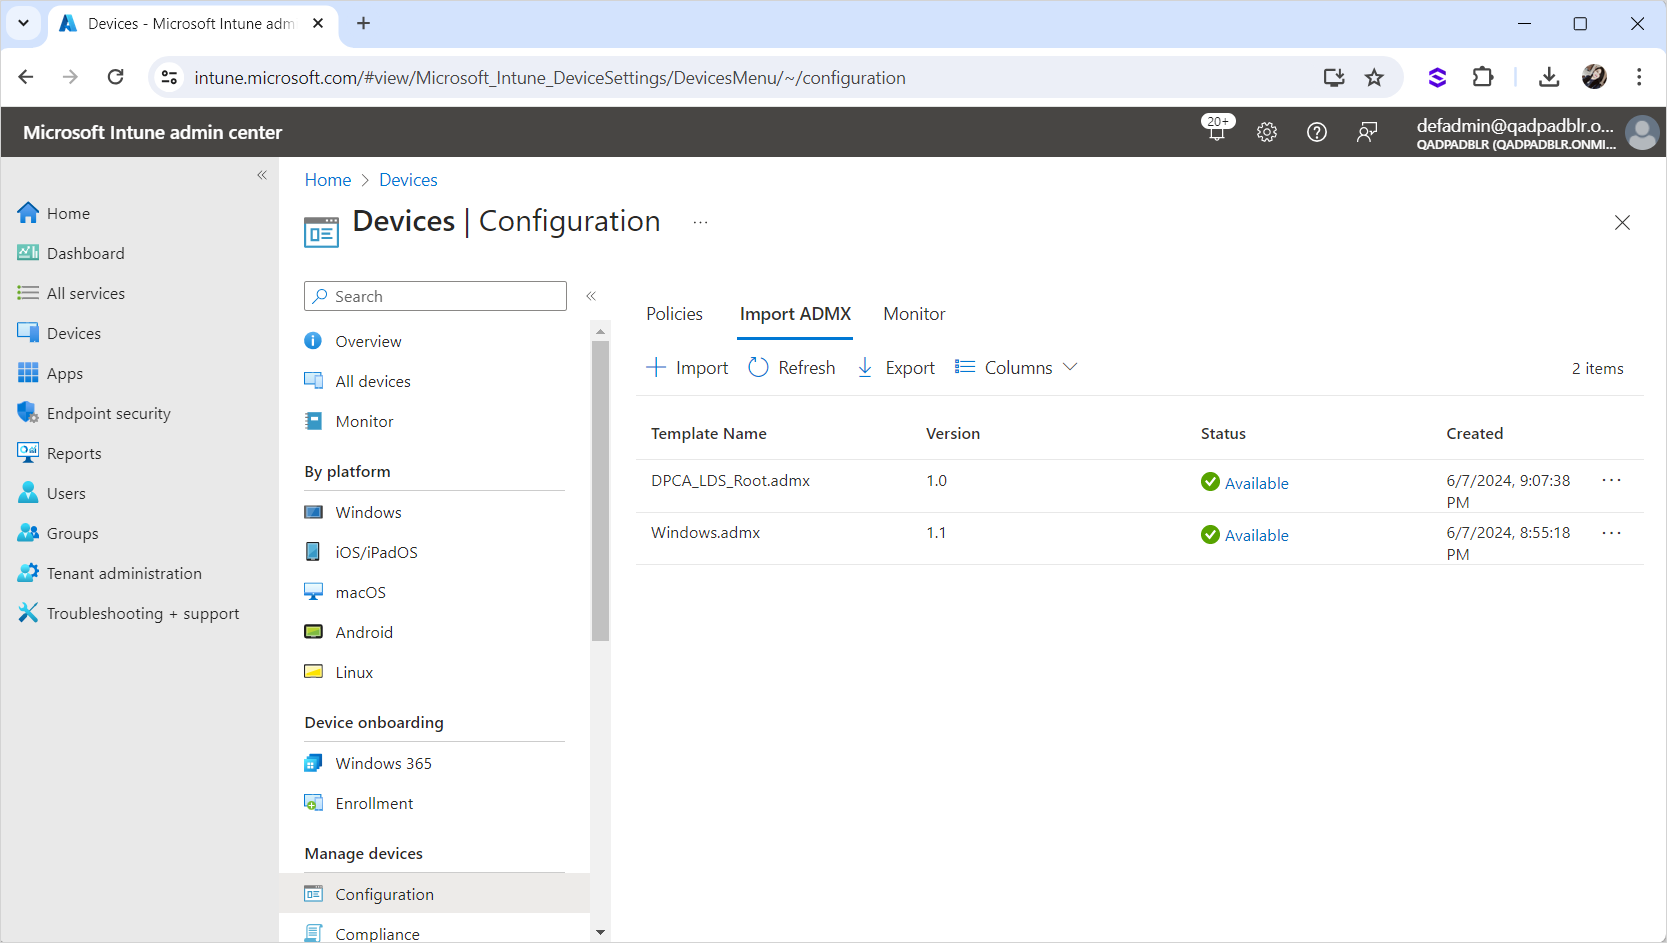
-
Repeat the same steps for remaining ADMX files and their respective ADML files.
Important: The DigitalPersona ADMX files should be uploaded in the below sequence or else the upload will fail:DPCA_LDS_Root.admx
DPCA_LDS_General.admx
DPCA_LDS_Servers.admx
DPCA_LDS_IDServer.admx
DPCA_LDS_Intune.admx
DPCA_LDS_DesktopApps.admx
DPCA_LDS_PasswordManager.admx
DPCA_LDS_EvForwarding.admx
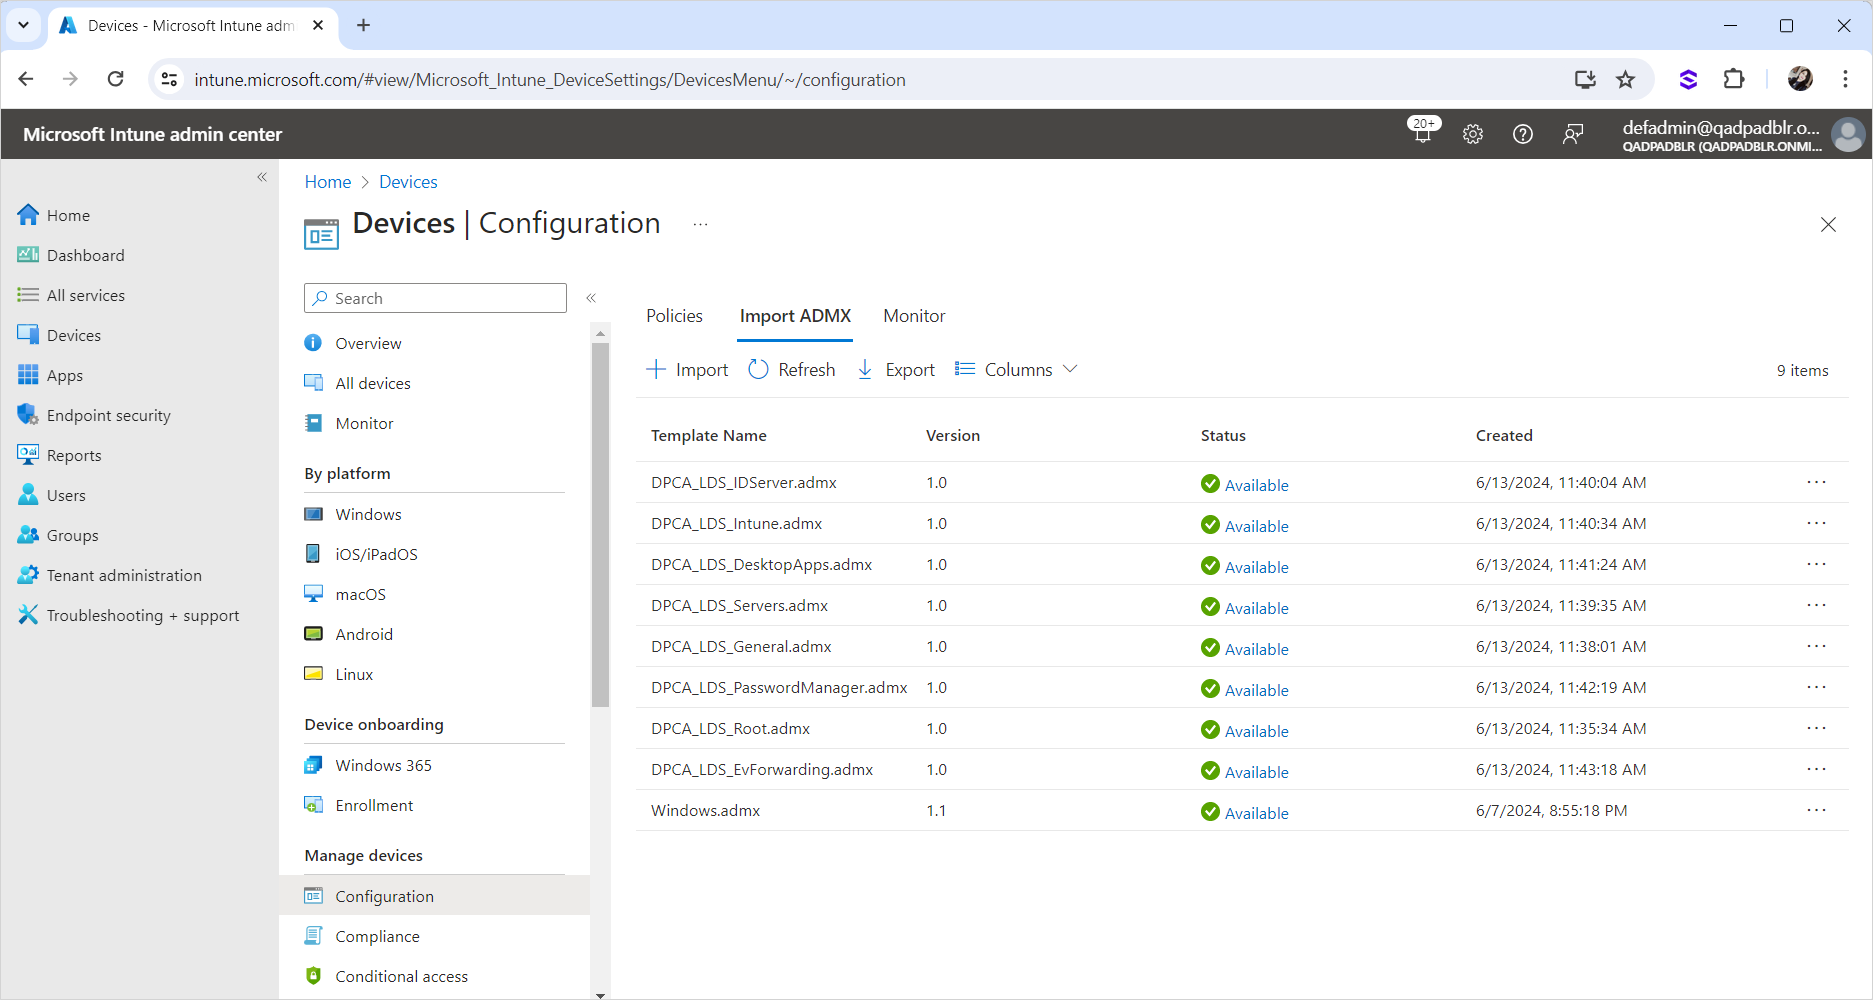
-
Once all the ADMX files are imported, they should be listed as illustrated below:
Set Up DigitalPersona Policies for Devices
After uploading all the ADMX files, to apply the DigitalPersona policies to the connected Devices, create a policy using the following steps.
-
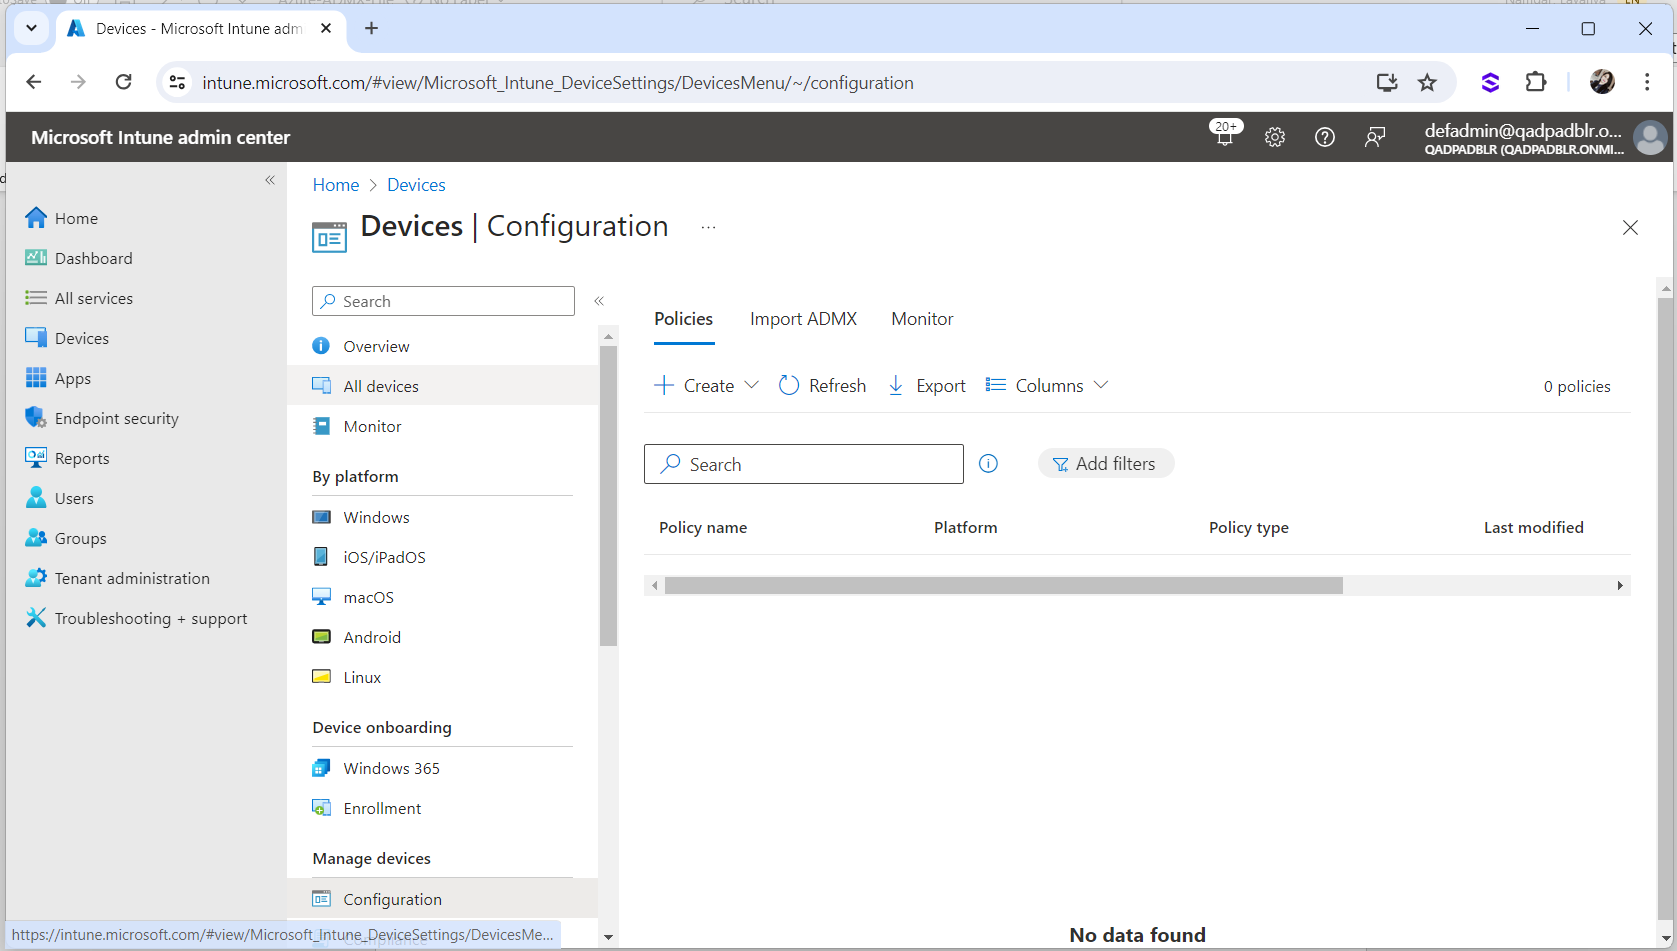
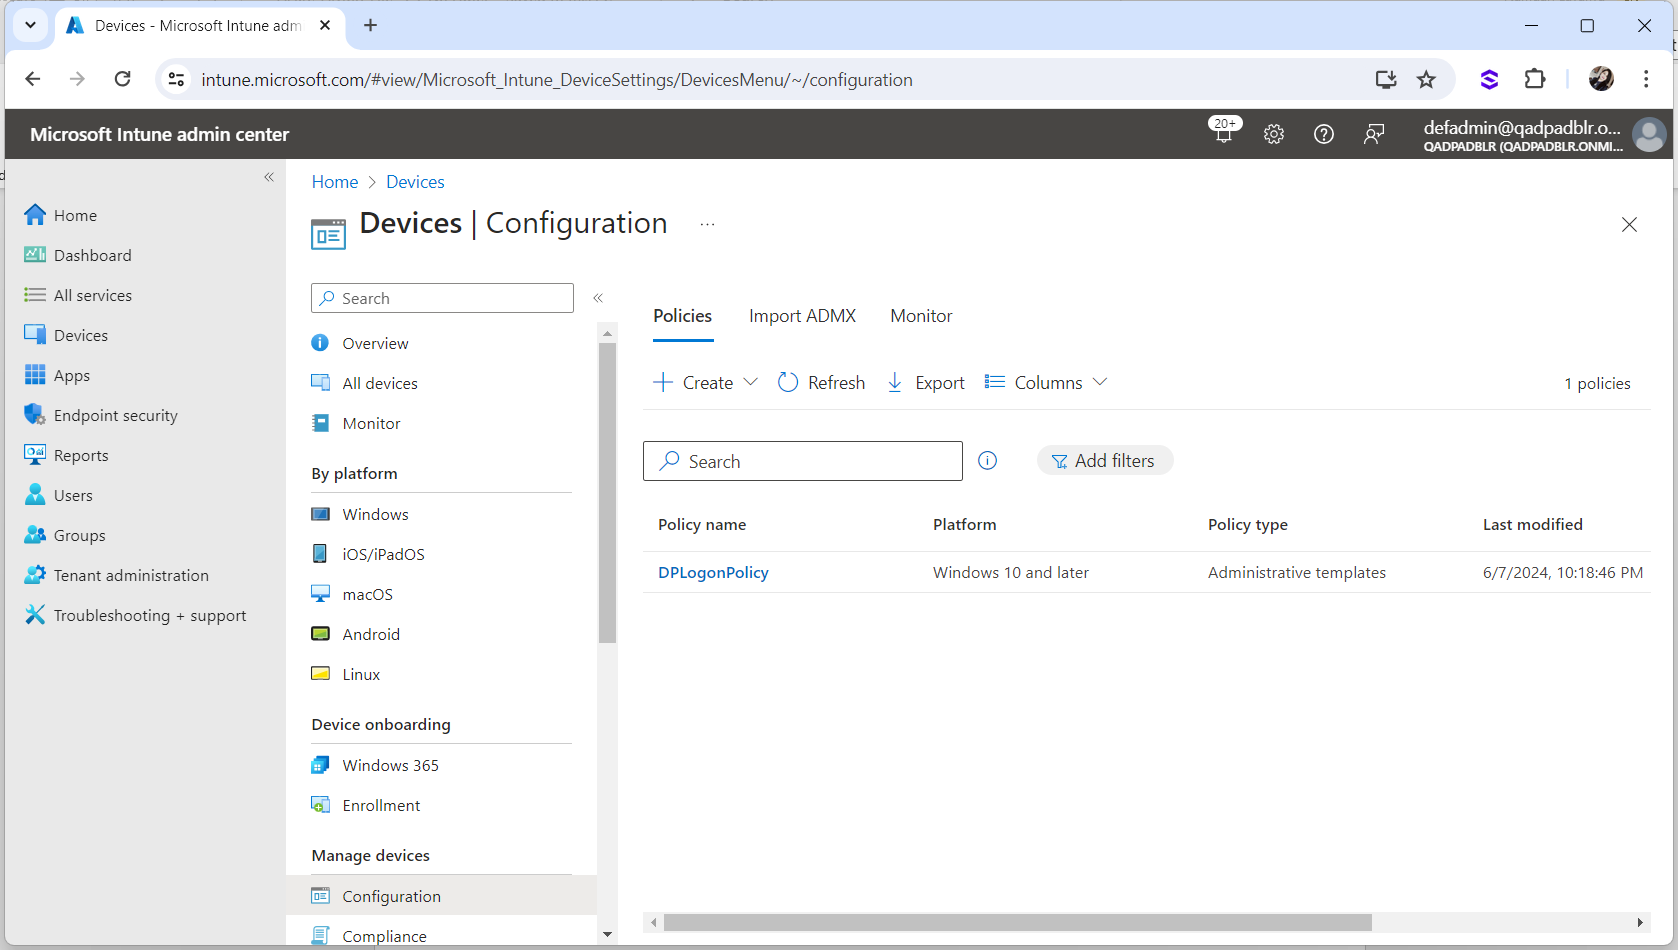
In the Microsoft Intune admin center, select Devices, Configuration and then Policies.
-
Click Create and select New Policy.
-
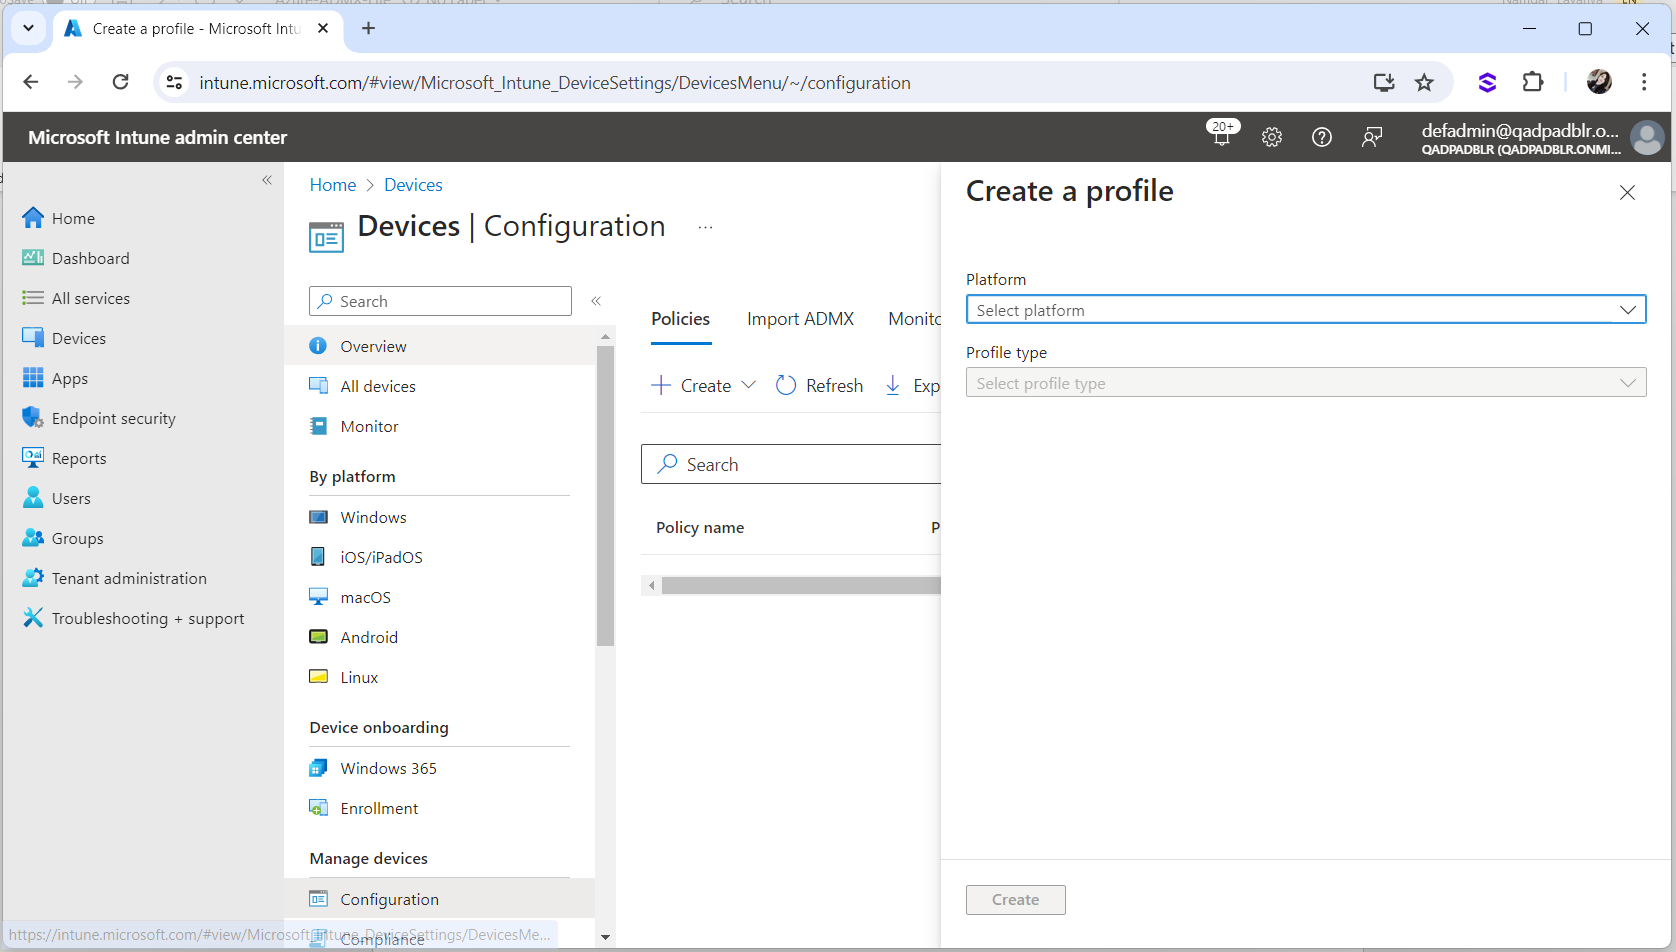
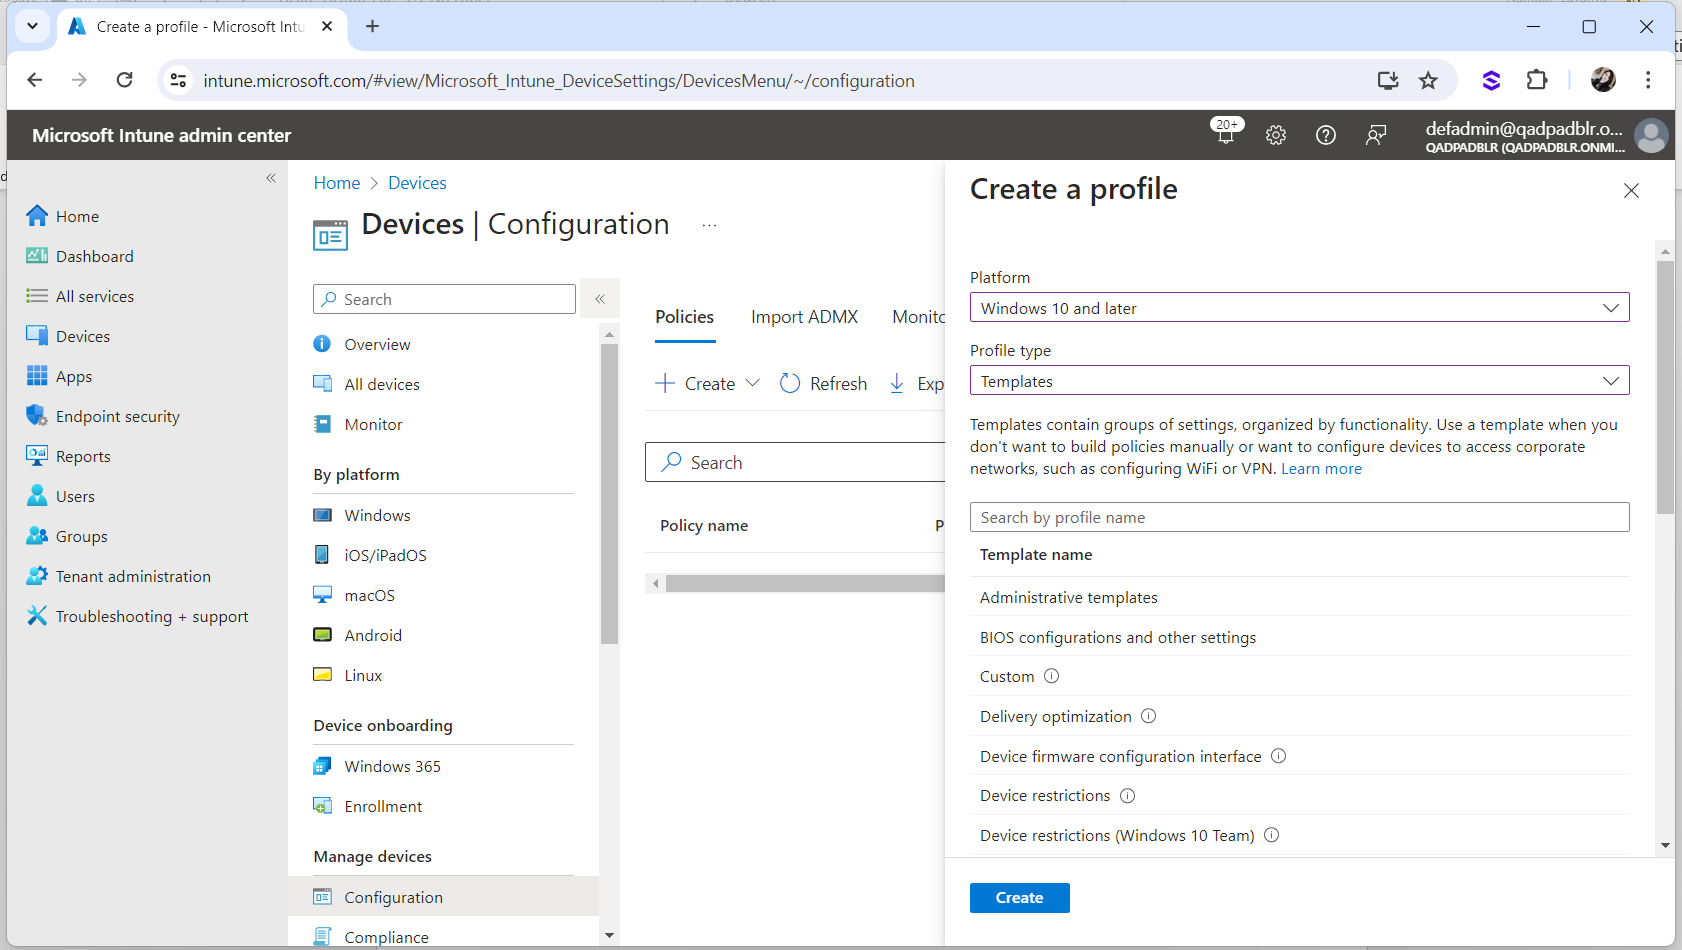
From the Platform drop-down list, select Windows 10 and later.
-
From the Profile type drop-down list, select Templates.
-
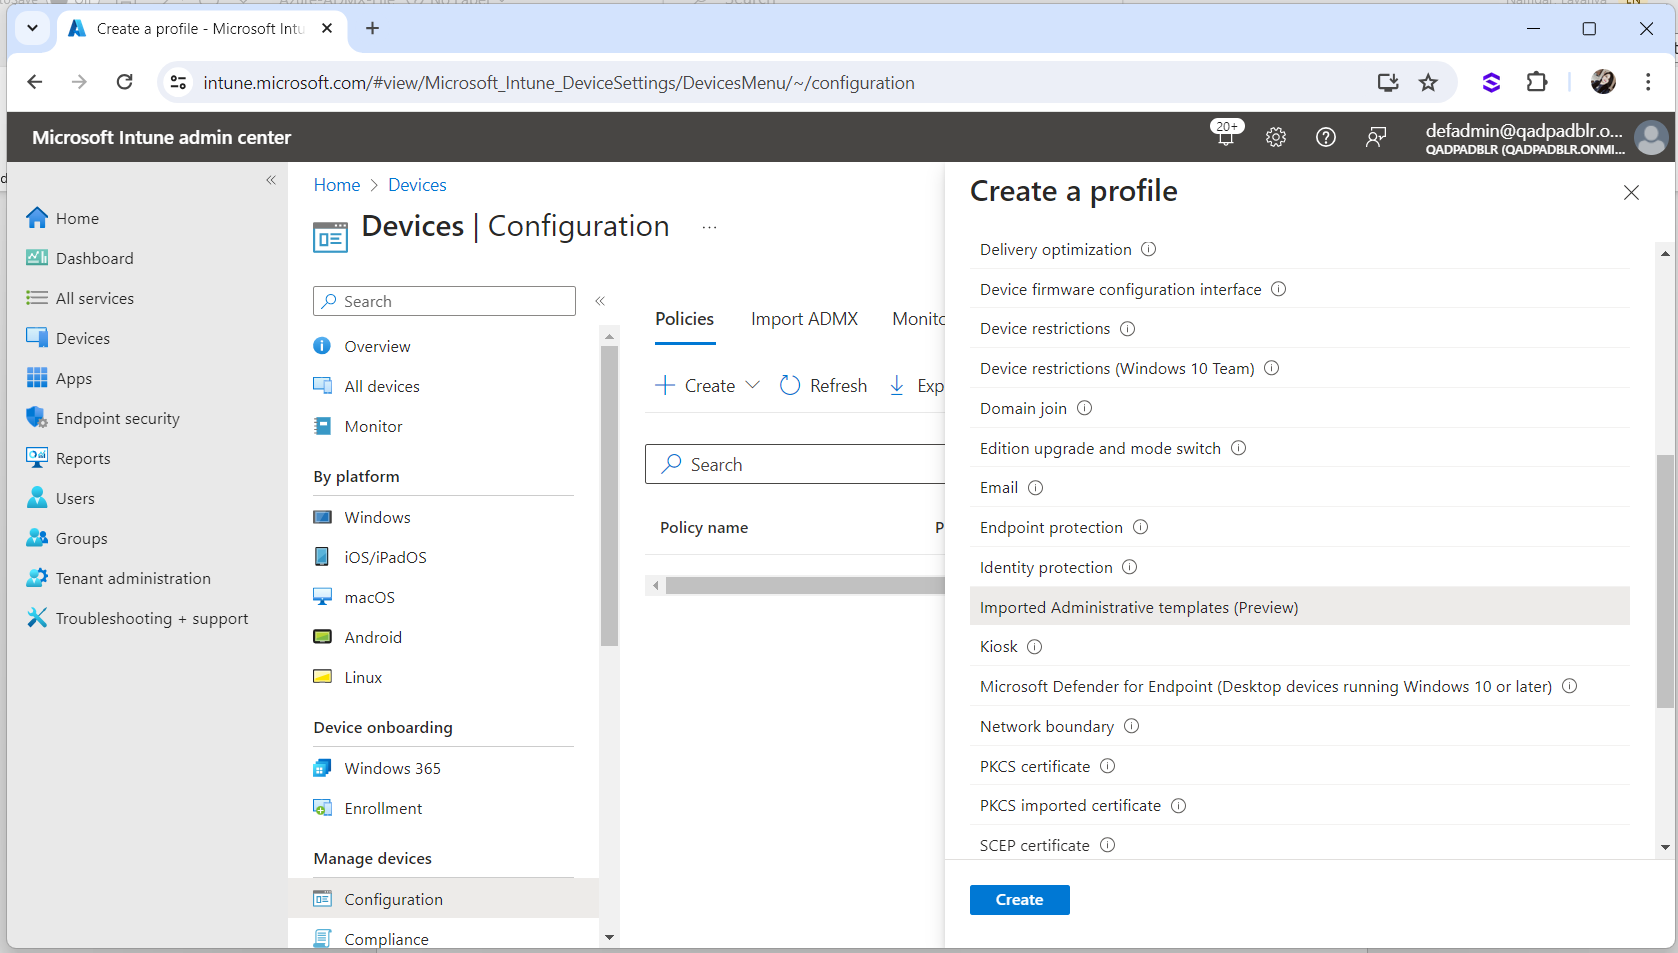
Select Imported Administrative Templates from the list of templates.
-
Click Create.
-
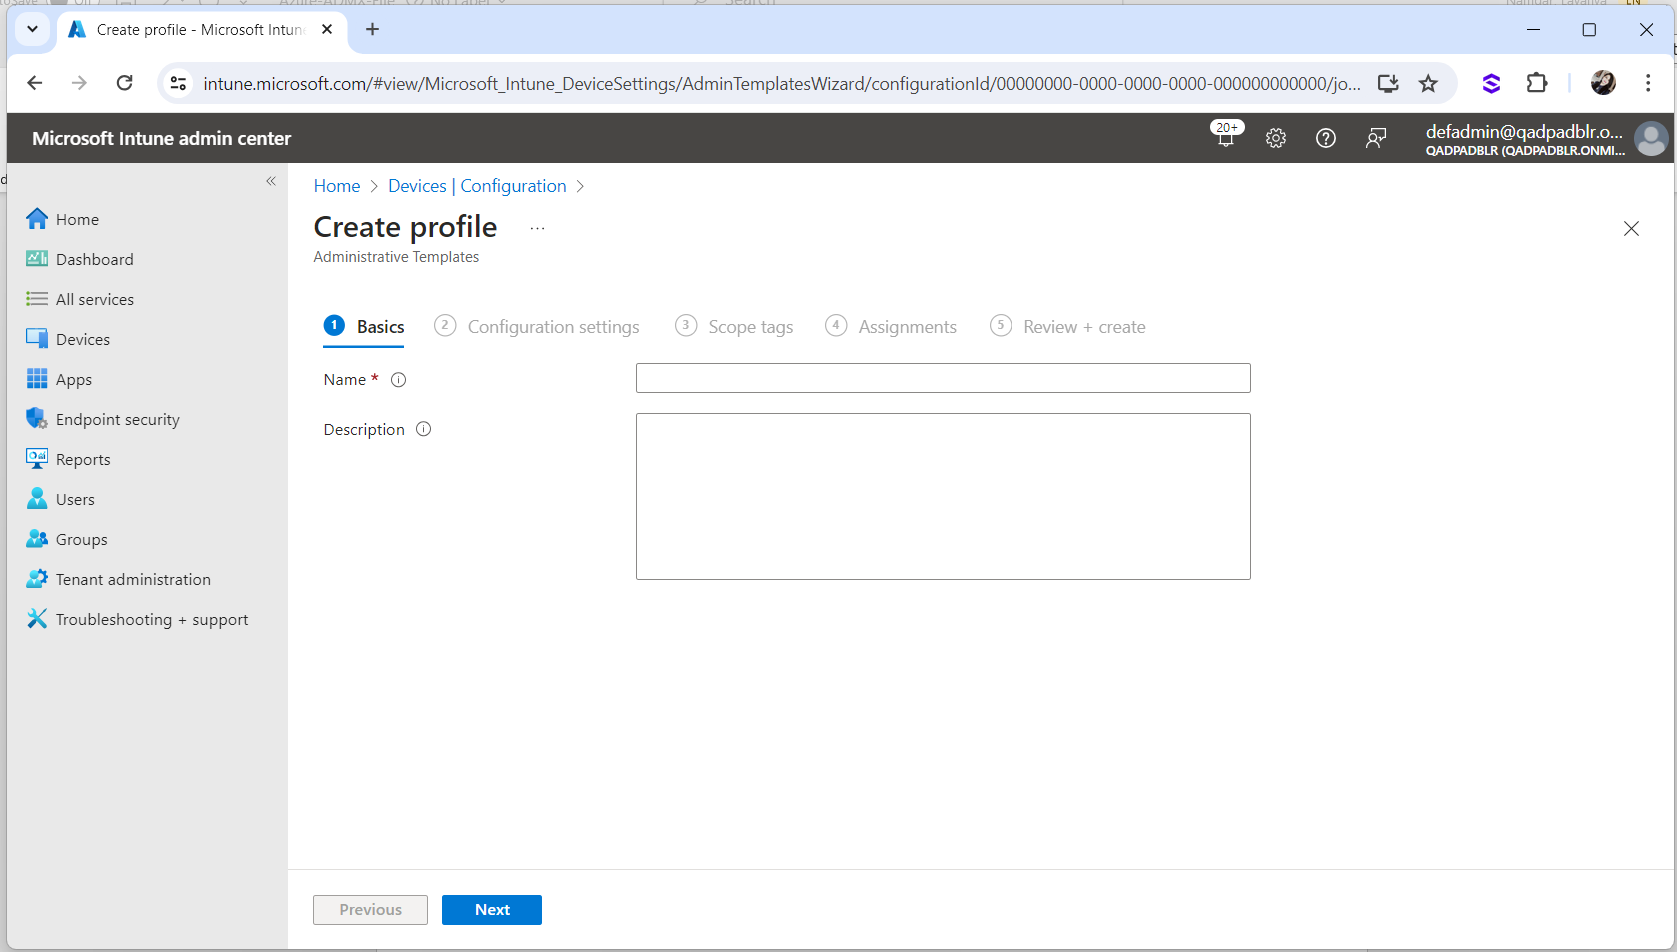
Enter a Name, and optionally a Description, for the profile.
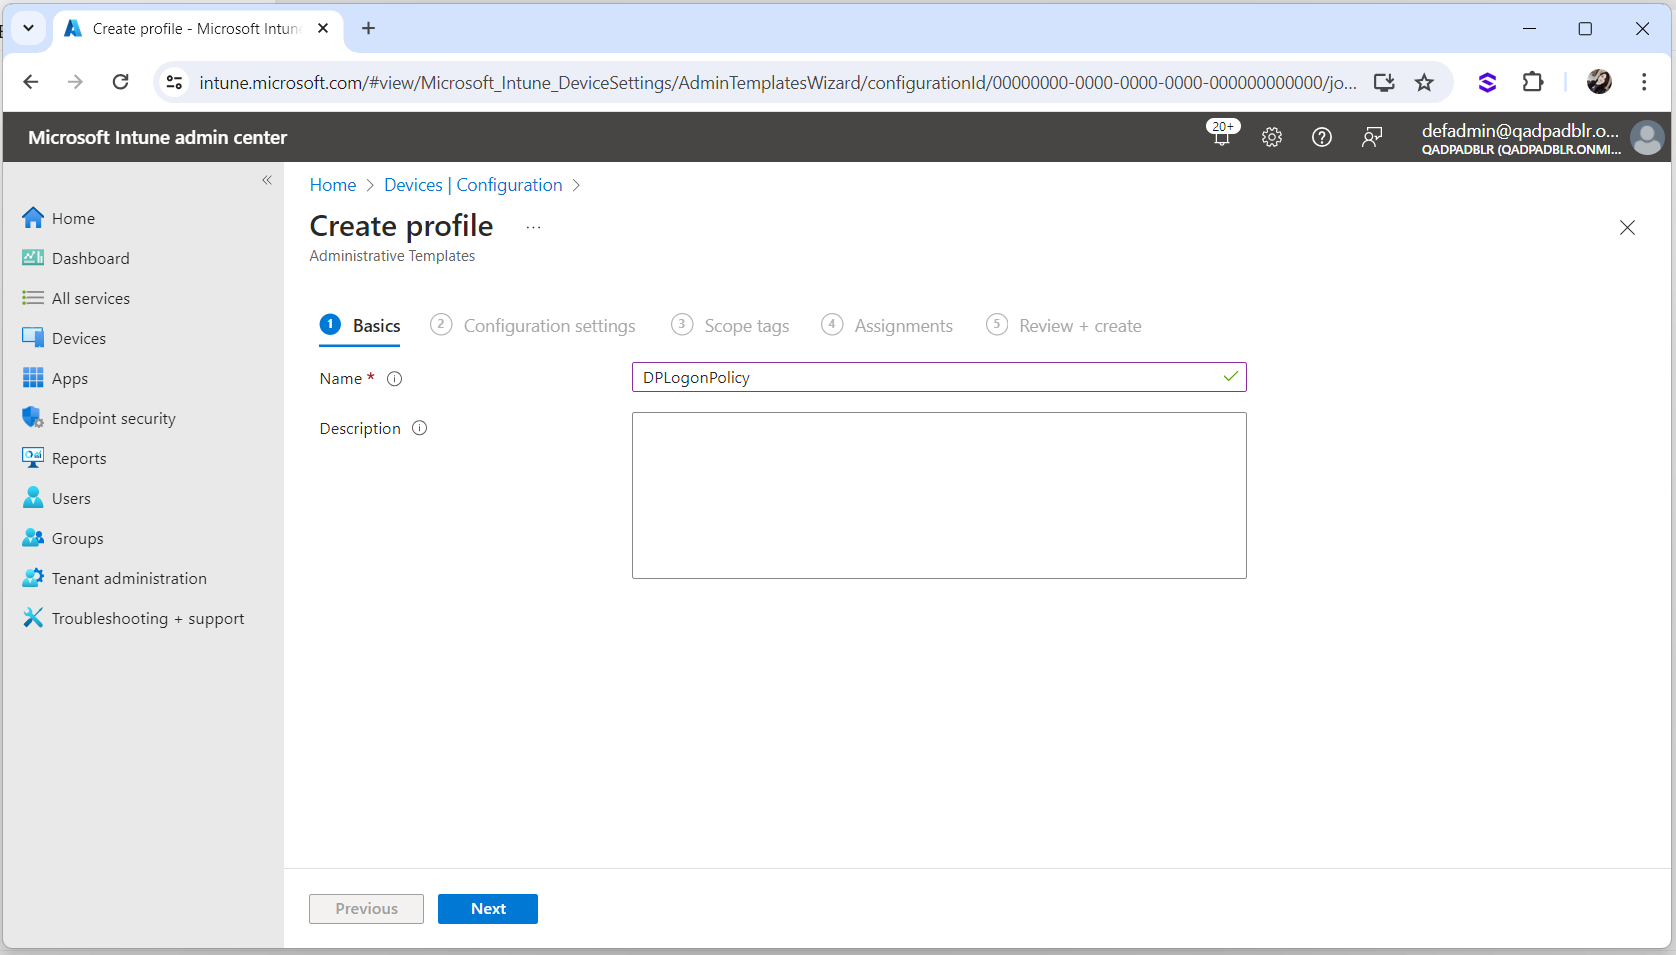
-
Click Next.
-
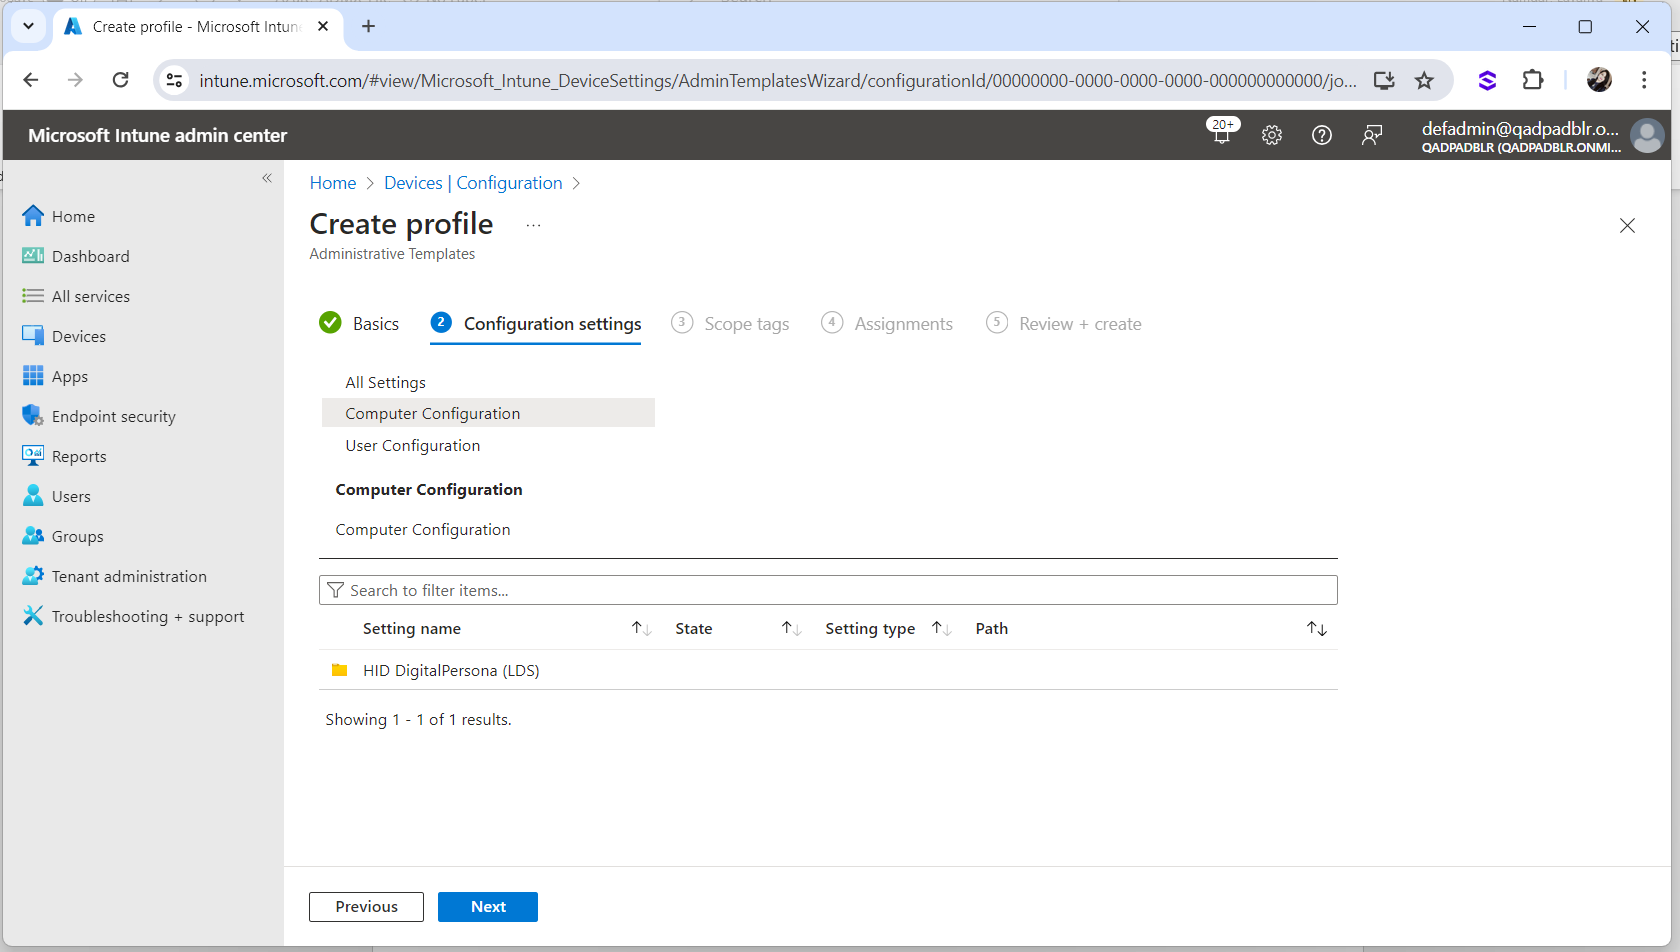
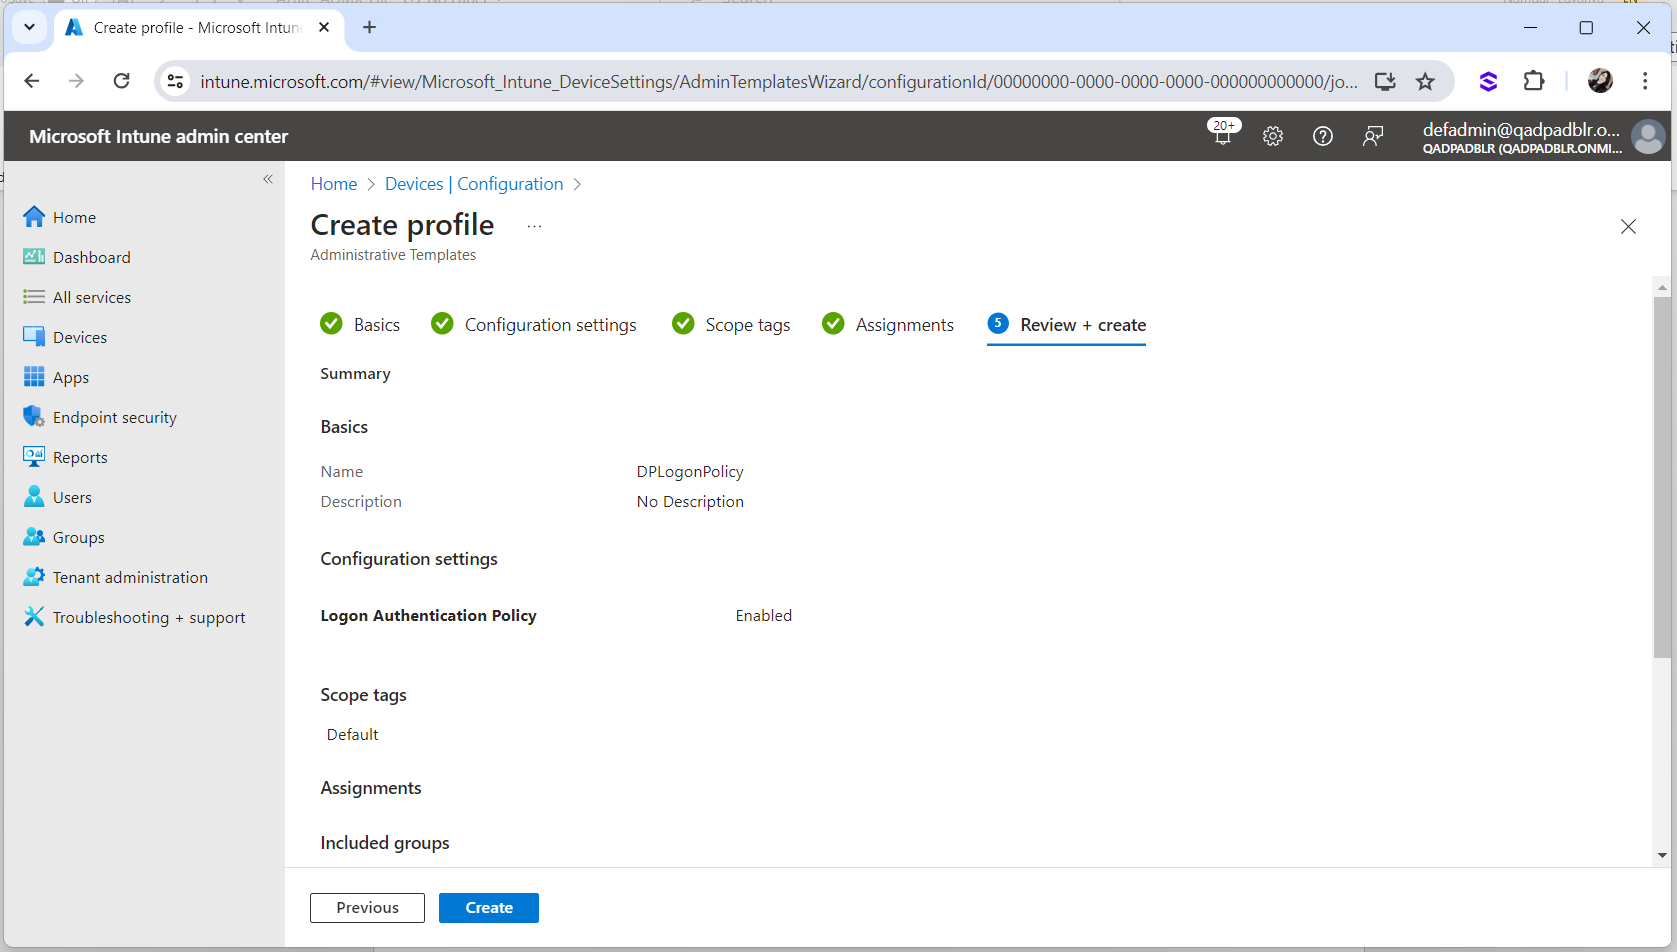
Select the GPO Setting.
For example, to set a Logon policy, navigate through the DigitalPersona Authentication Policies for Intune as illustrated below:
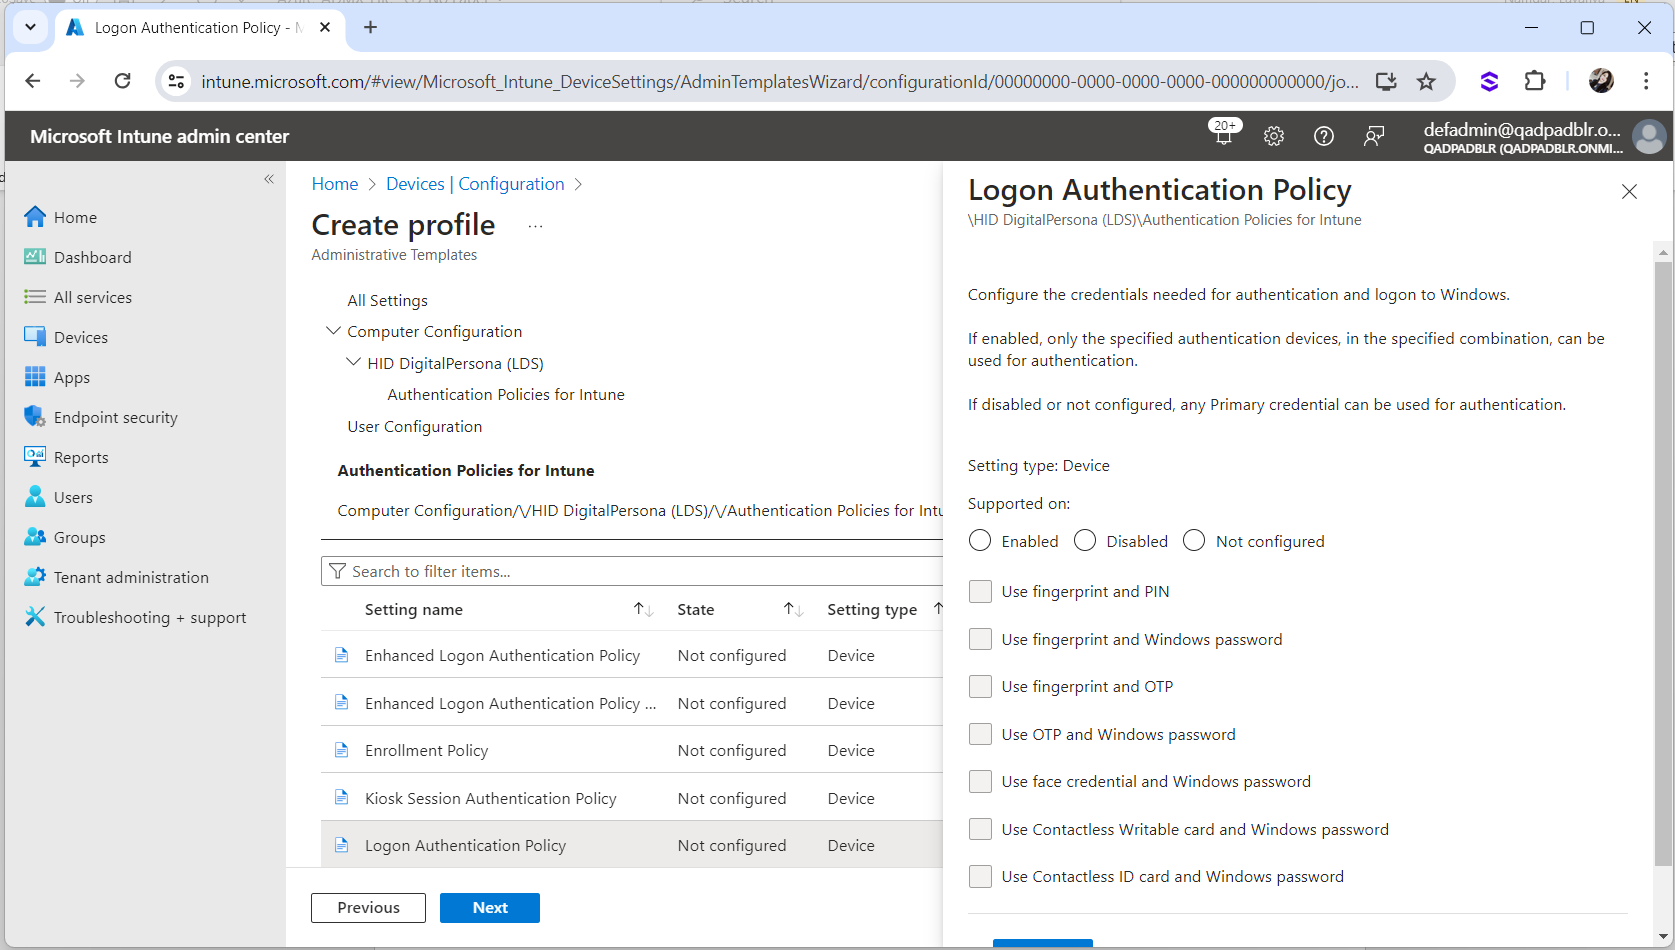
-
Select Use OTP and Windows password and click OK.
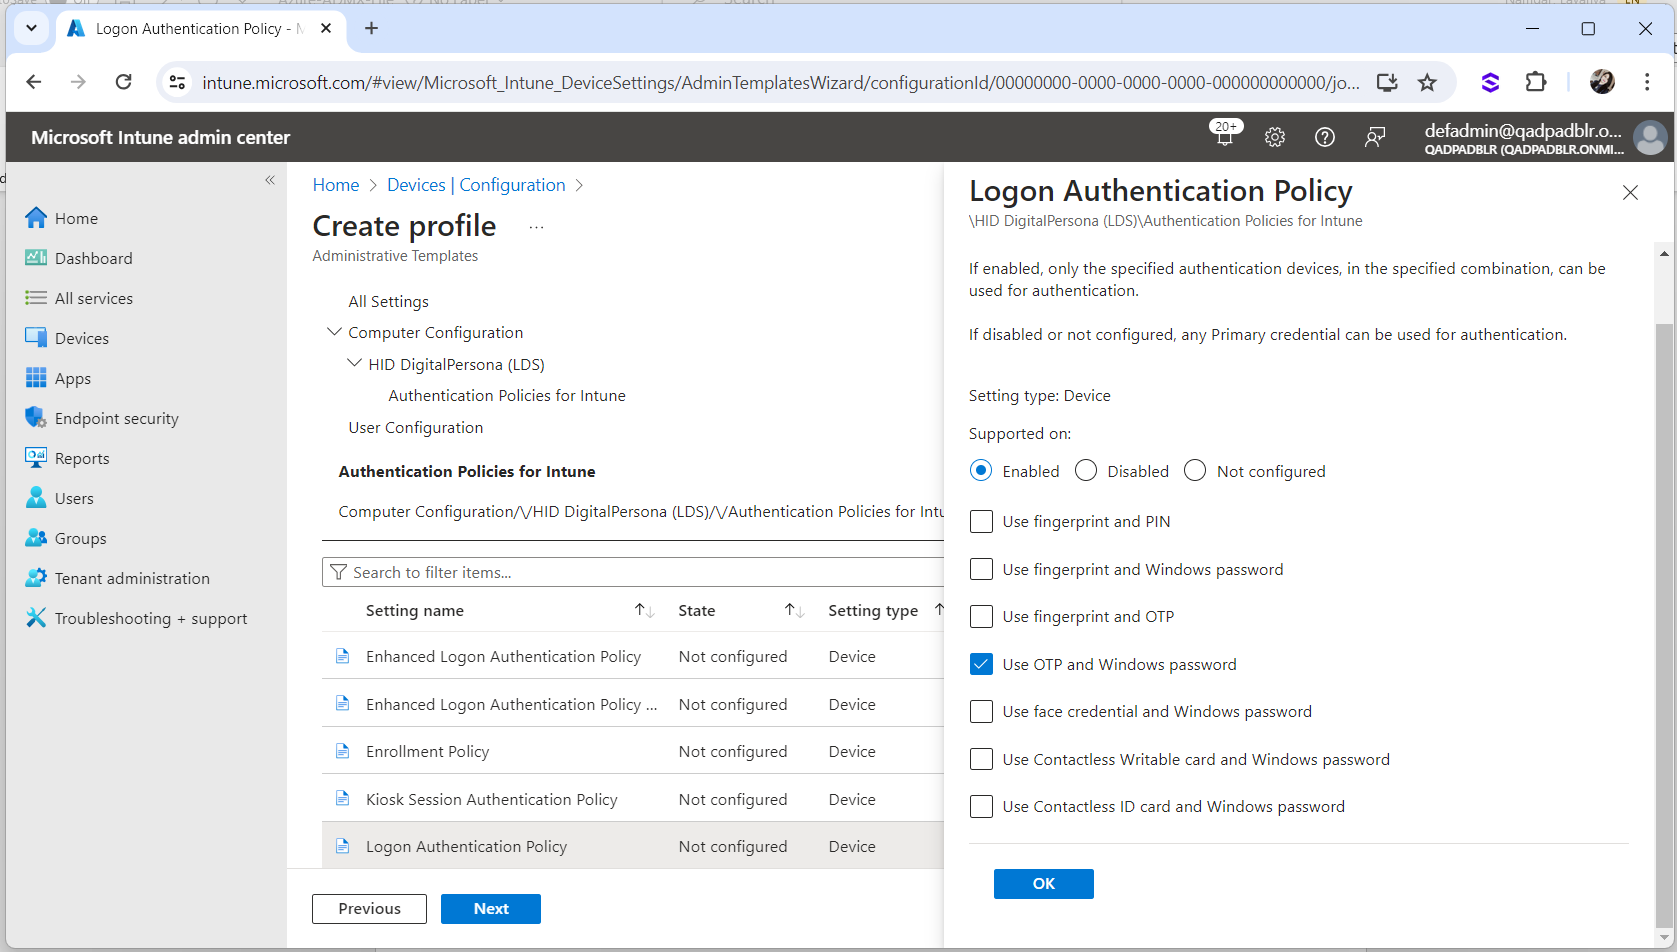
-
Make sure the Logon Authentication Policy is set to Enabled.
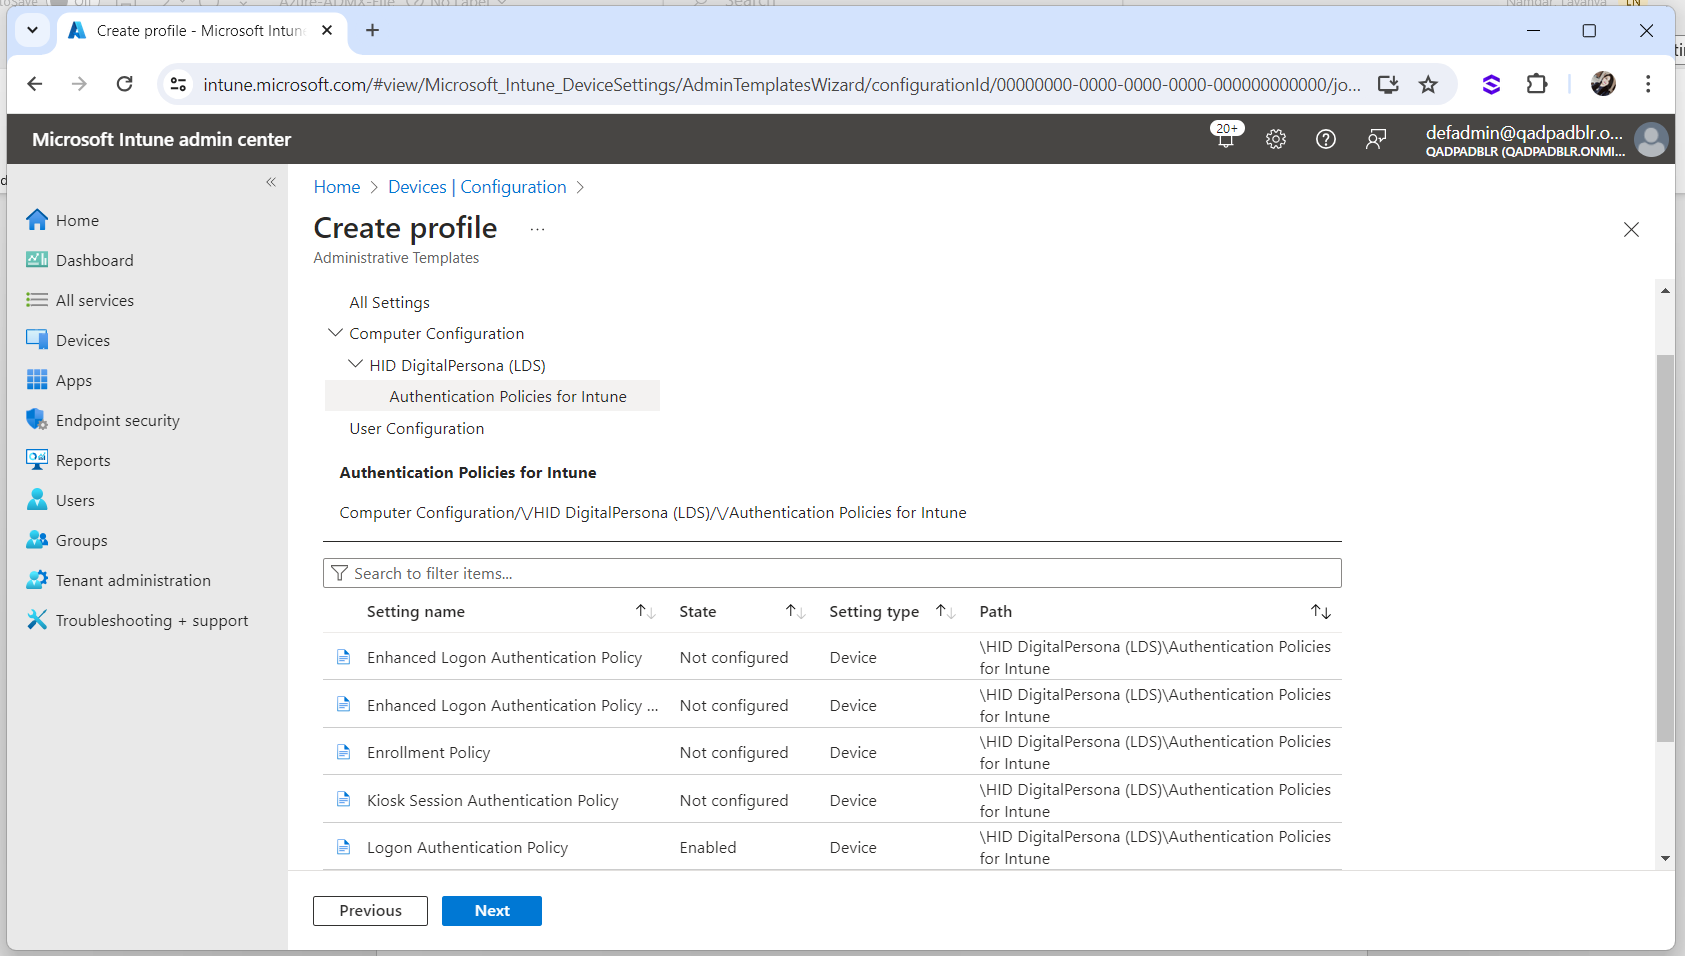
-
Click Next.
-
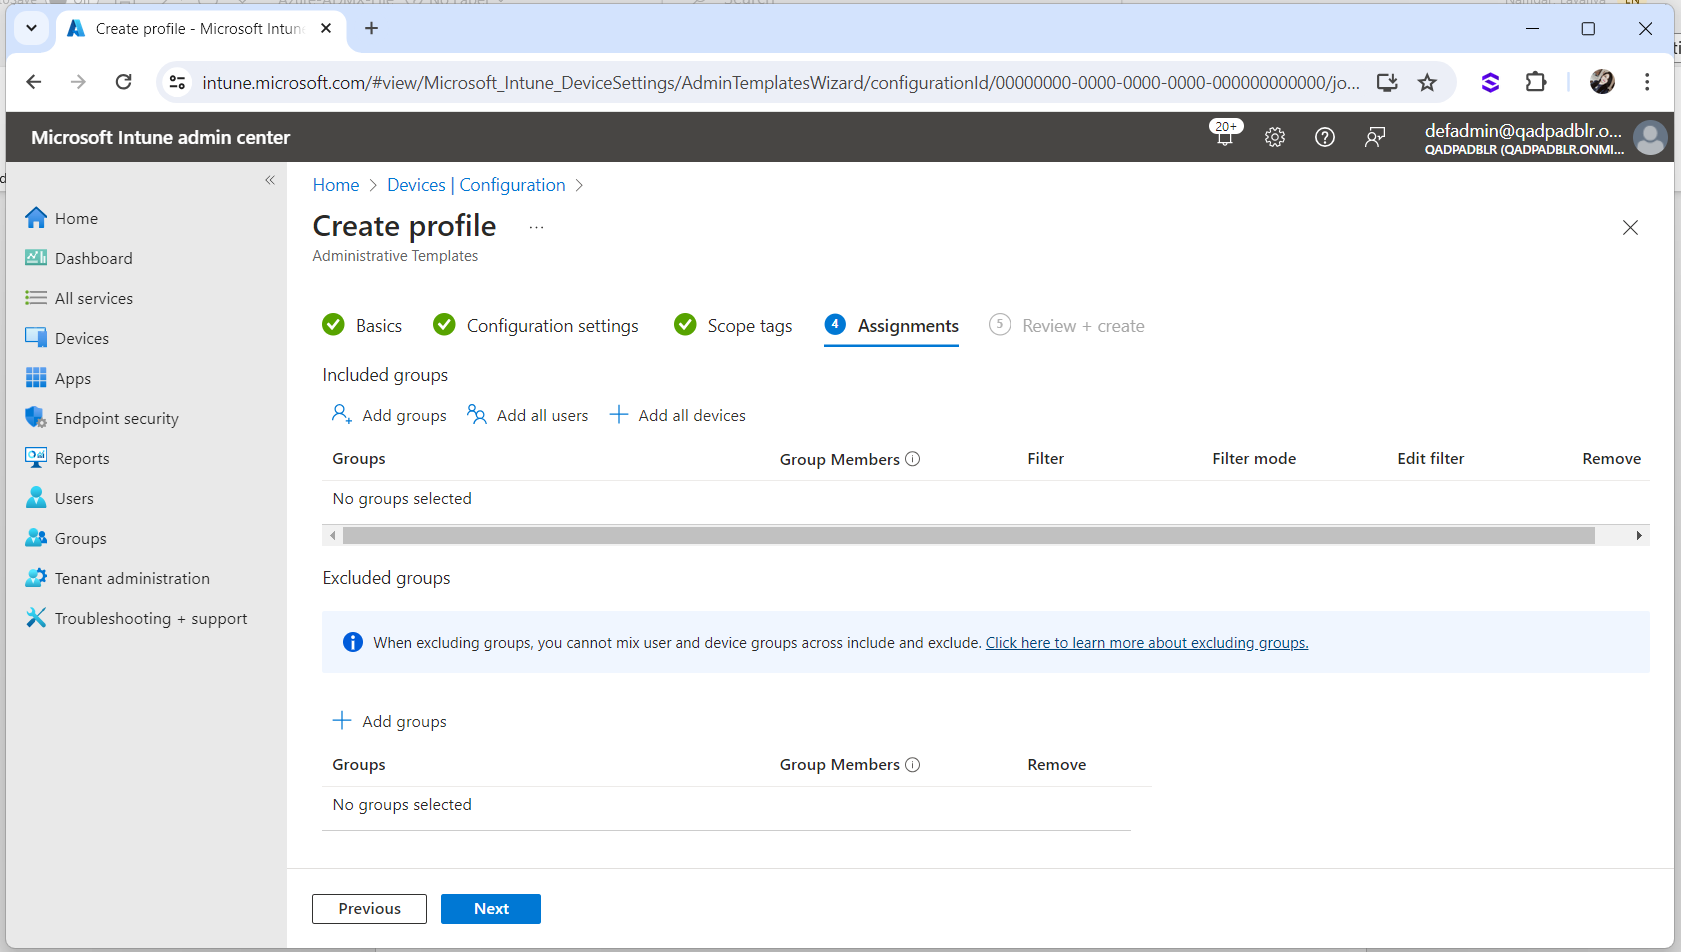
Click Next in Scope tags page to proceed to the Assignments page.
-
Select Add groups.
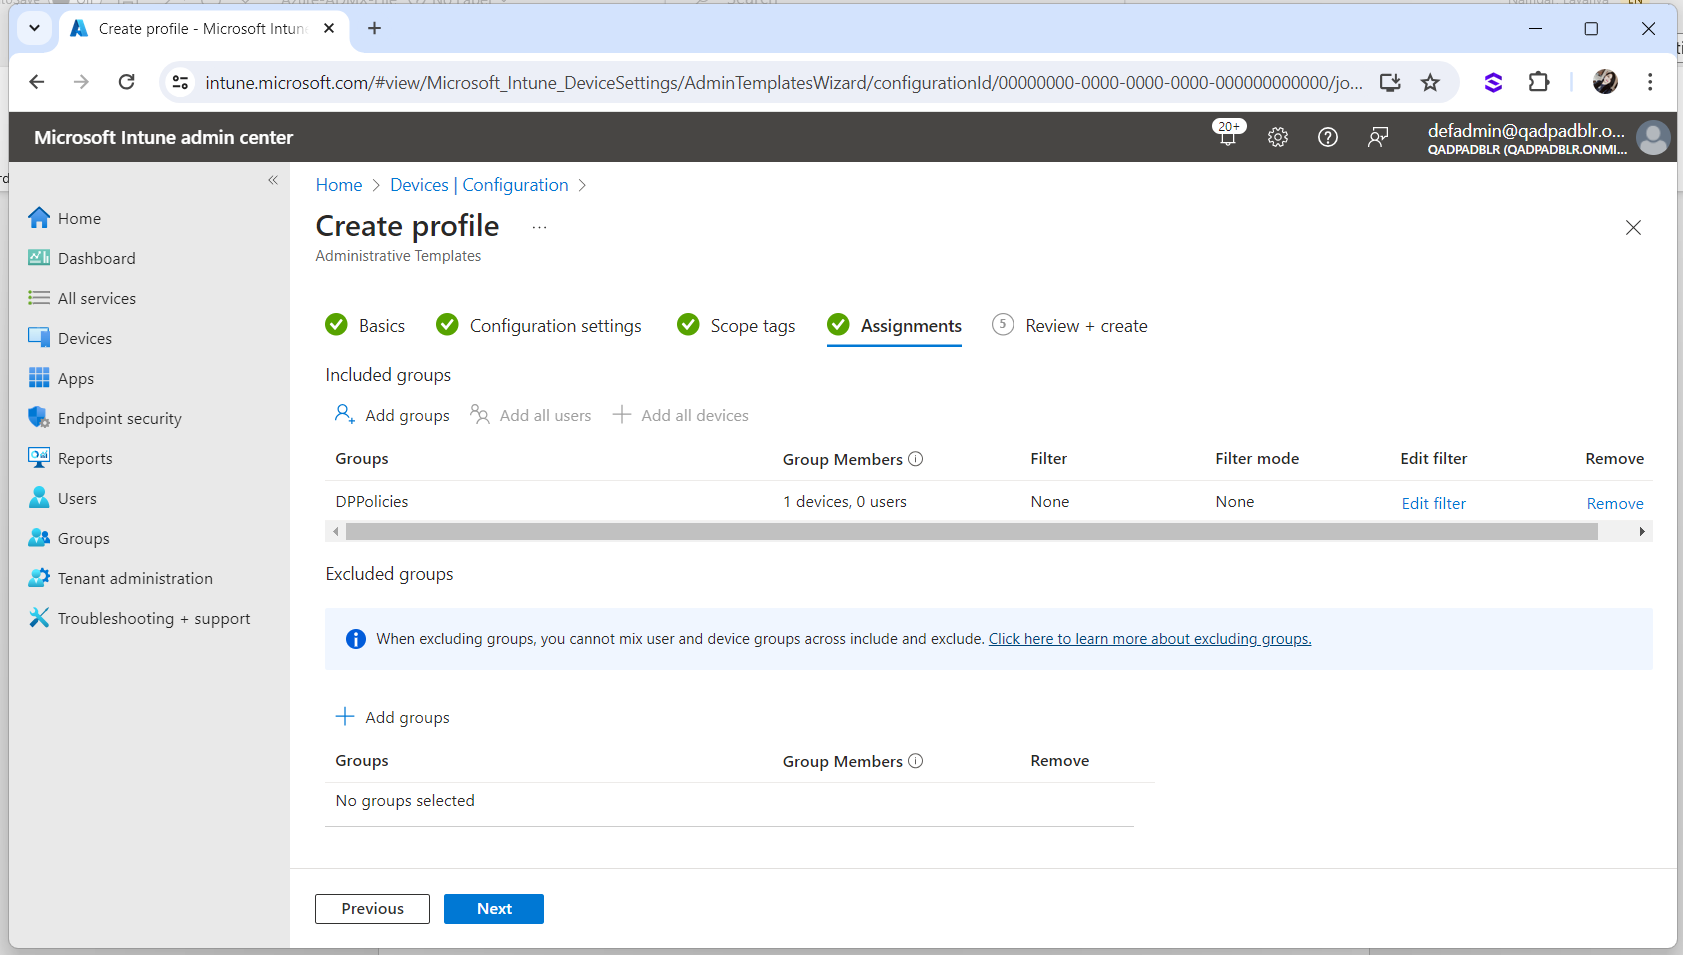
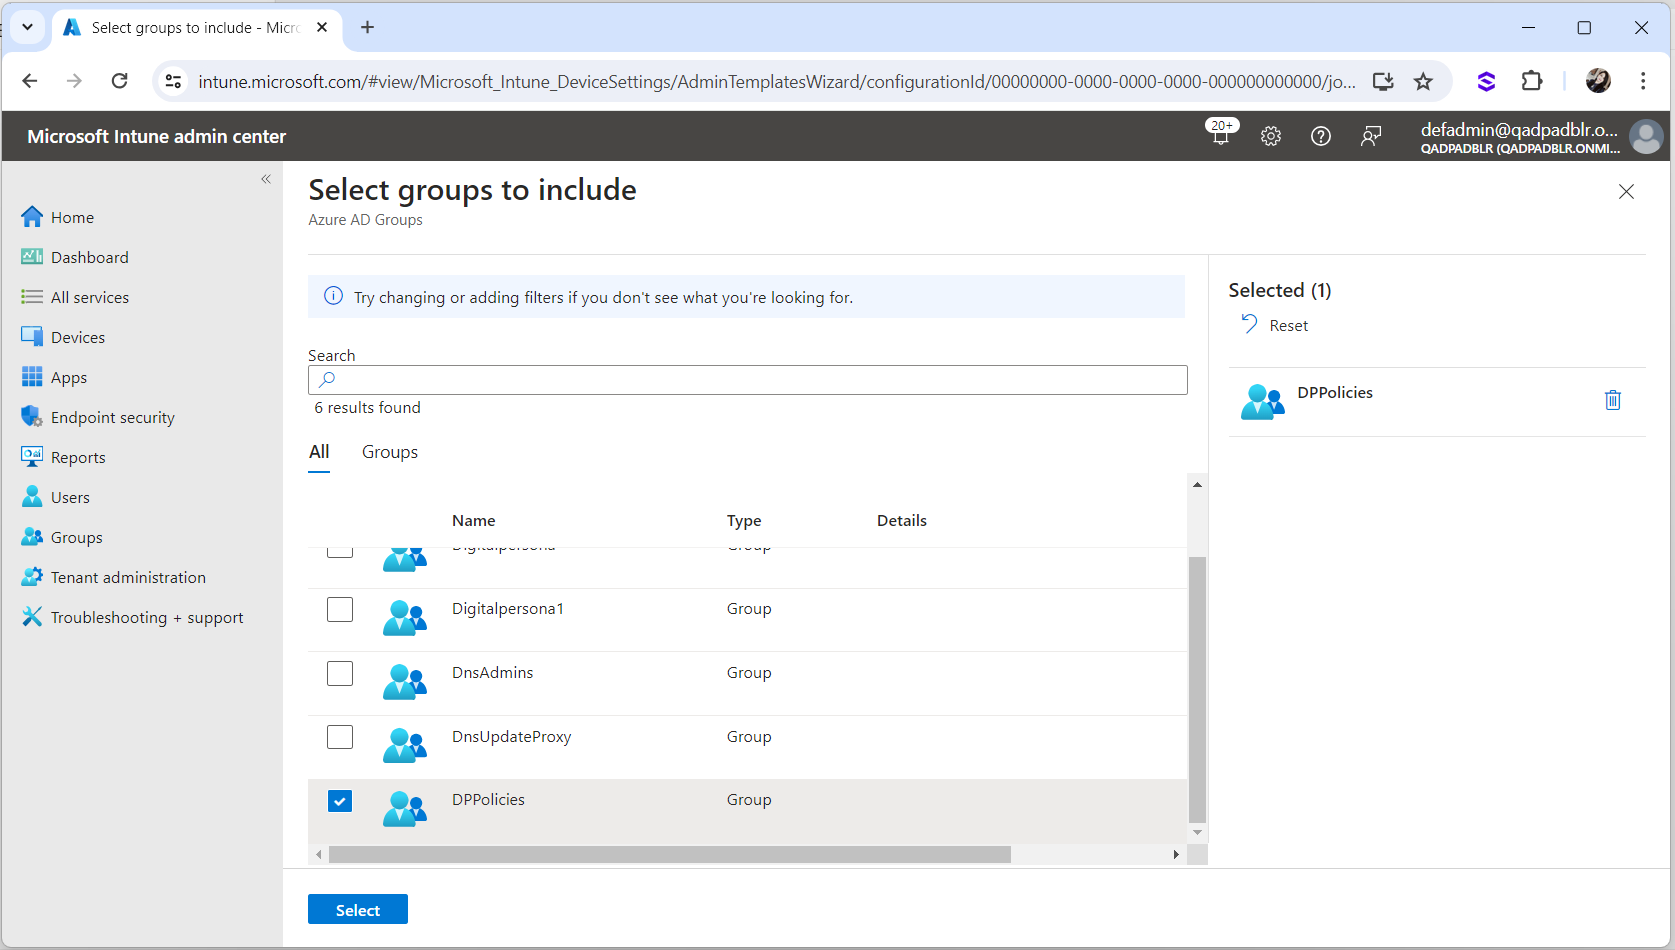
-
Select the DigitalPersona group which has the Microsoft Azure connected workstations added and click Next.
-
Click Create.
-
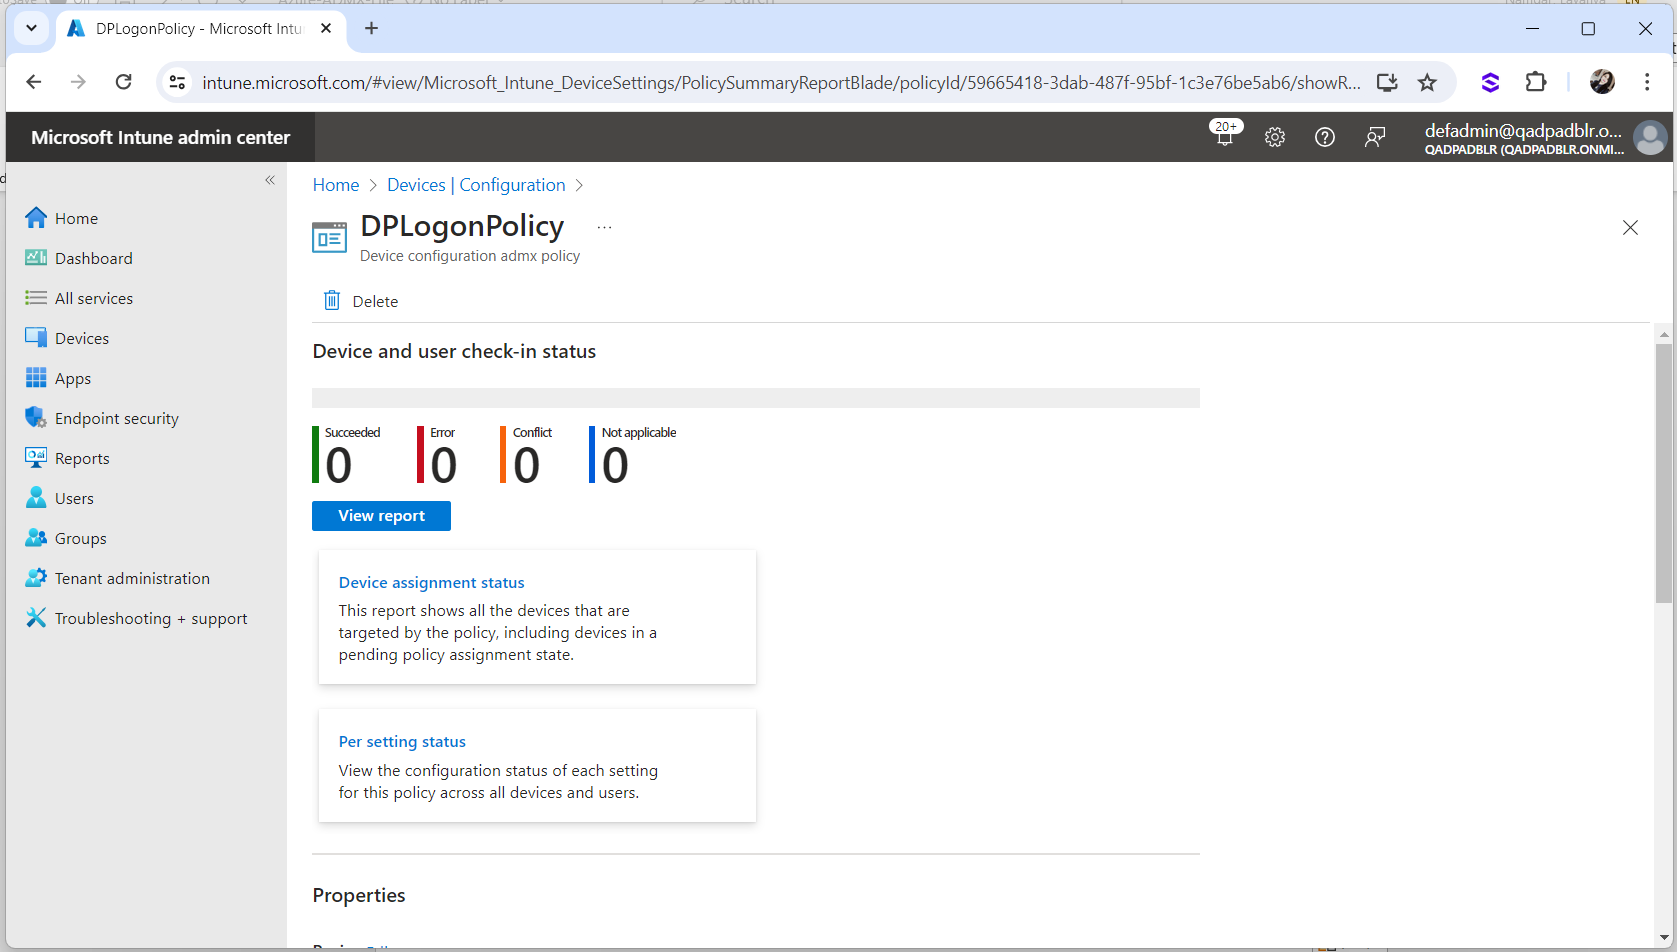
Click DPLogonPolicy.
-
Click Device Assignment status.
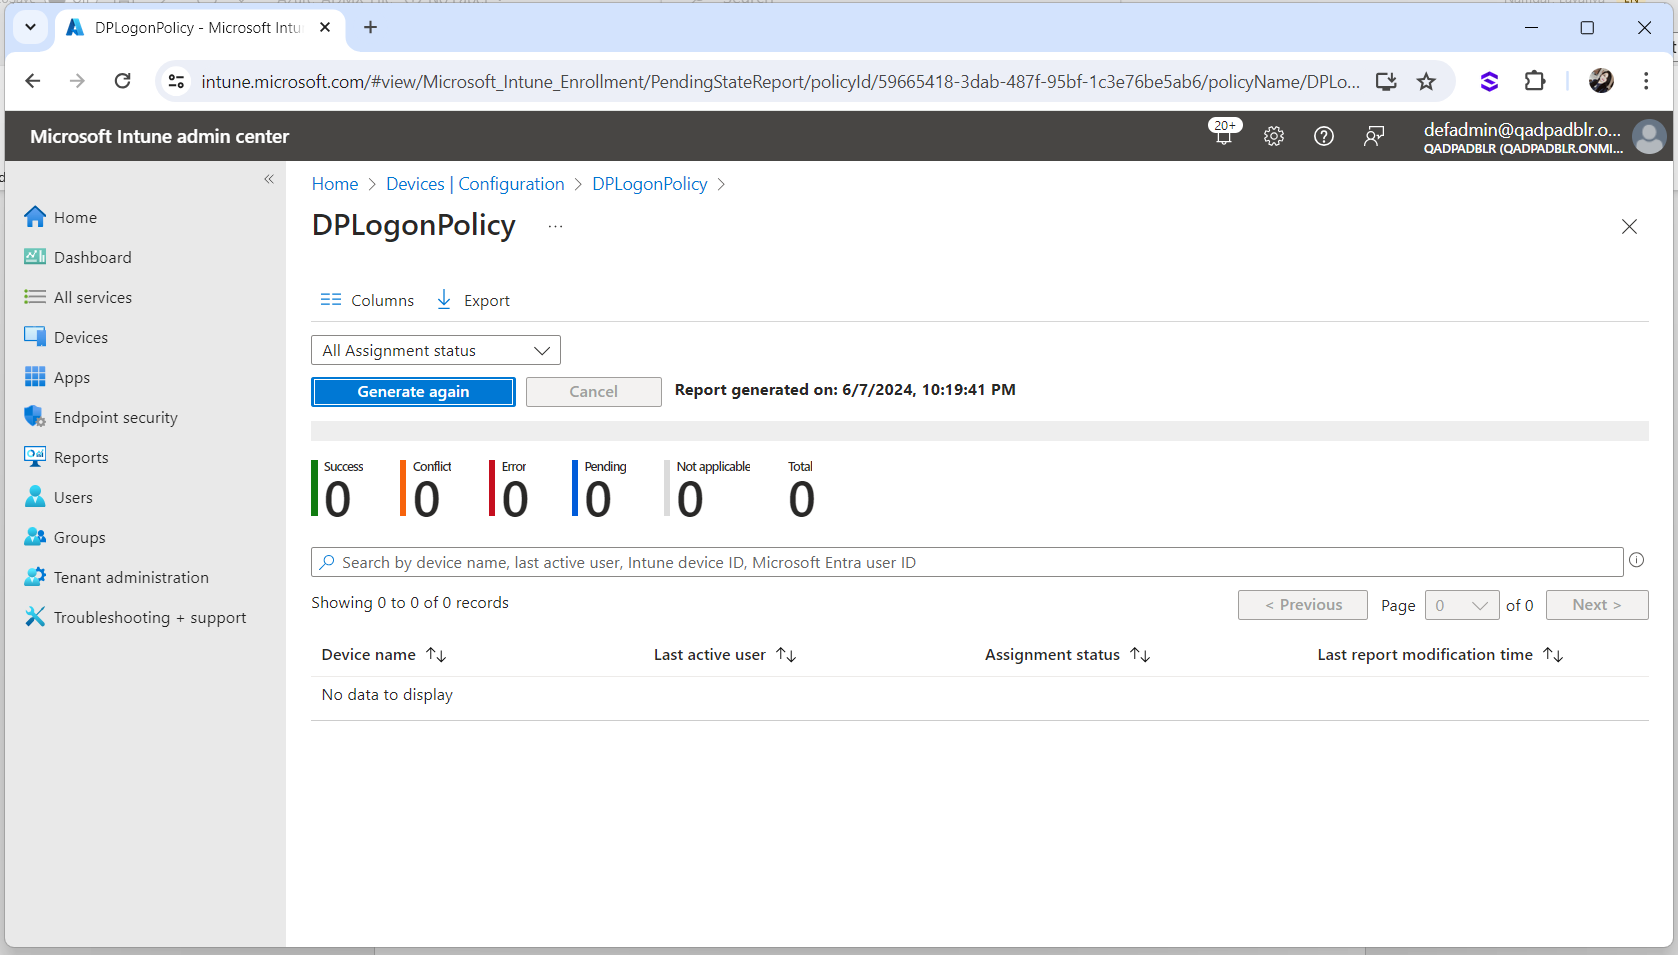
-
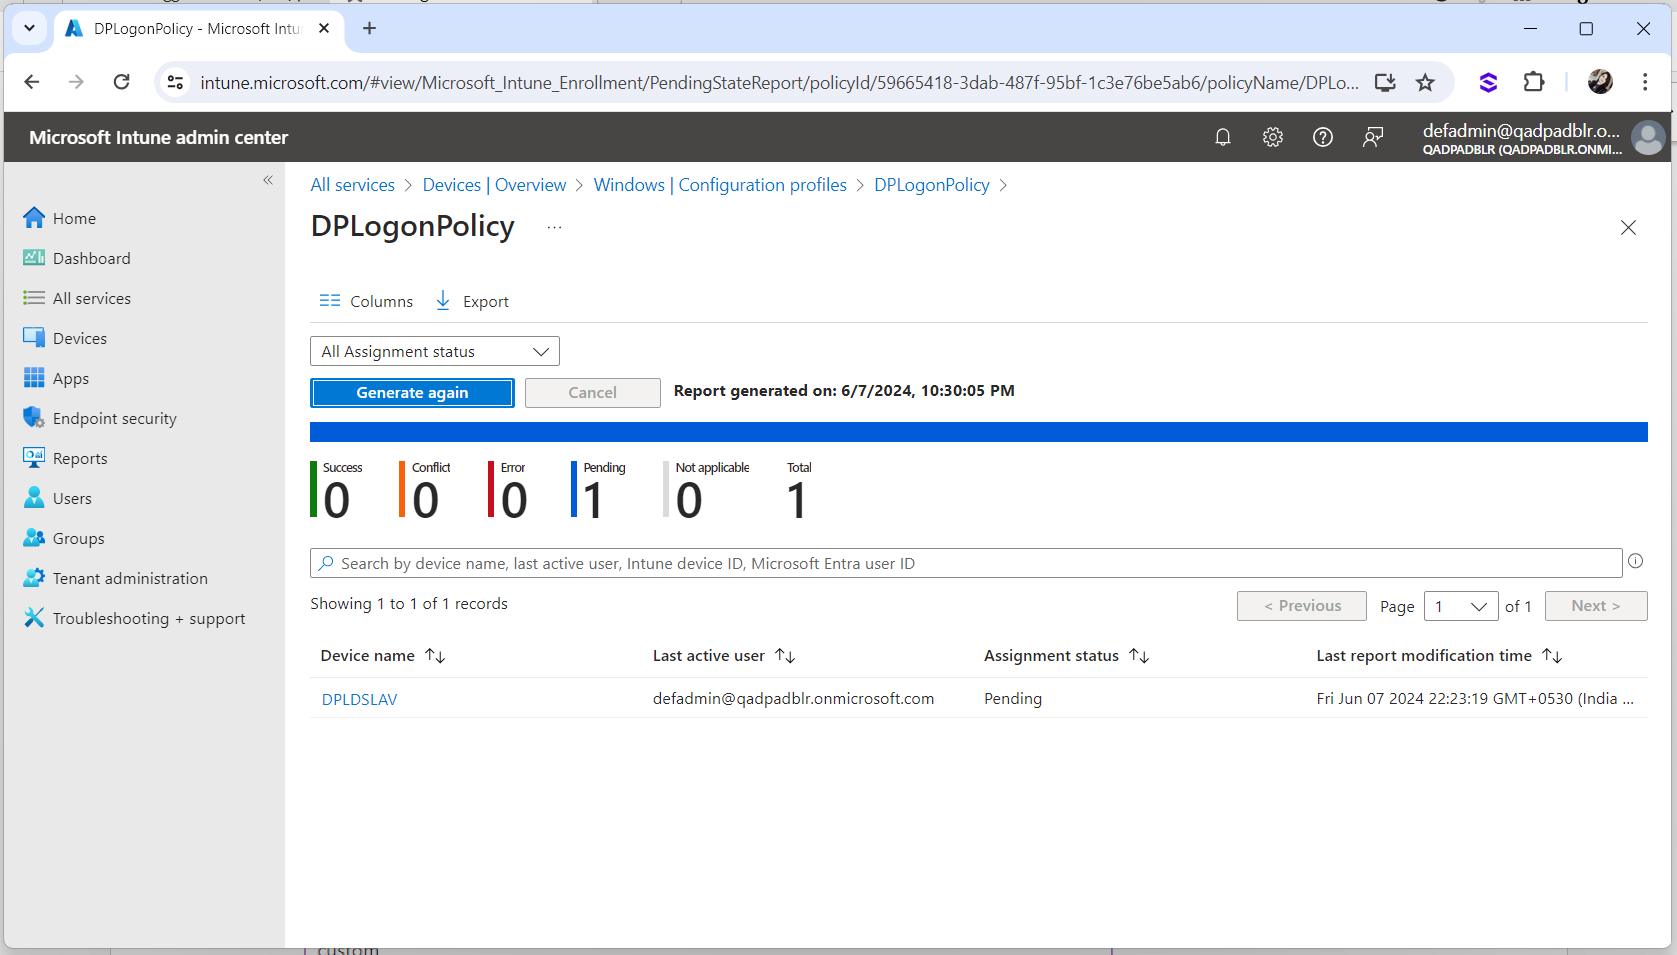
Wait for the policies to be received by the Microsoft Azure joined Workstations. The status are shown as Pending.
-
Click on Generate again to check the latest status.
Once the GPO Policy is received by the Workstation, the status is displayed as Success
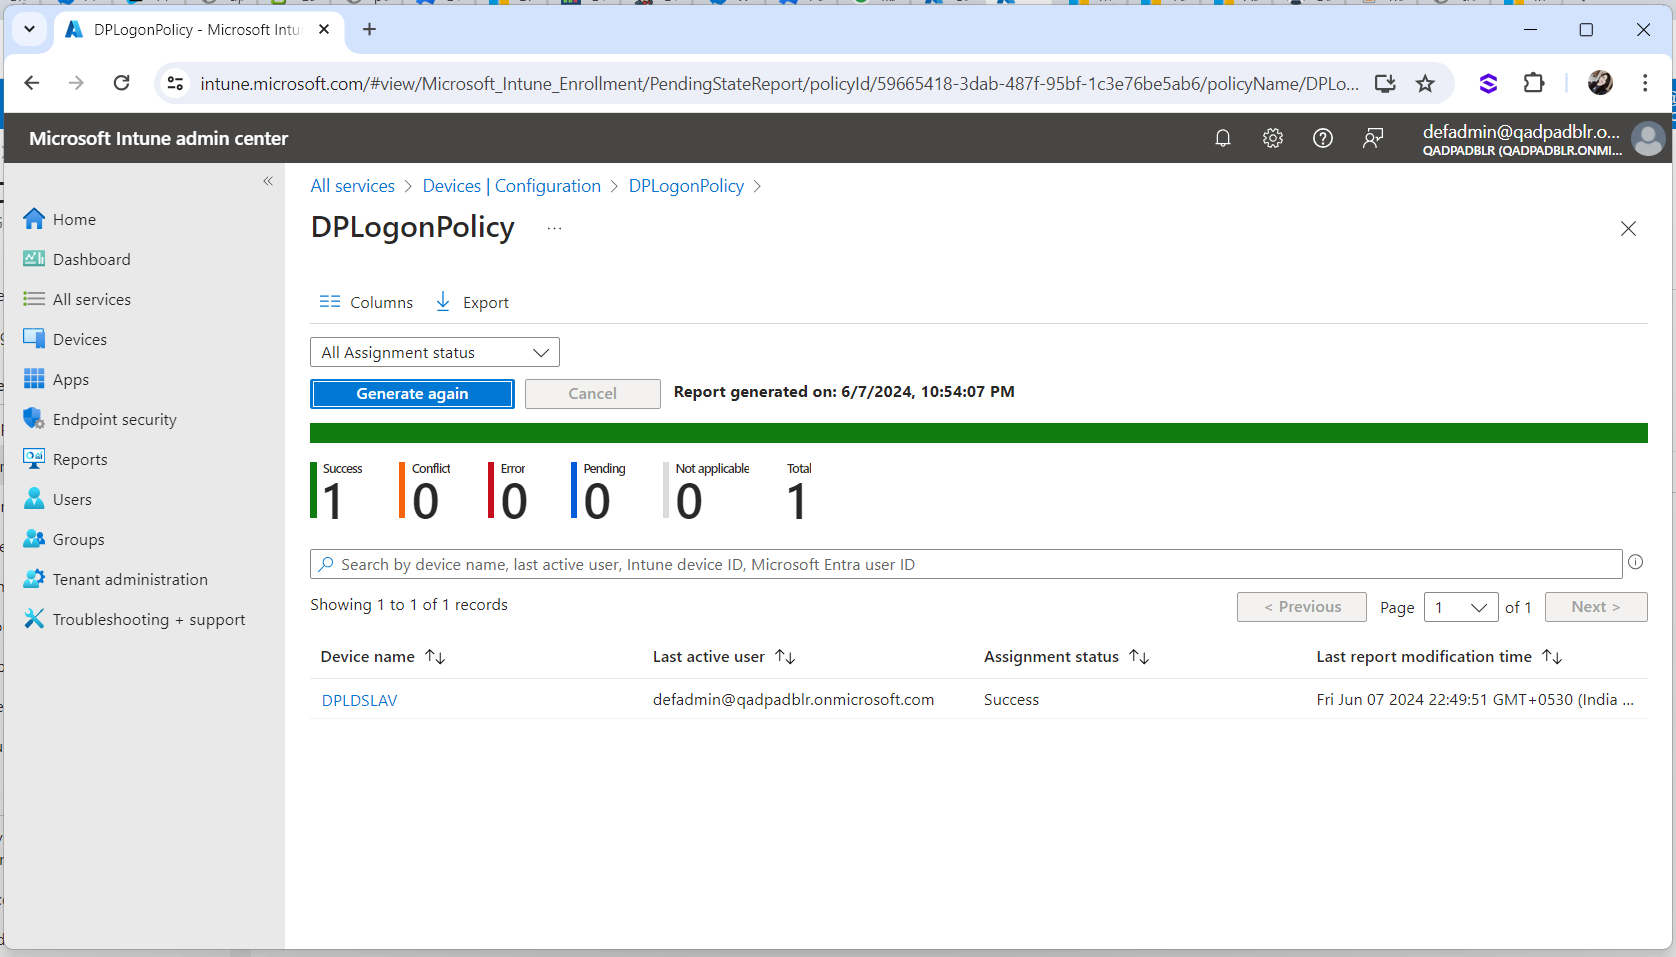
-
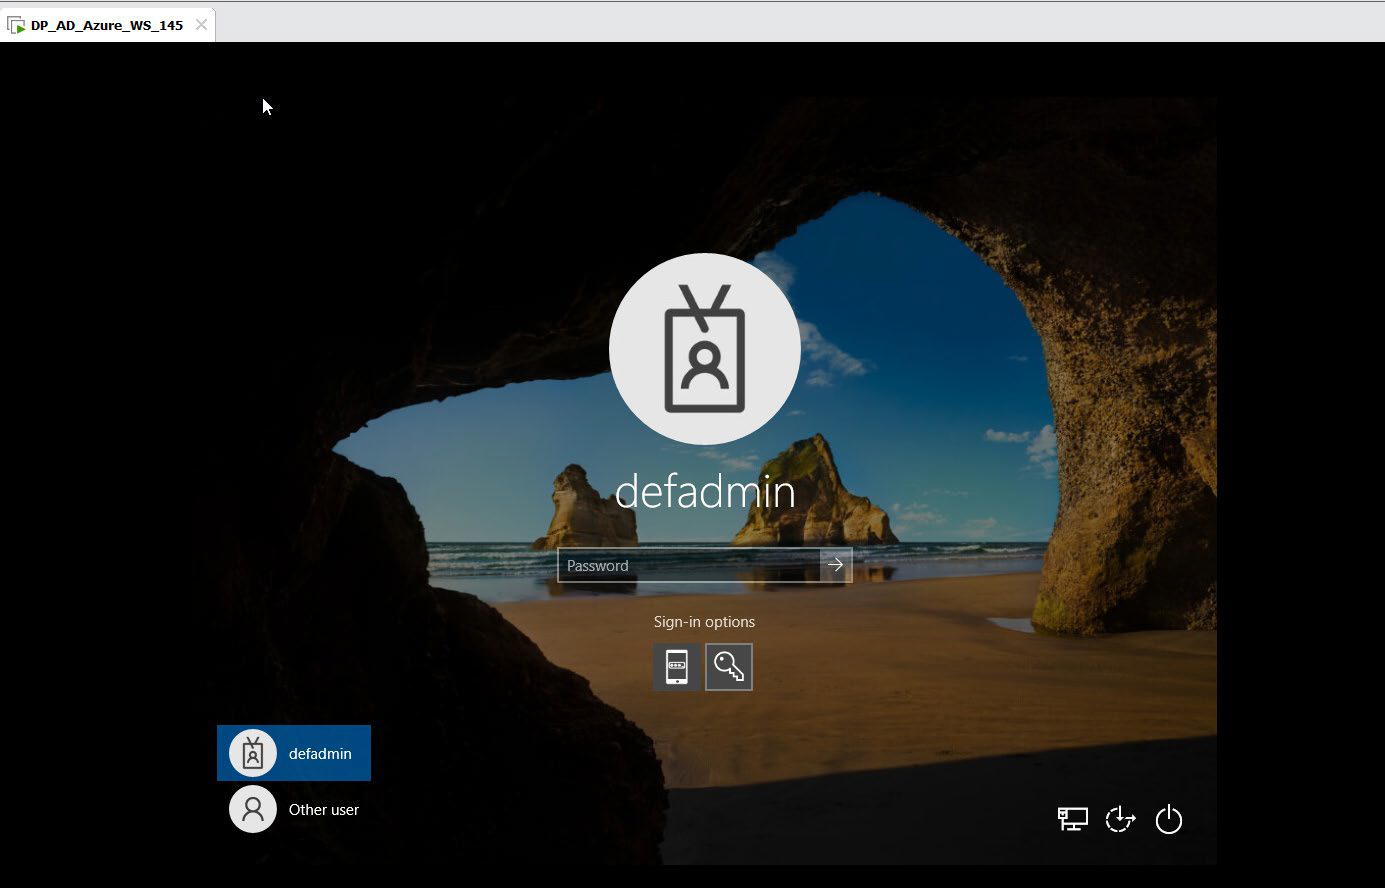
Sign out and sign in again to the Microsoft Azure joined workstation to check the GPO setting.
The Logon authentication policy with OTP and Windows password is applied to the workstation as illustrated below.