Set Up a Unique Instance of AD LDS
Once the LDS feature has been installed, use the Active Directory Lightweight Directory Services Setup Wizard to install and set up a unique instance of AD LDS to be used as a data store for DigitalPersona LDS.
-
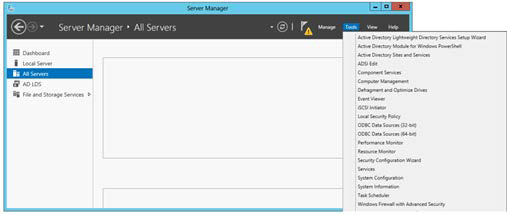
In the Server Manager Dashboard Command Bar, select Tools. Then select Active Directory Lightweight Directory Services Setup Wizard.
-
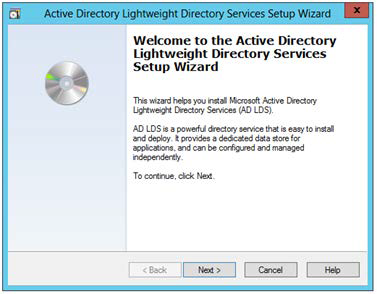
The Active Directory Lightweight Directory Services Setup Wizard displays. Click Next.
-
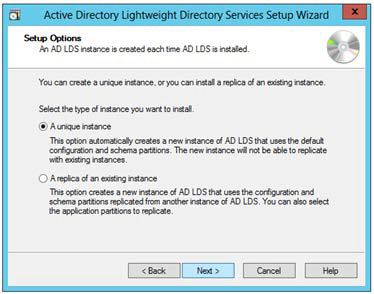
On the Setup options page, select whether to create a unique instance of AD LDS or to create a replica of an existing instance. Then click Next. Select A unique instance unless you want to replicate a previously created instance for load balancing or failover. Click Next.
-
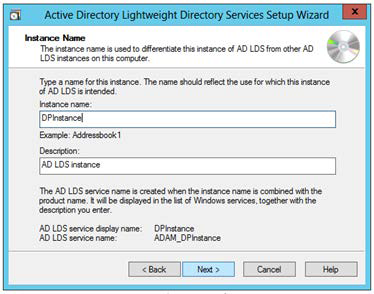
On the Instance name page, enter a unique name that will be used to differentiate this instance of AD LDS from other AD LDS instances that may exist on this computer. Click Next.
-
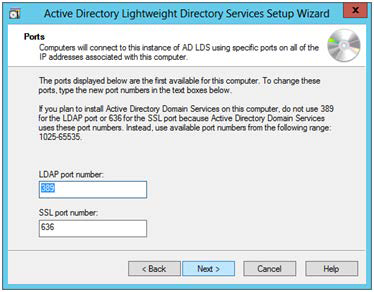
On the Ports page, in most cases, use the default ports provided. On a domain controller, these will generally be 50000 and 50001. Otherwise, the default ports will usually be 389 and 636. Click Next.
-
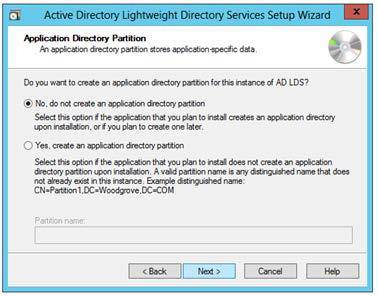
On the Application Directory Partitions page, you should accept the default to not create an application directory partition. Click Next.
-
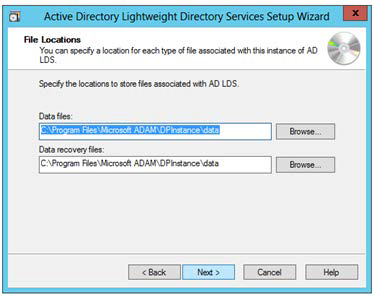
On the File location page, accept the default. Click Next.
-
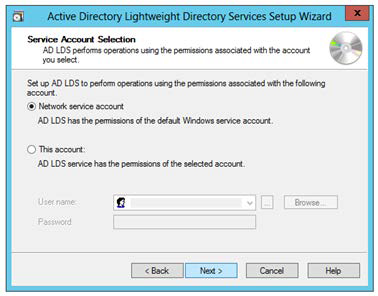
On the Service account selection page, accept the default to use the network service account to perform operations. Click Next.
-
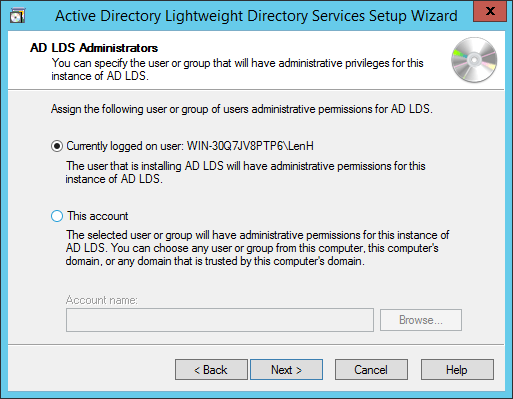
On the AD LDS Administrators page, specify the user or group that will have administrative privileges for this instance of AD LDS. In most cases, accept the default that the currently logged on user, i.e. the one performing this installation, will have administrative permissions. Click Next.
-
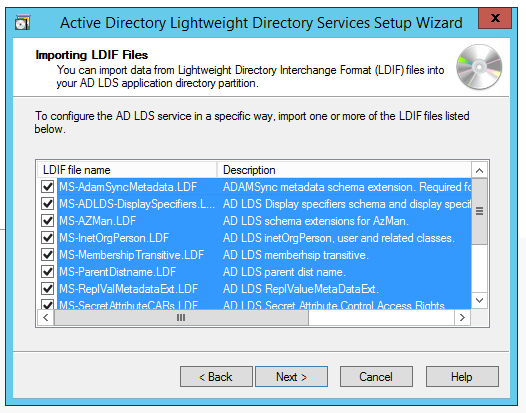
On the Importing LDIF Files page, select all of the listed options by pressing Ctrl+A and then clicking any selection box. Then click Next.
-
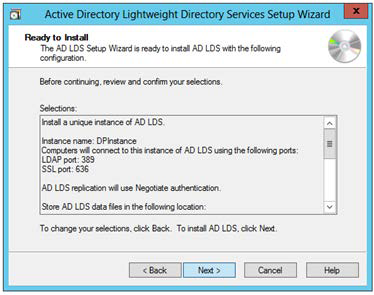
On the Ready to install page, review and confirm your selections. Click Next.
-
The Installing AD LDS page indicates the progress as the unique instance of AD LDS is installed.
-
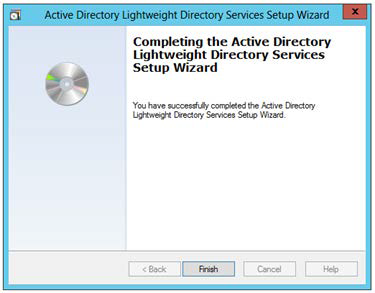
When the installation is completed, the final page of the wizard displays. Click Finish to close the setup wizard, and Close to close the Add Roles and Features Wizard, if it has not already been closed.