Installing the Web Management Components
The Web Management Components module contains several components (web applications) that together enable you to manage your DigitalPersona solution through a web-based interface.
The following applications are included:
| Web application | Description |
|---|---|
|
HID DigitalPersona Web Access Management |
This is the core component, with a set of APIs for authentication, enrollment, and administration. It is used by DigitalPersona applications and can be used by 3rd party applications as well. This web application is always required to be installed. |
|
HID DigitalPersona Security Token Service |
Presents the DigitalPersona Identity Provider (IdP) providing multi-factor authentication for DigitalPersona web applications and 3rd party applications via WS-Federation and OpenId Connect protocols. |
|
HID DigitalPersona Enrollment |
Allows users to manage their own authentication credentials or perform attended enrollment. |
|
HID DigitalPersona Administration Console |
Allows administrators to query user data, reset credentials and configure authentication devices. |
|
HID DigitalPersona Secure Password Vault |
Shows the list of Password Manager logins and passwords in case the user doesn't have access to a workstation. |
|
HID DigitalPersona Internet Proxy |
Allows the DigitalPersona Client to communicate with the DigitalPersona Server over HTTPS instead of DCOM. HTTPS does not require the DigitalPersona Client to be in the corporate network to communicate with the DigitalPersona Server, so no VPN connection is required. |
Prerequisites
-
A valid SSL certificate must be imported to the target machine before running the DigitalPersona LDS Web Management Components Wizard.
-
If Windows Web Server (IIS) has not been previously added to the machine, it will be added by the wizard, and a reboot may be required in order to continue.
-
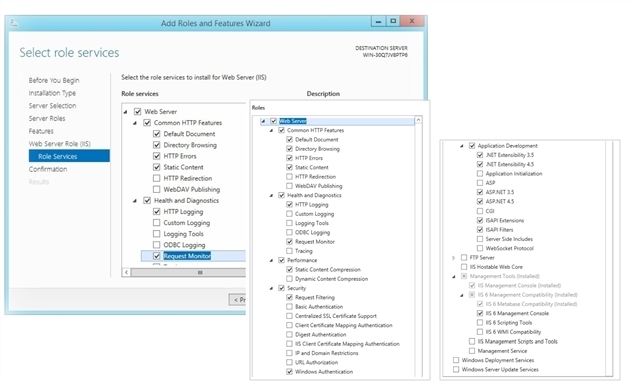
When Windows Web Server has been previously installed, ensure that the following features have been installed:
Install the Web Components
-
Locate and launch the setup.exe located in the DigitalPersona LDS Web Management Components folder within the product package.
The DigitalPersona LDS Web Management Components Wizard displays.
If Windows Web Server (IIS) has not been previously added to the machine, it will be added as part of this process, and a reboot may be required in order to continue
-
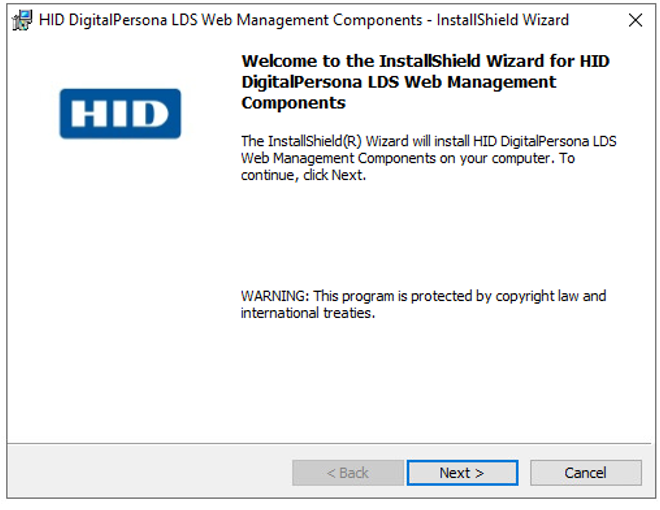
On the Welcome page, click Next.
-
Then on the License Agreement page, accept the agreement and click Next.
-
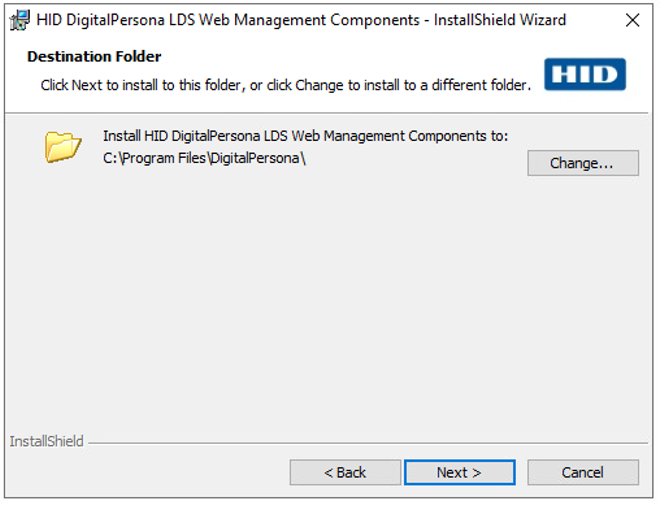
On the Destination Folder page, click Next.
If this is the first DigitalPersona product being installed on this machine, there will also be a Change button which allows you to change the installation directory.
Additional DigitalPersona product installations may remove this button in order to ensure that associated products are installed to the same directory.
-
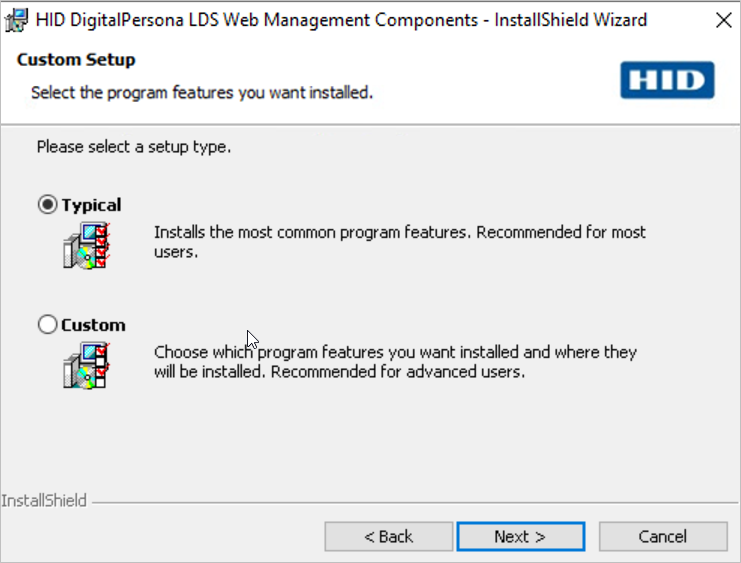
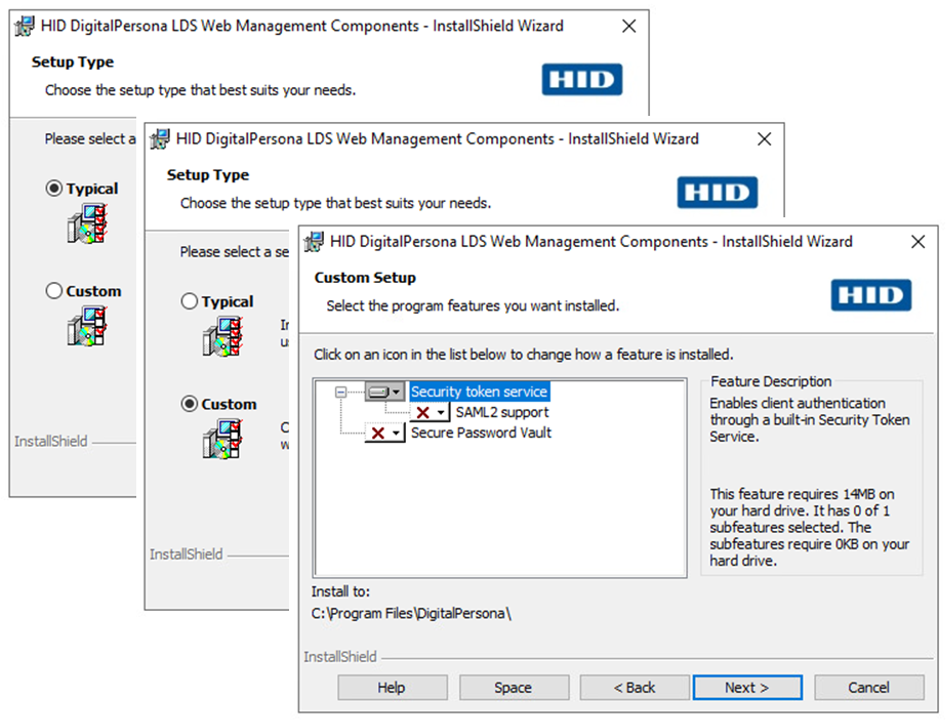
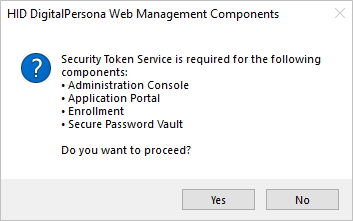
On the Setup Type page, choose Typical; or choose Custom to add the Secure Password Vault and Security token service (with SAML2 support) to the installation.
-
Then click Next.
-
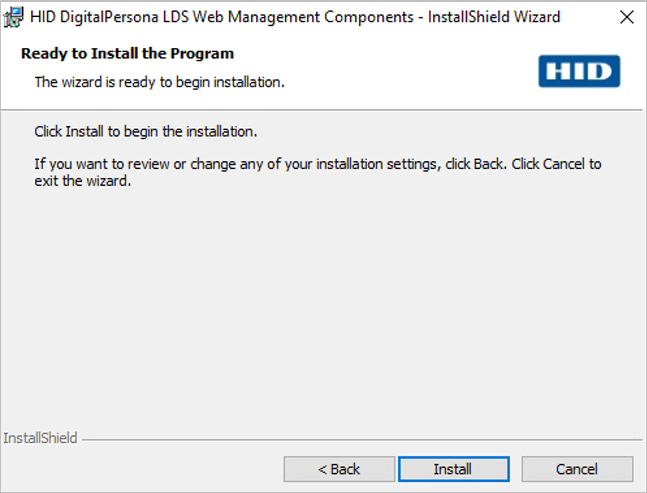
On the Ready to Install the Program page, click Install.
-
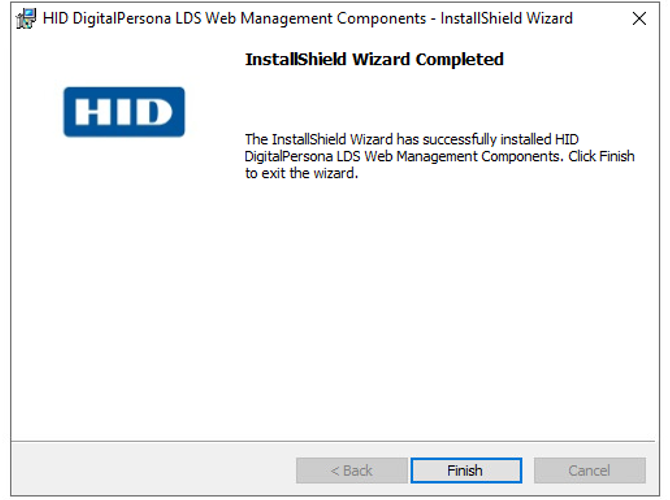
On the InstallShield Wizard completed page, click Finish.
Install the Web Components Silently
Silent installation of Web Management Components is supported, but requires the administrator to first take care of all prerequisites manually.
The command line of the silent install is the following:
msiexec /quiet /norestart /i "HID DigitalPersona LDS Web Management Components.msi" EXECUTEMODE=NONEThe first three parameters are standard for Microsoft Windows msiexec commands.
The "EXECUTEMODE=NONE" parameter allows skipping the interactive prerequisites verification.
The administrator needs to make sure that the following prerequisites are present:
|
"IIS-ASPNET" |
"IIS-WebServer" |
|
"IIS-ASPNET45" |
"IIS-WebServerRole" |
|
"IIS-DefaultDocument" |
"IIS-CommonHttpFeatures" |
|
"IIS-StaticContent" |
“IIS-Security” |
|
"IIS-DirectoryBrowsing" |
"IIS-HealthAndDiagnostics" |
|
"IIS-HttpErrors" |
"IIS-WebServerManagementTools" |
|
"IIS-NetFxExtensibility" |
"IIS-Performance" |
| "IIS-RequestFiltering" |
"IIS-ManagementConsole" |
|
"IIS-BasicAuthentication" |
"IIS-ManagementScriptingTools" |
| "IIS-WindowsAuthentication" |
"IIS-ManagementService" |
|
"IIS-DigestAuthentication" |
"IIS-HttpCompressionStatic" |
|
"IIS-ISAPIExtensions" |
"WAS-WindowsActivationService" |
|
"IIS-ISAPIFilter" |
"WAS-ProcessModel" |
|
"IIS-HttpTracing" |
"WAS-ConfigurationAPI" |
|
"IIS-HttpLogging" |
"WAS-NetFxEnvironment" |
|
"IIS-RequestMonitor" |
"WCF-HTTP-Activation45" |
|
"IIS-ApplicationDevelopment" |
|
"NetFx3"
"WCF-HTTP-Activation"
"WCF-NonHTTP-Activation"
Configure the Web Components
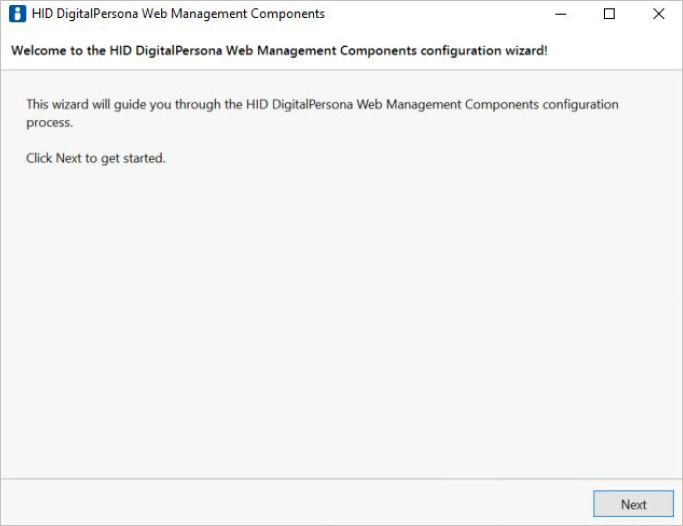
Immediately following the completion of the installation wizard, a configuration wizard displays to guide you through the configuration process, which is used to create separate websites in IIS for each DigitalPersona web application.
-
Click Next to begin the configuration process.
-
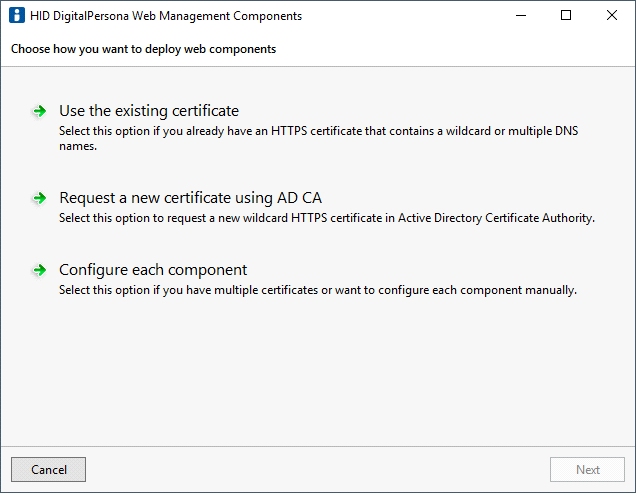
Select the type of configuration you want to use:
-
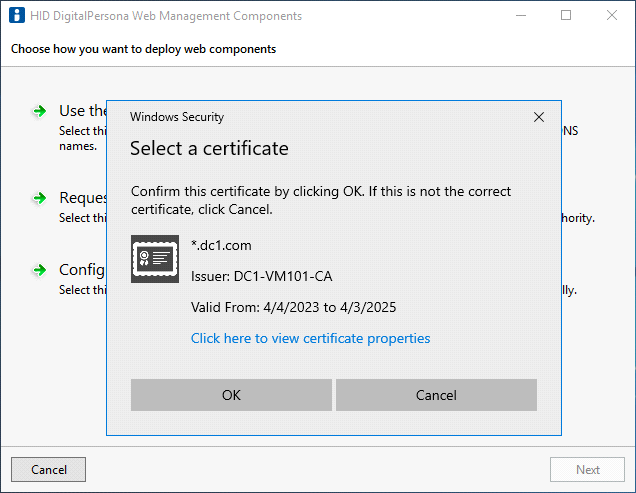
Use the existing certificate - select the existing HTTPS certificate and the wizard will automatically pull up the domain names for DigitalPersona web applications.
Select the existing HTTPS certificate to use for all DigitalPersona web applications. The certificate must be marked for server authentication, not expired, and contain a wildcard or multiple DNS names. Once the certificate has been chosen, you will be taken to the next page of the wizard.
-
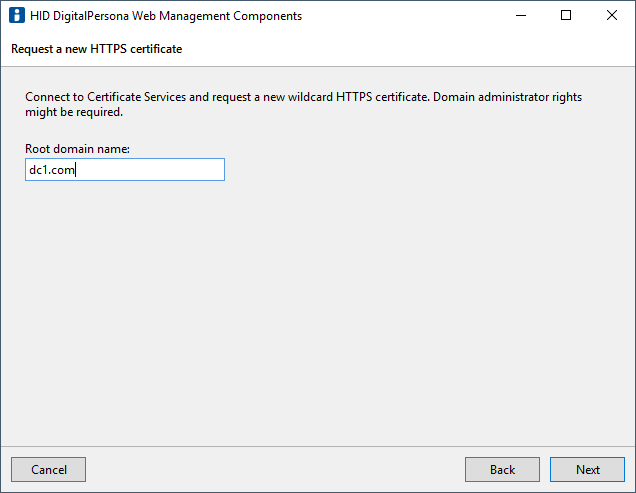
Request a new certificate using AD CA - if your organization has Active Directory Certificate Authority deployed, the wizard will help you with issuing a new HTTPS certificate.
To request a new HTTPS certificate with a wildcard subject name, enter the base domain name that you are going to use for DigitalPersona web applications and press Next. The process of issuing a new certificate may take up to a minute.
For example, if the entered domain name is "contoso.com", the issued certificate will have the subject name "*.contoso.com". You can use the new certificates with DNS names like "dpsts.contoso.com", "dpenroll.contoso.com", etc.
Once the certificate has been issued, you will be taken to the next page.
-
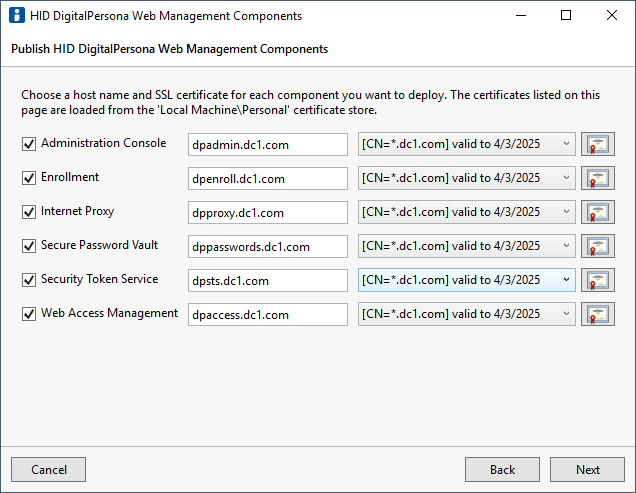
Configure each component - select this option if you have previously deployed DigitalPersona Web Management Components previously, or if you want to configure each web application separately.
Verify that domain names and certificates are correct or modify them as necessary. Unselect any components that you do not want to deploy.
The wizard will warn you if the component you are unselecting is required for another component. If one or more of the entered domain names does not exist, the wizard will attempt to create them.
-
-
Click Next to continue.
-
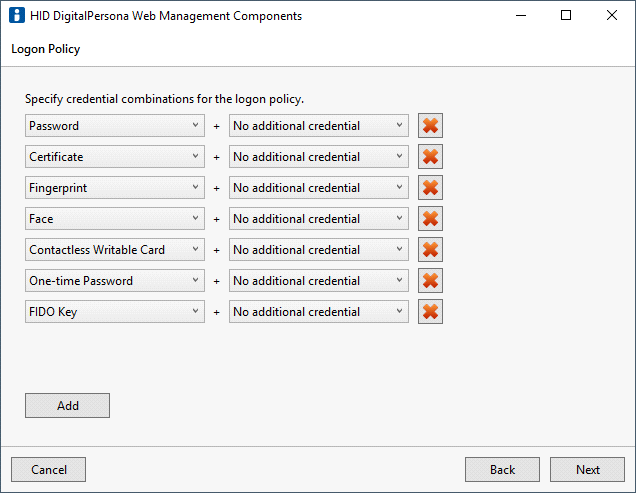
On the Logon Policy page, specify each credential or credential combination that may be used to authenticate a user's identity through the DigitalPersona Identity Server.
-
Select additional credentials or combinations from the available dropdown menus. Click Add to add another element or click the X to the right of a line to delete that element.
-
Click Next to continue.
-
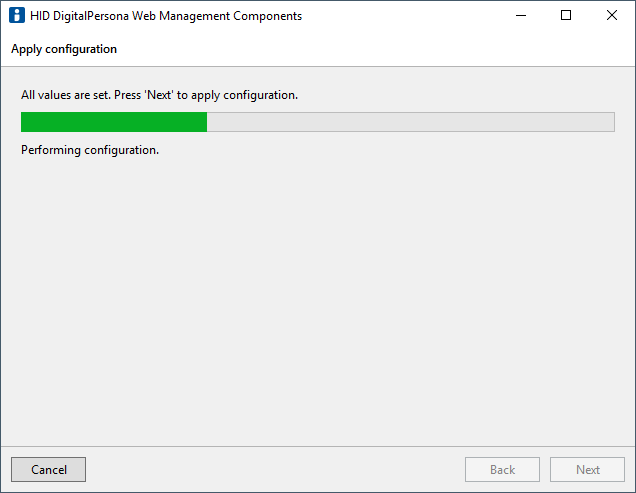
On the Apply configuration page click Next and wait while the wizard performs configuration. It may take up to a few minutes.
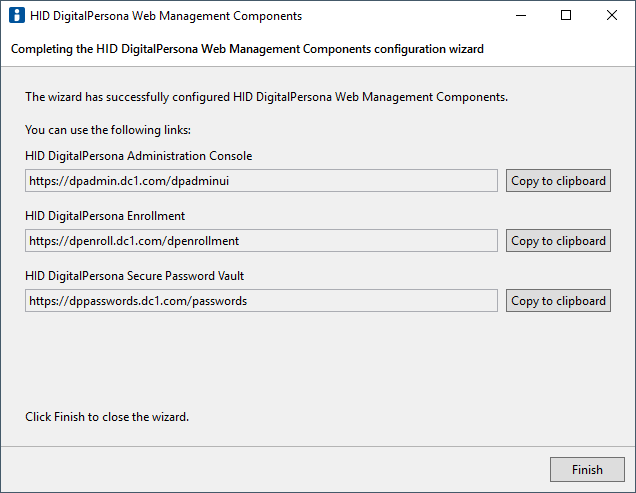
On the final page, the URLs to the resulting web applications are shown.
-
Click the button next to a URL to copy it to the clipboard so that you can open it in a supported browser.
You may also want to create shortcuts to these pages for distribution to users.
-
Click Finish to close the wizard.
Troubleshoot the Configuration
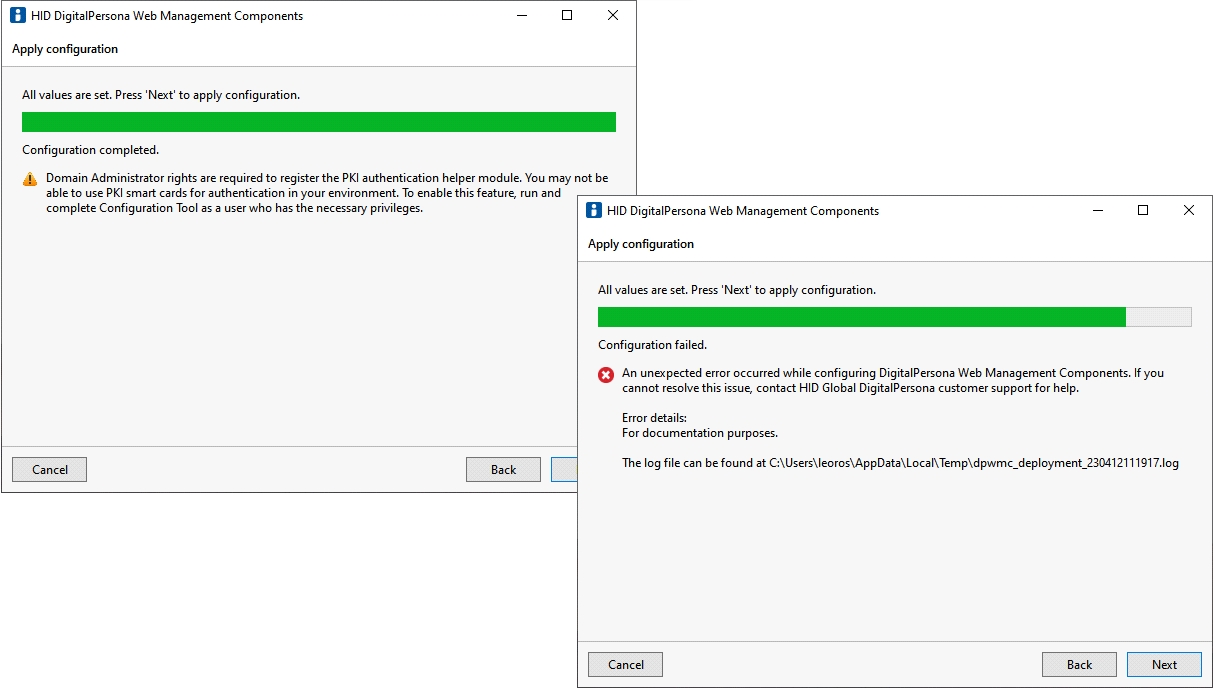
Due to the number of settings and environments involved, the configuration wizard may complete with one or more warnings or errors. Follow any displayed instructions to resolve the issue, or if unable to resolve the issue, contact HID DigitalPersona Tehcnical Support for help.
In case of an error, the path to a log file is also provided that may assist you in diagnosing the issue.
Click Next to go to the Final page.
Additional Information
After installation and configuration, the Web Access Management components will be accessible from the internet.
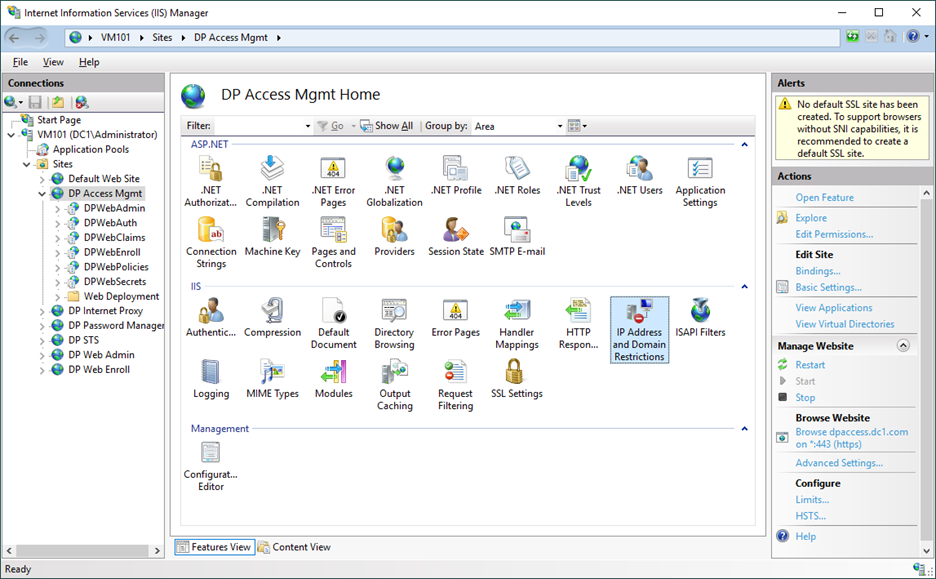
To minimize access to publicly available IP addresses for security reasons and therefore reduce potential vulnerability, an administrator can specify IP based security restrictions in IIS. Refer to the Microsoft documentation for details.
-
In Internet Information Services (IIS) Manager, navigate to the DP Access Mgmt site.
-
Select IP Address and Domain Restrictions.
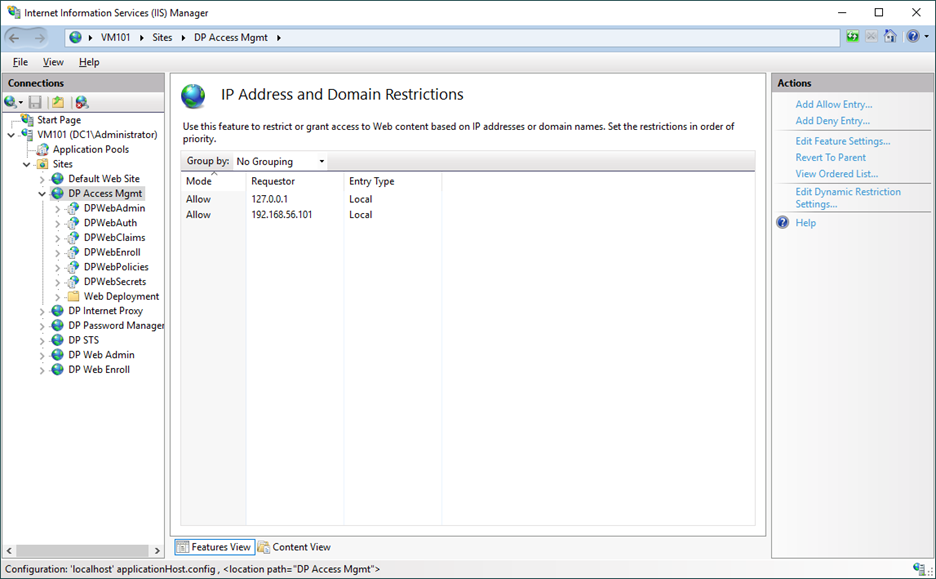
The IP Address and Domain Restrictions page displays.
-
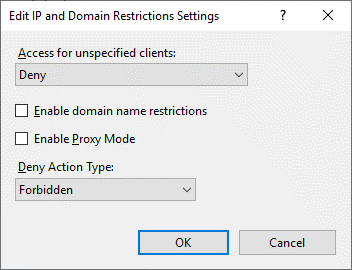
In the Action panel, click on Edit Feature Settings to display the Edit IP and Domain Restrictions Settings dialog.
-
In the Edit IP and Domain Restrictions Settings dialog, apply the settings shown above.
Uninstall the Web Components
The DigitalPersona Web Management Components can be uninstalled using the Windows Control Panel.
During uninstallation, a dialog displays that allows you to remove any certificates and settings that were created automatically by the DigitalPersona Configuration wizard.
-
If you select Remove all certificates and configuration files created by the product:
-
All WMC settings created automatically or manually will be removed.
-
When installing WMC again, new certificates will be created.
-
For deployments of DigitalPersona SSO for Office 365, you will need to update the federation setting to Azure.
-
-
If you DO NOT select Remove all certificates and configuration files created by the product:
-
All WMC settings created automatically or manually will be preserved.
-
When installing WMC again, the saved certificates will be used.
-
For deployment of DigitalPersona SSO for Office 365, no changes will need to be made.
-
Uninstall the Web Components Silently
Silent uninstallation of the Web Management Components is supported by using one of the following commands:
To keep installed certificates and configuration files:
msiexec /quiet /x "HID DigitalPersona LDS Web Management Components.msi"To remove installed certificates and configuration files (case-sensitive):
msiexec /quiet /x "HID DigitalPersona LDS Web Management Components.msi" CLEANUP=ALL