Connecting Citrix StoreFront with the DigitalPersona IdP
The following sections describe how to integrate Citrix® StoreFront® with the DigitalPersona Identity Provider (IdP) using Microsoft® AD FS enabling the use of DigitalPersona’s multi-factor authentication.
If AD FS is not available, contact DigitalPersona customer support for an alternative solution of SAML2P protocol usage.
This sample integration is illustrated using the following data:
-
Domain name - DC3.COM
-
ADFS location - adfs.dc3.com
-
DigitalPersona Security Token Service (the Identity Provider (IdP)) location - dpsts.dc3.com
-
StoreFront location - sf.dc3.com
Citrix Directory Controller
Citrix StoreFront
Citrix VDAs
Certificate Authority (only for FAS)
Microsoft AD FS
DigitalPersona Web Management Components (WMC)
HID DigitalPersona Web Access Management
HID DigitalPersona Security Token Service (STS) must be registered in AD FS as a claim provider
For detailed instructions on how to install and configure the DigitalPersona Web Management Components, see Installing the Web Management Components.
Optionally, instead of using the DigitalPersona Web Management Components, you can use the DigitalPersona ADFS Extension, which adds multi-factor authentication (fingerprints, OTP, face, and passkeys (device-bound and synced)) to an ADFS environment. For details, see Integrating the DigitalPersona ADFS Extension.
ADFS and StoreFront configuration will remain the same.
Configure Basic SAML Authentication
AD FS: Export the Signing Certificate
-
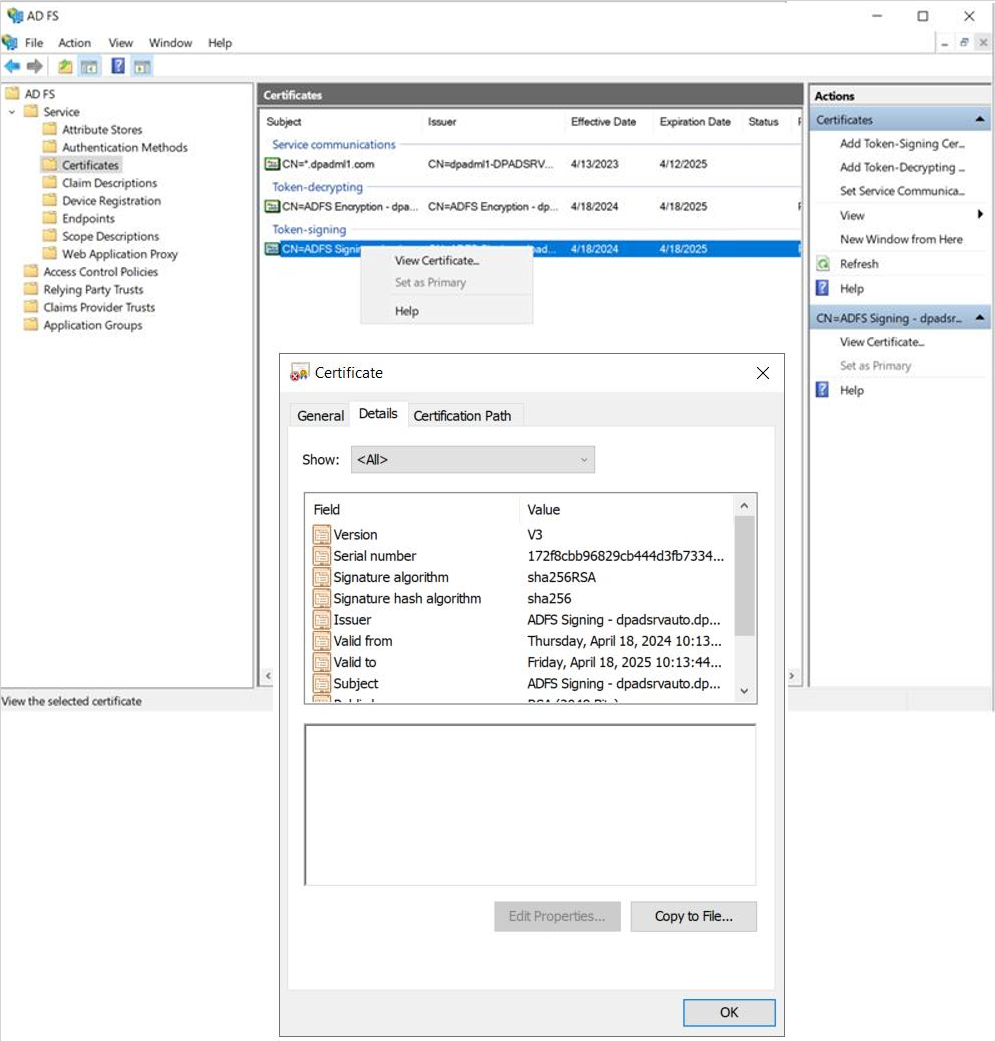
In AD FS, select Service then Certificates.
-
In the middle Certificates panel, right-click on the Token-signing certificate and select View Certificate.
-
On the Certificate dialog, select the Details tab. Then click Copy to File.
-
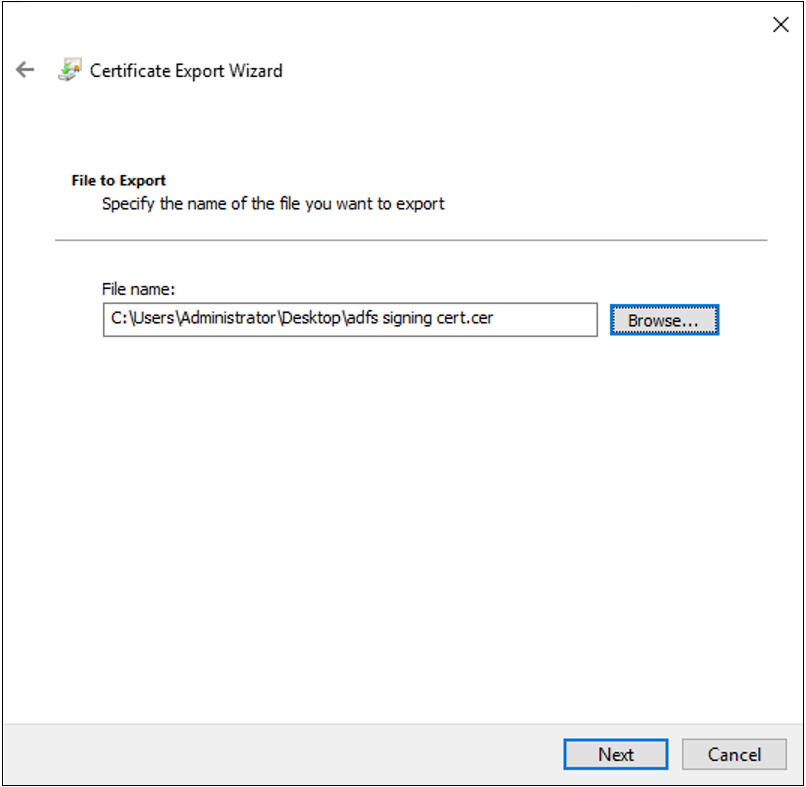
The Certificate Export Wizard appears. On the first page, click Next.

-
On the Export File Format page, select DER encoded binary X.509 (.CER) as the format and click Next.
-
On the File to Export page, enter the certificate file name and the location to export it to, click Save, and then click Next.
-
Click OK, and then on the final page, click Finish to complete the export.
StoreFront: Enable SAML Authentication
In StoreFront, enable SAML authentication and provide ADFS parameters.
-
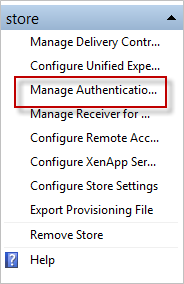
Open the StoreFront Management console, select the store you want to configure and choose Manage Authentication Methods.
-
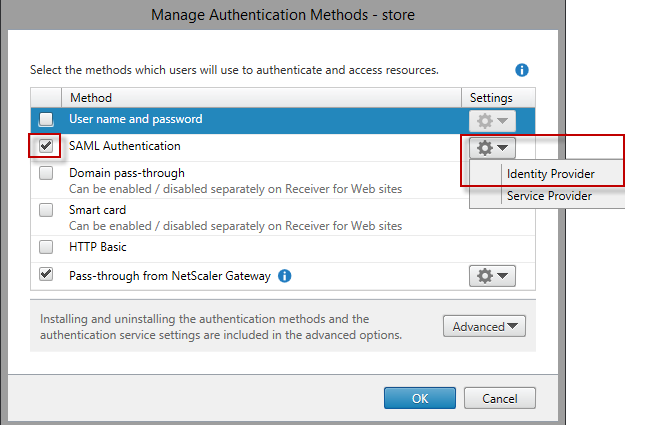
Click the SAML Authentication option to enable the authentication method and click on the down arrow and select Identity Provider.
-
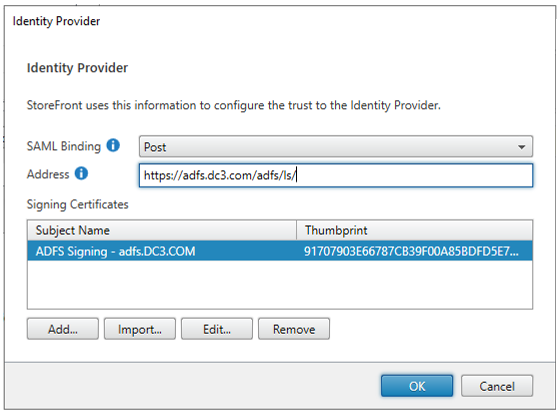
On the Identity Provider dialog:
-
Select Post for SAML Binding
-
For the Address, enter https://adfs-domain-name/adfs/ls/
-
Under Signing Certificates, click Import and select the certificate from the previous step.
-
-
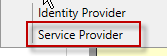
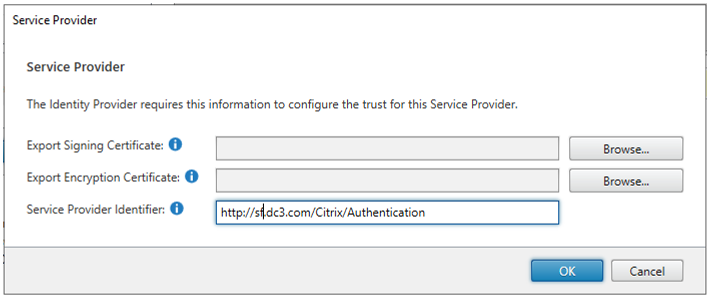
Next, select Service Provider.
-
For the Service Provider Identifier, enter http://storefront-domain-name/Citrix/Authentication
-
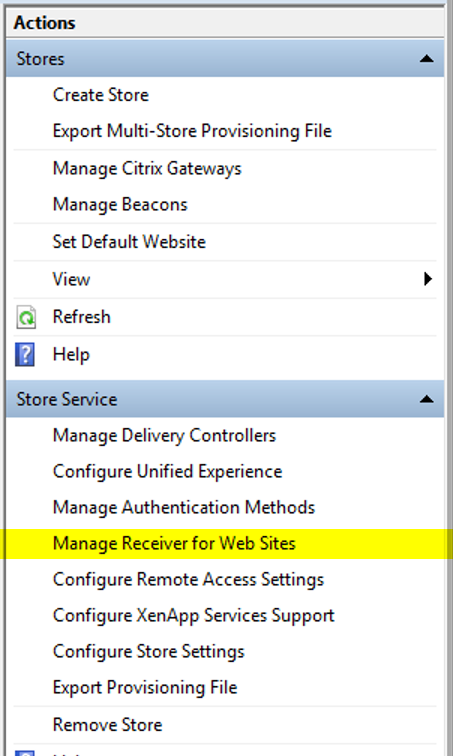
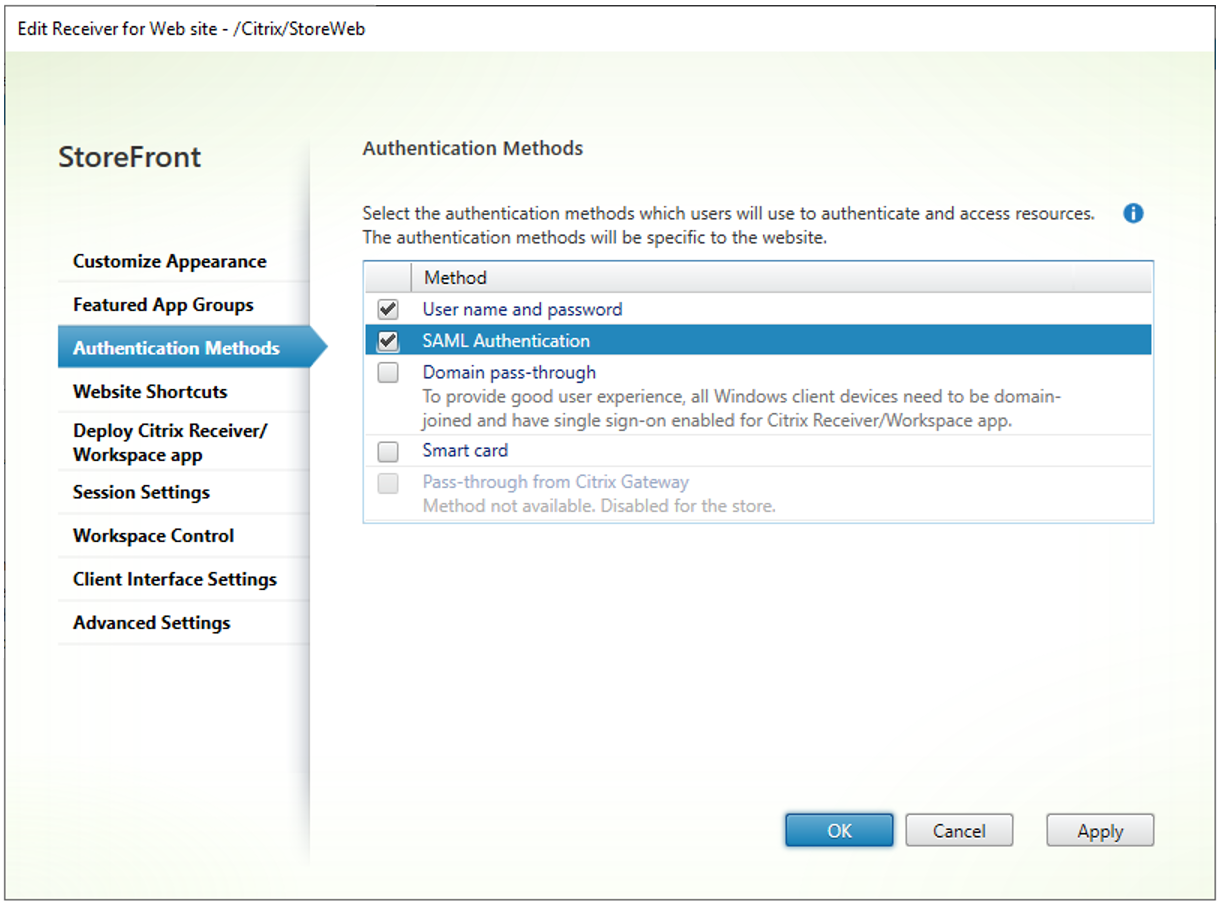
Also check that SAML authentication is enabled for Web Receivers as well:
-
In Citrix Studio, select a Store.
-
In the Actions panel, select Manage Receivers for Web Sites.
-
On the Authentication Methods tab, ensure that SAML Authentication is checked and then click OK.
-
-
Run the following PowerShell script to enable Pass-through authentication:
CopySet-BrokerSite -TrustRequestsSentToTheXmlServicePort $true
AD FS: Add a New Relying Party Trust
-
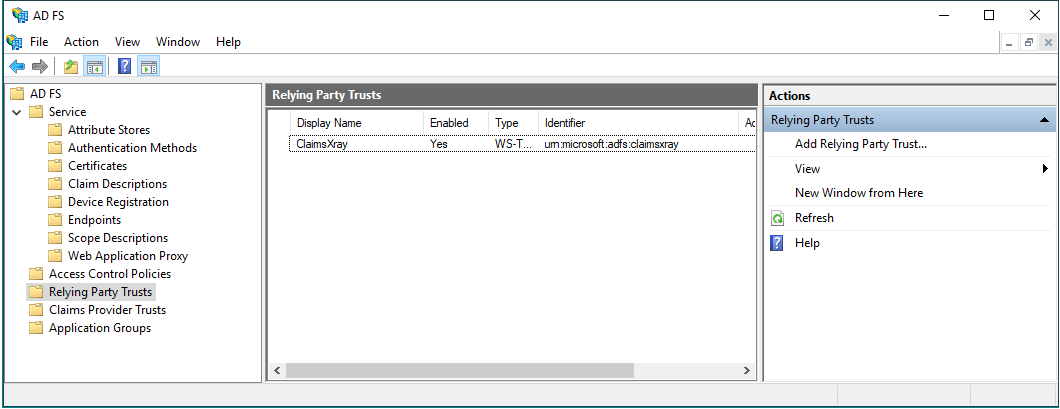
In the AD FS Console, select Relying Party Trusts.
-
In the Actions panel, select Add Relying Party Trust.
-
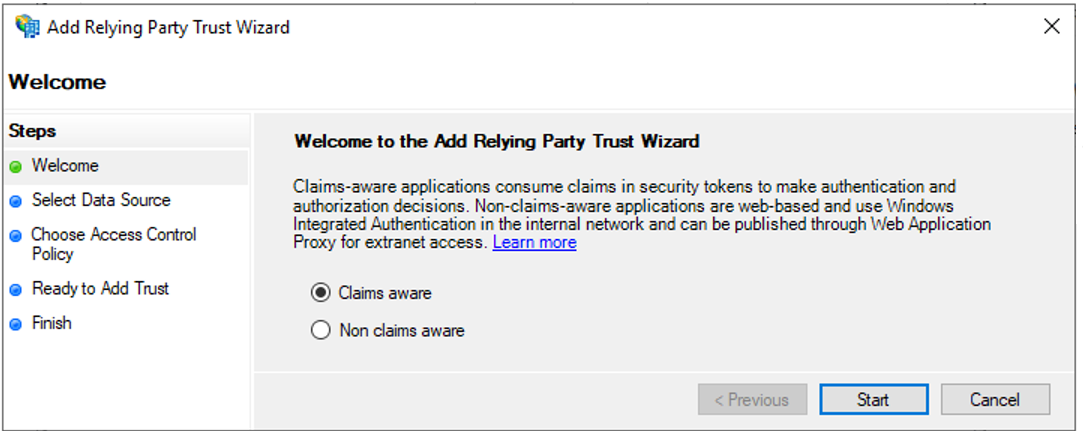
In the Add Relying Party Trust Wizard, select Claims aware and click Next.
-
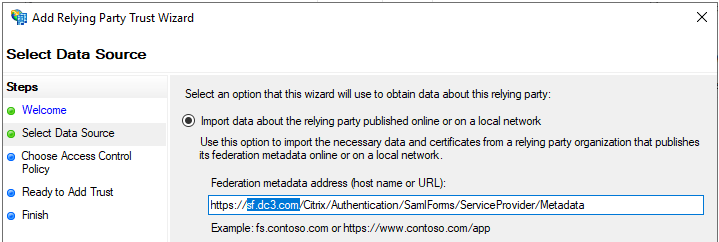
Select Import data .... published online and enter the Citrix SAML metadata URL, then click Next.
URL: https://storefront-domain-name/Citrix/Authentication/SamlForms/ServiceProvider/Metadata
-
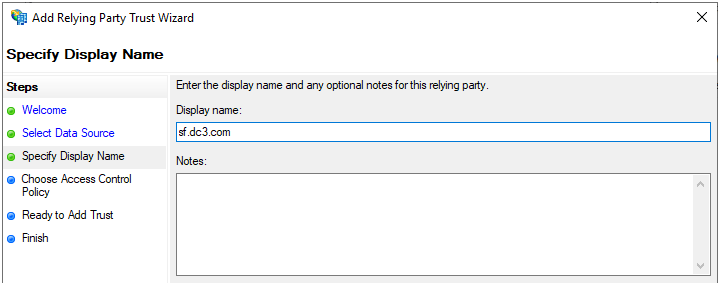
On the next page, specify a Display name for this relying party and click Next.
-
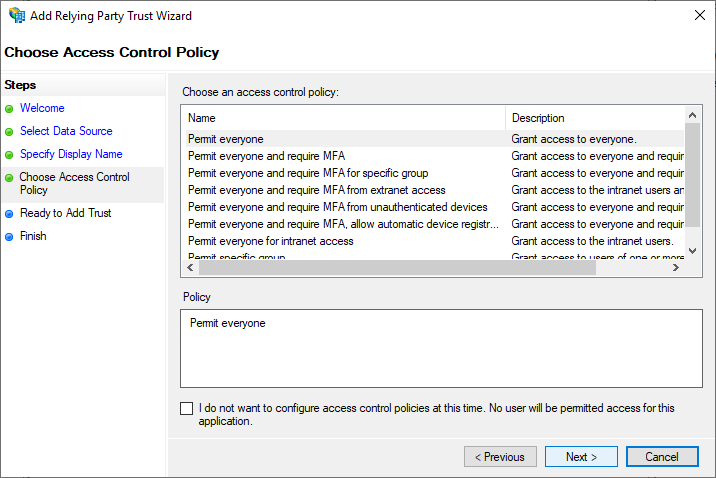
Choose an Access Control Policy and click Next.
-
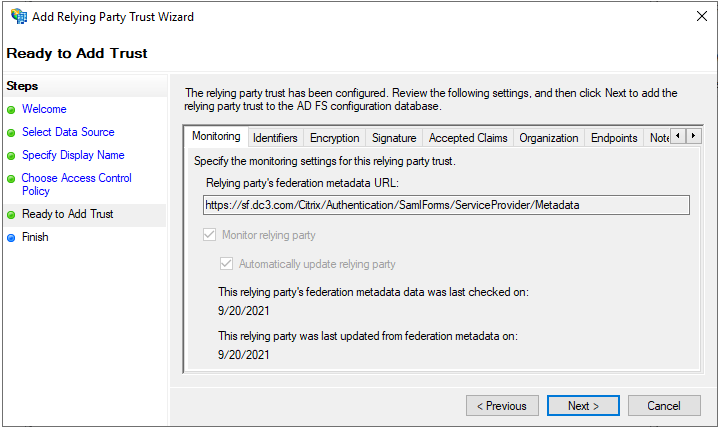
Review the proposed changes and click Next.
-
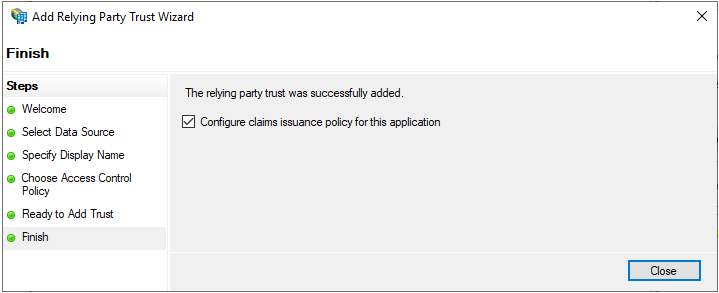
On the Finish page, ensure that the Configure claims issuance policy for this application is selected and click Close.
AD FS: Add Claims Issuance Rules
-
In the AD FS Console navigation window, select Relying Party Trusts and select the created relying party trust.
-
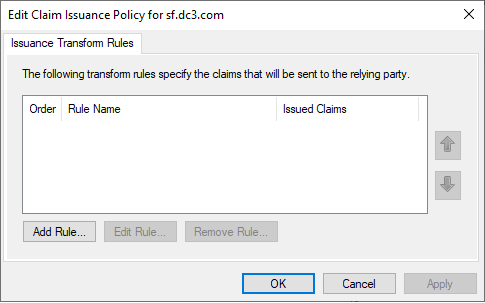
In the Actions panel, select Edit Claim Issuance Policy.
-
In the Edit Claim Issuance Policy ... dialog, click Add Rule to display the Add Transform Claim Rule Wizard.
-
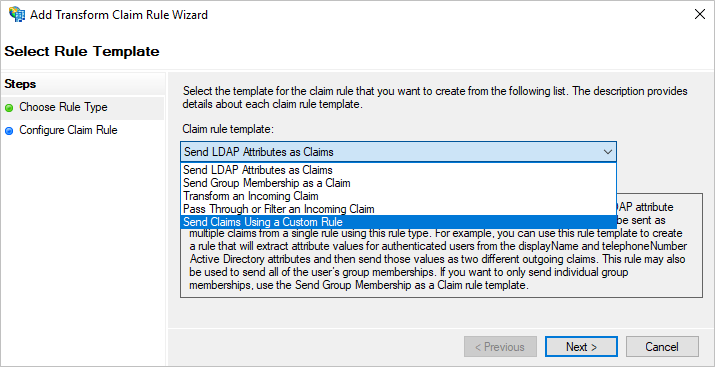
On the Select Rule Template page of the wizard, select Send Claims Using a Custom Rule and click Next.
-
Enter the following custom rule.
Copyc:[Type == "http://schemas.xmlsoap.org/ws/2005/05/identity/claims/upn"] => issue(Type = "http://schemas.xmlsoap.org/ws/2005/05/identity/claims/nameidentifier", Value = c.Value);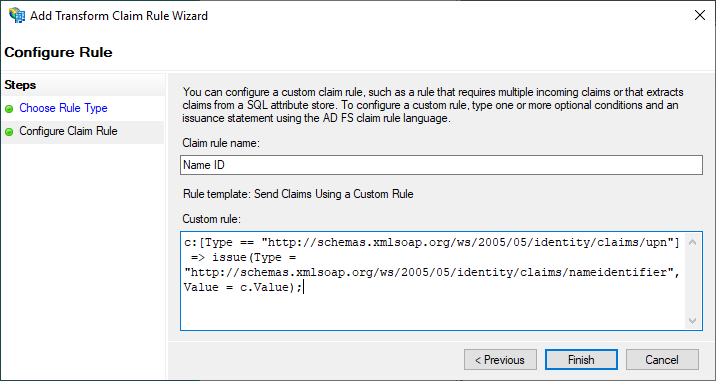
-
Click Finish and then on the final page of the wizard, click OK.
-
Execute the PowerShell code shown below to specify a default claim provider for StoreFront. Use the name of the created relying party for the TargetName parameter:
CopySet-AdfsRelyingPartyTrust -TargetName sf.dc3.com -ClaimsProviderName "DigitalPersona STS"
Testing
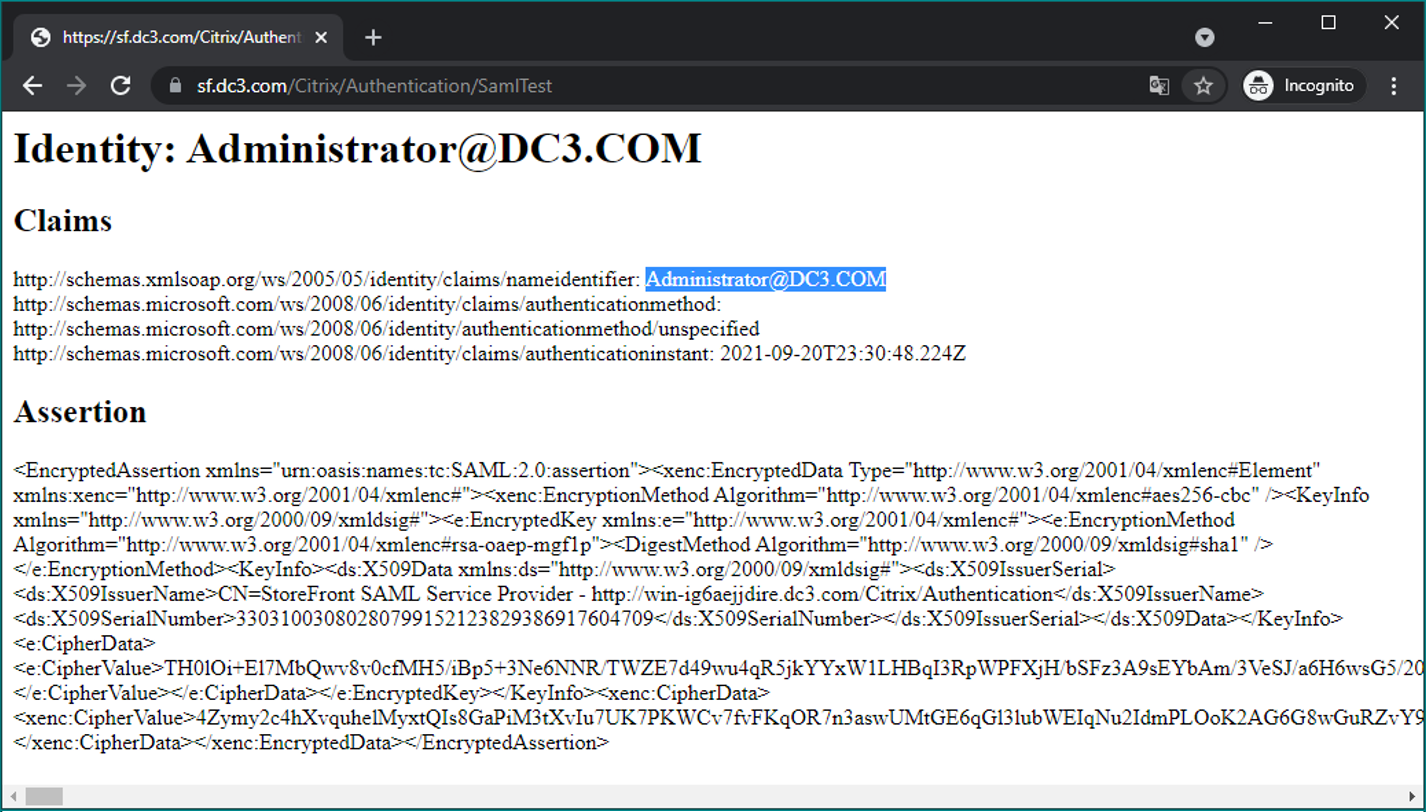
Use the built-in test app to test this feature.
-
Navigate to https://storefront-domain-name/Citrix/Authentication/SamlTest
-
Authenticate in DigitalPersona STS.
-
Navigate to https://storefront-domain-name/Citrix/StoreWeb/
-
Check that authentication works and users can open the StoreFront home page.
Configure the Federated Authentication Service
At this point, a user must authenticate twice. The first authentication is when signing in to the StoreFront website. The second authentication is needed to launch a remote app or open a remote desktop.
However, using Citrix Federated Authentication Service (FAS) it is possible to configure SSO-like behavior so that a user only needs to authenticate once, i.e. the second authentication is not required.
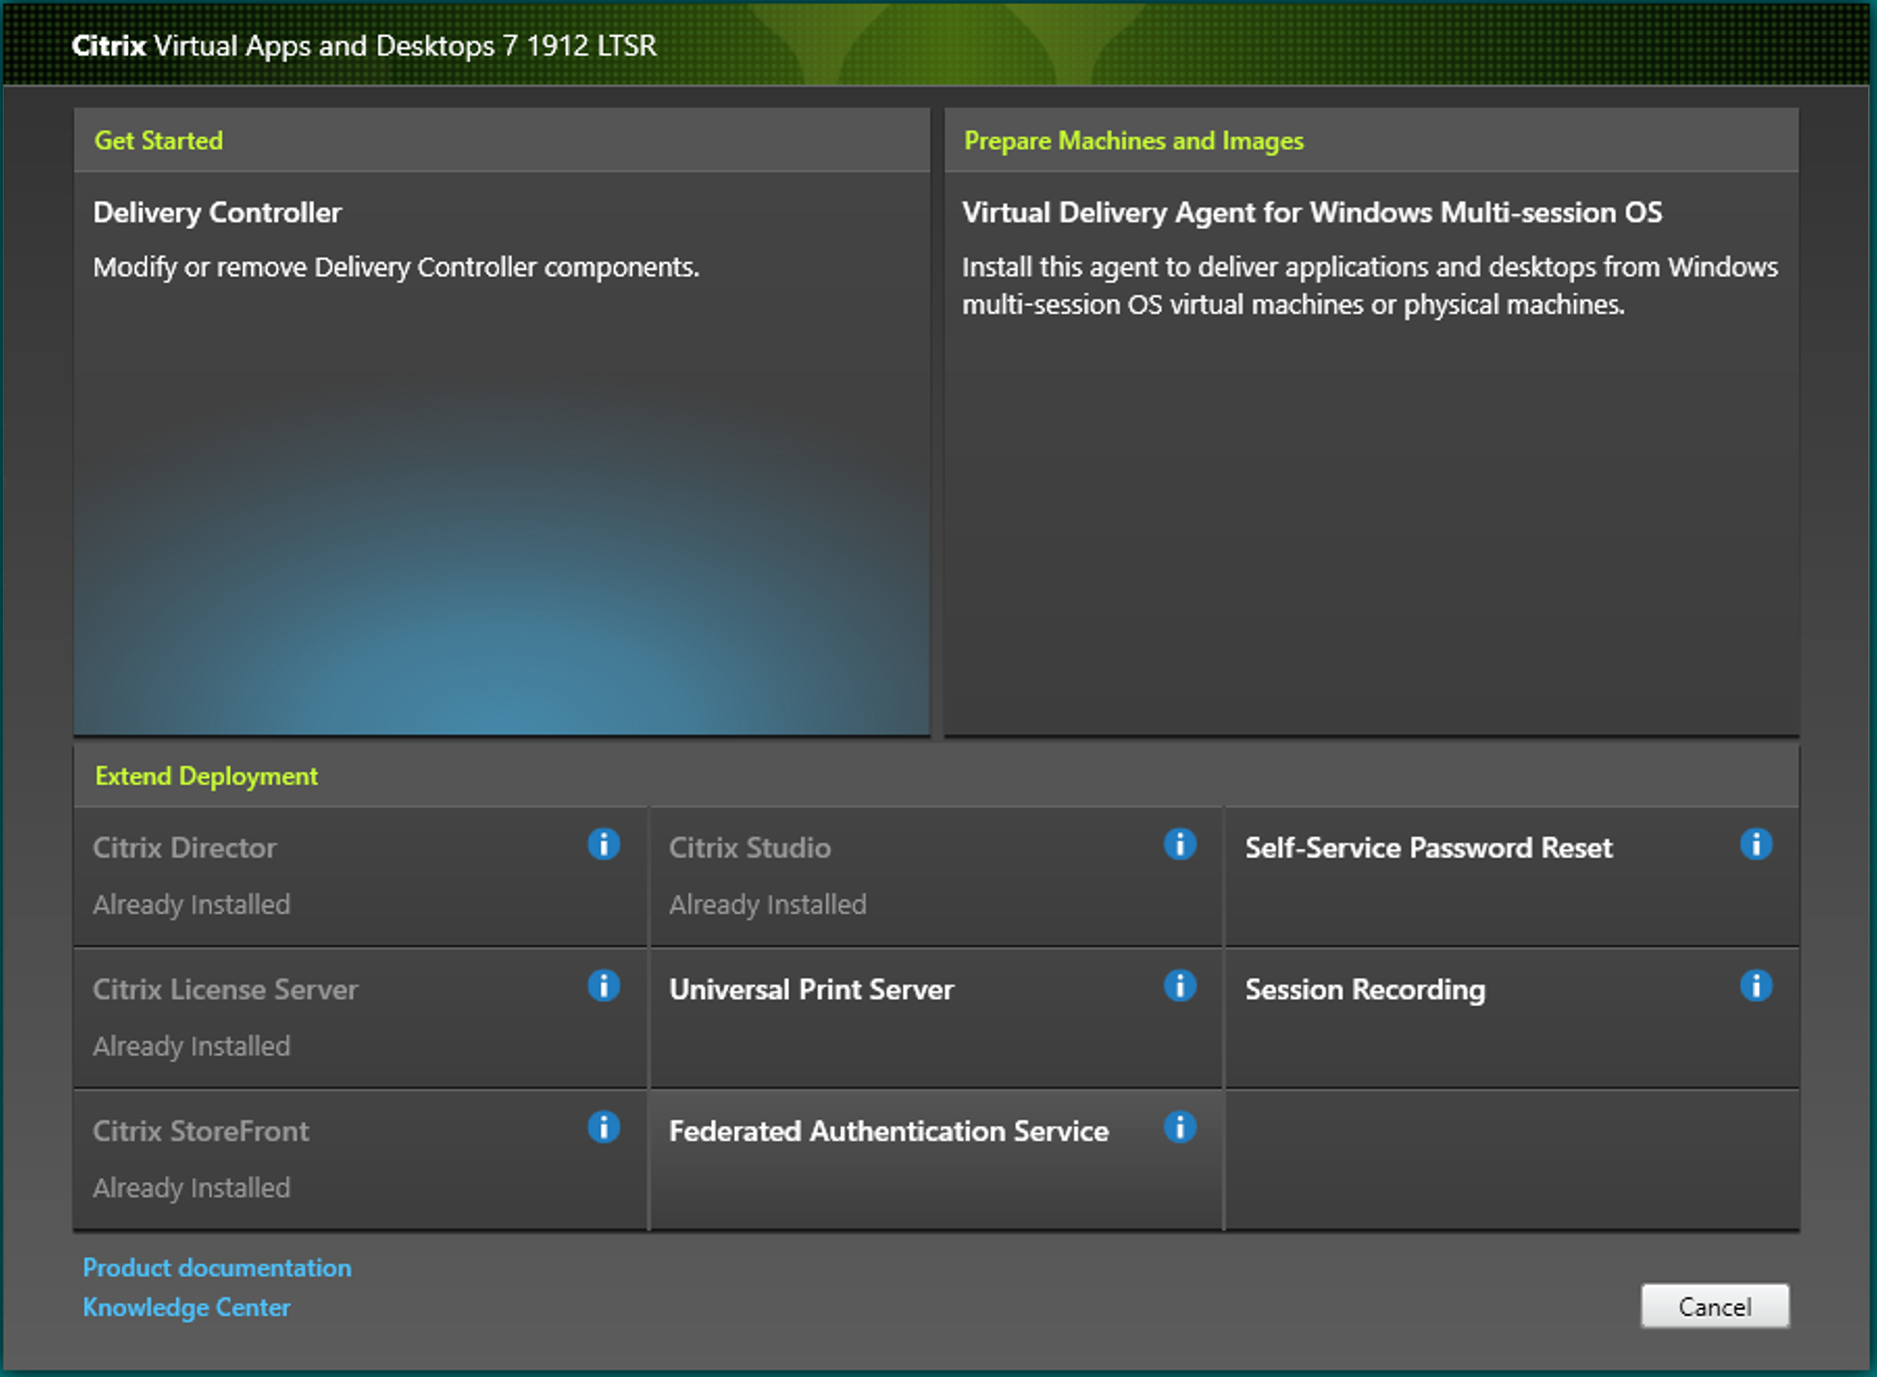
Install FAS
-
Run the Citrix Installer.
-
Select the Federated Authentication Service.
-
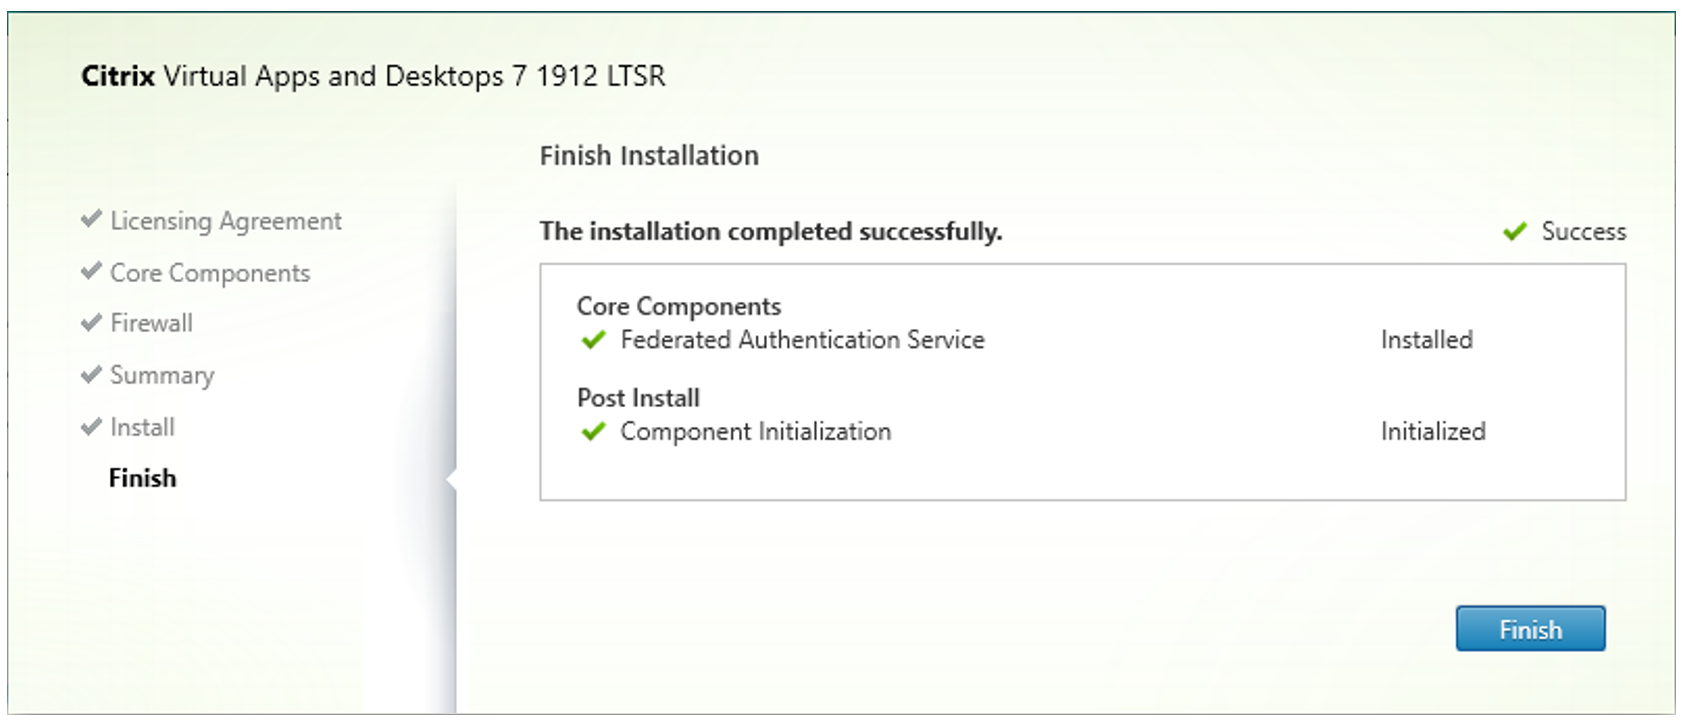
Complete the installation using all default settings.
Configure the GPOs
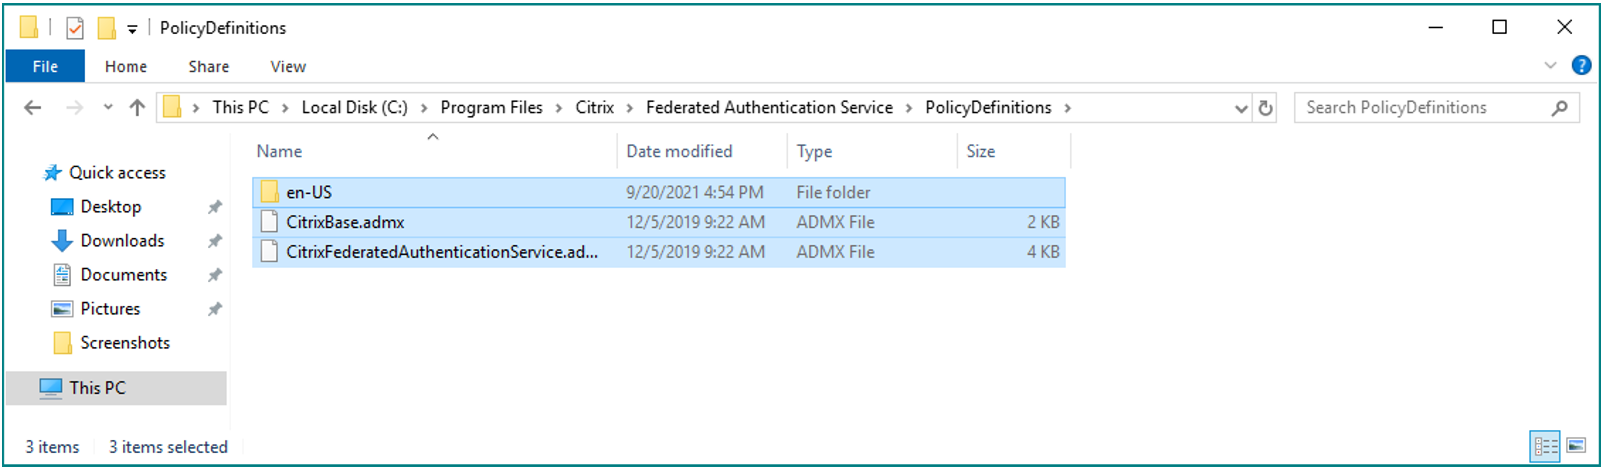
-
Deploy the required GPO templates by copying the ADMX files from C:\Program Files\Citrix\Federated Authentication Service\PolicyDefinitions to C:\Windows\PolicyDefinitions
-
Navigate to the Federated Authentication Service policy and edit the GPO.
Apply this GPO setting to all StoreFront servers, all FAS servers, and all VDAs.
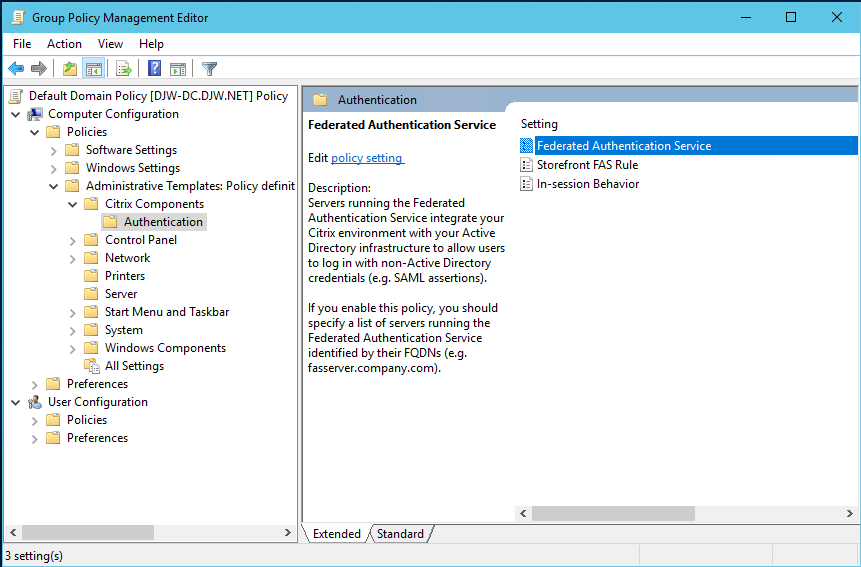
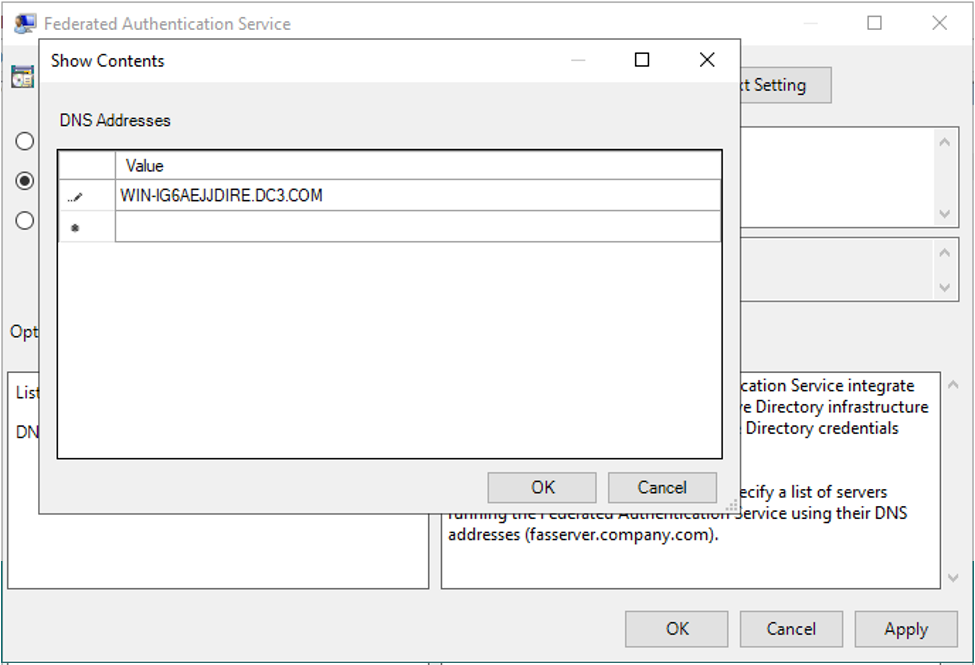
-
Open the Federated Authentication Service policy and select Enabled. This allows you to select the Show button, where you configure the FQDNs of your FAS servers.
Configure FAS
-
Launch the Citrix FAS Administration Console and on the Initial Setup tab, complete the following steps.
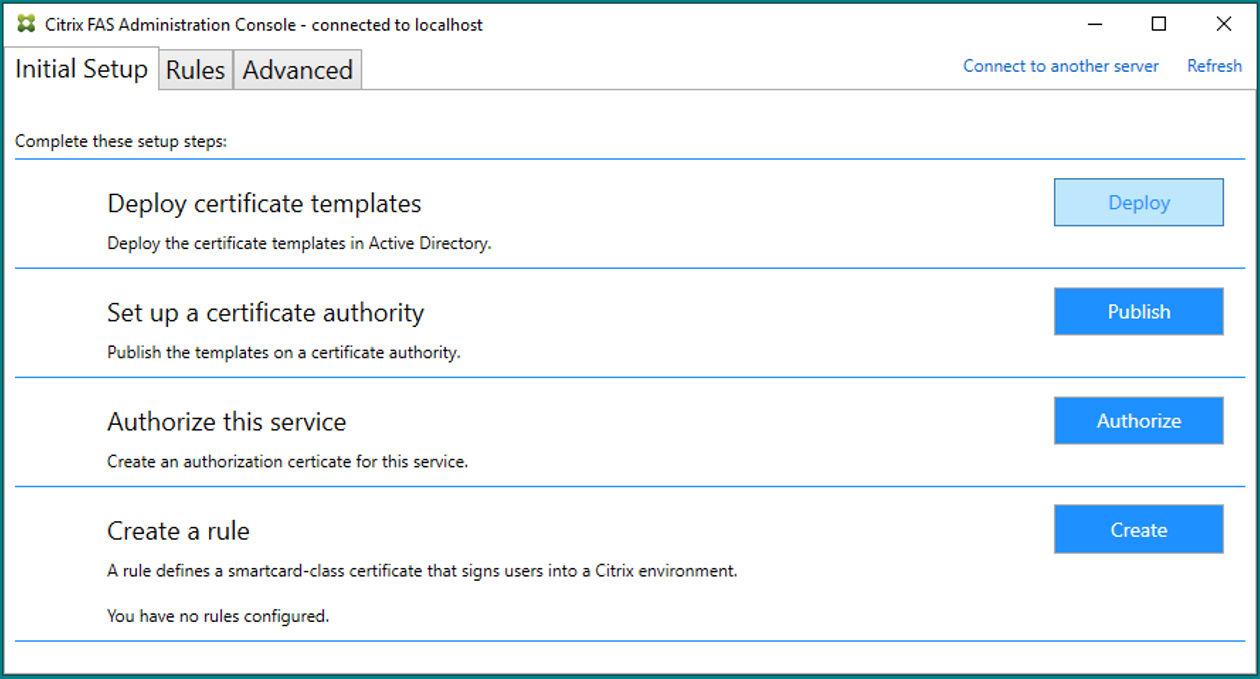
-
To Deploy certificate templates, click Deploy then click OK.
-
To Set up a certificate authority, click Publish, select your certificate authority and click OK.
-
To Authorize this service, click Authorize, select your certificate authority and click OK.
This step initiates the authorization of FAS. The administration console uses the Citrix_RegistrationAuthority_ManualAuthorization template to generate a certificate request, and then sends it to one of the certificate authorities that are publishing that template.
After the request is sent, it appears in the Pending Requests list of the Microsoft Certification Authority console as a pending request from the FAS machine account. The certificate authority administrator must issue or deny the request before configuration of FAS can continue.
The FAS administration console displays a busy ‘spinner’ until the administrator chooses Issue or Deny.
In the Microsoft Certification Authority console:
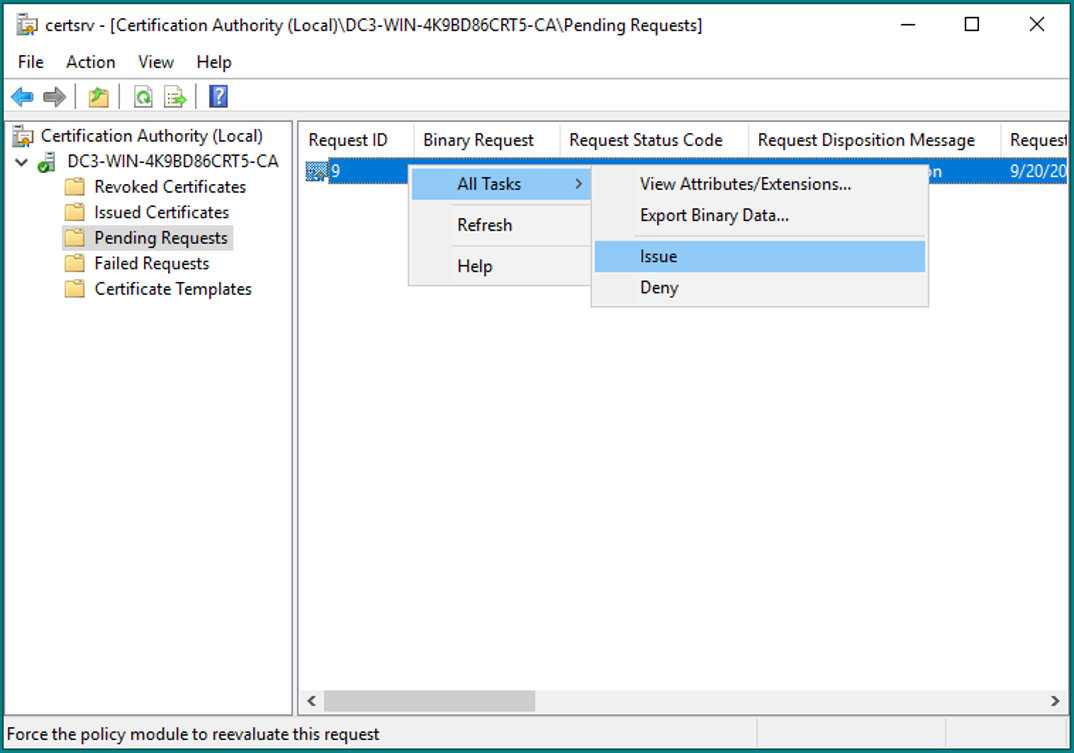
-
Select Pending Requests.
-
Right-click the pending request and select All Tasks then Issue.
The authorization certificate will be issued and displayed.
-
-
Return to the FAS Administration Console and click Refresh.
-
To create a rule, click Create to start the Rule Creation wizard which gathers information to create the rule.
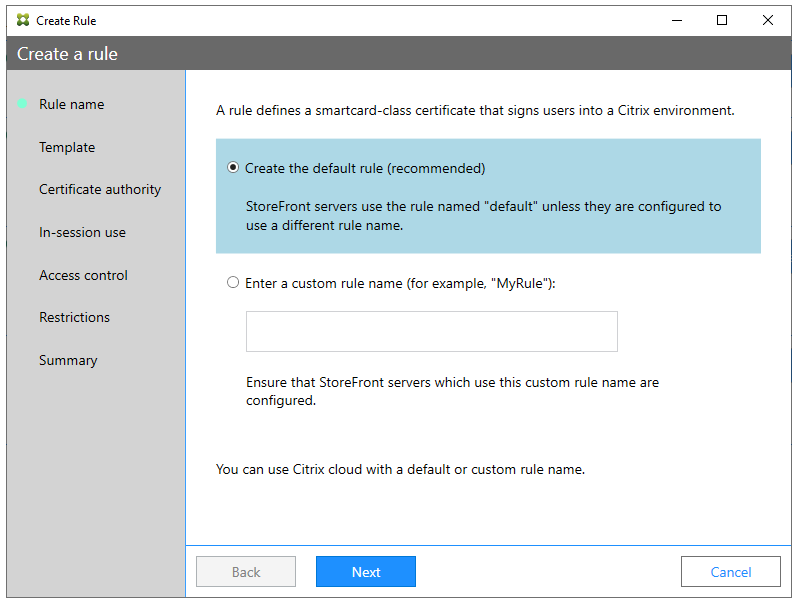
-
Use the following sample data:
-
Rule name: default
-
Template: Citrix_Smartlogon
-
Certificate authority: <Select your CA>
-
-
On the Access Control page, click Manage StoreFront access permissions.
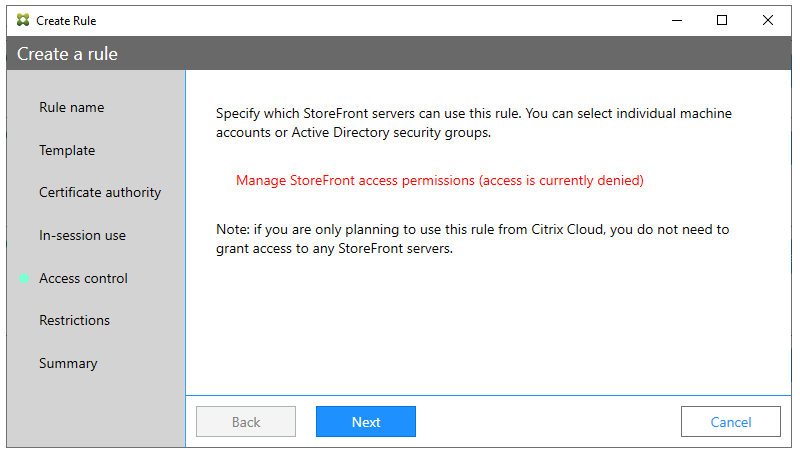
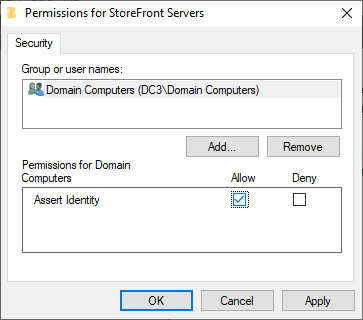
-
In the Permissions for StoreFront Servers dialog, select Allow next to Assert Identity and then click OK.
-
In the Create Rule wizard, click Next.
-
On the Restrictions page, click Next.
-
On the Summary page, click Create.
Activate FAS
Run the following PowerShell script to connect the configured FAS and StoreFront:
$StoreVirtualPath = "/Citrix/Store"
$store = Get-STFStoreService -VirtualPath $StoreVirtualPath
$auth = Get-STFAuthenticationService -StoreService $store
Set-STFClaimsFactoryNames -AuthenticationService $auth -ClaimsFactoryName "FASClaimsFactory"
Set-STFStoreLaunchOptions -StoreService $store -VdaLogonDataProvider "FASLogonDataProvider"
Testing
-
Navigate to https://storefront-domain/Citrix/StoreWeb/
-
Authenticate once in DigitalPersona STS.
-
Run any app from the StoreFront portal.
The remote app should work without additional authentication.


