Customizing ActivClient After Installation With Installation Wizard
After installing ActivClient, you can modify the ActivClient installation by adding or removing components.
-
Run the ActivClient MSI installer from the ActivClient product folder of the distribution package or:
Go to the program or app management feature on your system, select ActivClient from the list and click Change.
-
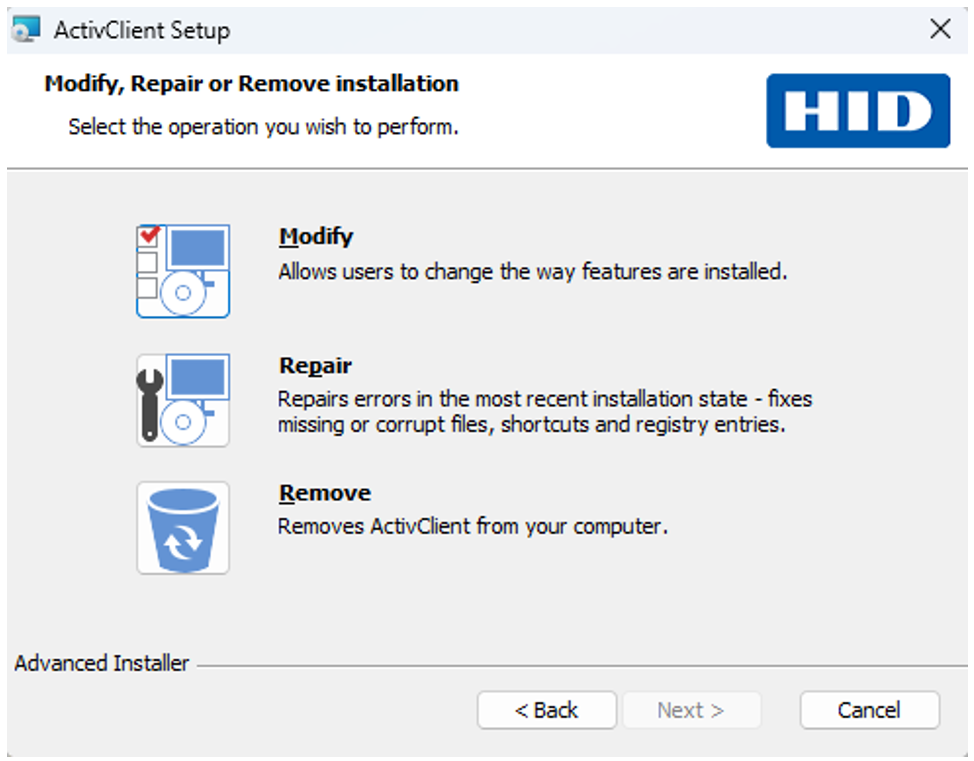
In the Program Maintenance window, select the Modify icon.
-
Select the ActivClient components you want to install from the list using the appropriate option from the right-click menu:
-
To install or add a component, click the
 icon for the component and then click the appropriate installation option in the displayed list.
 -
To remove a component, click the
 icon for the component and then click in the displayed list.
-
-
Click Next to proceed. The Ready to Install the Program page is displayed.
-
Click Install.
-
When the InstallShield Wizard Completed page is displayed, click Finish.
-
To benefit from all ActivClient services immediately, it is recommended to restart your workstation after the installation is completed.
See also: Installing and Customizing ActivClient Setup Using Command Line or PowerShell