Add the SDK to Your App
The recommended development environment is:
-
Microsoft® Windows® 10/11
-
Microsoft Visual Studio® 2022
The HID Approve SDK is delivered as a Microsoft NuGet package. It is available in the Windows folder of the delivery package.
Use the SDK in your App
-
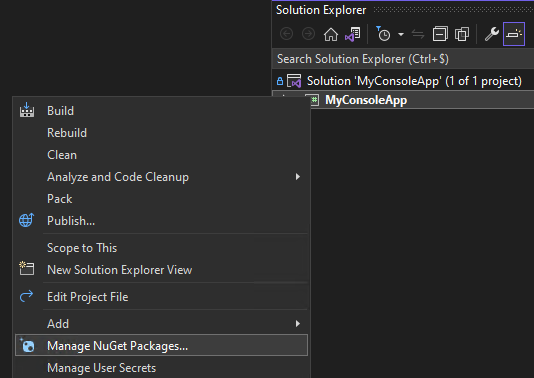
From the Visual Studio menu, select Manage NuGet Packages....
-
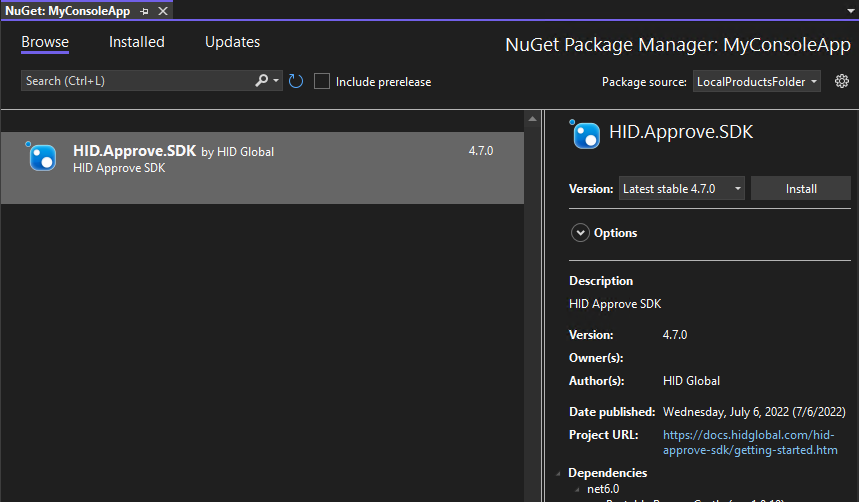
Create a new 'Package Source' folder to specify the local installation path for the HID Approve SDK .nupkg file.
-
Click Install.
-
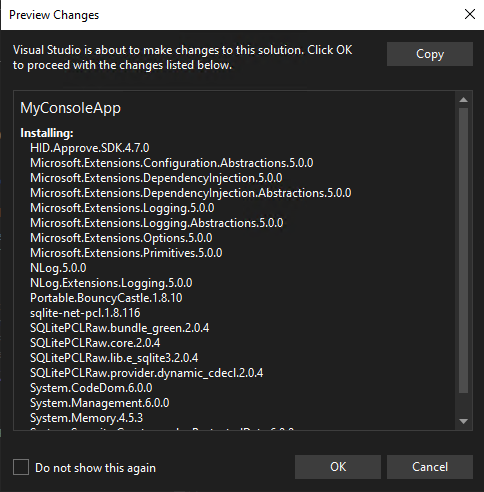
Click OK to install the HID Approve SDK NuGet and all the required NuGet dependencies.
-
Close the NuGet Package Manager.
You can now access HID Approve SDK public API classes in the HIDIA.Transaction namespace.
Configure the SDK Storage Folder
It is recommended keeping the default Data Storage Folder to allow leveraging the HID Approve SDK's automatic data clean-up when uninstalling the application embedding the SDK.
The default location is the .\78A93DD0-94DE-4CA0-8080-95746C379535\ApproveSDK\data folder under the user's 'LocalApplicationData' directory dedicated to your application.
For example, for a packaged application, this is C:\Users\%username%\AppData\Local\Packages\%application_pfn%\LocalCache\78A93DD0-94DE-4CA0-8080-95746C379535\ApproveSDK\data
If you customize this folder path, you will need to manually clean up the data folder.
If a different location is required by the integrating application, you can specify the path in a configuration file called Approve.config stored in the executable's working directory. The environment variable should be escaped with the percent character (%).
Sample Storage Folder Configuration
<?xml version="1.0" encoding="utf-8" ?>
<configuration>
<!-- Path to the database. Environment variable should quoted with the percent sign character (%) -->
<AppFolder>%LOCALAPPDATA%\78A93DD0-94DE-4CA0-8080-95746C379535\ApproveSDK\data</AppFolder>
</configuration>


