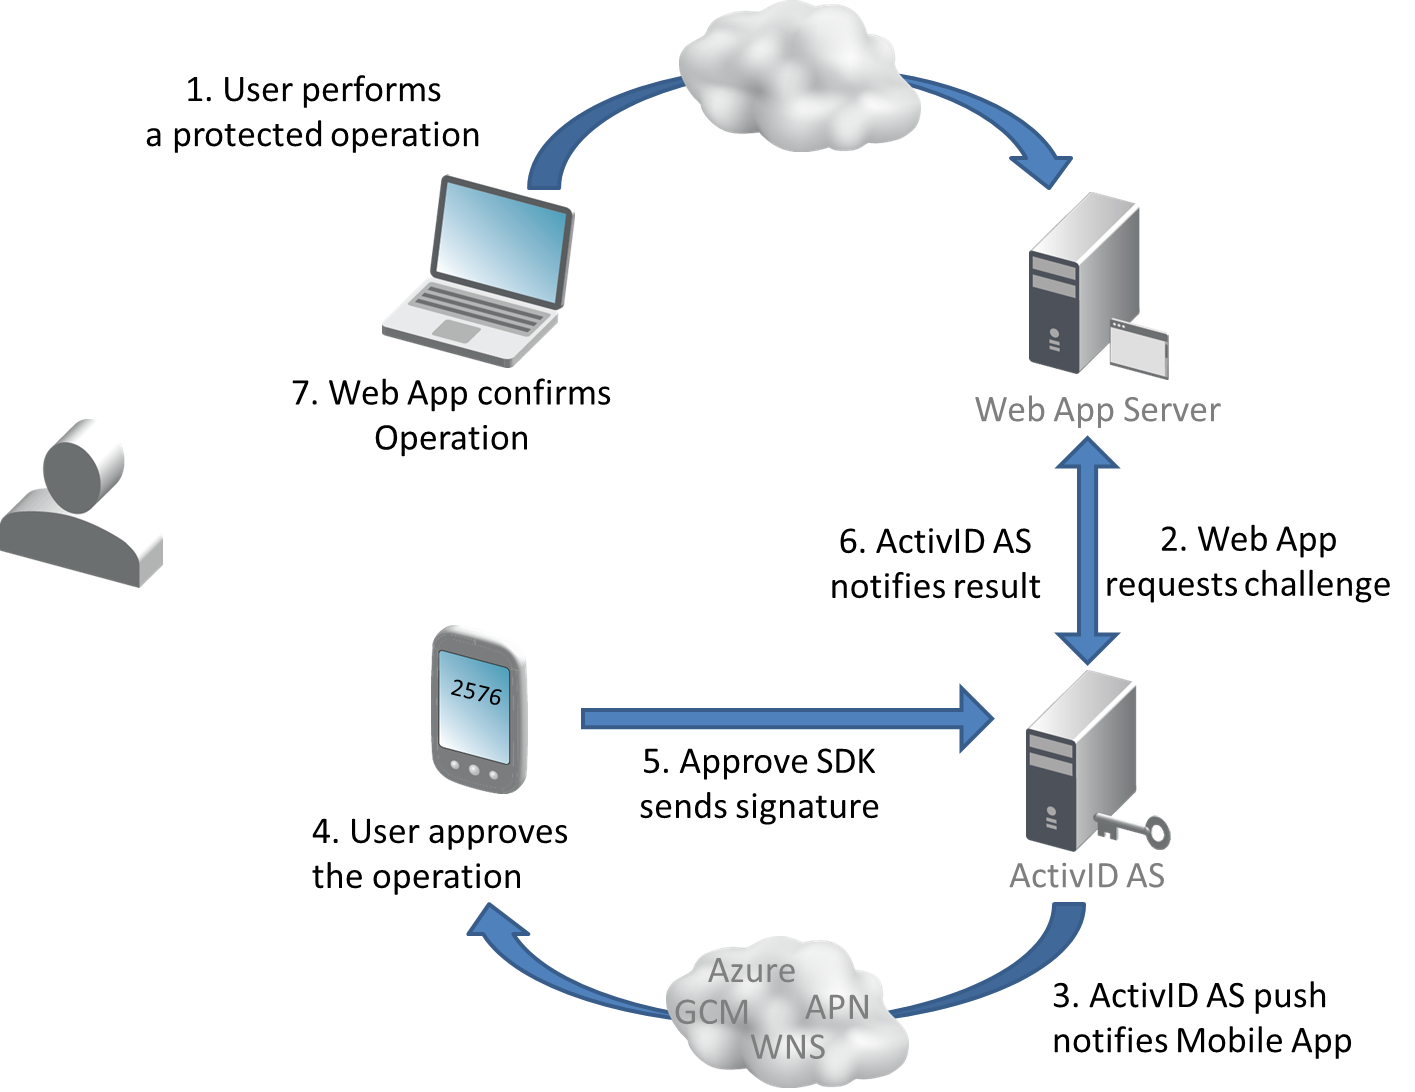
Once the keys are provisioned, the device is ready to perform a Transaction Signing operation (that is, to approve or decline a transaction based on details sent by the HID authentication platform). How the application is notified that a transaction is to be signed depends on its deployment. One option is to get a push notification from the server.
Transaction Signing Workflow

The mobile application signs a transaction as follows:
- Create an instance of the IDevice (
DeviceFactory.GetDevice). -
Retrieve the transaction identifier (transactionId) for the transaction that will be processed. This identifier can be retrieved from the:
-
Push notification payload received by the application. This is the tds member of the payload
-
List of pending transactions for a specific container retrieved from the server (IContainer.RetrieveTransactionsIds)
-
- Get public information (ServerActionInfo) from the transaction identifier (transactionId) (IDevice.RetrieveTransactionInfo). There is no communication with the server at this point.
The returned ServerActionInfo instance provides the:
ServerActionInfo.Container - the container associated with this transaction
ServerActionInfo.UniqueIdentifier - the transaction Unique Identifier
This unique identifier corresponds to the server challenge identifier (cid) and can be used to correlate transactions between the client and server.
ServerActionInfo.ProtectionKey - the session transport key, which can be used to determine the corresponding key protection policy (such as if the password is required)
- Check if the Session Transport Key is protected by a password and prompt the user as required.
- Get transaction details from the server (
ServerActionInfo.getTransaction). - Get the Transaction details (
IServerAction.toString) and the list of allowed statuses (ITransaction.getAllowedStatuses) that will be displayed to the end user so that they can decide which action to take (“approve” or “decline” the Transaction). - Display the transaction to the end user and retrieve the end user’s selection among the available statuses.
- Then request the end user to provide their Transaction Signing Protecting password and send the final status to the HID authentication platform (ITransaction.setStatus).
Sample Transaction Signing on Windows (C#)
Device device = await DeviceFactory.GetDevice(null);

// Get public information from the transaction identifier
TransactionInfo txInfo = await device.RetrieveTransactionInfo(txId);

// Here we can check whether the transaction protection key is protected by a password
IProtectionPolicy policy = await txInfo.TransactionProtectionKey.GetProtectionPolicy();
if (policy.Type == ProtectionPolicyType.Password) {
    // Prompt the end-user for the transaction protection key password
    ...
}
...
// Get the Transaction details
ITransaction tx = await device.RetrieveTransaction(txId, txProtectKeyPassword, new ParameterList());

// Display the transaction details to the end user and get the end user’s selection among the available statuses
// tx.ToString()
// tx.AllowedStatuses()

...

// Here we can check whether the signing key is protected by a password
IKey signingKey = await tx.GetSigningKey();
IProtectionPolicy signingKeyPolicy = await signingKey.GetProtectionPolicy();
if (signingKeyPolicy.Type == ProtectionPolicyType.Password) {
// Prompt the end-user for the signing key password
    ...
}

// Sign the transaction
bool result = await tx.SetStatus(selectedStatus, txProtectKeyPassword, signingKeyPassword, new ParameterList());


