Issue a Device for a User
-
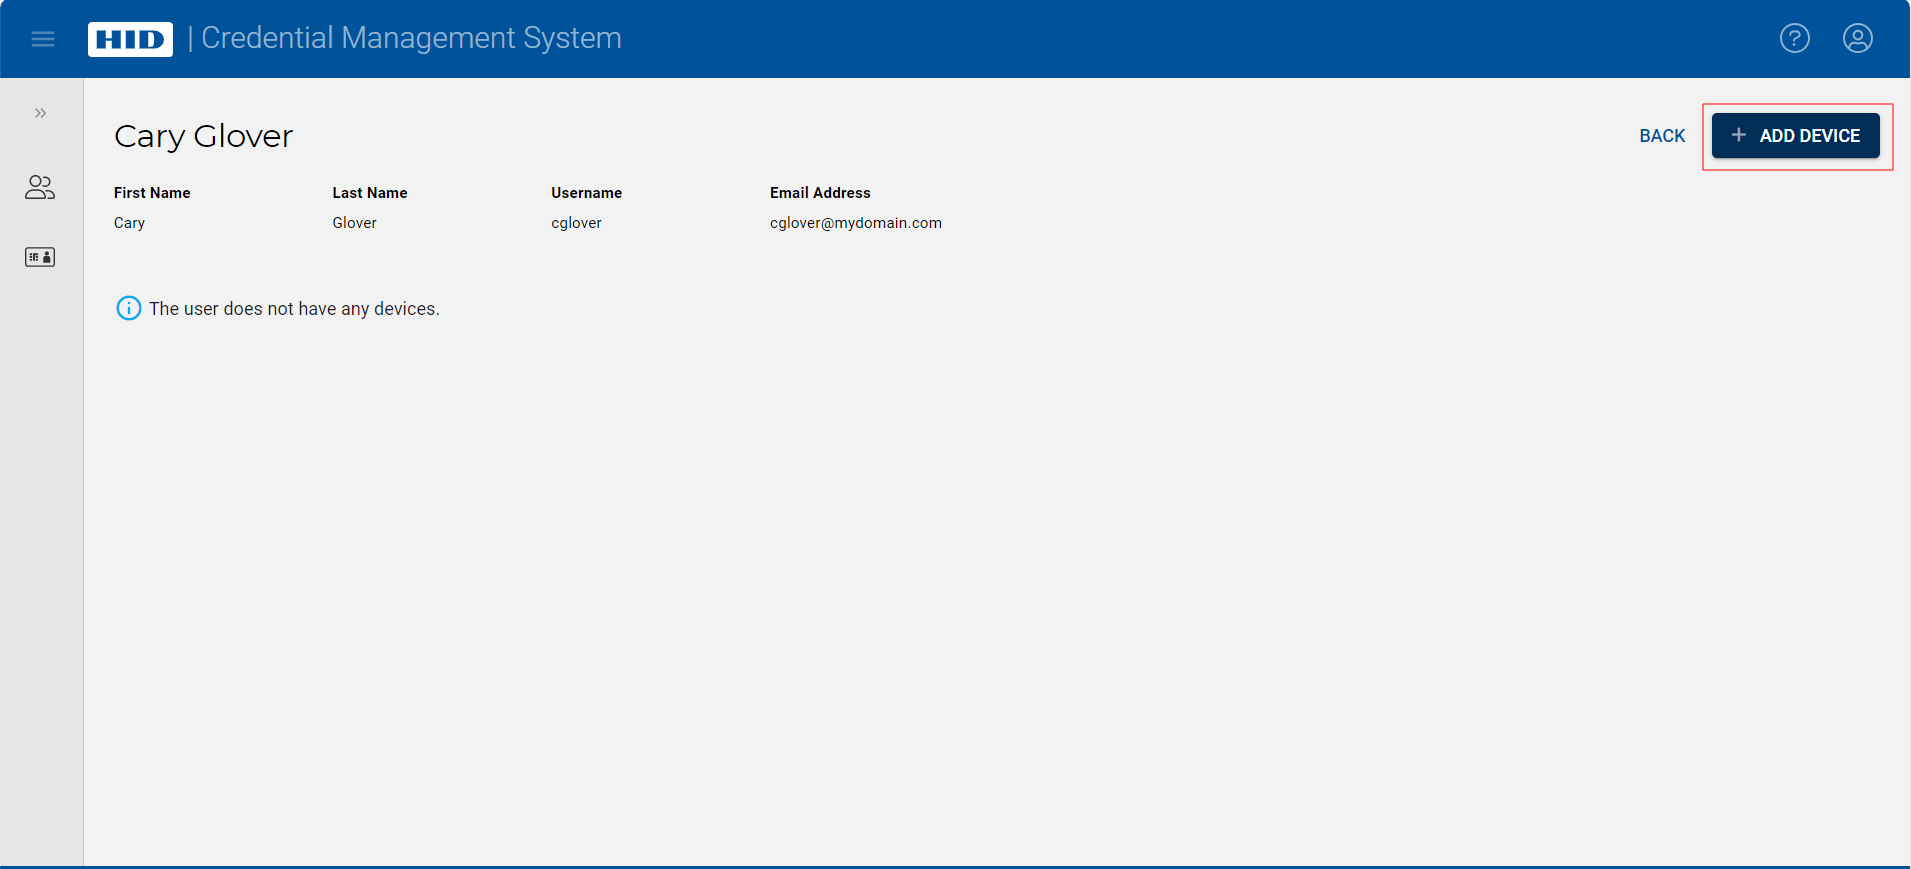
On the User page, click on the Add Device button:
-
Select the device you want to issue, and select Issue Device in the Action Type drop-down list:
Note: If you do not see the device you want to issue, click to update the display of connected devices.
 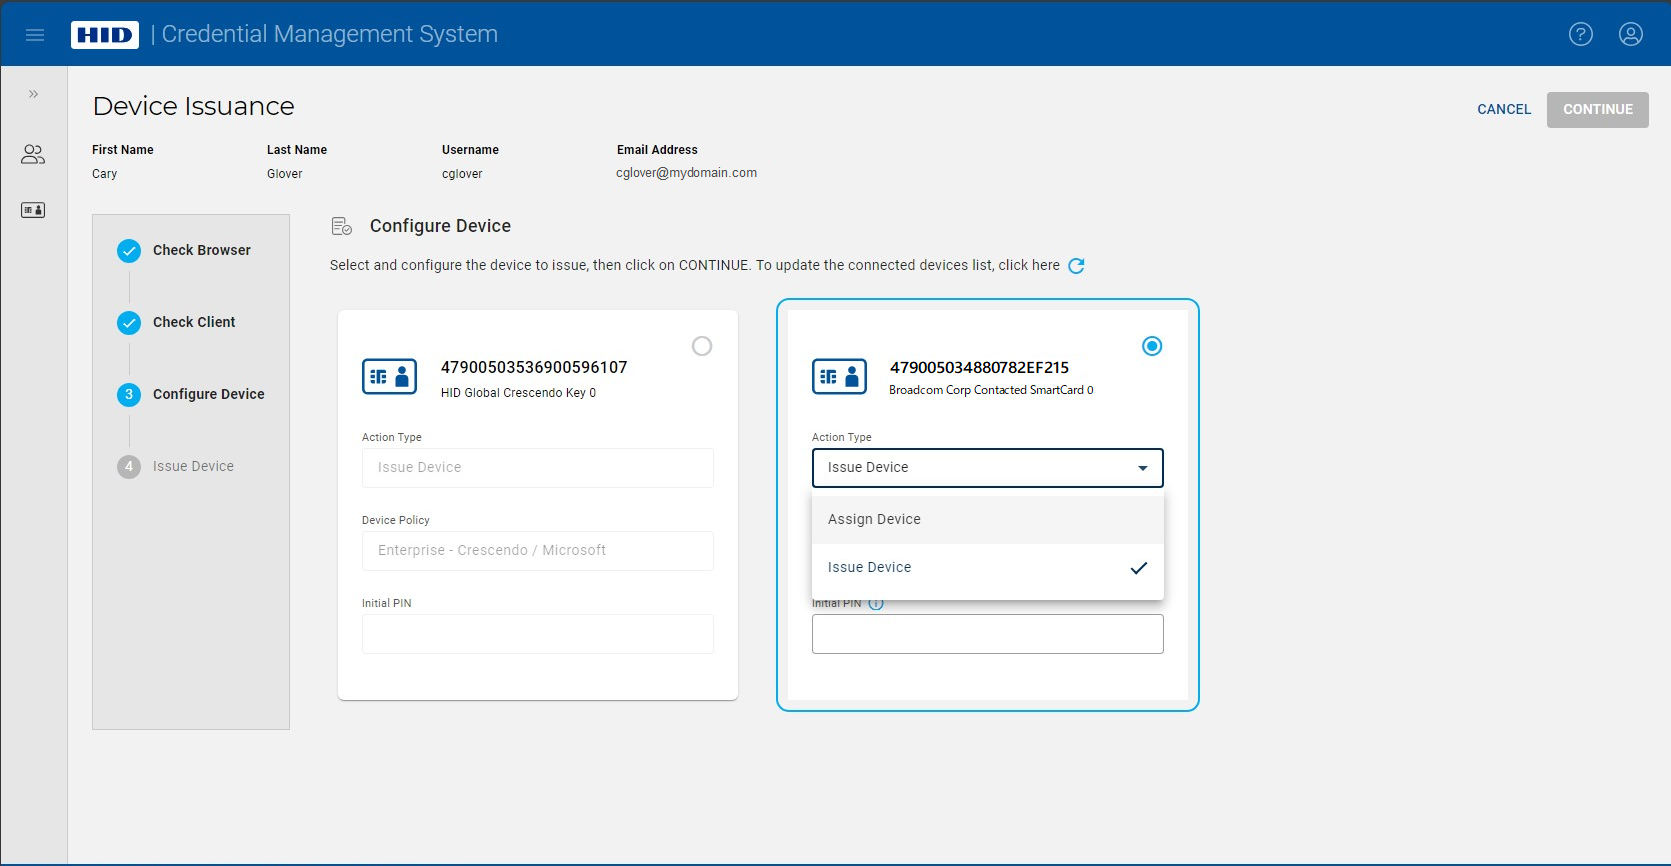 Note: By default, Issue Device is selected as the Action Type.
 -
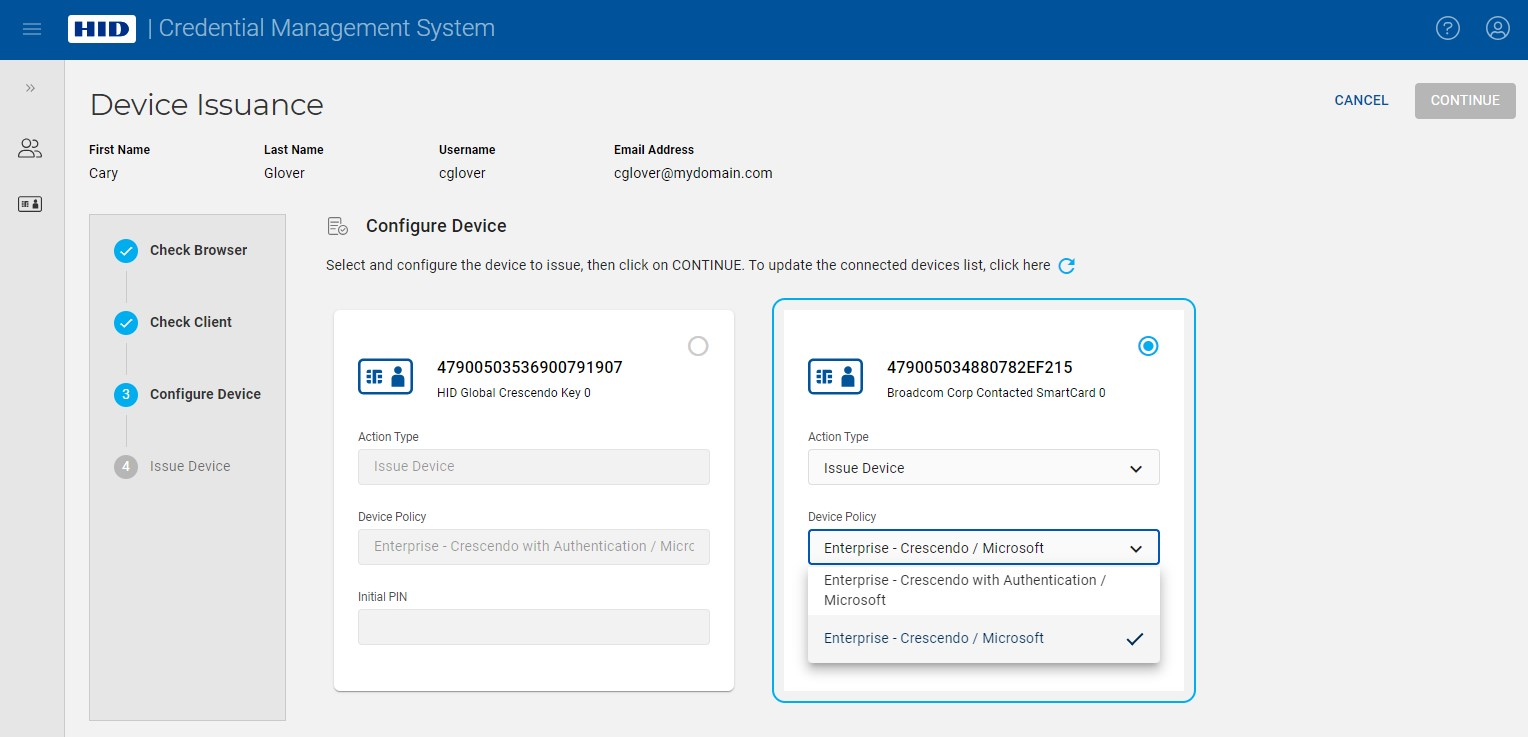
Select the device policy using the Device Policy drop-down list:
-
Enter the PIN (if required) and click Continue to issue the device.
Note: The PIN limitations configured in ActivID CMS are displayed when you click on the info button ( ) as well as dynamically as you enter the PIN. In addition, the PIN configuration set in the Security Settings of ActivID CMS determines when and how the PIN must be entered:
 If Device initial PIN display mode is set to Displayed in the Security Settings, you only need to enter the PIN once (as shown in the example above).
If Device initial PIN display mode is set to Disguised, the PIN is masked as you enter it, and you are required to confirm it.
If Device initial PIN display mode is set to Not Displayed and the User Portal configuration in ActivID CMS is configured to change the PIN during device issuance (Change PIN during issuance set to Yes), you are prompted to change the PIN at the end of the device issuance (not shown in the example below).
If Device initial PIN display mode is set to Not Displayed and the User Portal configuration in ActivID CMS is configured to Not change the PIN during device issuance (Change PIN during issuance set to No), you are not prompted for a PIN and the user can recover the initial PIN directly (see Get Initial PIN).
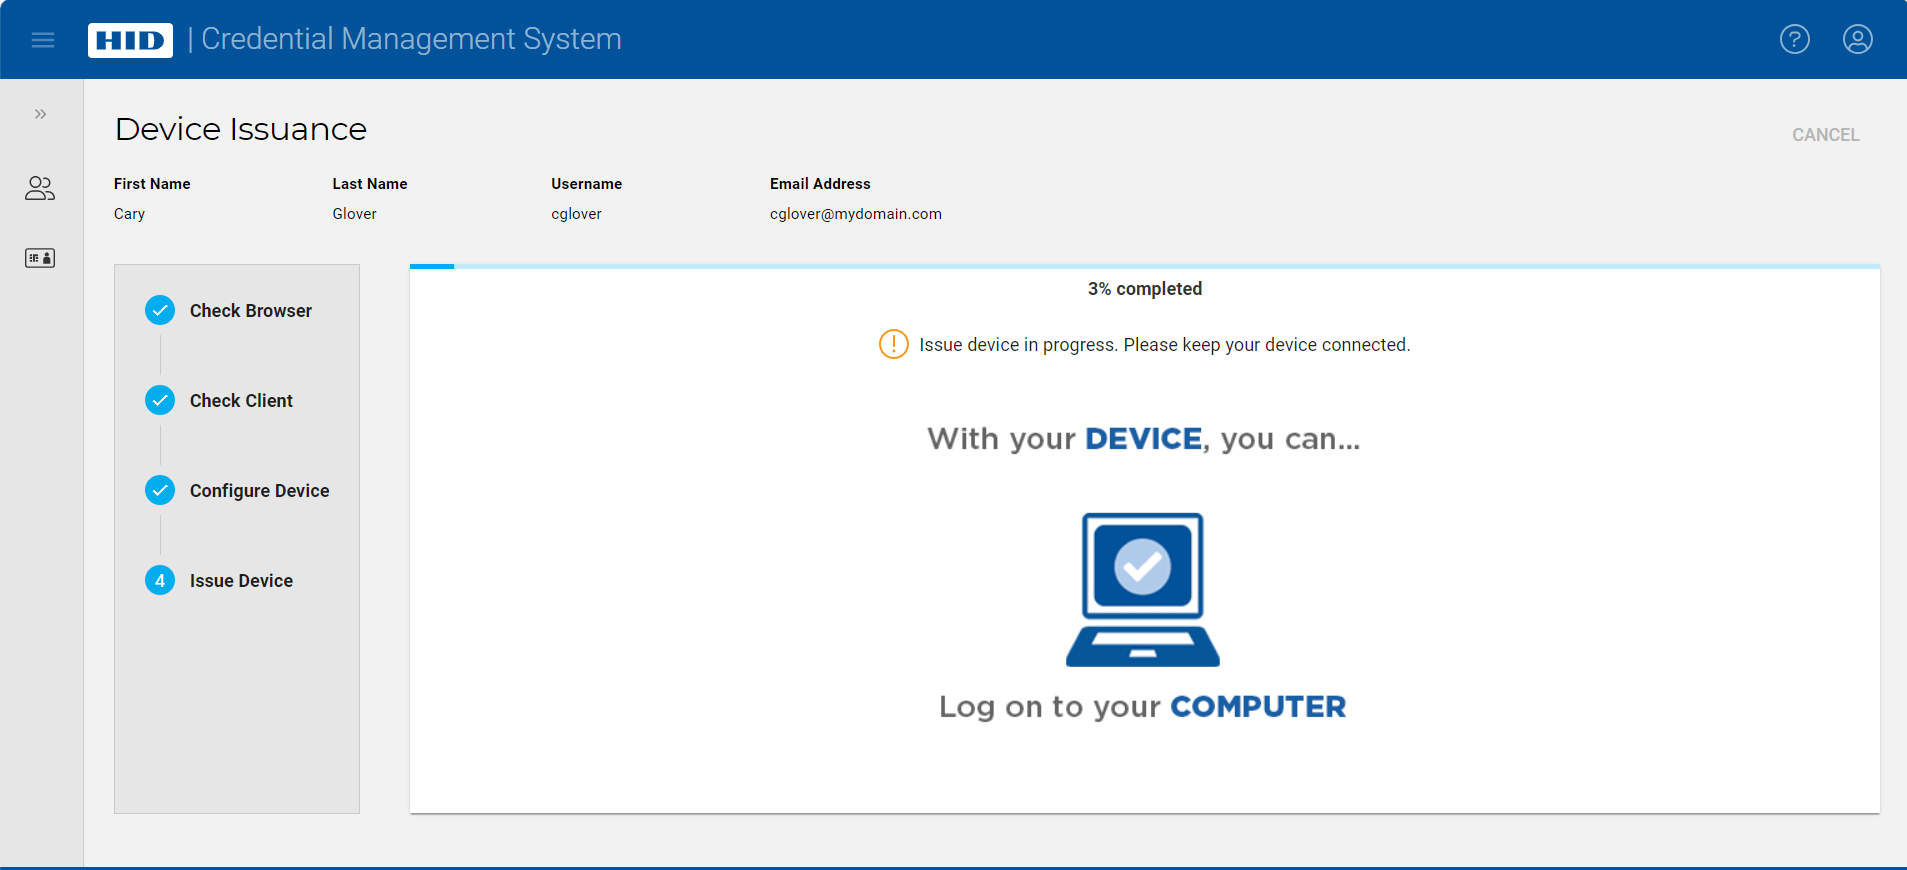 Important: When you are issuing a device that is configured to use a Microsoft Entra ID passkey-enabled service, you are required to register the device passkey with Entra ID. (A message is displayed informing you that you will be prompted to verify this device and confirm the registration.) To do this, you need to follow the instructions in the dialog boxes that are displayed. If you do not complete this process, the issuance will fail. (For more details, see Particularities Concerning FIDO Applications).
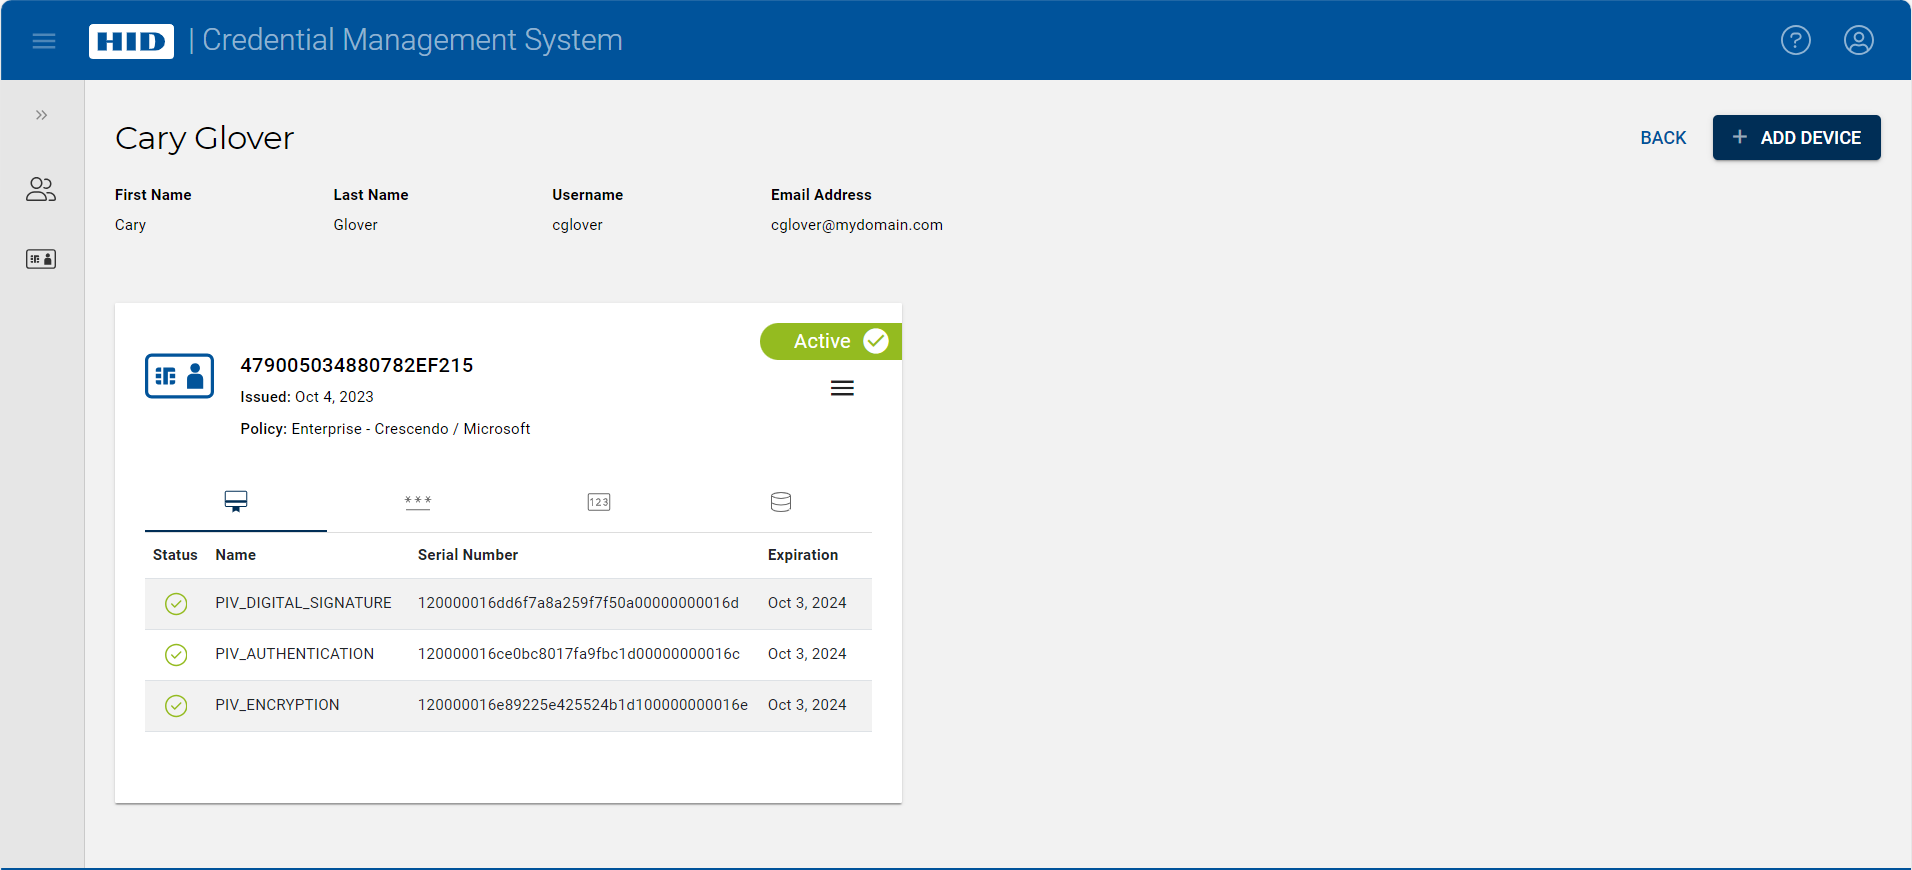
After the issuance is completed successfully, the User page is displayed again. The page now displays details about the newly-issued device:
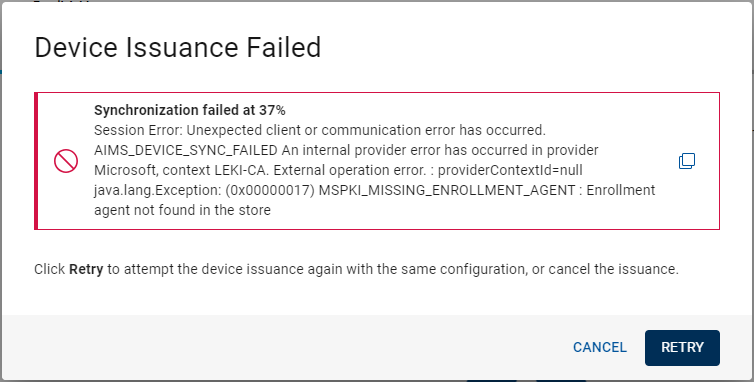
Clicking Retry starts the issuance again using the same device with the same policy. Do not remove the device from the reader.
Note: If you want to try to issue the device again using a different policy or a different PIN, you must cancel the current issuance and start a new one.
Clicking Cancel returns you to the User page; the device is no longer assigned to the user.
Note: After a failed issuance, even if the user chooses neither Retry nor Cancel (for example, the browser is closed, or the user logs out), the device can still be recycled.
Particularities Concerning FIDO Applications
When you issue a device containing a FIDO application that uses an Entra ID passkey-enabled service, you will be prompted to enter or set your FIDO application PIN during the passkey registration with Entra ID. This takes place during the issuance of the device.
Depending on the device and its configuration:
-
the device PIN may be shared between the PKI and FIDO applications, in which case the same PIN that you set during device issuance must be entered during the passkey registration with Entra ID (see Shared PIN Configuration).
-
you may be prompted to set your device PIN at the end of issuance (instead of the beginning), in which case you will be provided with an initial PIN to use during the passkey registration with Entra ID.
Note: This is the case when the Device initial PIN display mode option is set to Not Displayed in the Security Settings of ActivID CMS, and when the User Portal configuration in ActivID CMS is configured to change the PIN during device issuance (Change PIN during issuance set to Yes). -
you may be prompted to set a new PIN for the FIDO application during the passkey registration (see Unshared PIN Configuration). The FIDO application PIN may be same as the one set for the device PIN (or different if desired).
Crescendo C4000 devices (with shared or unshared PIN mode)
YubiKey firmware 5.3 or higher (unshared PIN mode only)
Shared PIN Configuration
-
If you are prompted to set your device PIN at the beginning of the issuance, this same PIN is required during the passkey registration with Entra ID.
-
If you are not prompted to set your device PIN at the beginning of the issuance, an initial PIN is displayed during the passkey registration that you must enter to authenticate the registration. After the issuance is complete, you will be prompted to set a new device PIN.
Unshared PIN Configuration
-
If you set the device PIN at the beginning of the issuance, you are prompted to set a new PIN for the FIDO application during the passkey registration. The FIDO application PIN may be the same as the device PIN (or different if desired).


