Configure Job Scheduling
Every Validation Authority job runs automatically on a preconfigured schedule. You can use the job details page to view and modify the schedule for a job.
The list of scheduling rules lists all currently configured scheduling rules for the job and the next time that each rule will cause the job to be run. Jobs can be scheduled using either interval rules, which run the job on a fixed interval, or calendar rules, which run the job at fixed times.
To delete a Scheduling Rule, click delete.
Schedule a Job by Interval
-
Click Schedule this job by Interval.

-
To change the Interval Time between job runs, enter the desired time in seconds. This parameter specifies the frequency with which the job is run, in seconds.
-
To change the Initial Wait Time that the server waits to run the job after startup, enter the new time in seconds. This parameter specifies the amount of time after system startup that Validation Authority should wait to start the job.
-
Click Schedule Job to create the new Scheduling Rule and return to the Job Detail page.
Alternatively, click Cancel to return to the Job Detail Page without saving your changes.
Note: To avoid any memory issues while running the pre-generated proofs, increase your heap space.
Schedule a Job by Calendar
-
Click Schedule this job by Calendar.
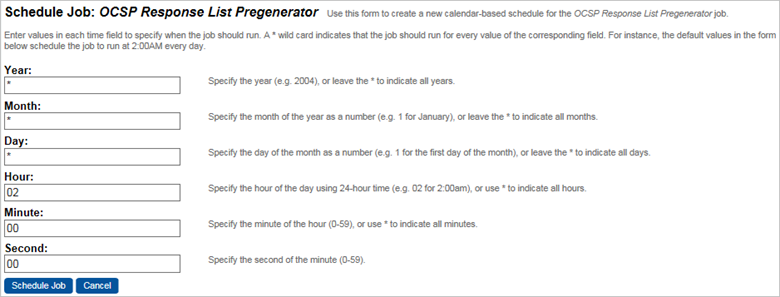
-
Specify the schedule by which a job should run by entering values for each unit of time.
A field with the wild card * indicates that the job should run for every value of that unit of time. For example, a * in the Minute: field indicates that the job should run every minute. The default settings shown above indicate a job that would run at 2:00:00 A.M. every day.
-
Click Schedule Job to create the new Scheduling Rule and return to the Job Detail page.
Alternatively, click Cancel to return the Job Detail page without saving your changes.


