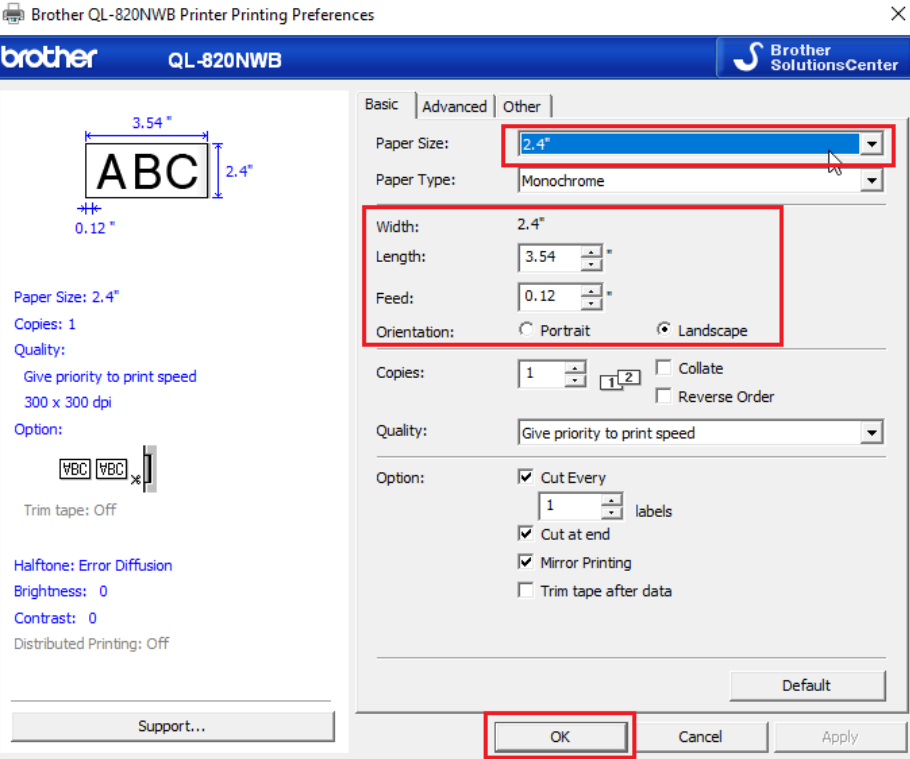
Configure the Paper Size
This article explains how to configure the paper size
-
From Control Panel, open Devices and Printers.
-
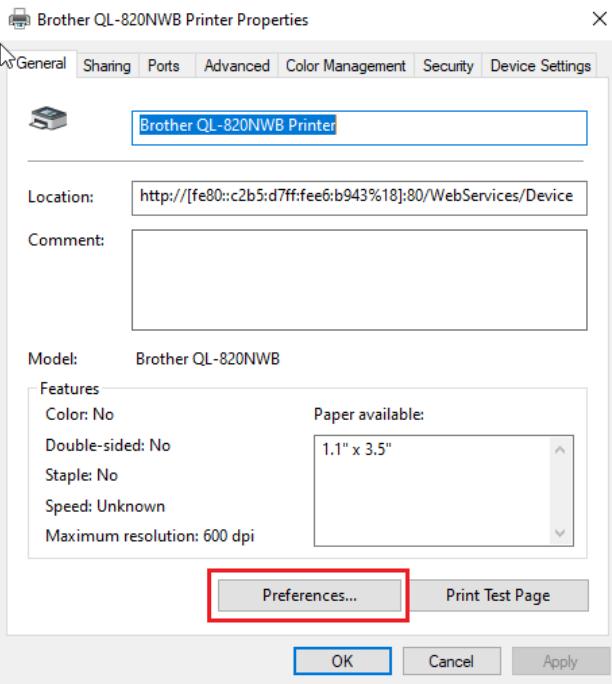
Select the desired printer and right-click the icon before clicking Printer Properties.
-
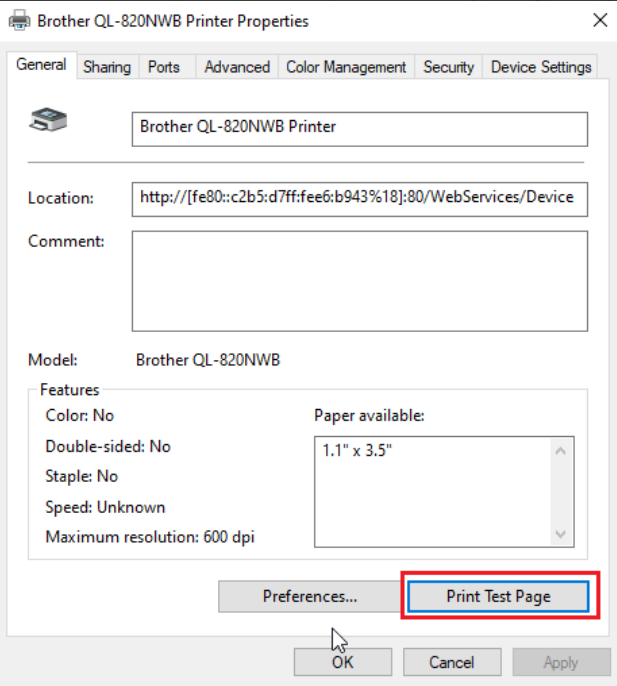
In the General tab, click the Preferences button at the bottom.
-
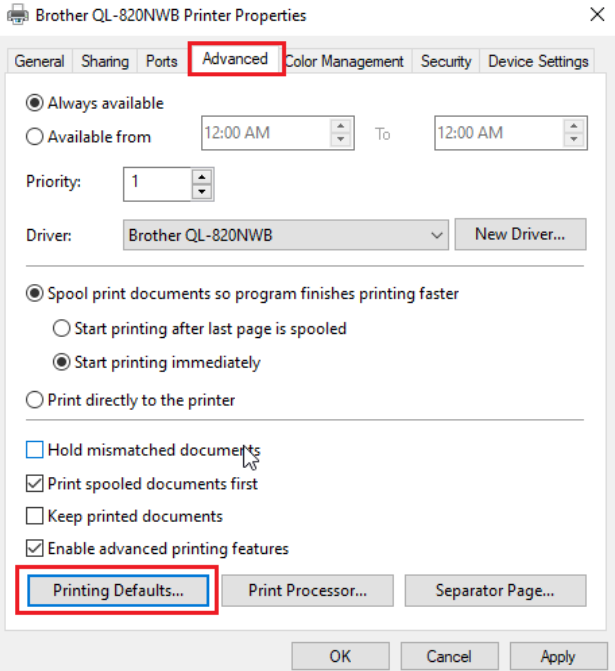
OR click on the Advanced tab > Printing Defaults to select the desired paper size, then click OK to save settings.
Note:Selecting the proper paper size in this step is very important for successful badge printing. For example, if the roll DK-1202 with labels 2.3" by 3.9" is installed please select the same from the drop-down. If the 2.4" continuous roll is installed please select 2.4" from the drop-down (shown in the screenshot below). In case of printing via iPad, these printing defaults are utilized by the embedded brother SDK so it is important to do this step correctly.
-
Click Print Test Page to test.