Dymo 550T Printer Setup
The article provides guidance on how to configure Dymo 550T printer to print the visitor badge
Connecting the Printer to a Local Area Network
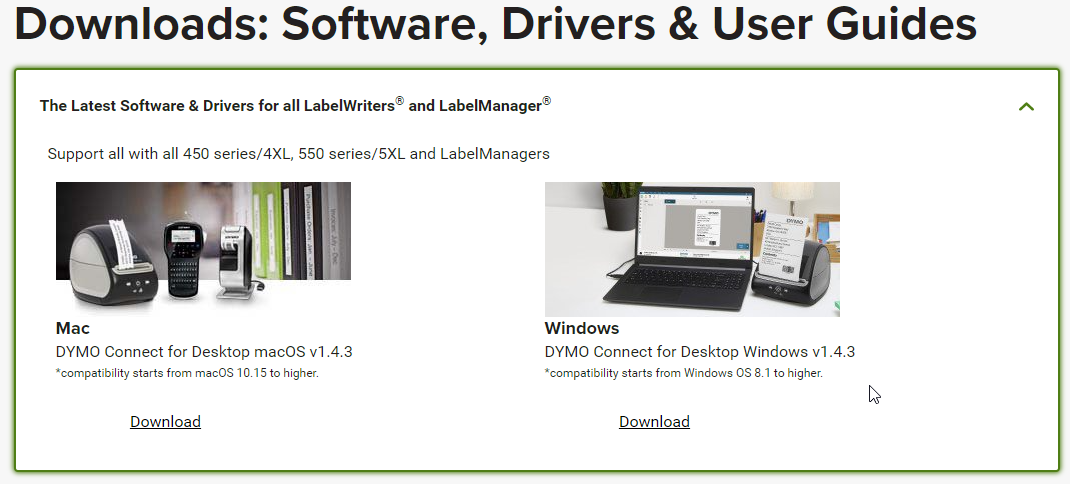
The LabelWriter 550 Turbo can be connected to a local area network with a LAN cable. All computers that will print over the network must have DYMO Connect for Desktop software installed which can be downloaded by following the link https://www.dymo.com/support?cfid=user-guide
Do not connect the printer to your computer until after the software installation is complete.
-
Plug the LAN cable into the LAN port on the back of the printer.
-
Plug the other end of the cable into an active LAN port on your network.
-
Press to turn on the power, if necessary.
-
The LAN status light on the front of the printer will be on.
-
Download and install DYMO Connect for Desktop on all computers that will print labels to this printer on the network.
-
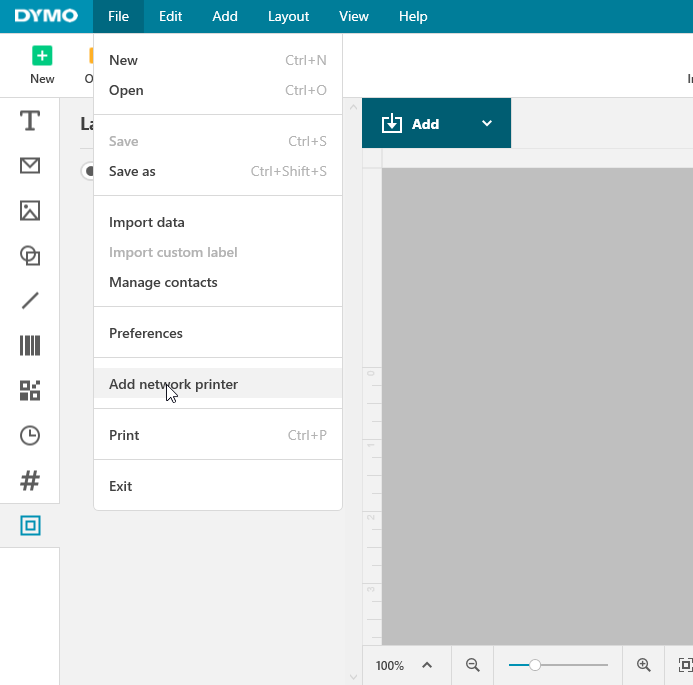
In DYMO Connect for Desktop, select Add Network Printer from the File menu and follow the instructions to add the printer.
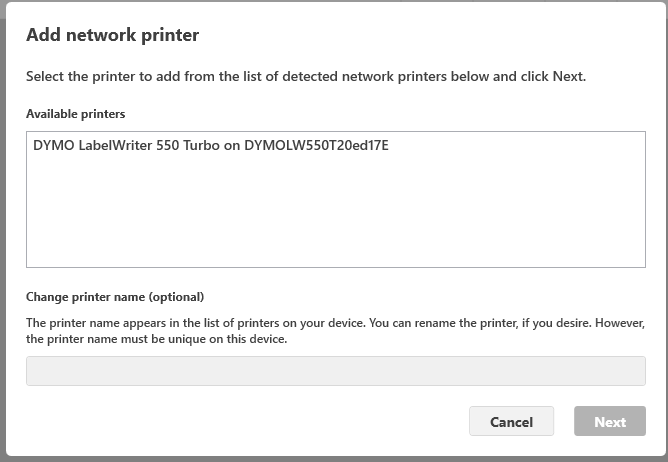
Once installed, a success confirmation message is displayed.
Note: If the printer is connected to your computer both through USB and LAN ports, the printer will show up twice in DYMO Connect for Desktop: once with a LAN icon and once with a USB icon.
Connecting the printer using USB
-
Plug the USB cable into the USB port.
-
Press to turn on the power.
-
After the software is completely installed, connect the other end of the USB cable into an available USB port on your computer.
For more information on this printer or download a Quick start guide please visit https://www.dymo.com/label-makers-printers/labelwriter-label-printers/dymo-labelwriter-550-turbo-label-printer/SAP_2112553.html
Configuring 30856 Badge Label (non-adhesive) or 30857 Label (adhesive)
-
Navigate to Printers and scanners and right-click on the installed DYMO printer icon. Select Printing Preferences.
-
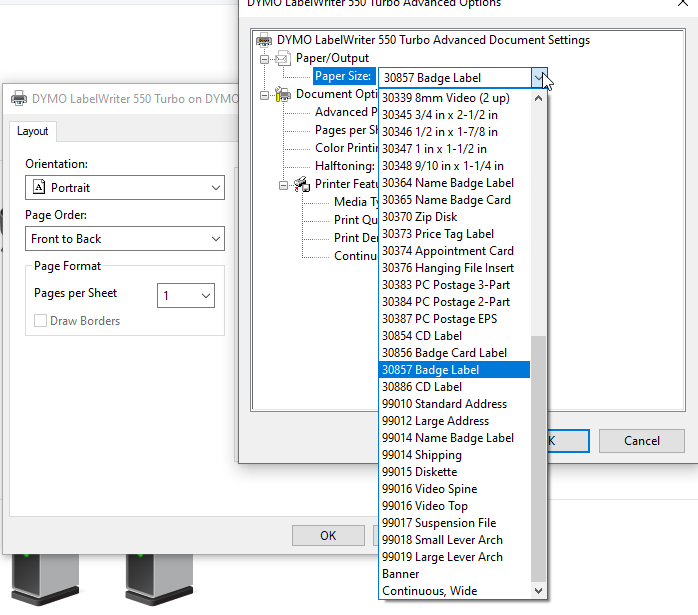
Click Advanced button.
-
Click Paper Size drop-down menu and select the desired label size. For the badge printing please select 30856 Badge Name Label (non-adhesive) or 30857 Badge Label (adhesive).
-
Select Pages per sheet layout:
For Badge Label select Left then Down.
Note: Badge labels have a slit for the laneyard. If selected Left then Down, the slit will be on the top of the badge (landscape orientation). If selected Right then Down then the slit will be on the bottom of the badge.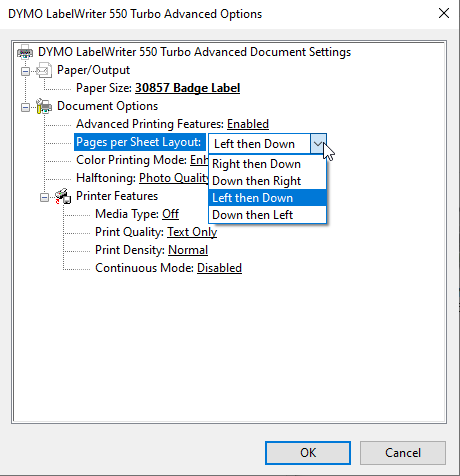
-
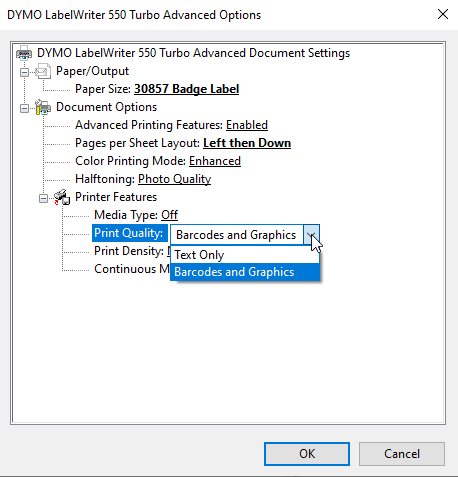
Select Print Quality: Barcodes and Graphics if the badge contains barcodes or photo pictures.
Setting a Static IP Address
By default, the printer will be assigned an IP address dynamically.
To assign a static IP address
-
Connect the printer through USB.
-
Open the Printer Status page for this printer in DYMO Connect for Desktop.
-
Select Configure network.
-
Set the IP type to Static and complete the required fields.
Test Printing
VMO Checks in a visitor and prints the badge
Use the following steps to print the visitor badge using DYMO LabelWriter 550 Turbo printer:
-
In HID Visitor Manager log in as a Service Administrator and Add a location or use the existing one.
-
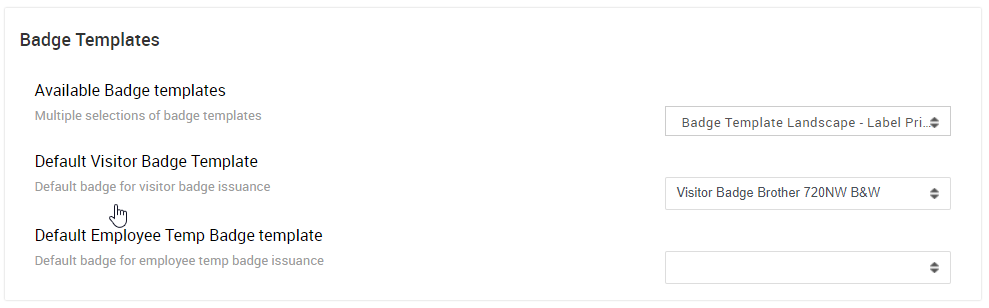
Navigate to Location tab-> Preferences sub-tab, assign one or more badge templates to the Location.
-
Create a Visit by going to the Host a Visit quick link from the Self Service app.
-
Check-in the visitor from Visitors app > Check-in tab. While checking in the visitor.
-
Select the appropriate Badge Template for the badge printing or use the default badge.
-
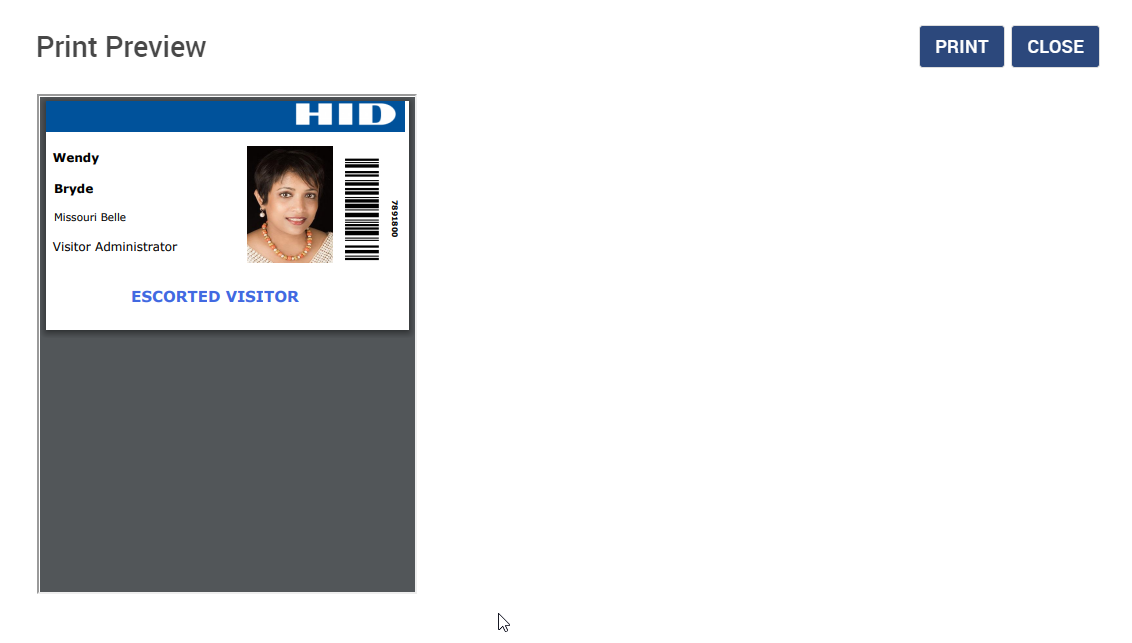
Click the Print Badge link in the Check-In actions section to print the badge
-
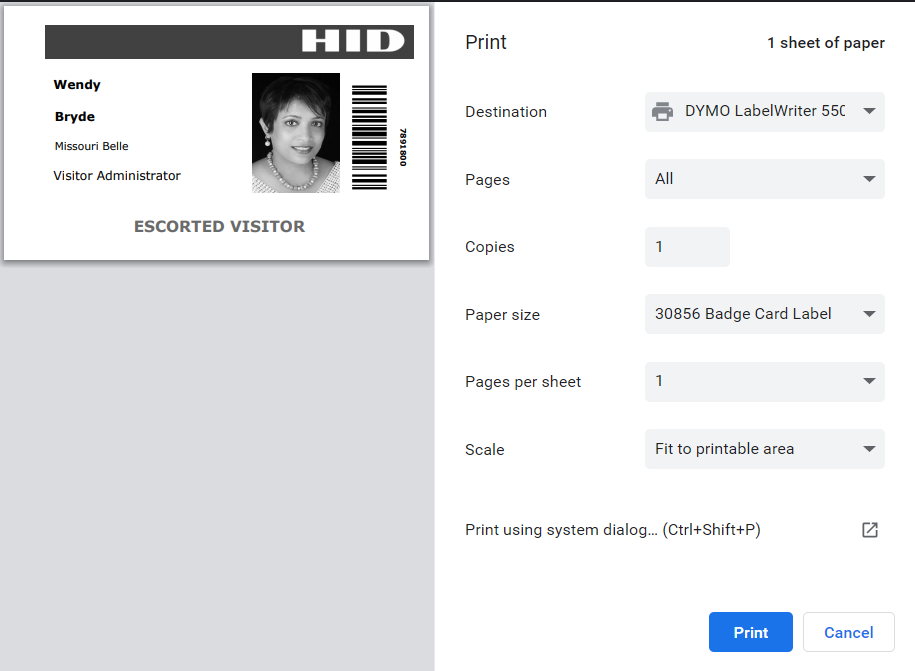
A Print Preview dialog box appears.
-
Click Print to print the badge.
-
Click Print again to Print the Badge. Select DYMO LavelWriter 550 from the Destination drop-down list.
-
For a better badge fit to the label please select Badge Card Label from the Paper Size drop-down menu.
-
You can also explore Scale options:
- Fit to paper: Badge will be stretched to fit the label size
- Fit to printable area: Badge will shrink to fit the printable area of the label as designed by Dymo
- Default: Badge will be left-aligned.
- Custom: Badge will be left-aligned but scaled to the set percentage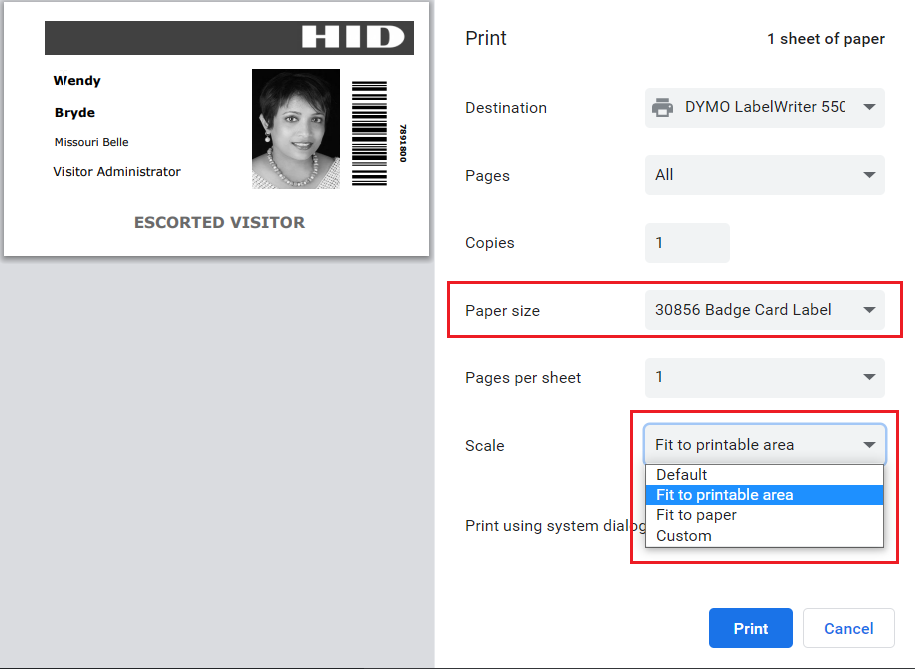
-
-
Click Check In.
-
Now the visitor is checked in and the badge is printed.


