Thales Gemalto AT9K/10K Installation and Configuration
The article provides guidance on how to configure Thales Gemalto AT9K/10K to automatically capture and verify identity information from ID documents such as driver's licenses and passports
Steps to configure 3D Scanner
The 3M Scanner is configured by Installing AssureID Software.
System Requirements
The AssureID software package includes the following components
-
AssureID software
-
A valid software license activation key
The AssureID software has the following system requirements
-
Supported Windows operating systems
-
Microsoft Windows 10 64 bit
-
Microsoft Windows 8.1 64 bit
-
Microsoft Windows 8 64 bit
-
Microsoft Windows 7 64 bit
-
Microsoft Vista 64 bit
-
Microsoft Windows XP 64 bit
-
Note: On 64-bit operating systems, the AssureID software will run as a 32-bit process.
-
2GHz Intel Pentium 4 CPU minimum (Intel Core 2 Duo recommended)
-
1GB RAM minimum (2GB recommended)
-
10GB available hard disk space minimum (20GB recommended)
-
CD-ROM drive (if the software is to be installed from CD-ROM)
Before Installing AssureID
Before installing AssureID, ensure the following. Failure to do so may cause problems during or after installation when trying to use the product.
-
The current user must be part of the computers Administrators group.
Install AssureID
The following steps will assist you in getting AssureID installed, configured, and operational.
-
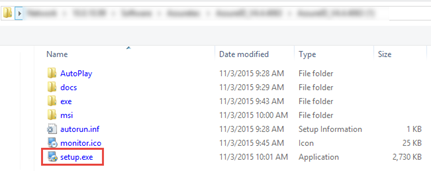
If you are using the downloaded file, click the Setup.exe file within the software folder to start the installation. If you are using a CD, the installation wizard will start automatically. If it does not start, use windows explorer to browse the CD and click Setup.exe.
-
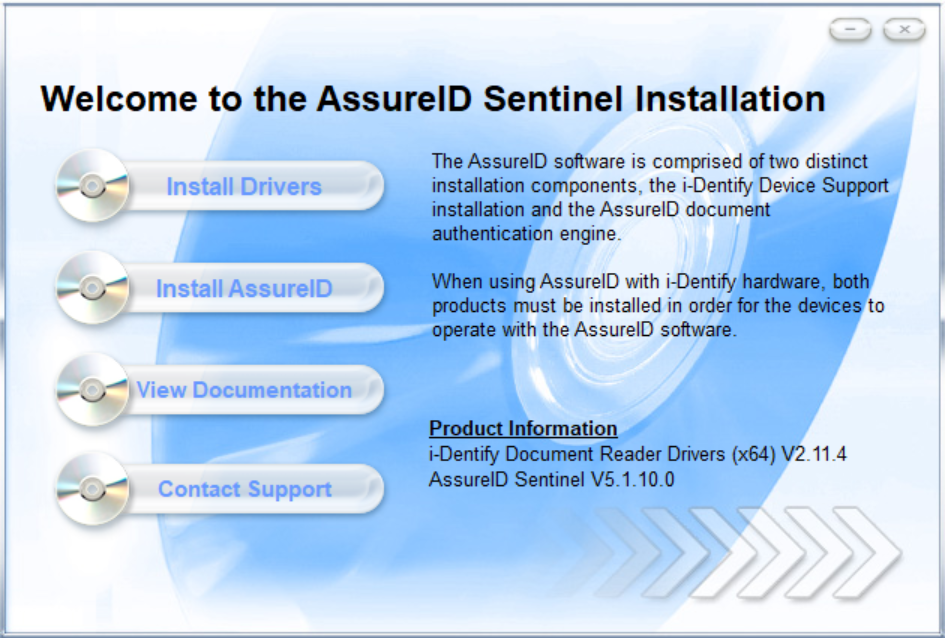
Wait for the welcome screen to pop-up and click Install Drivers.
-
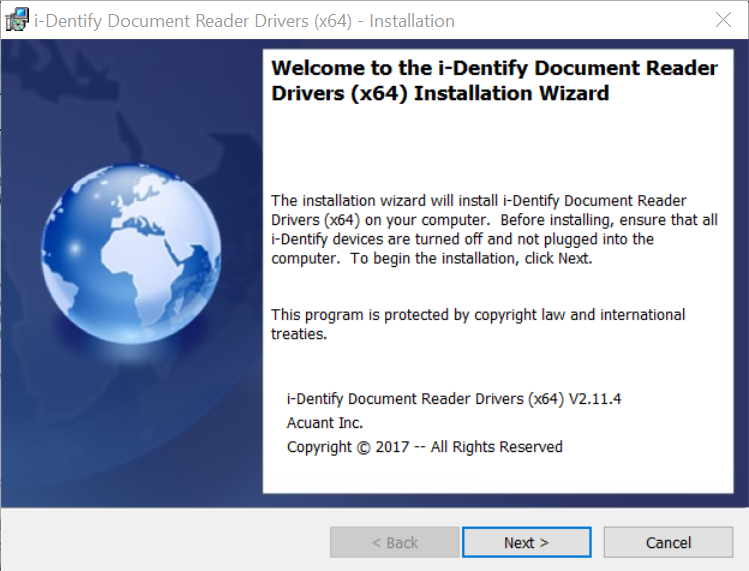
On the Welcome screen, click Next.
-
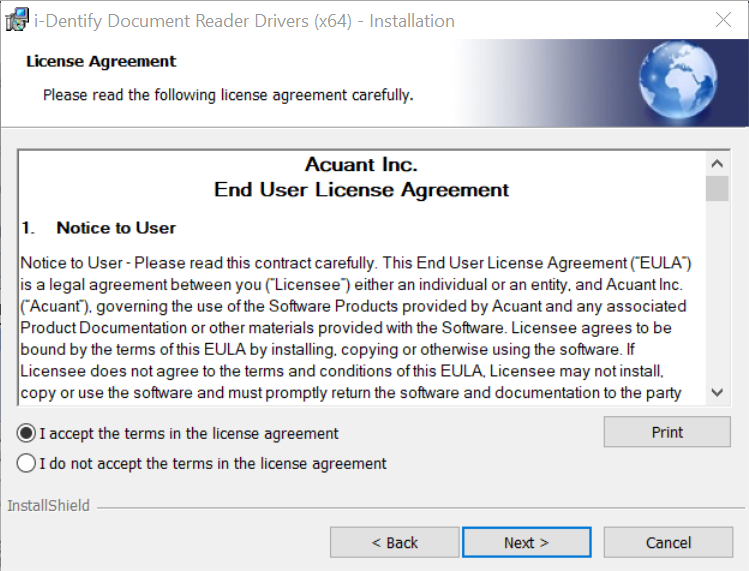
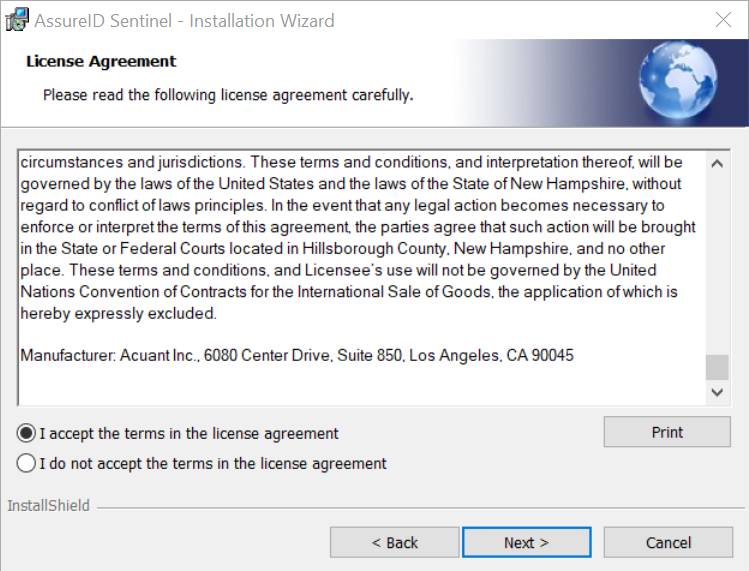
Click I accept the terms in the license agreement and click Next.
-
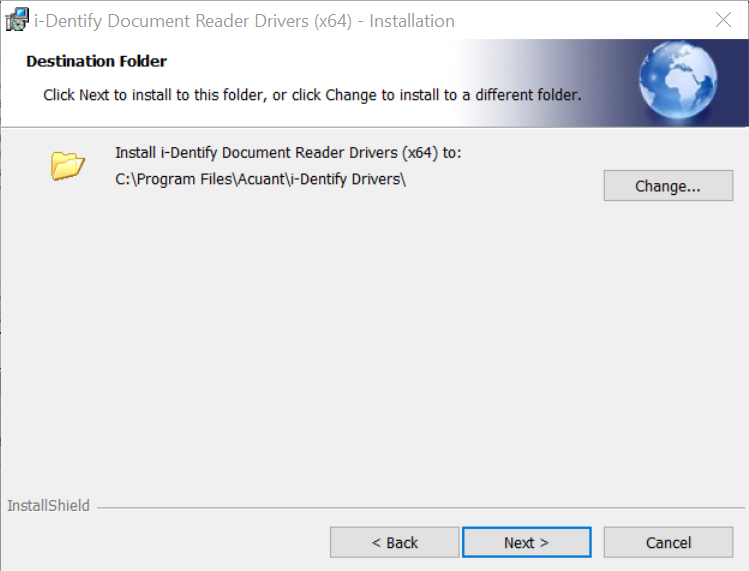
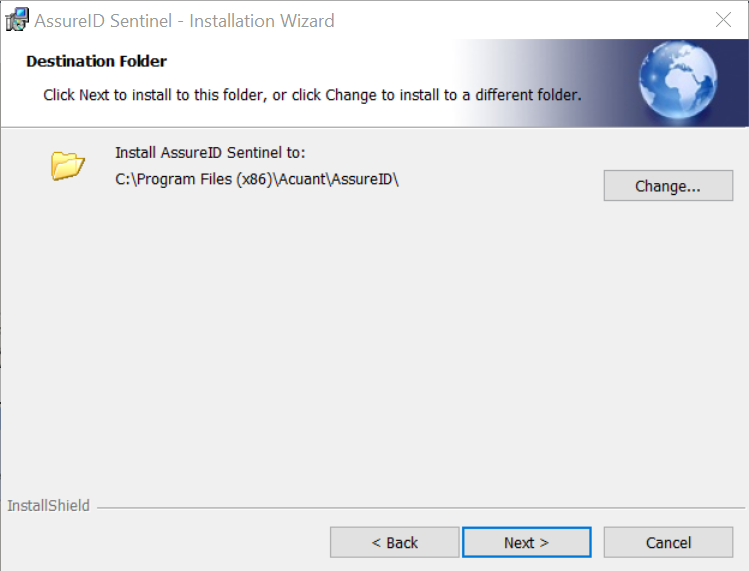
Click Next to install in the default folder, or click Change to install in a different folder.
-
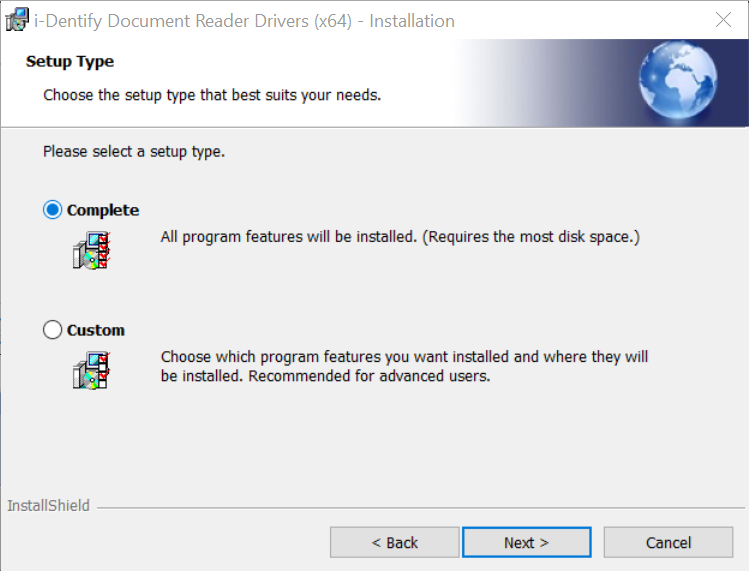
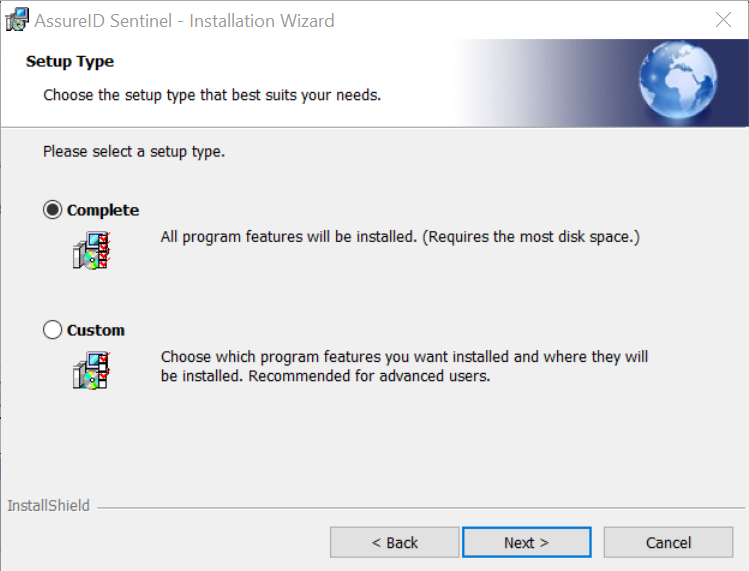
Choose the setup type Complete. Click Next.
-
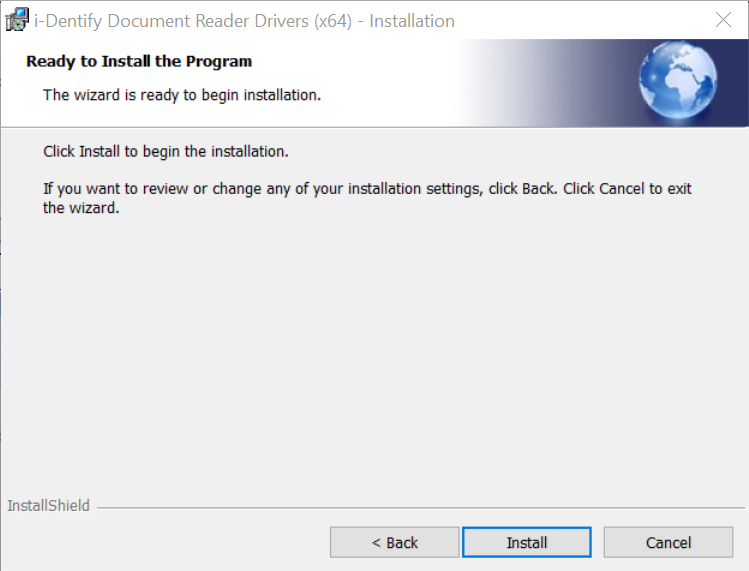
The wizard is now ready to install, click Install.
-
Click Finish to complete the installation.

-
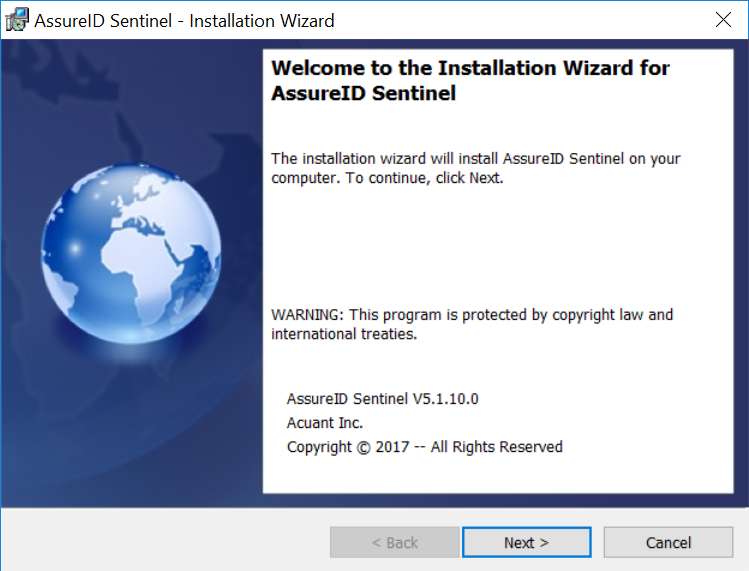
Click Install AssureID button.
-
On the Welcome screen, click Next.
-
Click on I accept the terms of the license agreement and click Next.
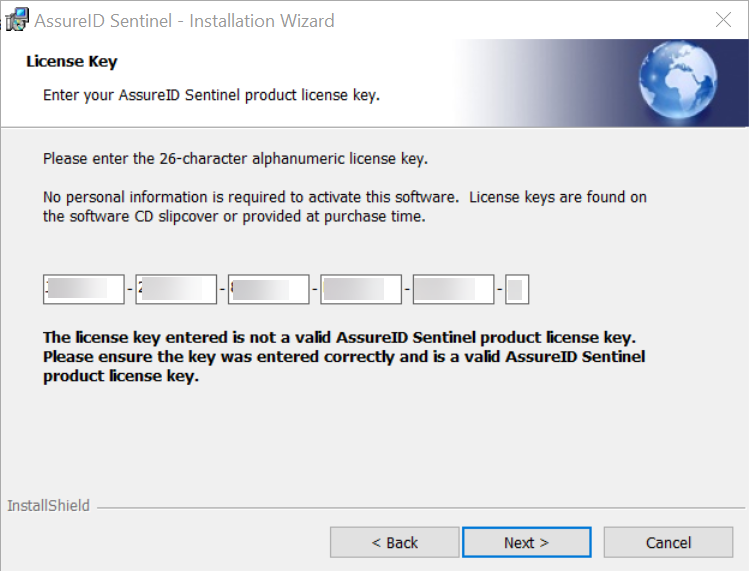
- Enter the License Key and click Next
-
Click Next to install in the default folder, or click Change to install in a different folder.
-
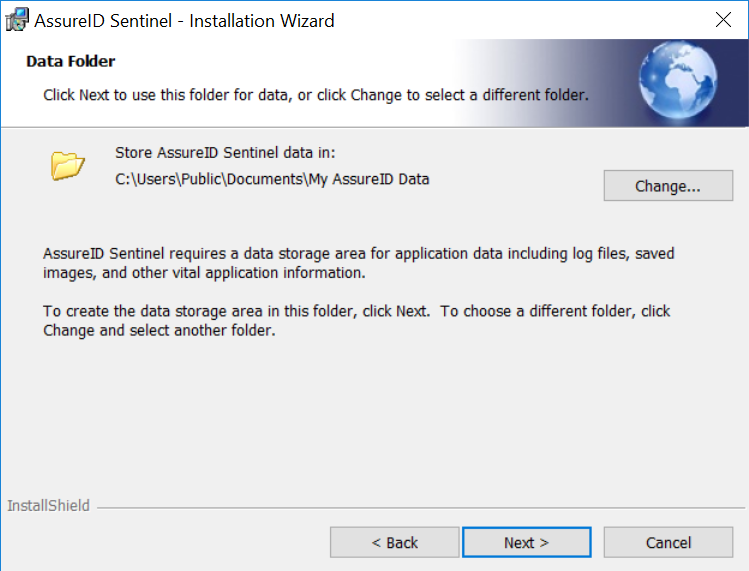
Click Next to use the default folder as specified for data.
-
Choose the type as Complete and click Next.
-
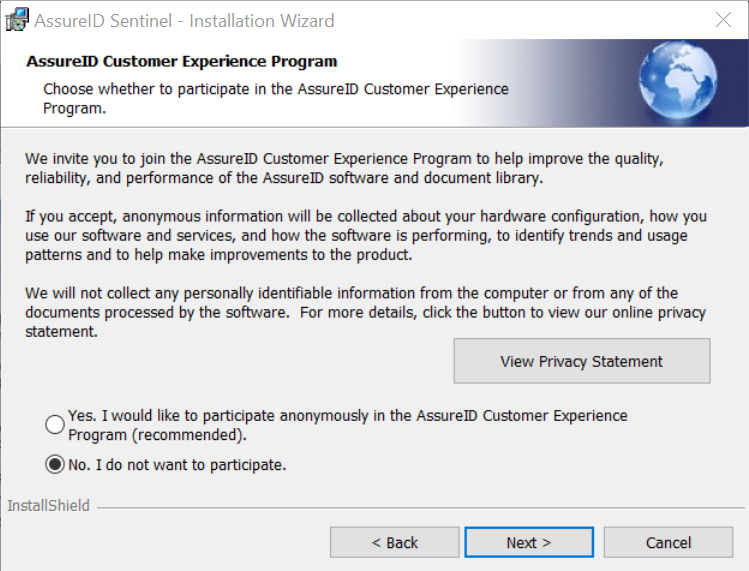
Choose the appropriate option on the interest to participate in the Customer Experience Program and click Next.
-
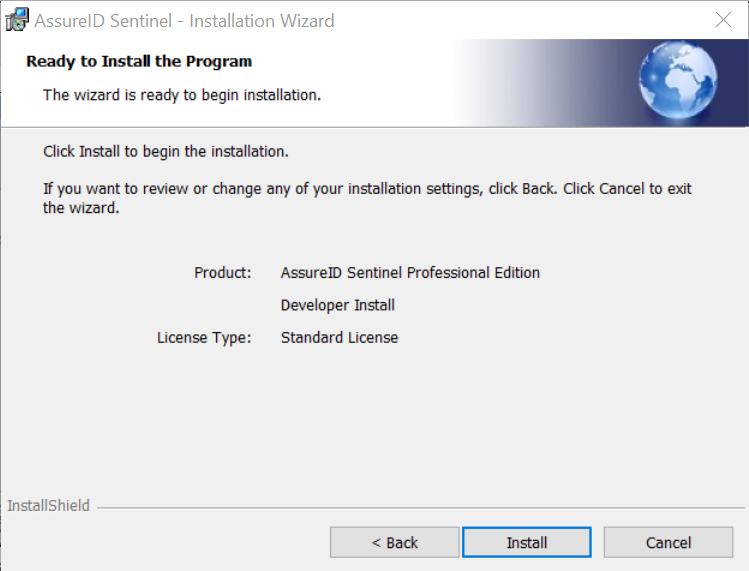
The wizard is ready to install, click Install.
-
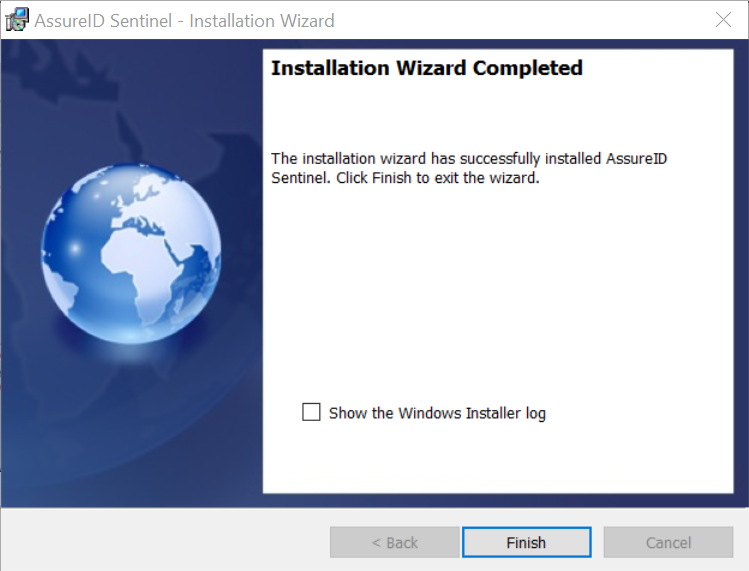
On the Installation Complete screen click Finish.
AssureID License Activation
Once the AssureID software has been installed on the computer’s hard drive, it will require license activation in order to operate. Software license activation is accomplished via the AssureTec AssureID License Activation application, which can be be launched from the system Start button:
Start > All Programs > AssureID > Tools > AssureID License Activation.
Or by clicking on the AssureID license activation required message balloon displayed by the AssureTec AssureID Platform System Tray icon.
Either of the above procedures will launch the License Activation application and allow for the entry of the 26 alpha-numeric license key necessary for activation.
License keys used for activation are provided at software purchase time.(Contact your Project Manager if you do not have the required information)
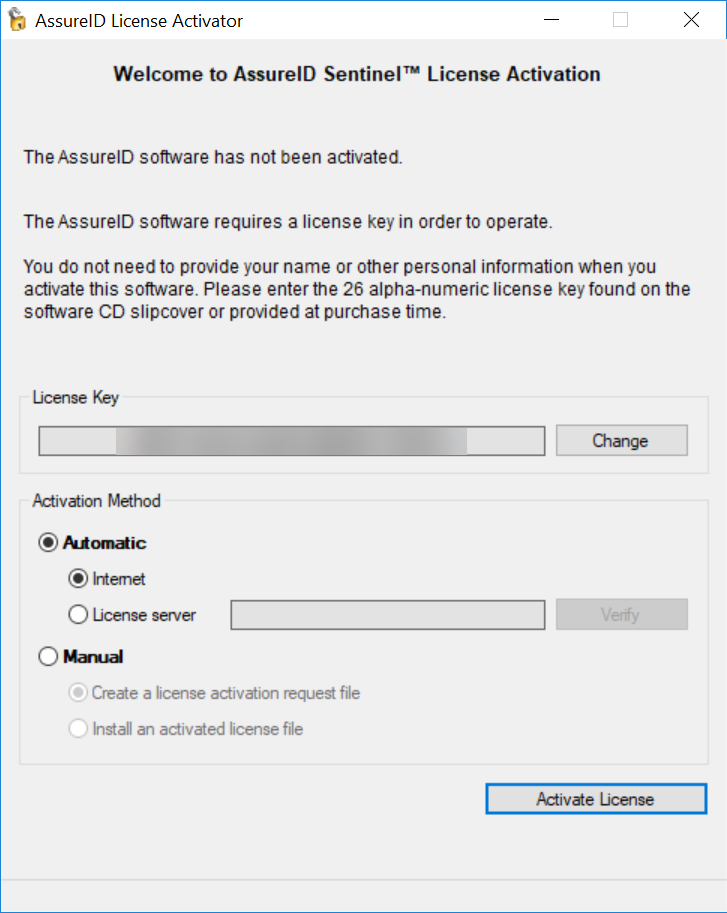
During software license activation, the user has two choices for activation:
-
Activate automatically via the Internet (Recommended)
-
Activate manually via E-Mail (Advanced)
-
Changing Your Existing License Key
Activate automatically via the Internet
Automatic activation via the Internet is straightforward and requires an internet connection. Enter the valid 26 alpha-numeric license key, select the activation method Activate automatically via the Internet, and then click Activate License. The software activation process will proceed automatically.
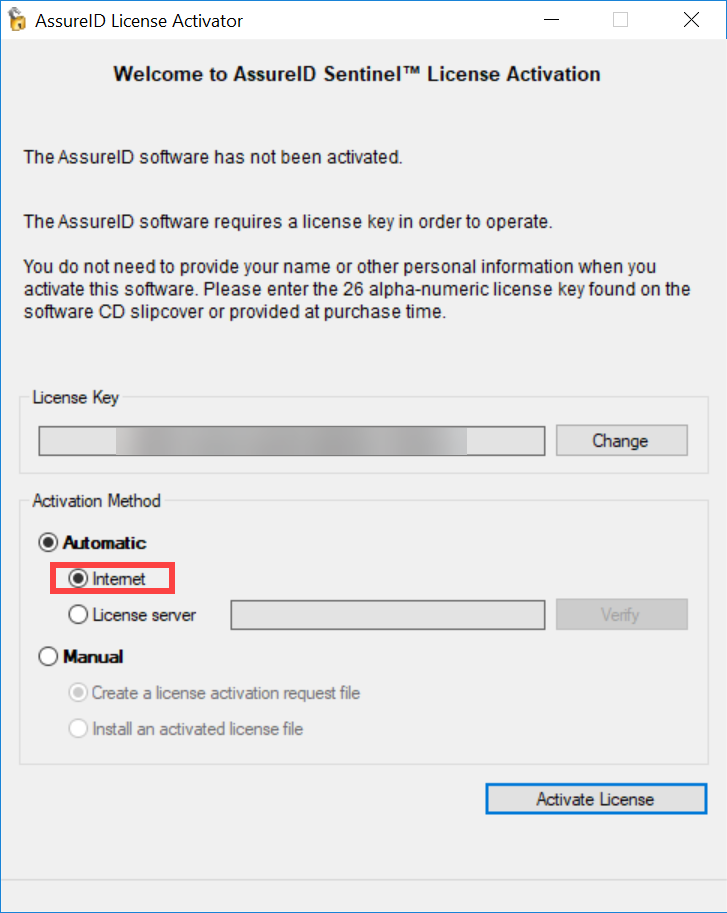
Upon successful activation, the License Activation application will report (at the bottom left-hand corner) that the software has been activated.
Common license activation error
CodeReuseBlocked — License could not be activated:
There are no available seats on the license key. When you activate the software on a computer, a seat on the key is reserved by that computer. If you are moving the software to a new/replacement computer, you will first need to deactivate the prior/old computer that was using the license. Also, if you have upgraded the operating system or reimaged the computer, it will be identified as a new computer on our licensing manager. In this case, the seat will need to be deactivated from the old computer to free the seat.
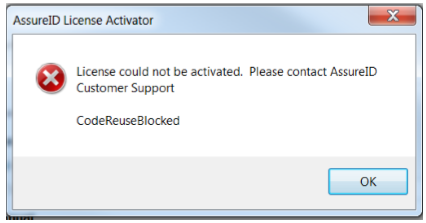
There is a capability which allows you to perform a “self-deactivation.” The only other requirement is that your computer can connect to the internet to reach theAcuantlicense server. When you launch the Activation tool, you will see one button for Activate License and another for Deactivate License. If you select to deactivate the license, it will release the computer from the license server and the seat on the license key will be available. You can then use the license key on the replacement computer and perform the activation.
HID Visitor Manager Visitor Management Officer(VMO) Visitor Check-In using DL
-
Launch the Edge Smart Client and open the HID Visitor Manager Visitor Manager.
-
Login to WorkfirceID Visitor Manager using appropriate credentials.
-
Navigate to App Launcher and click Visitors app.
-
The Check-In screen with the list of visitors to be checked in for the day is displayed
-
Search for the Visitor information and click on the desired Visitor record. The advance Search allows you to search using Visitor Name, Host Name, Confirmation Number, Card Number and Visit Type.
Click on the Search field, the parameter suggestions for search are displayed. Click on the appropriate parameter for your search and enter the search criteria.
To remove the search criteria, click on the cross mark next to the parameter.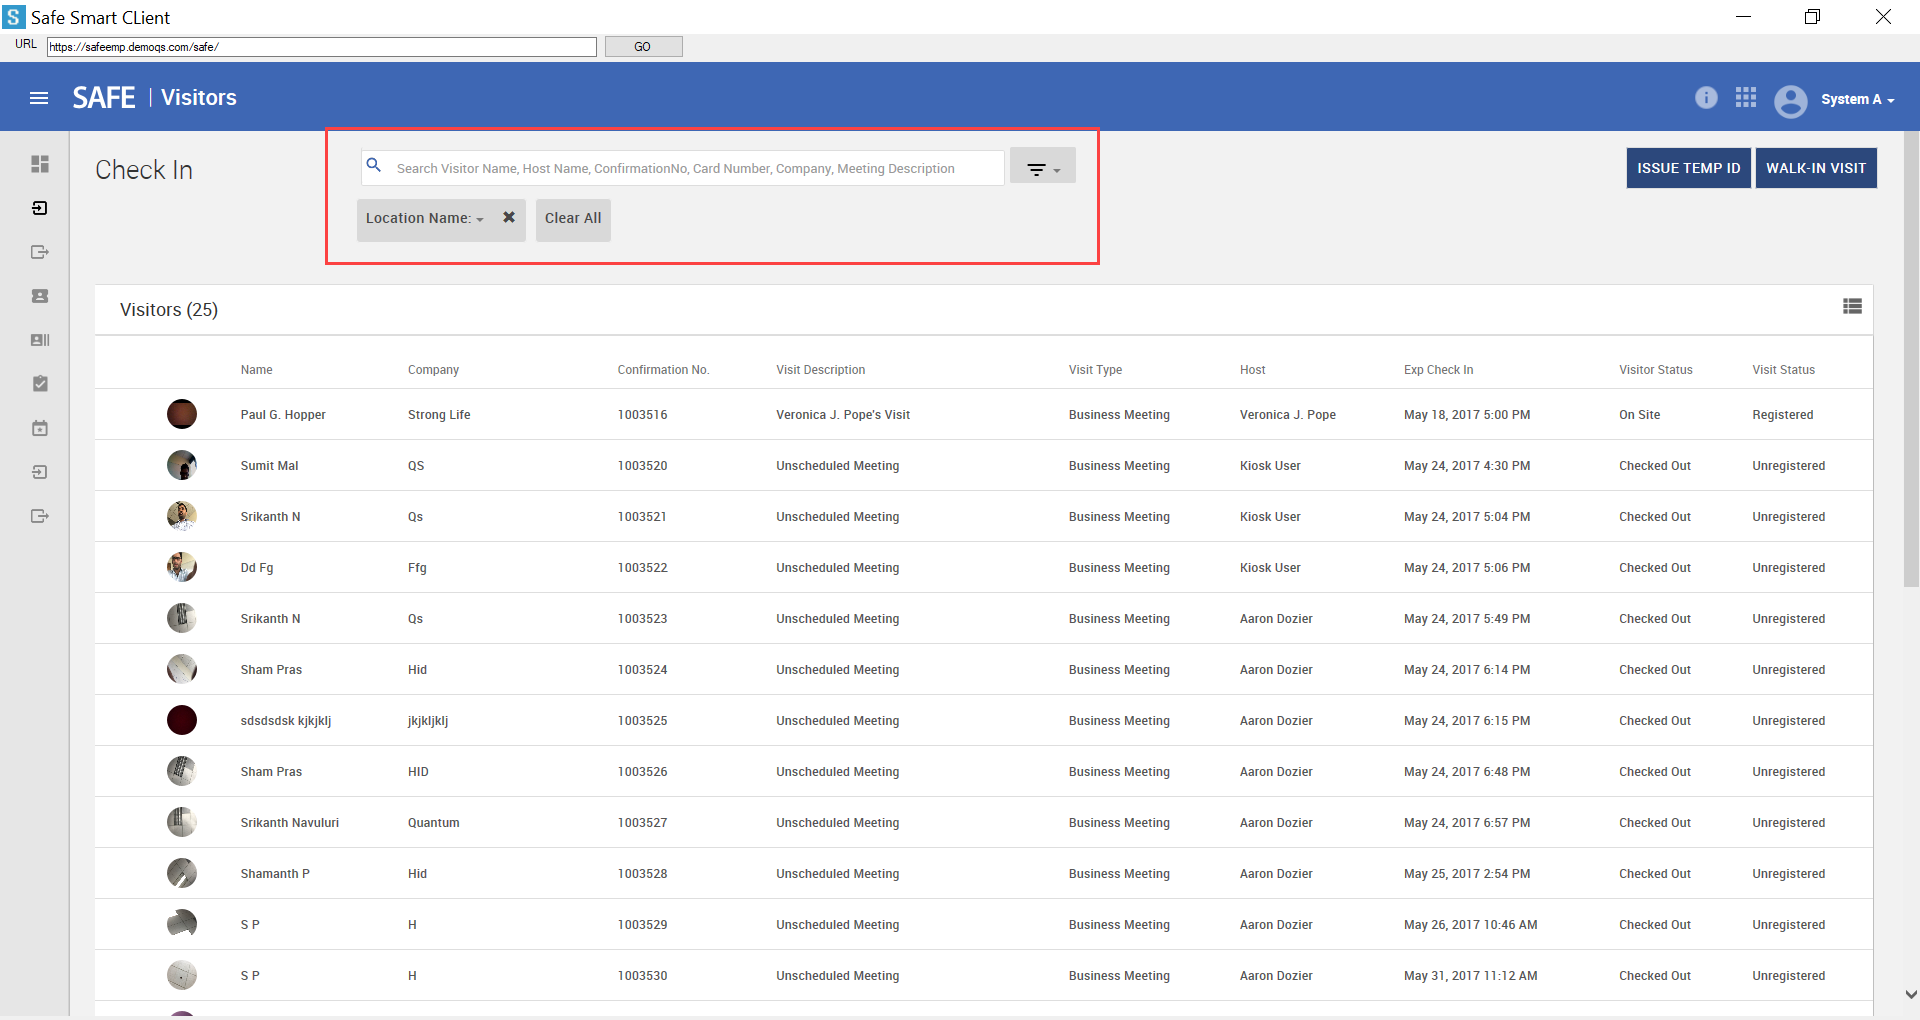
-
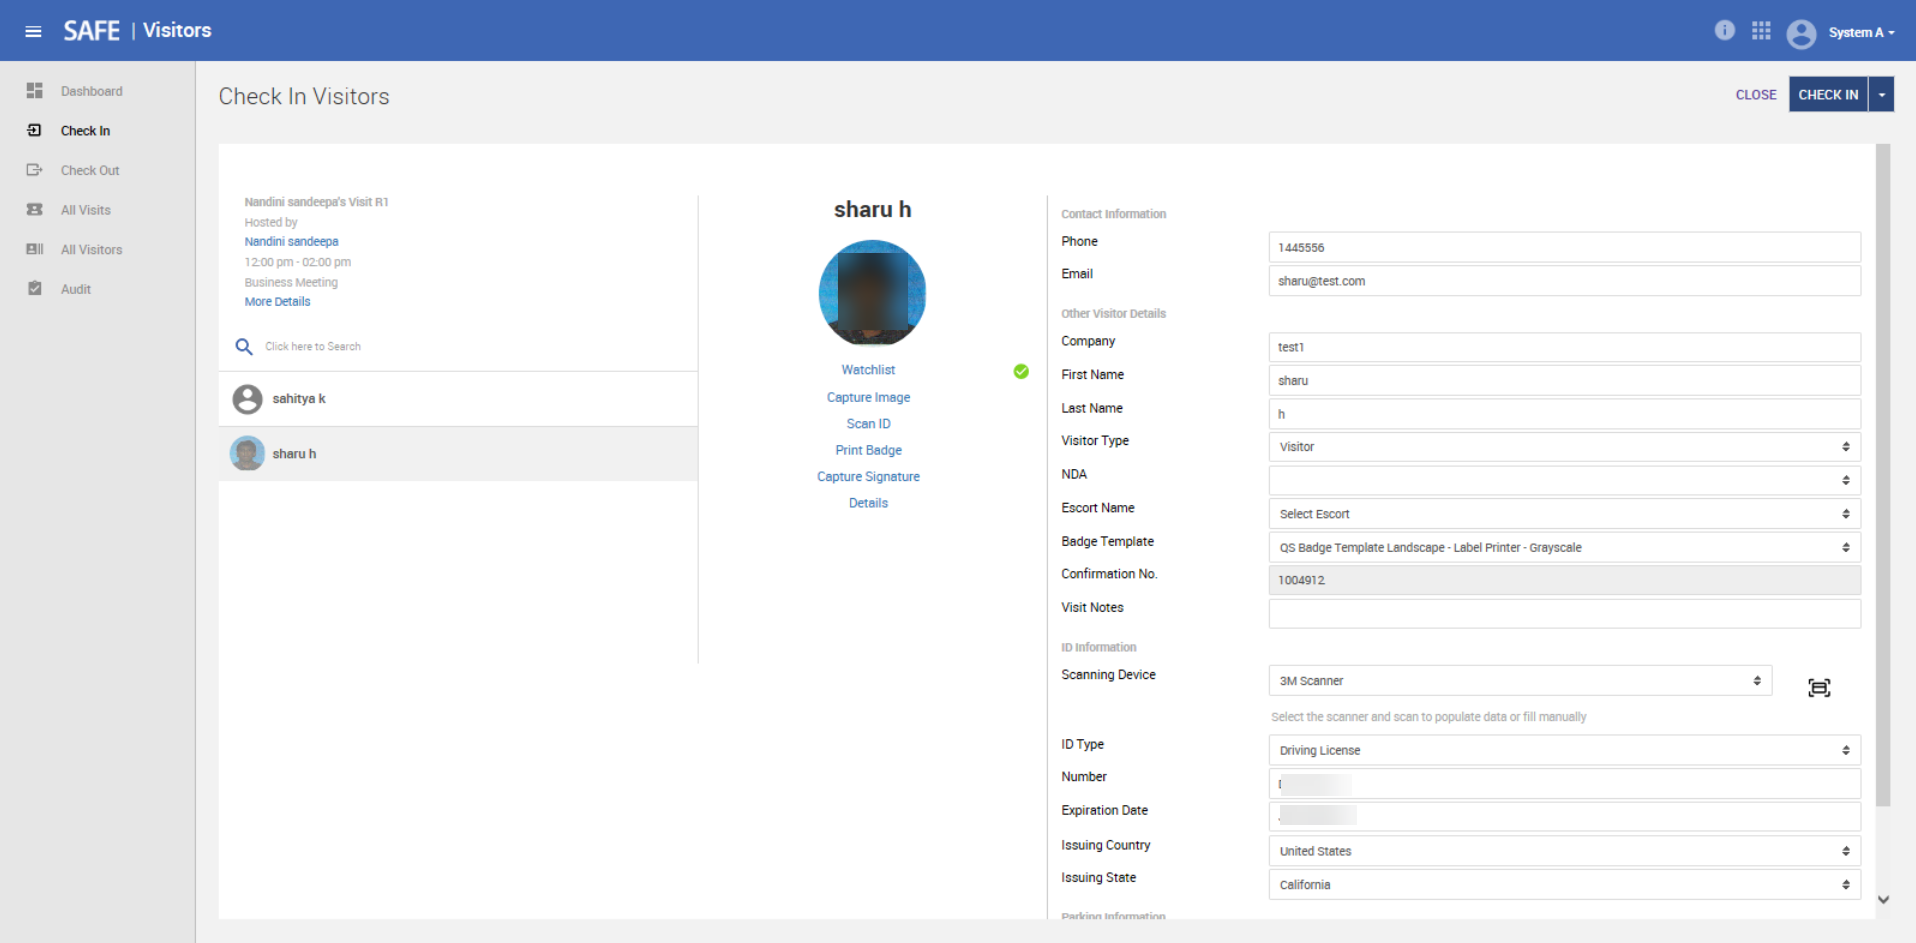
Verify the Contact Information and Other Visitor Details. When the ID Proof of the visitor is scanned, the ID information like the ID type, ID Number, Expiry Date and the Issuing Country is auto-generated.
-
If Issue Access Card to Visitor option is selected while hosting a visit, the Access Card Information section is enabled for the VMO to add the Access Card number.
-
-
Select the appropriate Badge Template for the Badge Printing.
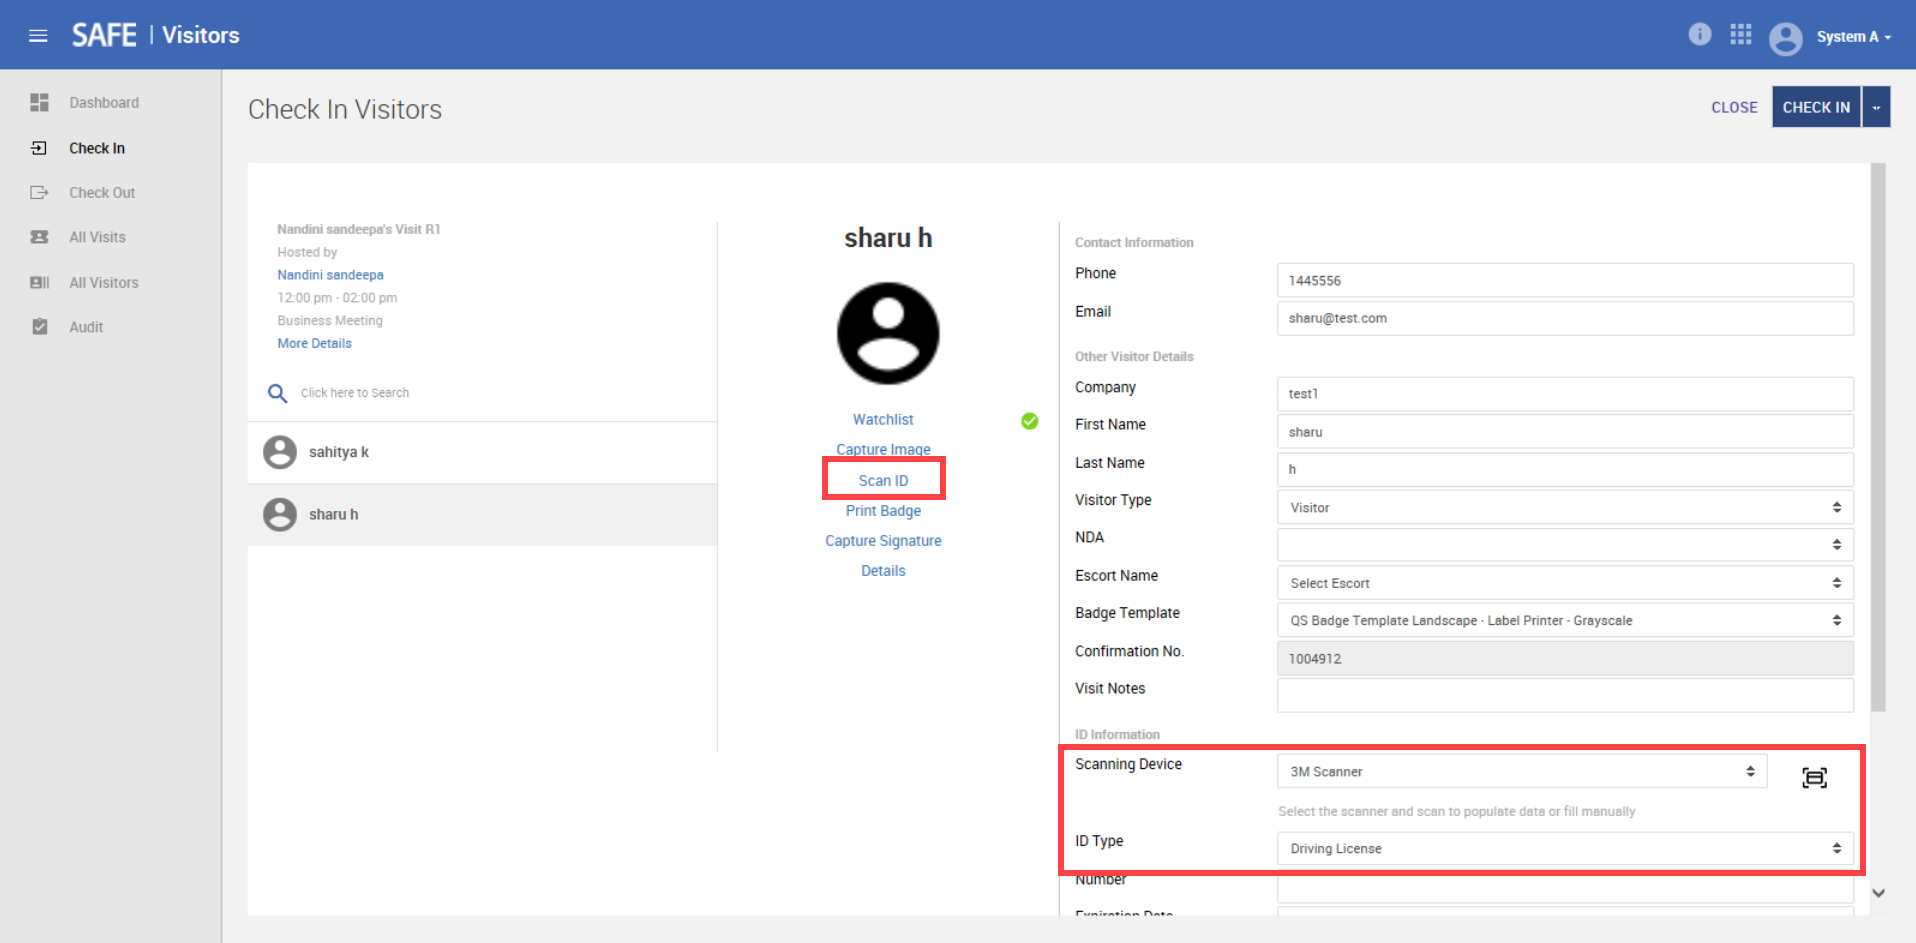
Scan ID
-
Select 3M as the Scanning Device from the Scanning Device Field and Driving License as the ID Type under ID Information.
-
Place the Driving License on the scanner bed. (The Front Side of the DL must be facing the scanner bed).
-
Click on Scan ID to scan the visitor ID.
-
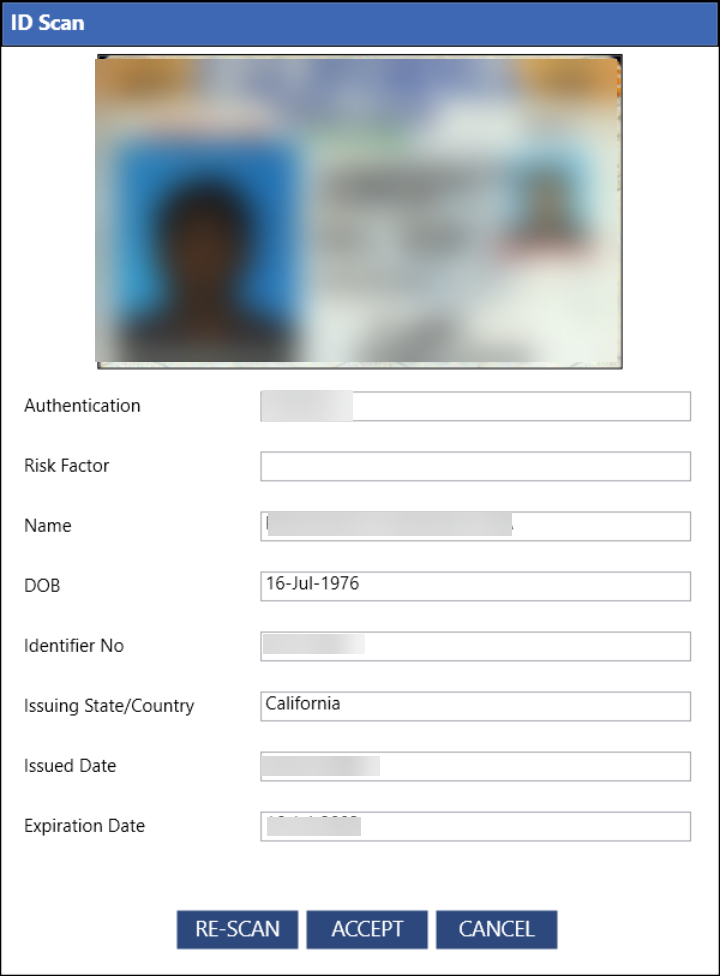
On completing the scan, the Name, Date of Birth (DOB), Identifier Number, Issuing State/Country etc. are populated.
-
Click Accept and the details are updated in the respective fields.
-
Click on Print Badge, the Print Preview dialog box appears.
-
Click Print to Print the Badge.
-
At the top right-hand corner, click on the drop-down arrow next to Check In.Notify on Site option is displayed.
-
Click on Notify on Site, a notification is sent to the host.
-
Click Check In. and confirm check-in.
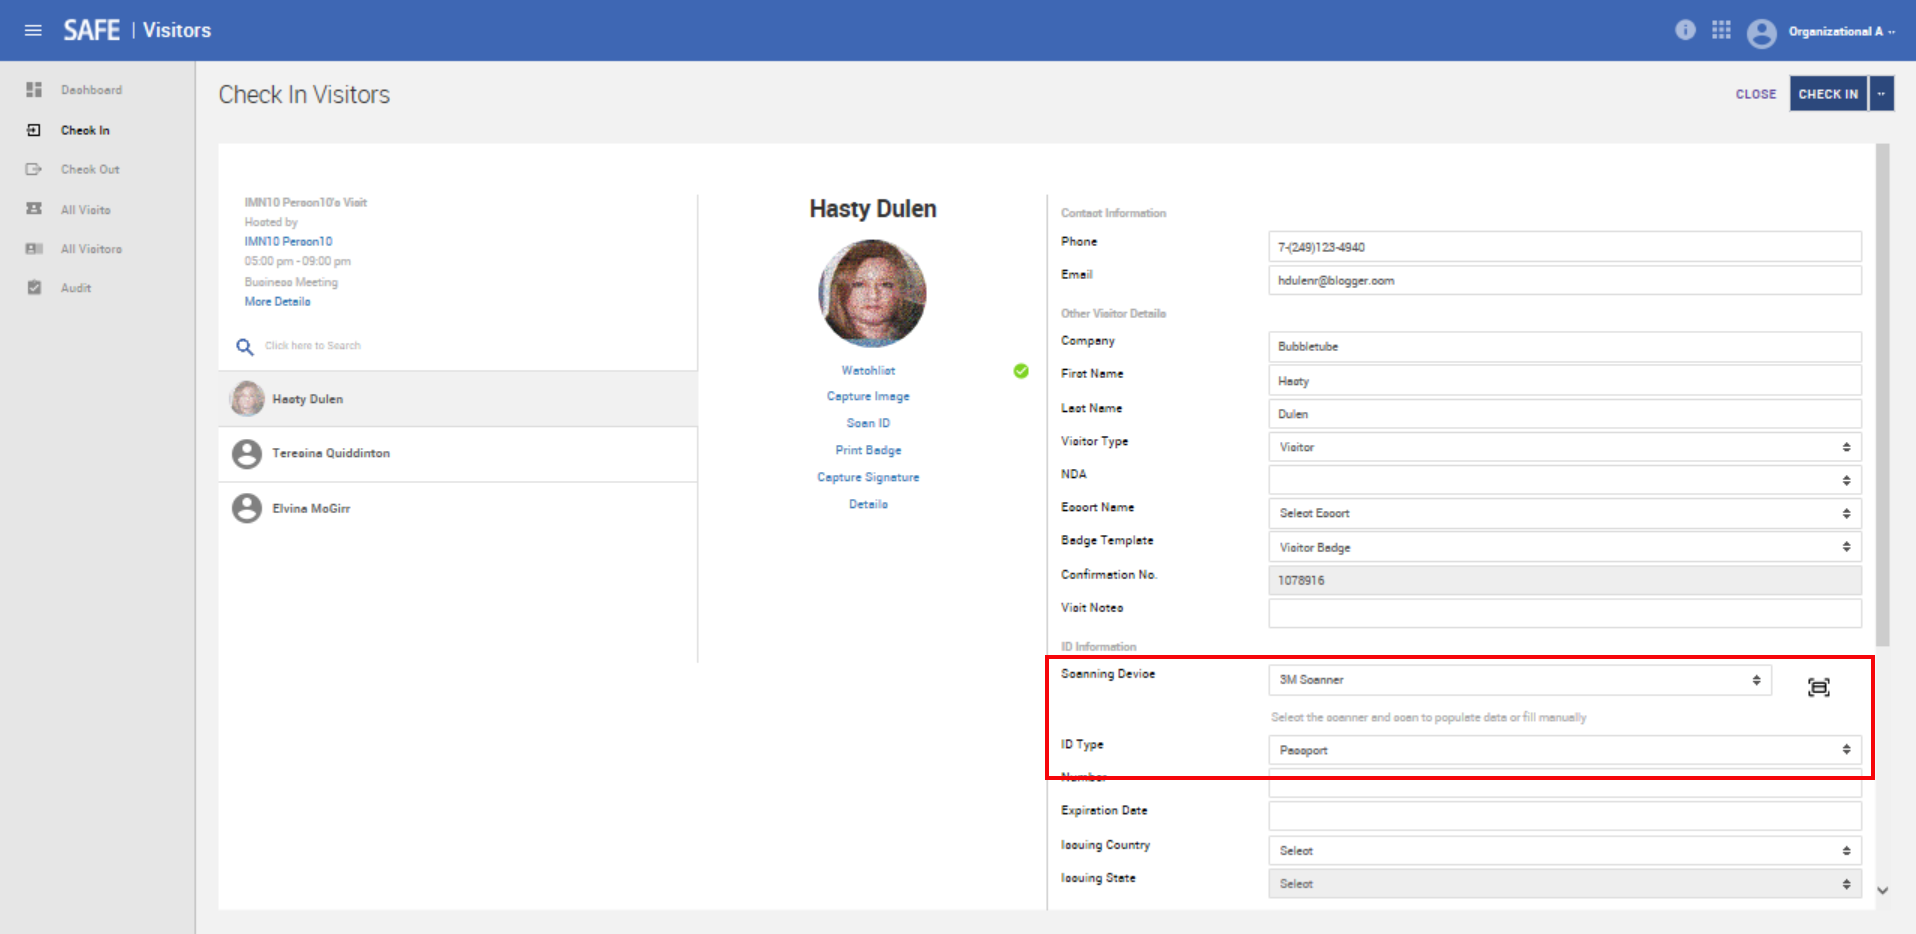
HID Visitor Manager Visitor Management Officer(VMO) Visitor Check-In using US Passport
-
Click on the Check In Menu item on the sidebar. The Check-In screen with the list of visitors to be checked in for the day is displayed.
-
Search for the Visitor information and click on the desired Visitor record. The advance Search allows you to search using Visitor Name, Host Name, Confirmation Number, Card Number and Visit Type. Click on the Search field, the parameter suggestions for search is displayed. Click on the appropriate parameter for your search.and enter the search criteria. To remove the search criteria click on the Cross mark next to the parameter.
-
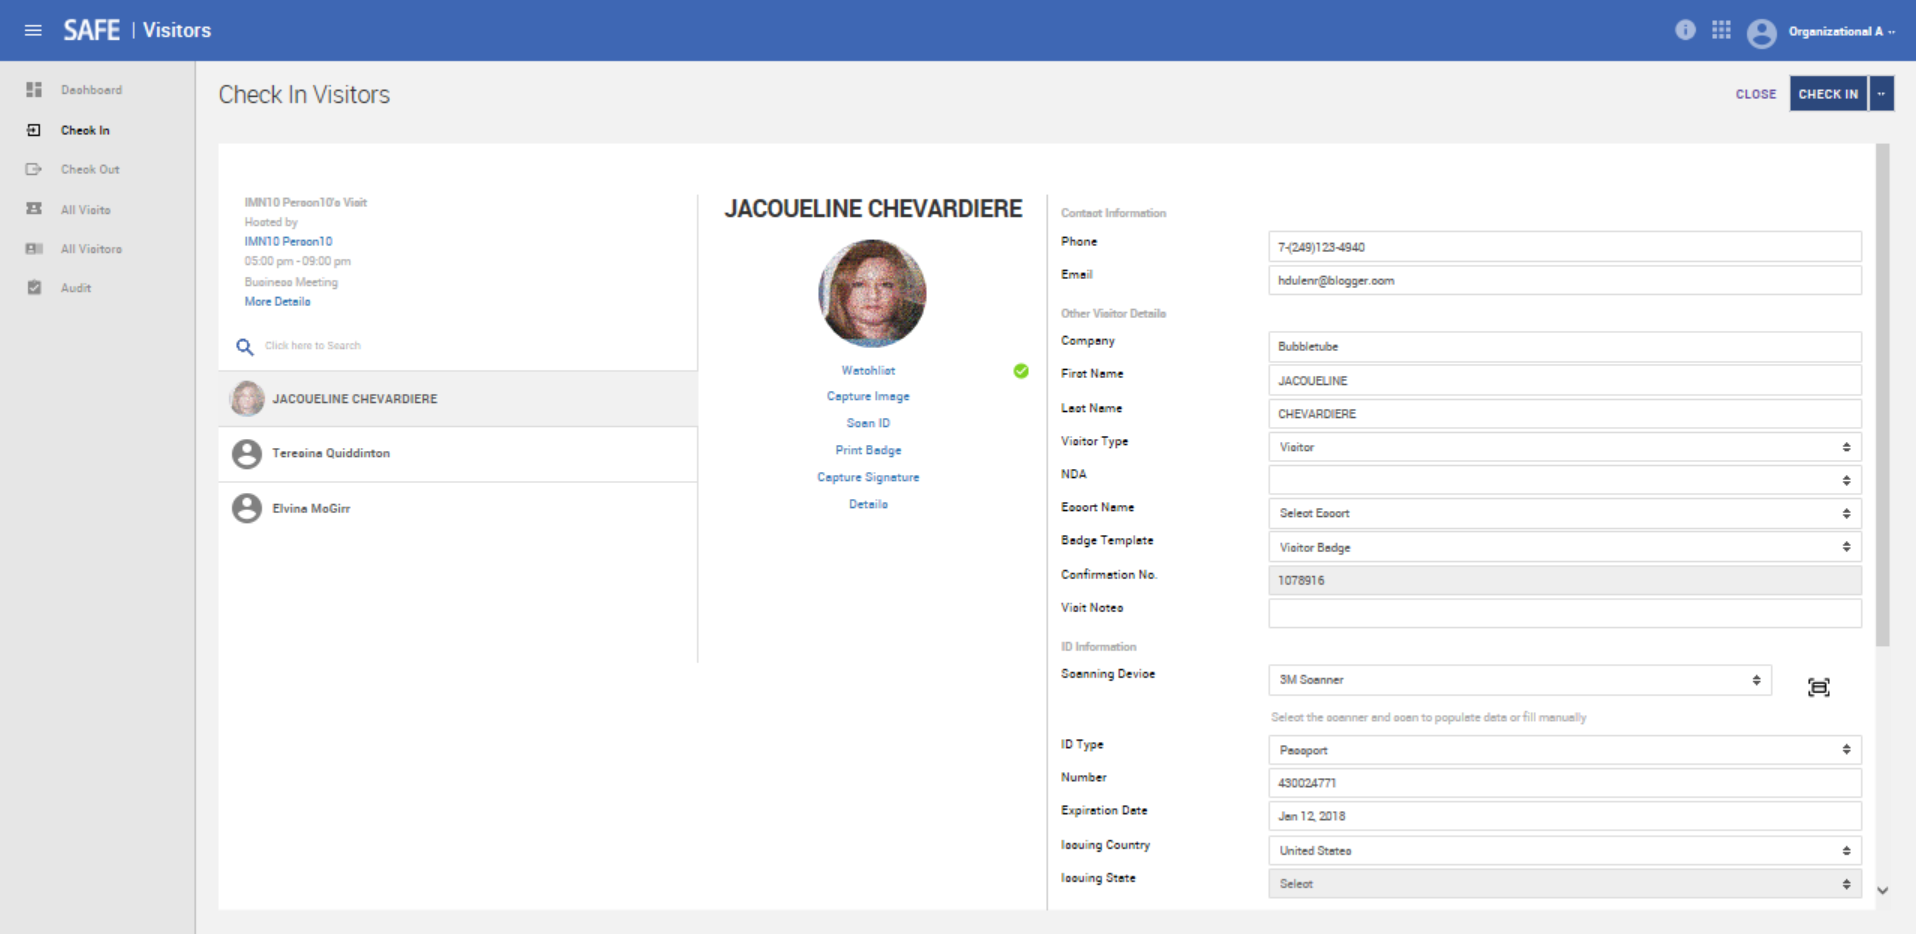
Verify theContact Information andOther Visitor Details. When the ID Proof of the visitor is scanned, the ID information;like the ID type, ID Number, Expiry Date and the Issuing Country is auto-generated.
-
If Issue Access Card to Visitor option is selected while hosting a visit, then the Access Card Information section is enabled for the VMO to add the Access Card number.
-
-
Select the appropriate Badge Template for the Badge Printing
Scan ID
-
Select 3M as the Scanning Device from the Scanning Device Field and Passport as the ID Type under ID Information
-
Place the Passport on the scanner bed.
-
Click on Scan ID to scan the visitor ID.
-
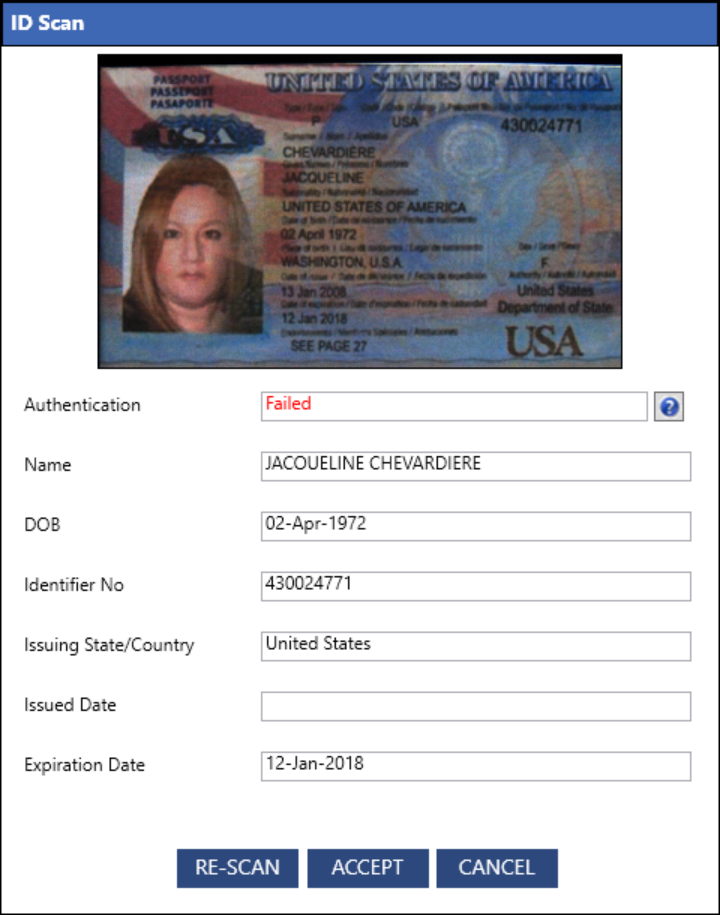
On completing the scan, the Name, Date of Birth (DOB), Identifier Number, Issuing State/Country etc are populated.
-
Click Accept and the details are updated in the respective fields.
-
Click on Print Badge, the Print Preview dialog box appears.
-
Click Print to Print the Badge.
-
At the top right-hand corner, click on the drop-down arrow next to Check In. Notify on Site option is displayed.
-
Click Notify on Site, a notification is sent to the host.
-
Click Check In. and confirm check-in.


