Activate and Register an HID Approve Token
You can activate and register an HID Approve Token for OTP authentication by:
- Scanning a QR-based code with your device's camera using the HID Approve mobile application (Recommended)
- Clicking a QR-based code to automatically register HID Approve on Microsoft Windows 10 computers (Recommended)
- Manually entering a generated key (available for HID Approve for iOS and Android v5.6 and later, and HID Approve for Windows v4.6 and later)
- This function is available only if the Web Self Help Desk device assignment functions are enabled (contact your administrator).
- Use the Back button on the interface rather than on your browser to return to the previous page.
-
Your mobile device or computer must be available during the procedure.
- You must have a means to log on to the Web Self Help Desk without a device or token (LDAP password or security question responses).
-
Connect to the Web Self Help Desk, enter your logon credentials, then click OK.
- If you do not already have a device assigned to you, you are requested to select the type of device to activate.
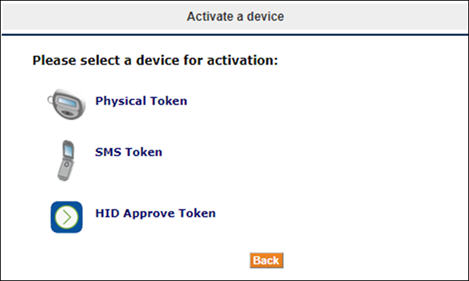
To activate an HID Approve Token, select HID Approve Token.
-
If you already have a device assigned to you, the Web Self Help Desk main page is displayed.
- Under Other operations, click Activate an additional device.
- Select HID Approve Token.
Note: If you have an existing ActivID Soft Token assigned to you, you are automatically guided through the process to replace it with an HID Approve Token.
- Once your HID Approve Token is assigned, your existing ActivID Soft Token is unassigned and can no longer be used.
- If the HID Approve Token activation process does not succeed, your existing ActivID Soft Token continues to function as before until you are able to successfully complete the HID Approve enrollment process.
- Click on the download option for the device where you want to install the HID Approve Token.
-
Start the activate process depending on your device platform (mobile or PC) and any instructions provided by your organization:
 Activate HID Approve by Scanning the Invite Code with a Mobile Device
-
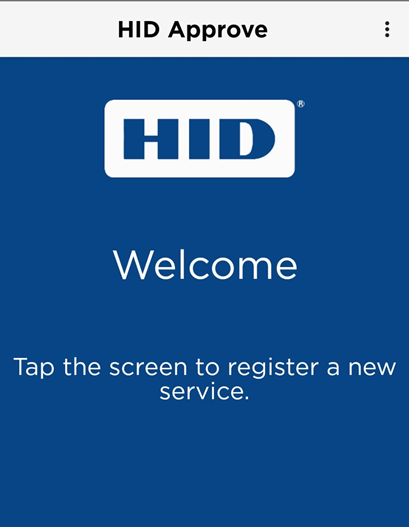
Launch the HID Approve Token on your mobile device.
If you have never used the HID Approve application on your device, follow the instructions on the screen to register a new service.
-
If necessary, grant permission to the app to use your camera. The application uses the camera only to scan an Invite Code that helps you register your device.
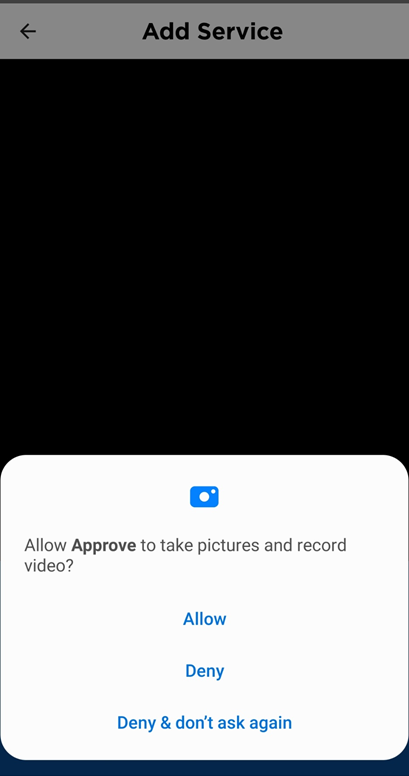
-
Return to the Web Self Help Desk screen where the Invite Code was generated.
Note: If you are replacing an existing (Legacy) Soft Token, you need to click Proceed to generate your code. -
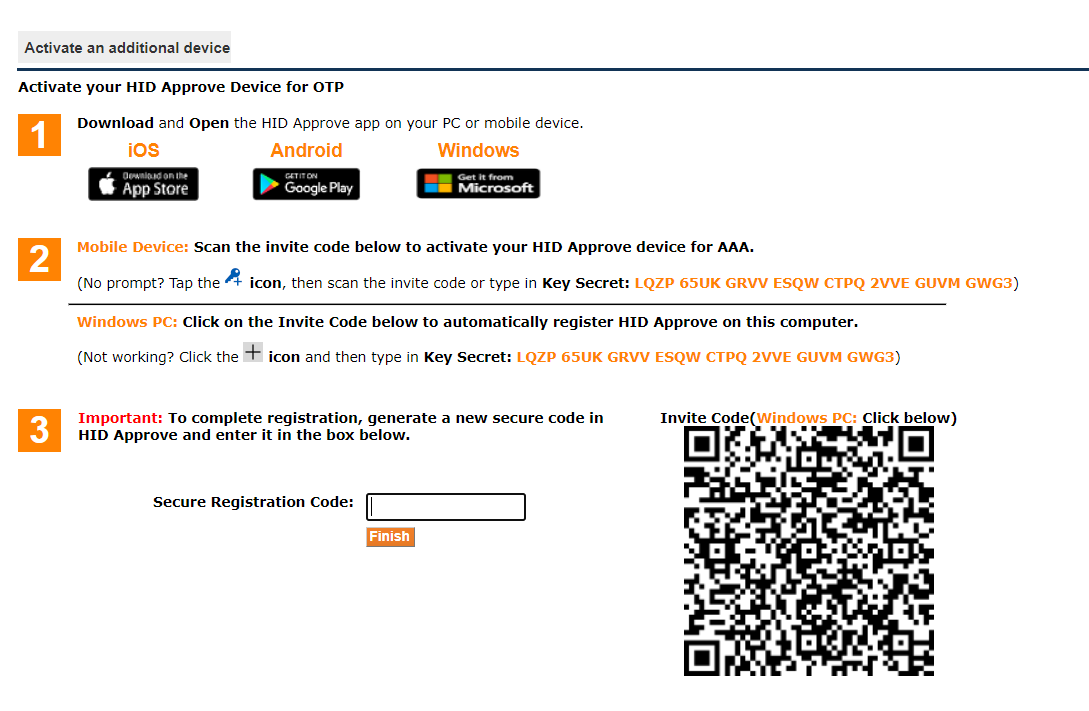
Once the Invite Code is displayed, point your mobile device at the code on the screen in order to register your device.
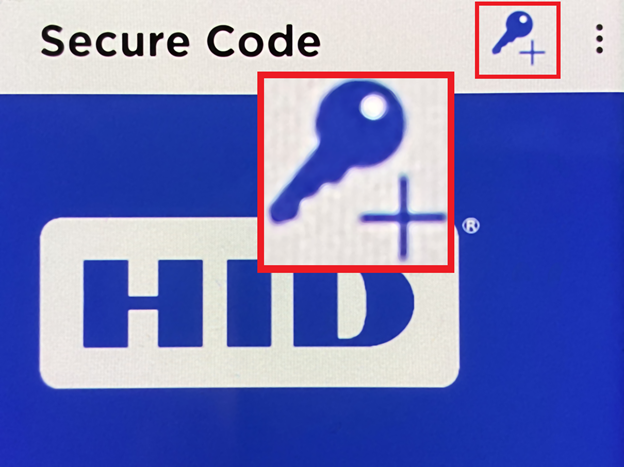
If you have used the HID Approve device to register prior services on your device, tap the Key+ icon to register a new service.
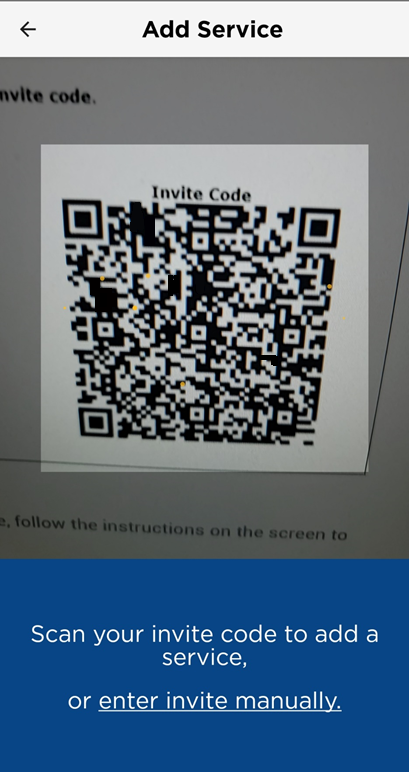
-
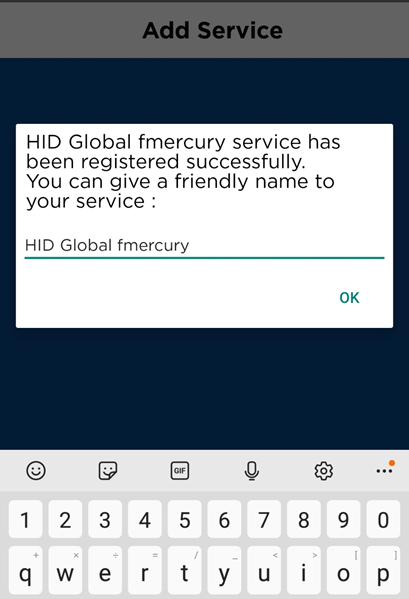
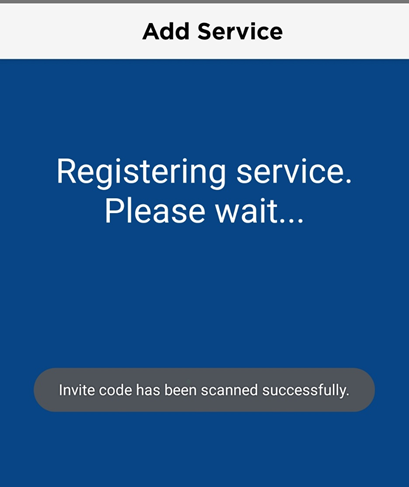
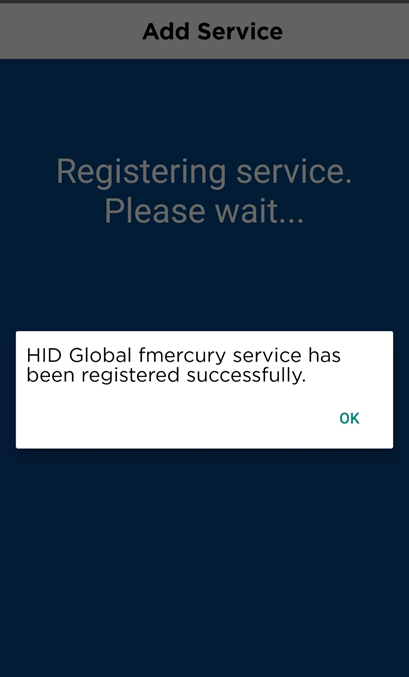
Once the Invite Code is scanned, your new HID Approve service should be successfully registered:
- Proceed to step 4.
 Activate HID Approve by Clicking the Invite Code
You can register a service on the Microsoft Windows 10 PC or tablet that you are using for activation by clicking the QR code.
Note: This activation mode is only available for HID Approve for Windows 10.-
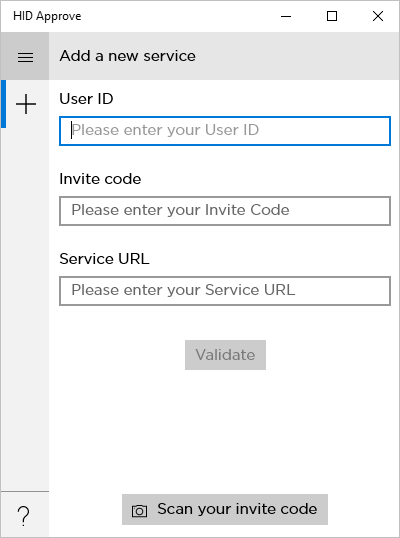
Launch the HID Approve Token on your computer.
If you have never used the HID Approve application on your computer, follow the instructions on the screen to register a new service.
-
Return to the Web Self Help Desk screen where the Invite Code was generated.
- Click on the QR-based Invite Code.
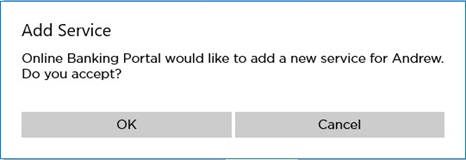
- Click OK to add the new service.
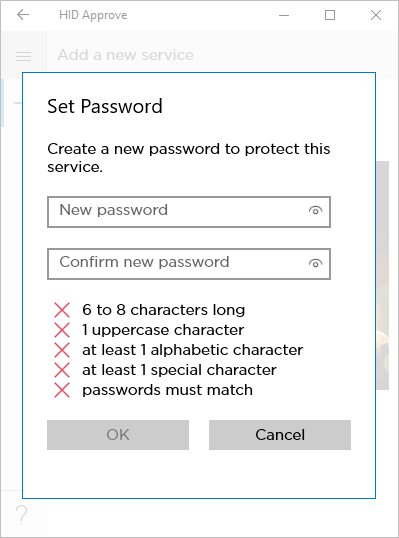
- Enter your and confirm a Password and click OK.
-
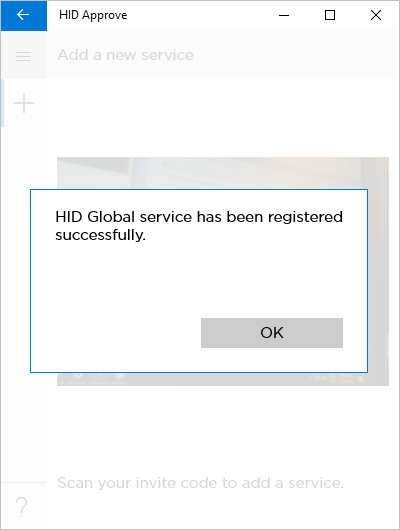
Once the Invite Code is entered, your new HID Approve service should be successfully registered:
- Proceed to step 4.
If you have used the HID Approve device to register prior services on your device, tap the + icon to register a new service.
 Activate HID Approve by Manually Entering the Key Secret
-
Launch the HID Approve Token on your device.
If you have never used the HID Approve application on your device, follow the instructions on the screen to register a new device.
-
If you are prompted to grant permission to the app to use your camera, select Deny (or the equivalent).
-
Return to the Web Self Help Desk screen where the Key Secret was generated.

If you have used the HID Approve device to register prior services on your device, tap the Key+ icon to register a new service.

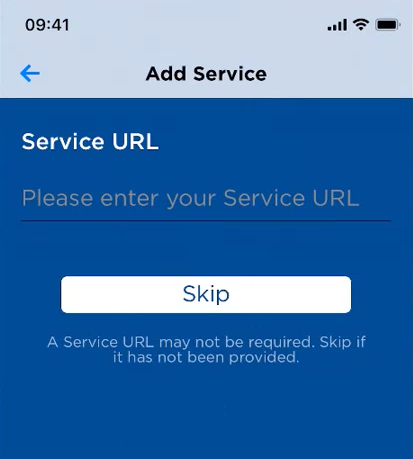
- Enter the Service URL or click Skip if it was not provided by your organization (for example, if you are activating the HID Approve Token offline).
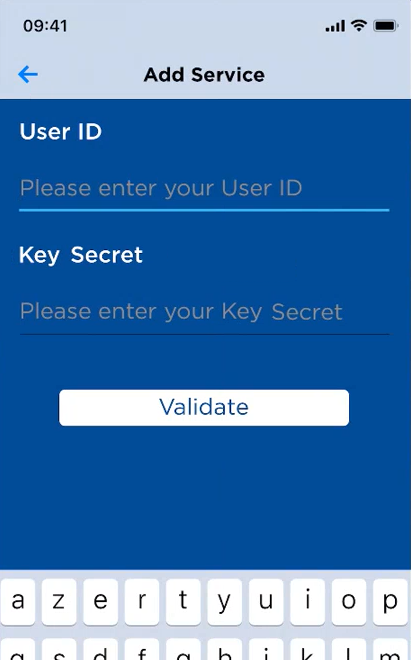
- Enter your User ID provided by your organization and the Key Secret displayed in the Web Self Help Desk, and then click Validate.
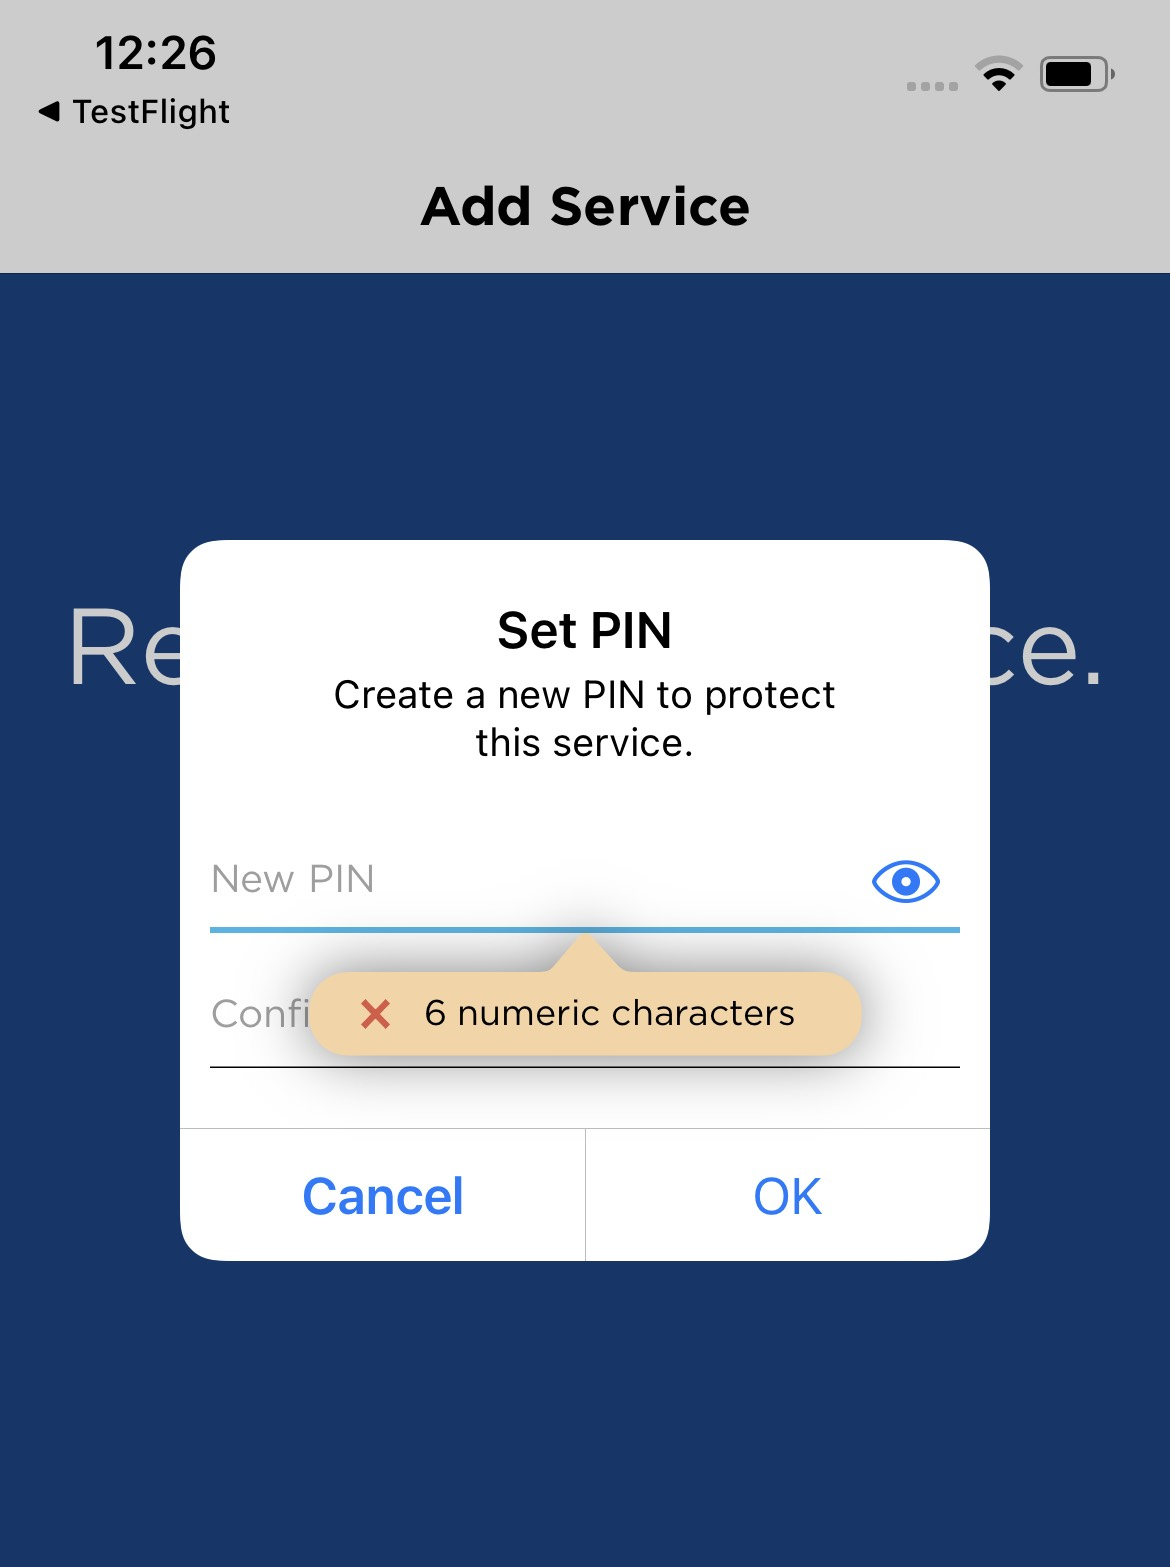
- Set a 6-digit PIN to protect the service.
- Proceed to step 4.
Once the details are entered, your new HID Approve service should be successfully registered:

-
-
Optionally, enter a friendly name for the new service.

-
On the HID Approve application screen, tap the screen to generate a new Secure Code.
Note: If you have multiple services registered, you need to tap on the name of your newly registered service first.

-
Enter the generated code in the Secure Registration Code field on the Web Self Help Desk Activation screen and click Finish.
If Activation succeeds, you are presented with:
- Either the PIN and / or Security Question screens if configured, followed by the Success screen:
- Or the Success screen containing choices for next steps:
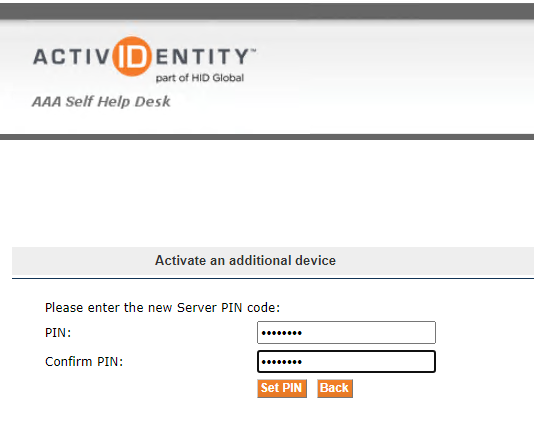
 Note: By default, you are granted 30 seconds from the generation of the code to when the Invite Code is scanned and the Secure Code is entered. If you do not complete the process in time, the activation does not succeed.
In this case, simply delete the new service in HID Approve (tap Delete), log in to the Web Self Help Desk again, and attempt the activation once more. There is no harm in making multiple attempts to activate until an activation succeeds – please try again. If after trying to activate multiple times, you are unable to activate, please contact your administrator.Important: The HID Approve service enrolled on your device is not automatically deleted after an unsuccessful attempt to active, as there is no synchronous communication between the AAA Server / Help Desk and your device. To avoid duplicate / multiple services registered on your device, be sure to delete the service if activation does not succeed, and keep only the successfully registered service.
If you already have an existing service on your device with a duplicate name, you are prompted to rename the newly activated service o help you differentiate between services.
