Configure Administration Groups
Administration groups provide a way to organize (partition) users for administrative purposes as well as a way to assign permissions to users through membership of administration groups.
Using the ActivID Management Console, you can create and update administration groups within User Types. Then, you can add users to the administration groups.
To add an administration group to a user type, you must have the appropriate permission on this user type.
To manage users in an administration group, or to update this group’s details (such as permissions or user repositories), you must have the appropriate permissions on that administration group.
| User Type | Administration Groups |
|---|---|
|
ActivID Initial Setup |
|
|
Systems User Type |
|
|
Operators User Type |
|
|
Employees User Type |
|
|
ADFS Systems User Type |
None |
|
Customers User Type |
|
Create an Administration Group
When you create an administration group, you select a parent for it.
The parent can be the user type (within which you are creating the administration group) or another administration group within the same user type. The Parent Group field lists the group name of the user type within which you are creating the administration group.
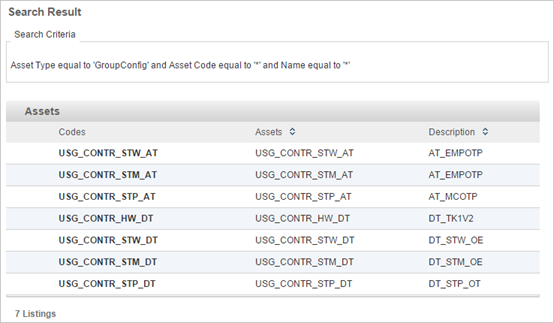
These assets are created to store the Self-Service Portal activation parameters when the Administration Group is created or updated.
Do not delete these assets after they are created (as it will delete the settings).
If the settings contain the default values, these assets will not be created.
As the “Asset Type Administration functions” permission set is required to manage such assets, in order to create and/or update Administration Groups, the operator must have the “Asset Type Administration functions” permission set (that is applied to the “GroupConfig” Asset type).
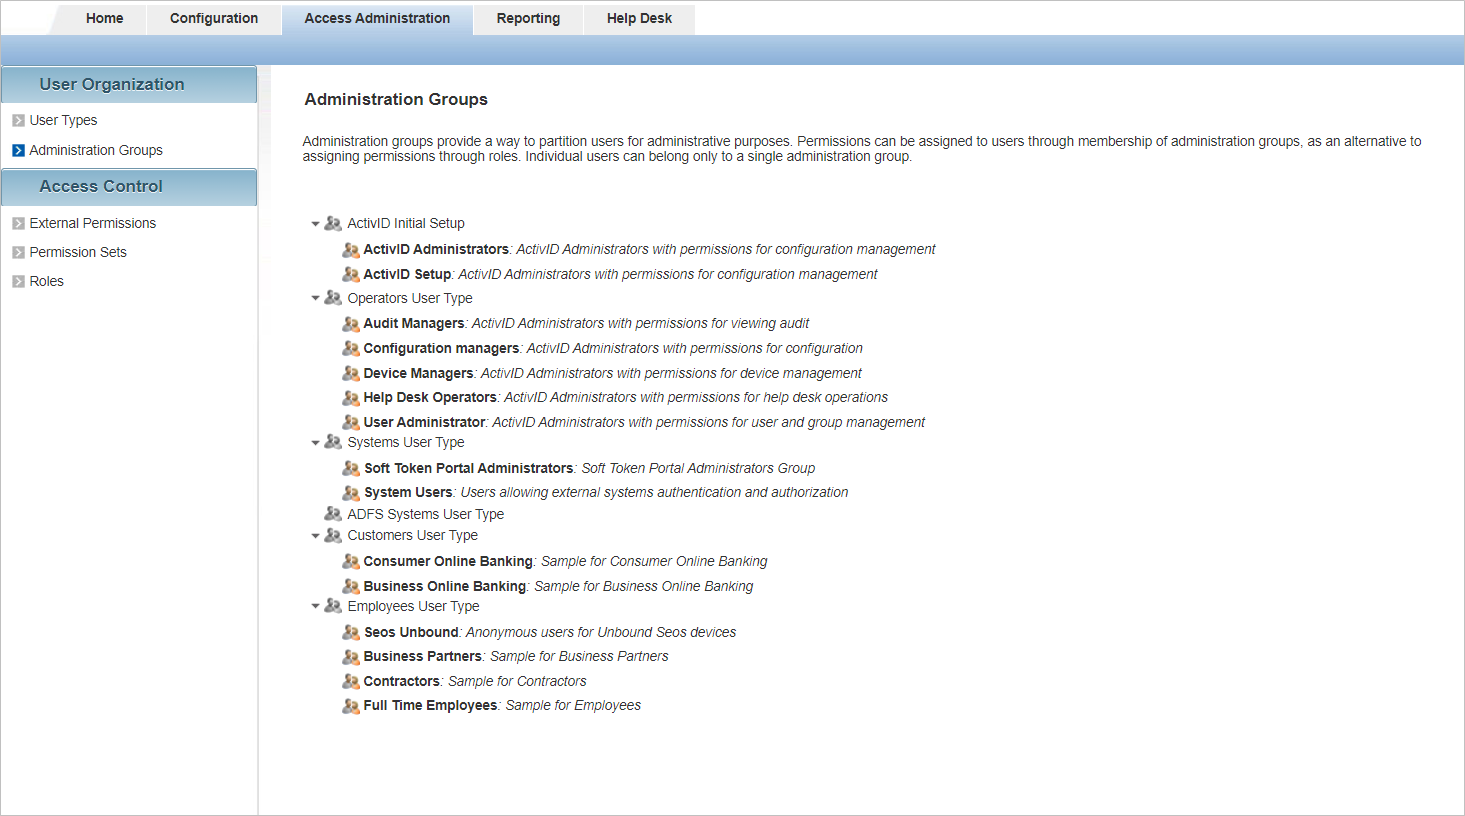
- Log on to the ActivID Management Console as an ActivID administrator.
- Select the Access Administration tab and, under User Organization, select Administration Groups.
The list of default Administration Groups is displayed.
Add an Administration Group to a User Type
-
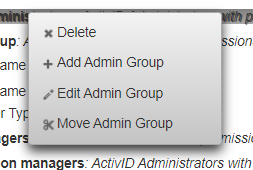
Right-click on the user type in which you want to create the administration group.
A contextual menu is displayed.
-
Select Add Admin Group.
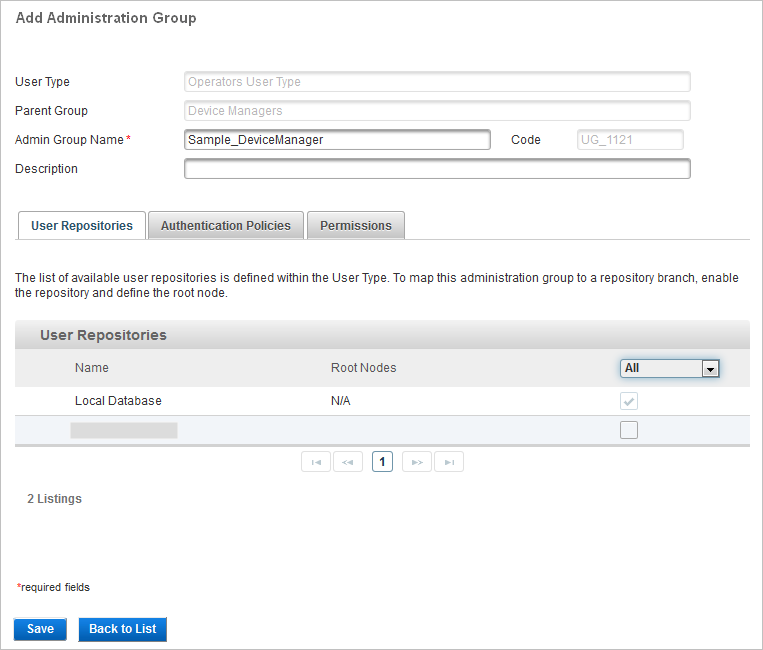
- Enter the main information for the Admin Group:
- Name – should be unique for ease of administration.
- Code – a value is automatically generated but it can be changed. The code must be unique, a minimum of three characters, and a maximum of 10 characters. It cannot be changed once the credential type is created.
- Description – (optional) content is free-format.
-
Click Save and proceed to Map User Repositories to an Administration Group.
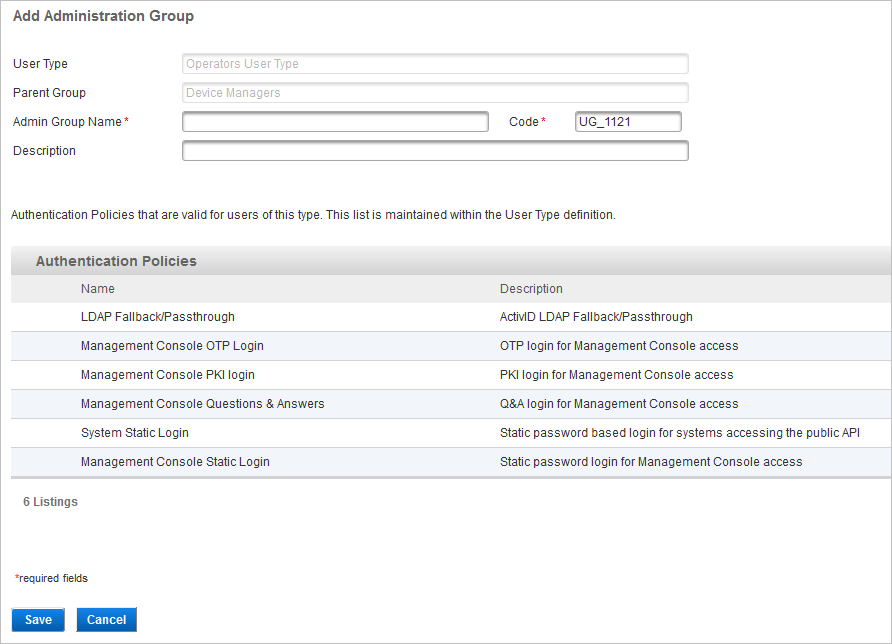
The Add Administration Group page appears. You cannot edit the User Type and Parent Group.
Map User Repositories to an Administration Group
- Expand the group node to view the new administration group.
- Click on the name of the group or right-click and select Edit Admin Group.
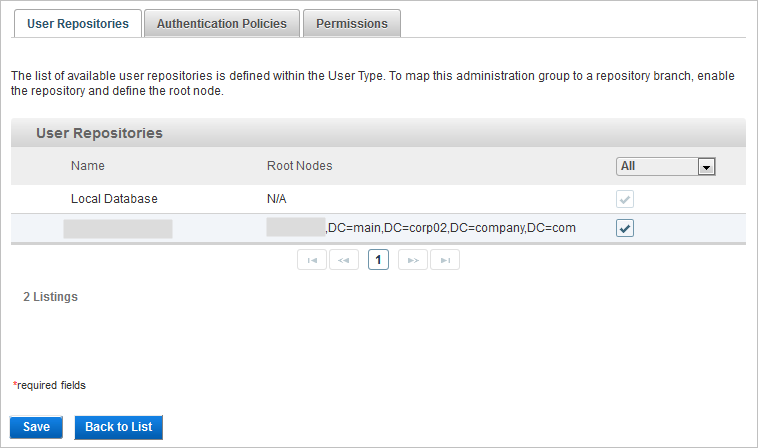
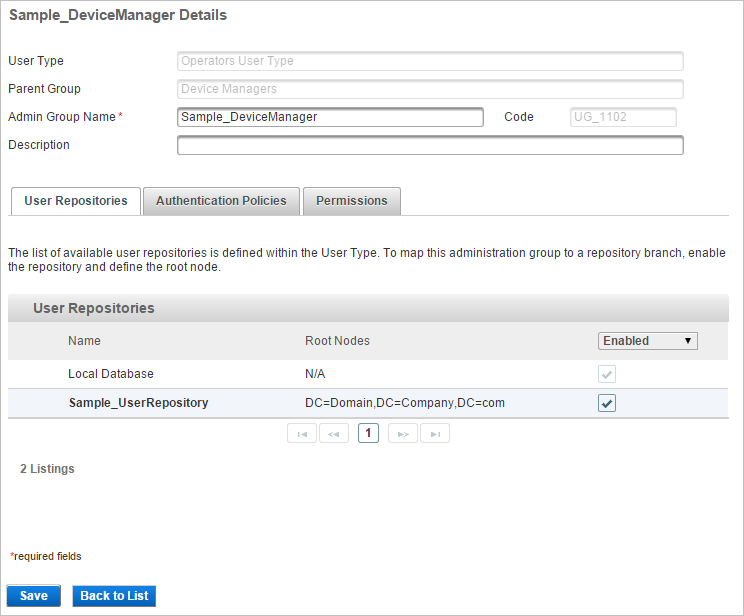
- In the group details page, go to the User Repositories tab.
-
To add repositories to the group, select Available from the drop-down list.
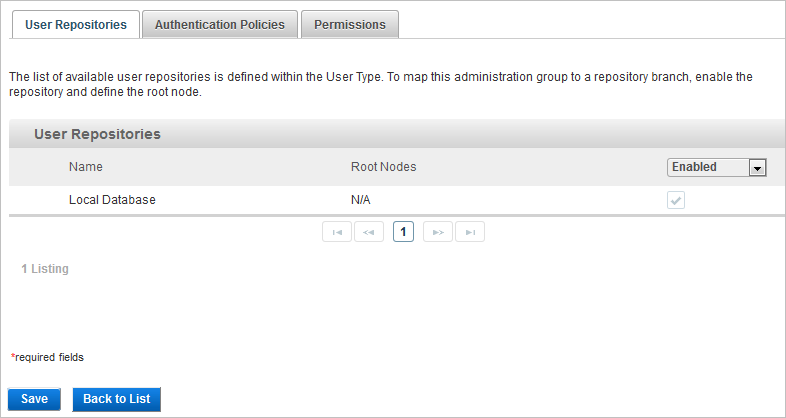
By default, the Local Database repository is enabled.
Depending on the user repositories enabled for the User Type in which the administration group belongs, the Available user repositories will be different.
Repositories are added one by one, as you need to specify the root nodes for each one.
- Select the check box for the required repository.
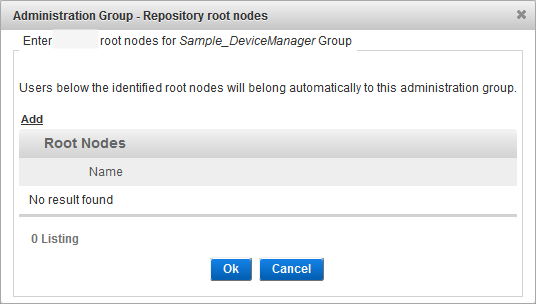
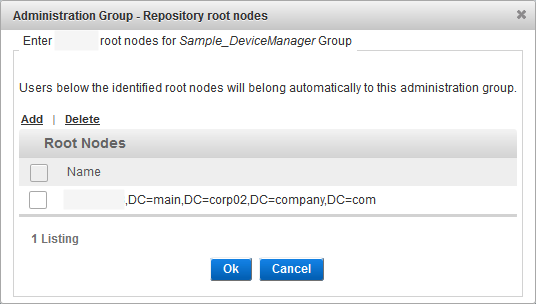
- To add the root node of the user repository, click Add.
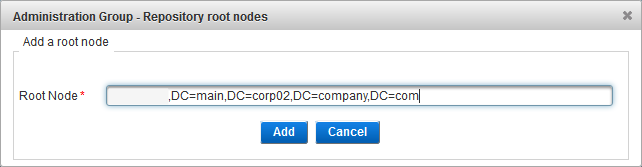
- Verify that the root node is correct or modify the specified node, and click Add.
- If you want to add additional nodes, click Add again and repeat the above steps.
- Click Ok to confirm the root node.
- If necessary, repeat the steps to add additional repositories to the group.
-
Click Save and proceed to View Authentication Policies and Set Self-Service Tokens Activation Configuration.
The repository is now enabled with the defined root node.
View Authentication Policies and Set Self-Service Tokens Activation Configuration
In the group details page, select the Authentication Policies tab.
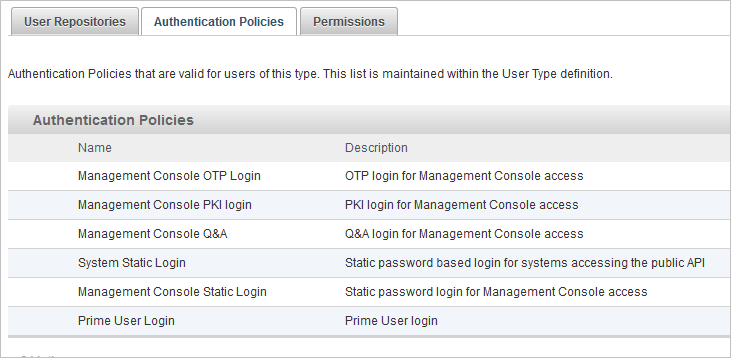
The valid Authentication Policies displayed depend on the User Type definition of the group.
In the Self Service Tokens Activation Configuration section, you can view and define the Self Service Tokens Activation configuration for all Users within this Administration Group.

- For each activation option, select the:
- Device type for each type of token
- Authentication policy from the list of polices compatible with the device type selected for the type of device
To disable an activation option for the group, leave the settings empty or clear the selected configuration.
- If One-Time Password authentication policies are not available for your User Type, the lists will remain empty. You must define such a policy to be able to activate the tokens.
- For further information about HID Approve offline activation, see Customize the HID Approve Activation Mode.
- Click Save and proceed to Assign Administration Group Permissions .
- These assets must not be deleted after they are created (as it will delete the settings).
- Such assets will not be created if the settings are left to default values (meaning no specific device type is selected for the Admin Group).
Assign Administration Group Permissions
Once you have created an administration group, you must assign administrative permissions to that group before proceeding.
A permission is an action such as creating a user, resetting a password, and modifying an indirect user’s privileges. Individual permissions are pre-defined in ActivID Appliance and can only be added or removed for a specific user. You can group individual permissions into permission sets and assign them to a group of users.
Assigning a permission set to an administration group enables all the users in the group to perform each of the permissions in the set.
It is possible to assign a permission set by specifying the following conditions:
-
The specific user authentication policies that are required to exercise the permission (that is, Management Static Login, etc.).
-
The specific channels through which the permission will be given (that is, Direct channel, Management Console, etc.).
-
The specific resources to which the permission will apply (that is, Customers User Types, etc.).
The time taken by ActivID Appliance to refresh permissions assigned to a user administration group, or associated with a role and assigned to an individual user, is specified in your ActivID Appliance settings.
- If necessary, select the Access Administration tab and, under User Organization, select Administration Groups.
- In the list of Administration Groups, click on the name of the group you created above.
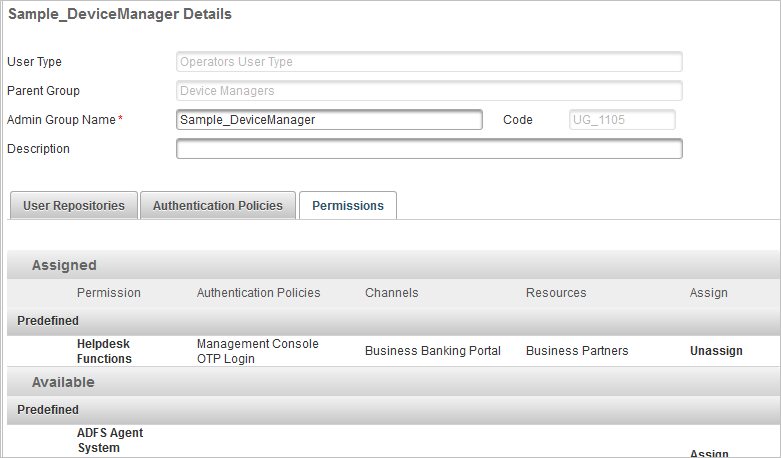
- Select the Permissions tab, and then scroll down to Available to view the available permissions for the group.
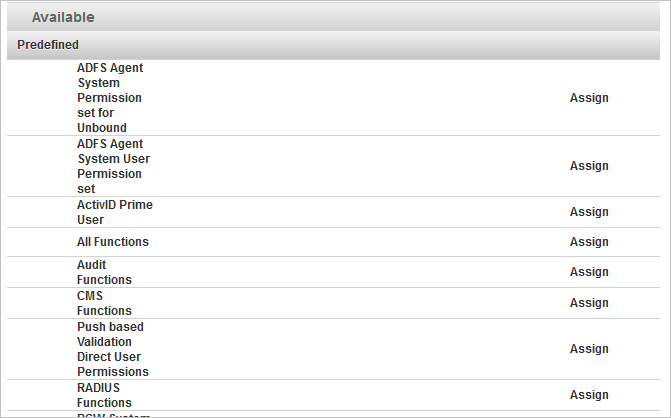
Permissions are added one by one, as each must be configured.
-
Click Assign for the required permission to assign it to the group.
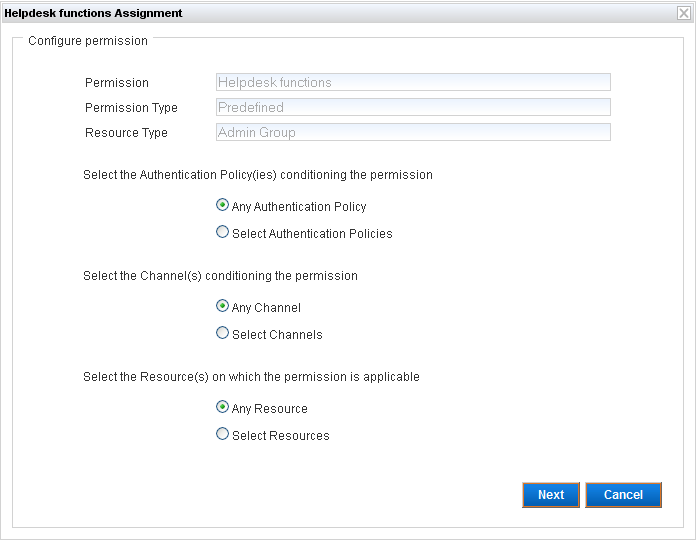
-
If you want to specify conditions for the permission, select the required option(s) and click Next:
- Authentication Policies
- Channels
- Resources
- If you selected to apply Authentication Policy conditions to the permissions:
- If you selected to apply Channel conditions to the permission:
- If you selected to apply Resource conditions to the permission:
-
Review the configuration under Privileges and click Ok to apply the settings.
The subsequent steps depend on your selection. For each conditioning option selected, a configuration page is displayed.

Select the options for the required policies to enable them for the group permission and click Next.
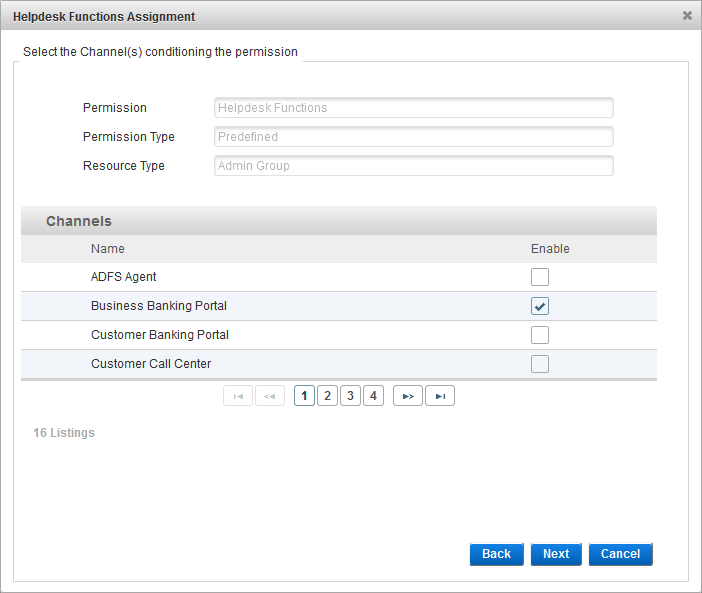
Select the options for the required Channels to enable them for the group permission and click Next.
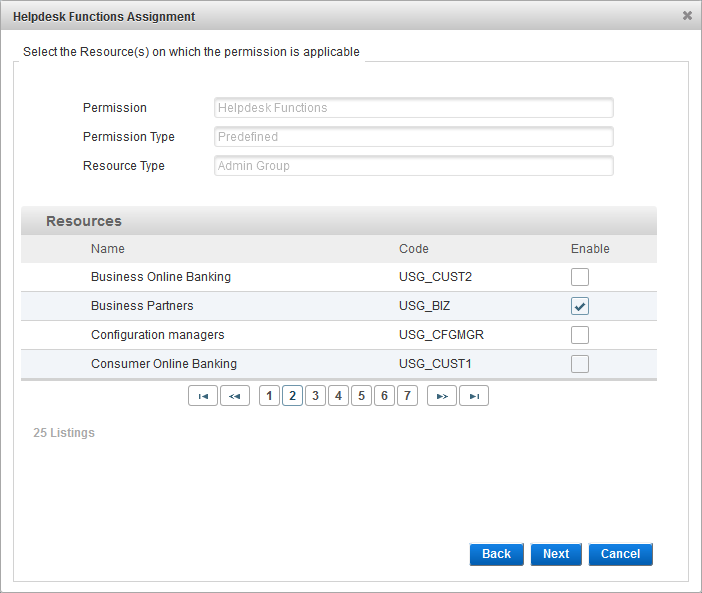
Select the options for the required Resources to enable them for the group permission and click Next.
When all the conditions are defined, the Configure permission summary page is displayed.
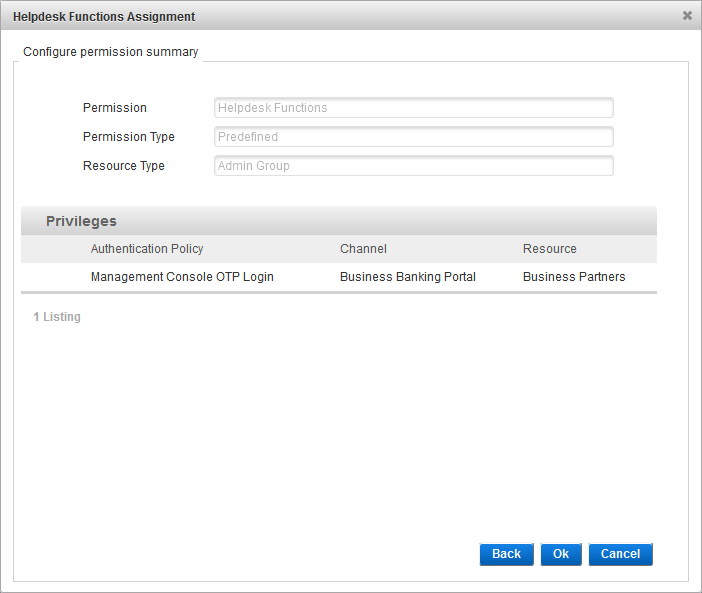
Alternatively, you can click Back to edit the configuration, or Cancel to exit without saving.
The permission is now assigned to the administration group.
Edit an Administration Group
- Log on to the ActivID Management Console as an ActivID administrator.
- Select the Access Administration tab and, under User Organization, select Administration Groups.
- Click on the name of the administration group you want to edit.
- User Type
- Parent group to which the administration group belongs
- Code
All the settings can be modified except the group's:
-
Edit the group settings as required.
- Click Save to apply your changes.
- If you want to cancel the operation, click Back to List.
Move an Administration Group
When you create an administration group, you select a parent for it. The parent can be the user type (within which you are creating the administration group) or another administration group within the same administration group.
The Parent Code lists the unique reference of the user type within which you are creating the administration group and the unique references of any other administration groups already created in the user type.
- You can move one or more of the administration groups within the user type by changing the parent(s).
- You can move an administration group only within its current hierarchy.
- You cannot move an administration group to a different user type.
- Log on to the ActivID Management Console as an ActivID administrator.
- Select the Access Administration tab and, under User Organization, select Administration Groups.
-
Right-click on the name of the administration group you want to move and select Move Admin Group.
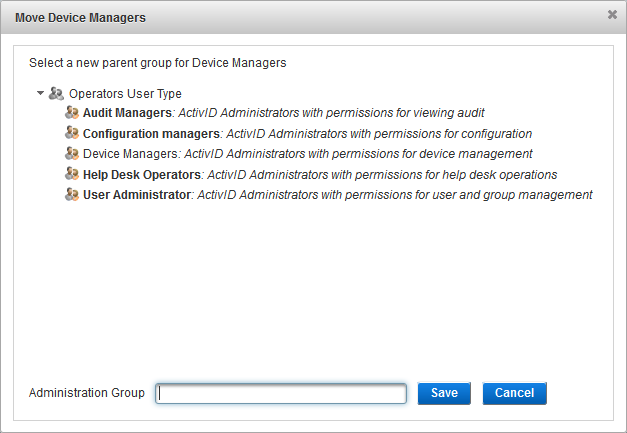
- Select the new parent group, and click Save.
- Click Close.
Delete an Administration Group
- Log on to the ActivID Management Console as an ActivID administrator.
- Select the Access Administration tab and, under User Organization, select Administration Groups.
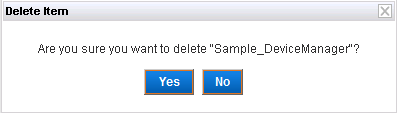
- Right-click on the name of the administration group you want to move and select Delete.
- Click Yes to delete the group.