Creating the VM using VMware ESXi
The ActivID Appliance 8.7 virtual machine is delivered as an Open Virtual Appliance (OVA) package with embedded Open Virtualization Format (OVF) files for optimized deployment.
For further information about OVF and OVA file formats and templates, see the VMware documentation.
Deploy the OVF Template
To use the ActivID Appliance 8.7 OVA package on an ESXi server, you must deploy it as an OVF template.
You can deploy an OVF template from a local file system accessible to the VMware vSphere Client machine, or from a web URL.
You are using VMware ESXi and vSphere Client version 8.0 Update 2 and later
-
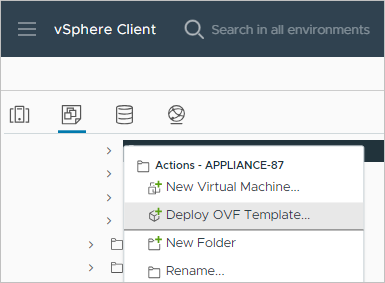
Using the vSphere client, select File and then Deploy OVF template. The Deploy OVF Template wizard is displayed.
-
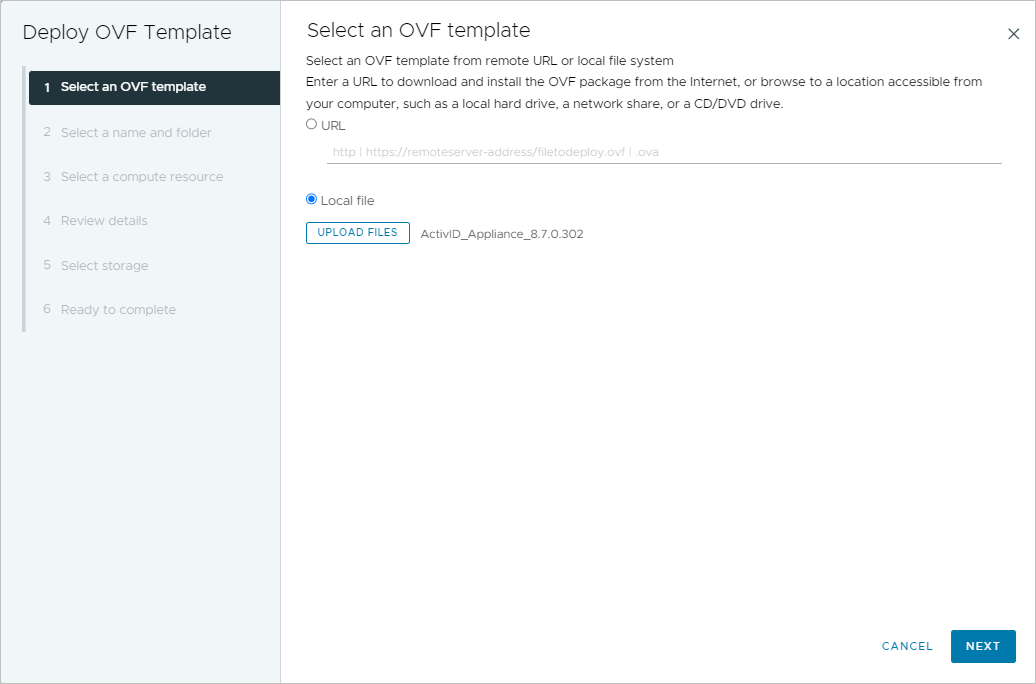
Select Local file, click UPLOAD FILES and navigate to the ActivID_Appliance_8.7.0.<build number>.ova file.
-
Click Open and then Next.
-
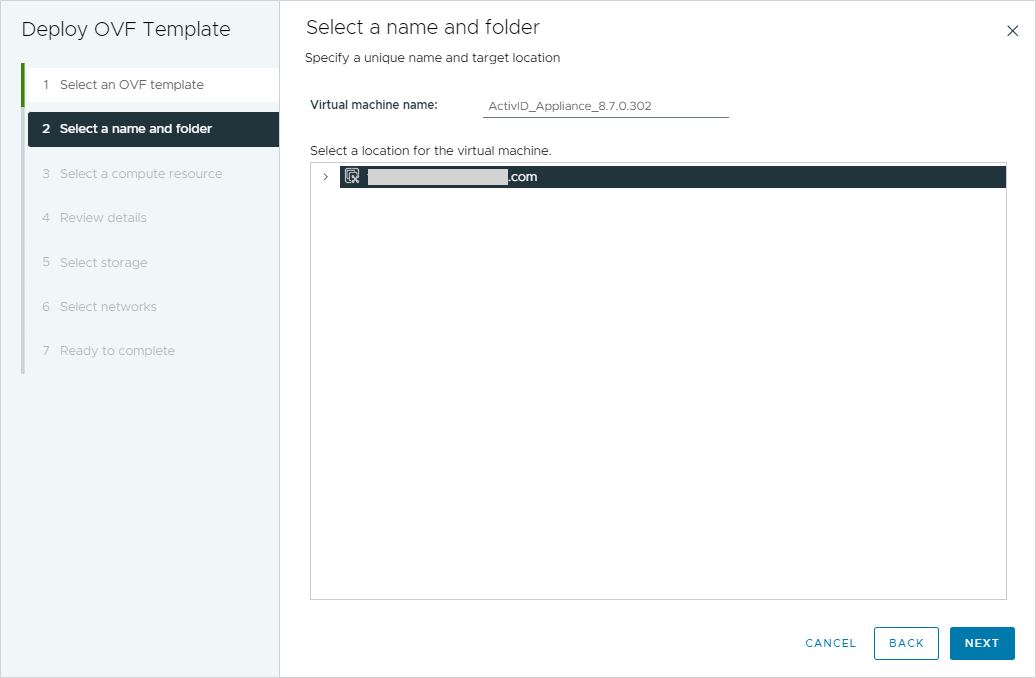
Enter a Virtual machine name and select a location for the virtual machine, then click Next.
Note: This name must be unique within the ESXi server inventory folder. -
Select the required Compute Resource in your VMware environment and click Next.
-
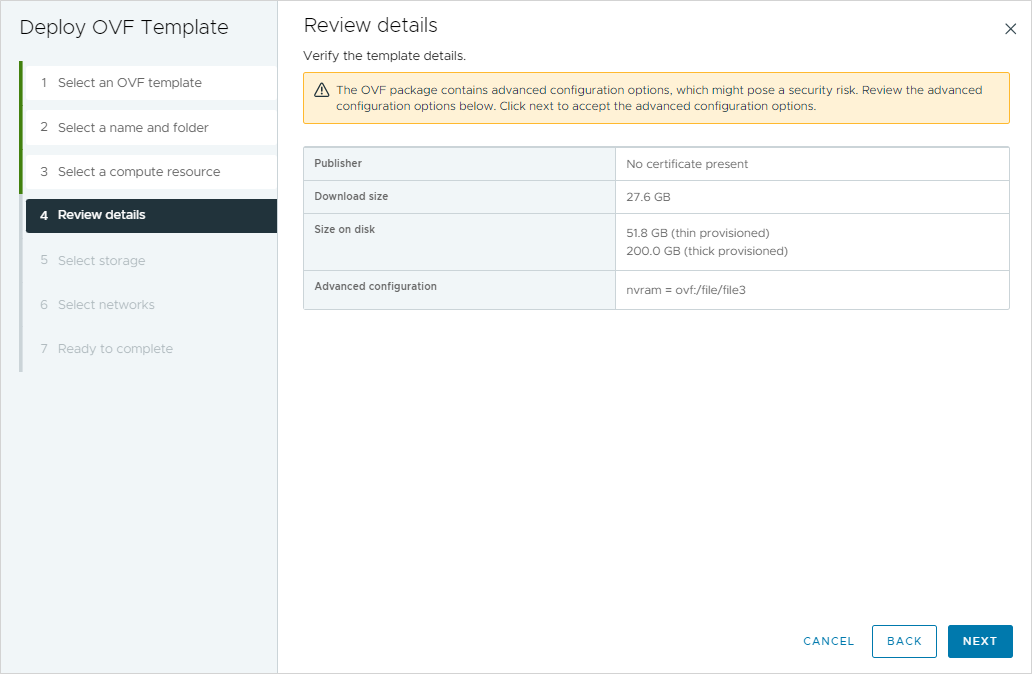
Review the details, then click Next.
Note: If a warning message is displayed, it be can ignored as it does not impact the deployment.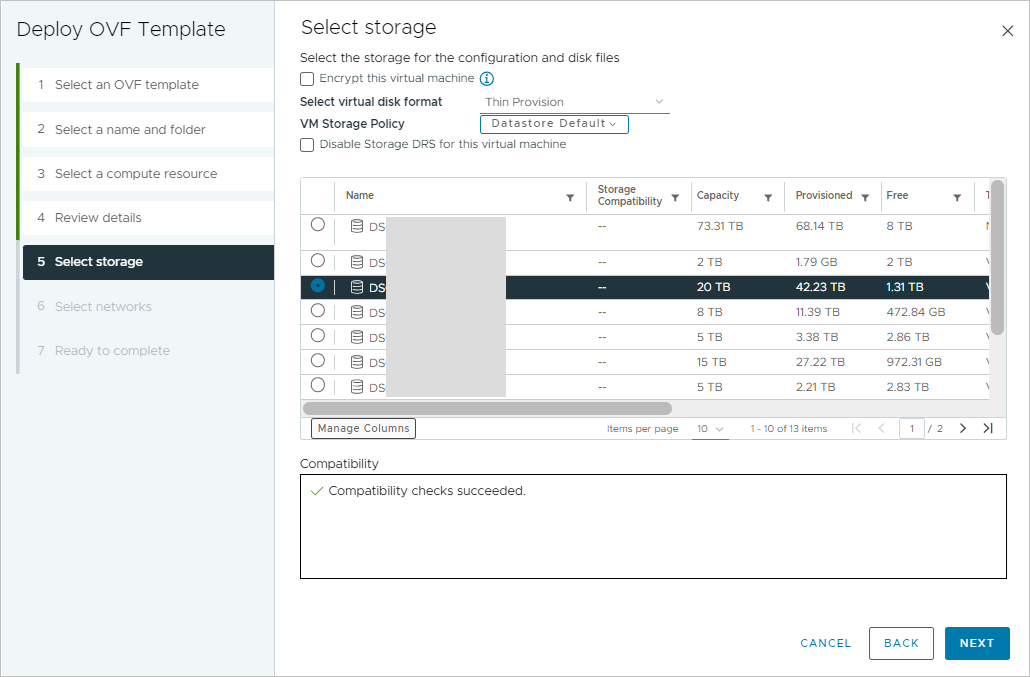
-
Define the disk Storage, making sure to select Thin Provision as the virtual disk format, and click Next.
-
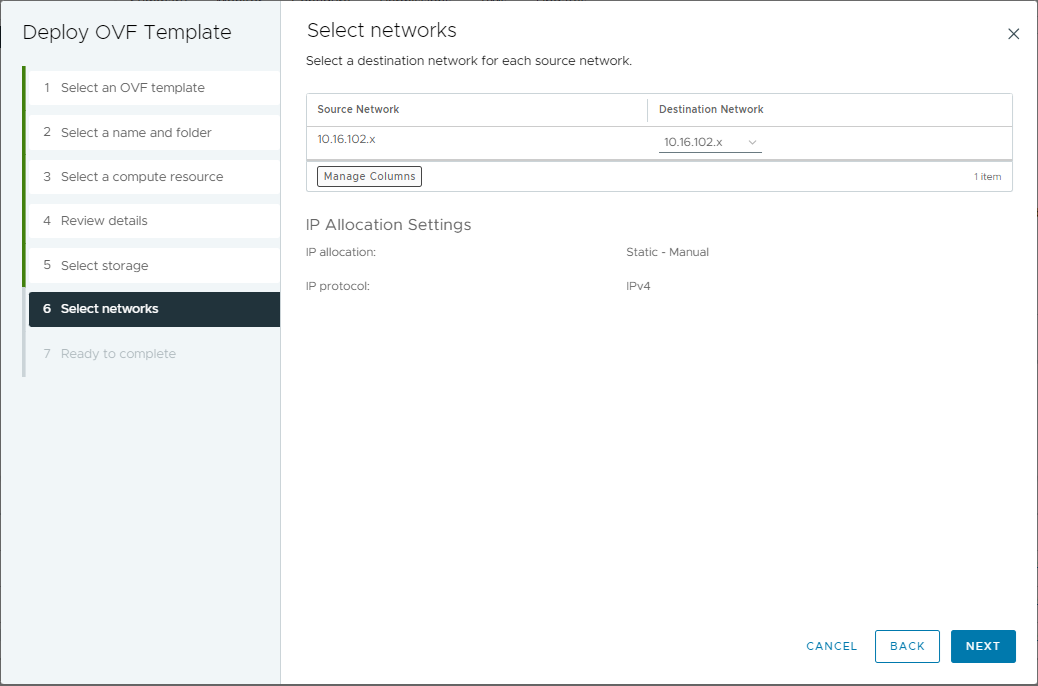
Map the Source Network to the existing networks in your ESXi Server and click Next.
Note: You can change the network mappings after installation based on your deployment needs.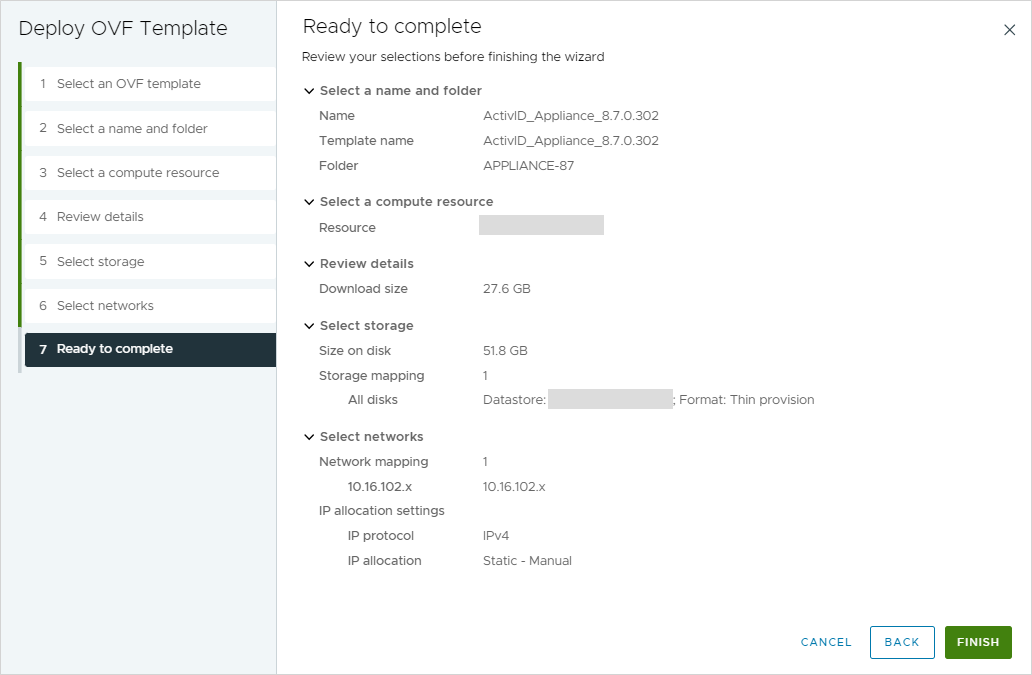
-
Review the Ready to complete summary and then click Finish.
-
When a success message is displayed, click Close.
Edit the VM Settings
Once the ActivID Appliance OVF has been successfully deployed, you can edit the machine settings, in particular the:
-
Allocated memory
-
Network adapter
-
Select the virtual ActivID Appliance from the ESXi inventory.
-
Select Edit settings to view and edit the settings.
-
Make sure the allocated Memory is at least 16 GB.
-
Edit the other VM settings according to your requirements.
As a result, any customization of the appliance VM configuration must conform to this limit.
The default appliance VM configuration provided with the ActivID Appliance OVF is as follows (one thread per core):
Number of virtual sockets – 1
Number of cores per socket – 4
Acceptable configurations include:
Number of virtual sockets – 1 or 2
Number of cores per socket – 8 (for 2 sockets) or 16 (for 1 socket)
Configure the Network Adapter (Optional)
Only one network adapter is pre-configured after importing the ActivID Appliance OVF. It will be used regardless of the deployment mode (single mode or dual mode).
If required, you can change the pre-configuration (which is specific to each enterprise network) performed when importing the OVF.
Back Up the Initial State of the Virtual Machine
Before you configure and initialize the appliance, it is recommended that you first shut down the virtual machine and create a snapshot of its Initial State.
Your VM is now ready for initial configuration.
To revert to a clean state of the ActivID Appliance (state from which you can install latest hotfixes, perform reconfiguration and restore your latest backup), you must use the Initialized State of the virtual appliance (see Back Up the Initialized State).
Alternatively, you can revert to this Initial State of the virtual machine (appliance not configured) and restart the installation from scratch.
Next step:


