Configure Check Before Authorization Profiles
A Check Before profile defines a set of criteria that must be met for an authentication request to be successful.
ActivID AS checks these criteria after sending the logon and password criteria, but before validating a user’s identity. The system uses Check Before criteria as additional requirements for approving an authentication. For example, if only users connecting with PPP should be allowed access, then you can configure ActivID AS to check if a user is using another method and deny access when the user’s connection is not PPP, even if the user provides the correct password.
Check Before attributes/value pairs can be sent with the authentication request, and will be verified before the credential-based authentication is performed.
For example, Check Before can be used to check a user’s AccountID, IP Address, or Client information:
- Username = johndoe
- Password = xxxxxxx
- AccountID = 12345678
Where AccountID is a user attribute, not a credential. This value can be enforced to ensure that the user is authenticating with the correct Password AND AccountID.
If you select a Check Before criteria, then you expect your Service Provider to send attributes to check. Access can be denied only if the values sent are not the ones expected by ActivID AS. If the Service Provider sends no values, ActivID AS will authenticate the user.
For Push-based RADIUS authentication, Check Before profiles are not supported (that is, Check Before attributes will not be applied).
ActivID AS provides two predefined check before rules that do not rely on any conditions or dictionary attributes:
- Check Before Always Succeeds - if the user role and authentication policy match the authentication policy and user role criteria of the selection rule, authentication succeeds or fails depending on user credentials provided and the authentication policy.
- Check Before Always Fails - if the user role and authentication policy match the authentication policy and user role criteria of the selection rule, authentication fails regardless of the user credentials provided.
If you want to filter users based on LDAP groups, you can assign a Check Before Authorization Profile configured with the Generic dictionary. The Generic dictionary allows selecting an ActivID AS user attribute which can be mapped to a LDAP user attribute.
Create a Check Before Profile
-
Log on to the ActivID Management Console as an ActivID Administrator.
- Select the Configuration tab and, under Policies, select Authorization.
-
Select Check Before.
-
Click Add.
-
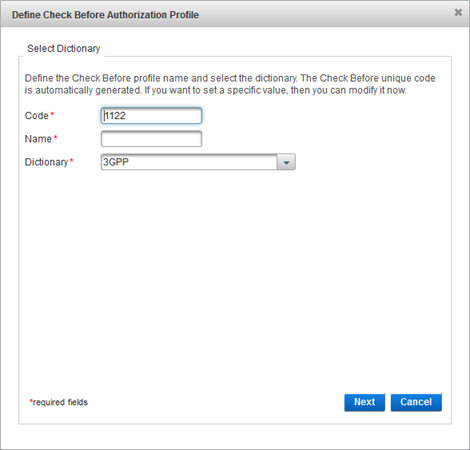
Modify the Code, if necessary.
-
Enter a Name for the profile.
-
From the Dictionary drop-down list, select the dictionary that contains the attributes you want to use in the authorization profile and click Next:

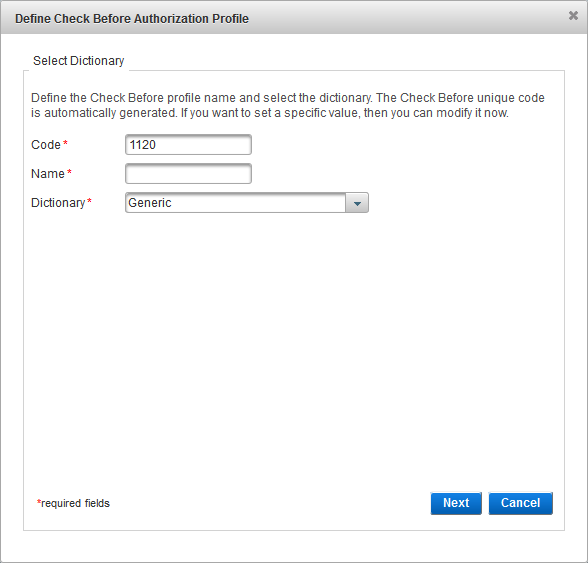
The name should be descriptive of the type of functionality for which the profile will be used.
Generic Profiles
The attributes in this dictionary correspond to ActivID AS user attributes.
To specify authentication data to store, select the attribute from the list. To store all authentication data, do not select any attributes.
For value type, select either:
- Static Value – enter the static value you want to check for this profile. This value will be the same for all users who have this profile defined.
- User Attribute – enter the value of the LDAP attribute. ActivID AS will check this value present in the attribute in the user account. It is possible to have a different value per user.
Either select the required value from drop-down list, or enter the value manually, depending on the chosen attribute (for example, attributes requiring IP addresses require that the value is entered manually).
Note: The Value is case-sensitive.Click Next.

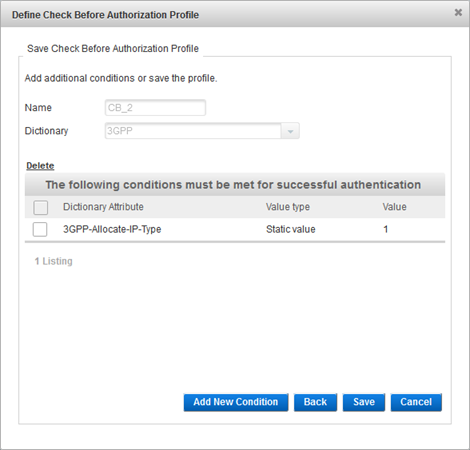
Either click Save to proceed or click Add New Condition to add another check before attribute and repeat the above steps.
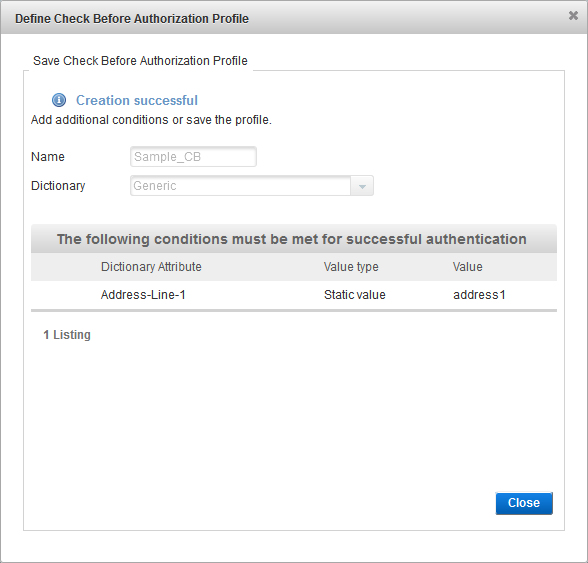
Click Close.
- Only one RADIUS dictionary can be used by a channel.
- Only Check Before and Send After profiles defined using this dictionary can be selected when defining an Authorization Profile rule.

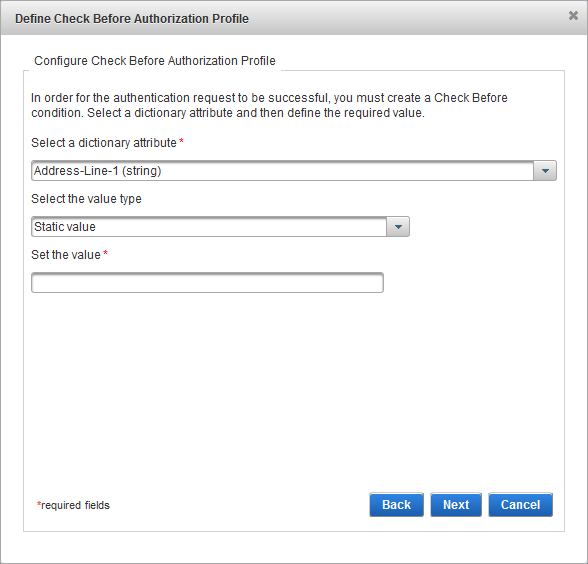
- Select the required dictionary attribute from the drop-down list.
The available attributes depend on the dictionary selected in the previous page.
- For value type, select either:
- Static Value − enter the static value you want to check for this profile. This value will be the same for all users who have this profile defined.
- User Attribute − enter the value of LDAP attribute. ActivID AS will check this value present in the attribute in the user account. It is possible to have a different value per user.
- Either select the required value from the drop-down list or enter the value manually depending on the chosen attribute (for example, attributes requiring IP addresses require that the value is entered manually).
Note: The Value is case-sensitive.- Click Next.
- Either click Save to proceed or click Add New Condition to add another check before attribute and repeat the above steps.

- Click Close.
If required, proceed with the channel configuration.
Add/Delete an Attribute for a Check Before Profile
-
Log on to the ActivID Management Console as an ActivID Administrator.
- Select the Configuration tab and, under Policies, select Authorization.
-
Select Check Before.
- Select the Check Before profile you want to edit.
- To add an attribute, click Add, follow the steps above and then click Save.
- To delete an attribute, select the check box of the Dictionary Attribute and then click Delete.
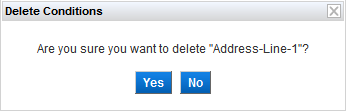
Click Yes to confirm.

Copy a Check Before Profile
-
Log on to the ActivID Management Console as an ActivID Administrator.
- Select the Configuration tab and, under Policies, select Authorization.
-
Select Check Before.

-
Select the check box of the Check Before profile that you want to copy and click Copy.
-
Edit the settings of the profile.
Delete a Check Before Profile
-
Log on to the ActivID Management Console as an ActivID Administrator.
- Select the Configuration tab and, under Policies, select Authorization.
-
Select Check Before.
-
Select the check box of the Check Before profile that you want to delete and click Delete.
-
When prompted, select Yes to delete.


