Configure Send After Authorization Profiles
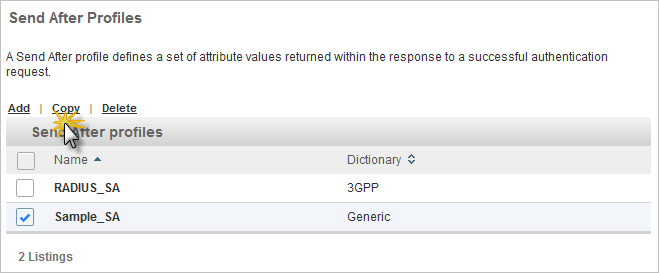
A Send After profile defines a set of attribute values returned within the response to a successful authentication request.
ActivID AS sends these criteria after the authentication session in order to provide additional information to the NAS (for example, callback value and preferred IP address).
Send After attributes/value pairs can be sent back to the service provider. For example, to provide additional information about the user or a session after a successful authentication, the following information can be sent:
-
User_Full_Name = John Doe
-
Last_Successful_Access = 01/01/2010
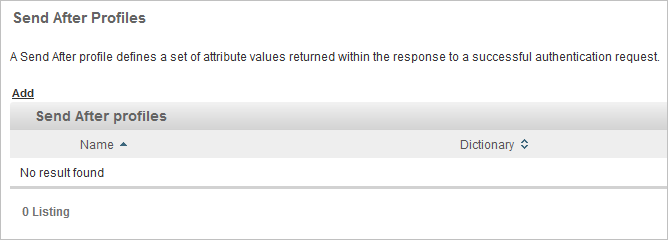
Create a Send After Profile
-
Log on to the ActivID Management Console as an ActivID Administrator.
- Select the Configuration tab and, under Policies, select Authorization.
-
Select Send After.
-
Click Add.
-
Modify the Code, if necessary.
-
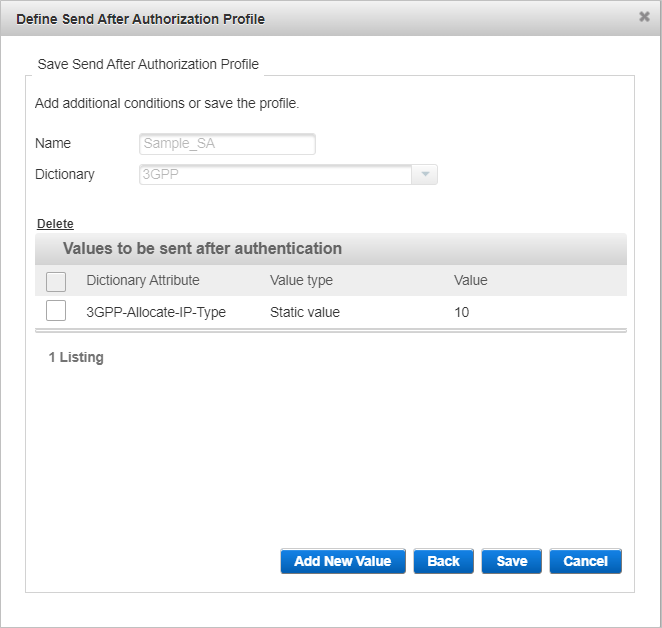
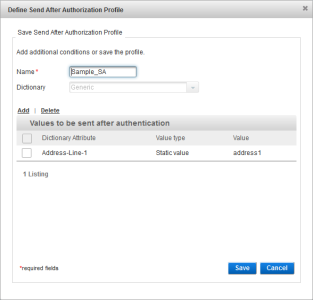
Enter a Name for the profile.
-
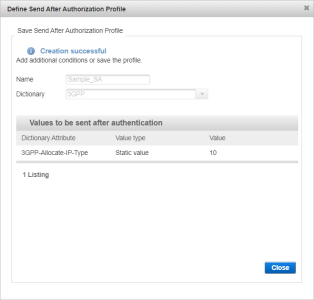
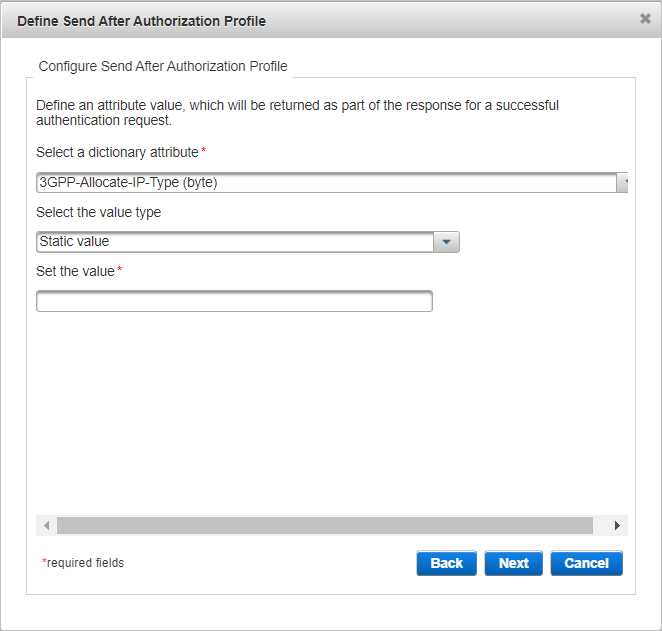
From the Dictionary drop-down list, select the dictionary that contains the attributes you want to use in the authorization profile and click Next:
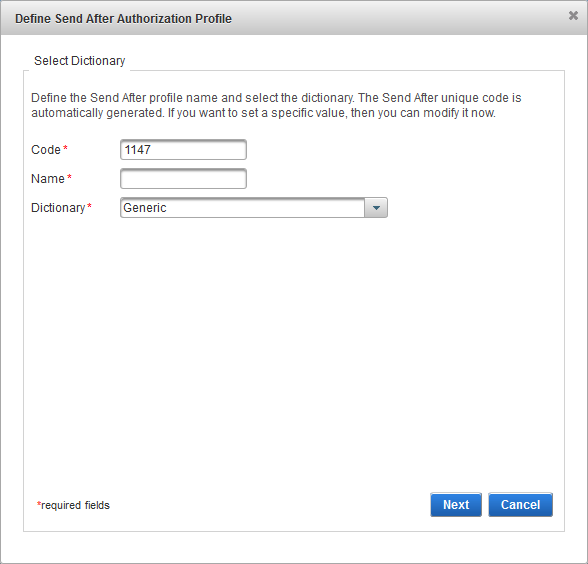

The name should be descriptive of the type of functionality for which the profile will be used.
Generic Profiles
The attributes in this dictionary correspond to ActivID AS user attributes.
For value type, select either:
- Static Value – enter the static value you want to check for this profile. This value will be the same for all users who have this profile defined.
- User Attribute – enter the value of the LDAP attribute. ActivID AS will get this value from the user account and return the value present in this attribute. It is possible to have a different value per user.
Enter a value in the Set the value field.
Click Next.

Either click Save to proceed or click Add New Value to add another send after value and repeat the above steps.
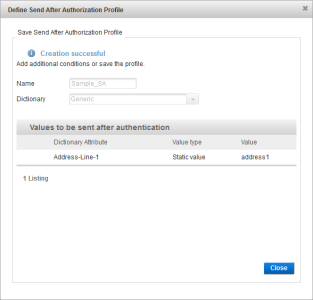
Click Close.


- Only one RADIUS dictionary can be used by a channel.
- Only Check Before and Send After profiles defined using this dictionary can be selected when defining an Authorization Profile rule.
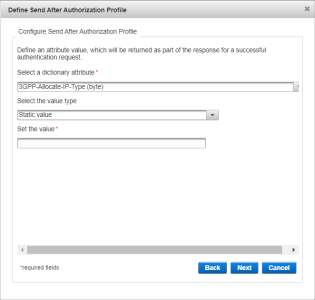
- Select the required dictionary attribute from the drop-down list.
The available attributes depend on the dictionary selected in the previous page.
- For value type, select either:
- Static Value − enter the static value you want to check for this profile. This value will be the same for all users who have this profile defined.
- User Attribute − enter the value of LDAP attribute. ActivID AS will get this value from the user account and return the value present in this attribute. It is possible to have a different value per user.
- Enter a value in the Set the value field.
- Click Next.

- Either click Save to proceed or click Add New Value to add another send after value and repeat the above steps.
- Click Close.

If required, proceed with the channel configuration.
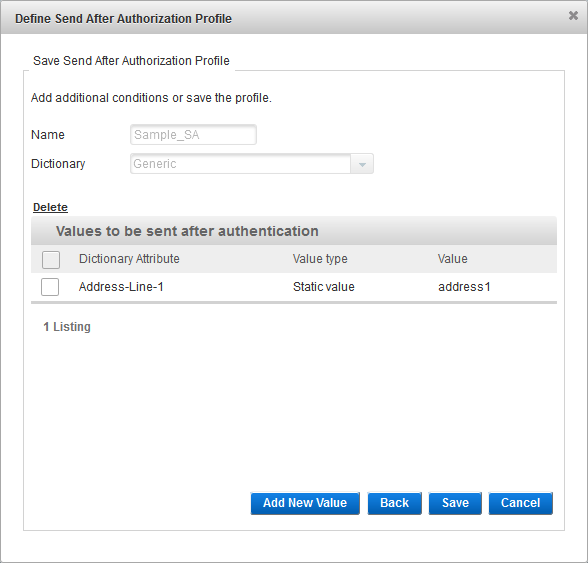
Add/Delete an Attribute for a Send After Profile
-
Log on to the ActivID Management Console as an ActivID Administrator.
- Select the Configuration tab and, under Policies, select Authorization.
-
Select Send After.
-
Select the Send After profile from the list.
- To add an attribute, click Add, follow the steps above and then click Save.
- To delete an attribute, select the check box of the Dictionary Attribute and then click Delete.
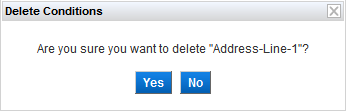
Click Yes to confirm.

Copy a Send After Profile
-
Log on to the ActivID Management Console as an ActivID Administrator.
- Select the Configuration tab and, under Policies, select Authorization.
-
Select Send After.
-
Select the check box of the Send After profile that you want to copy, and click Copy.
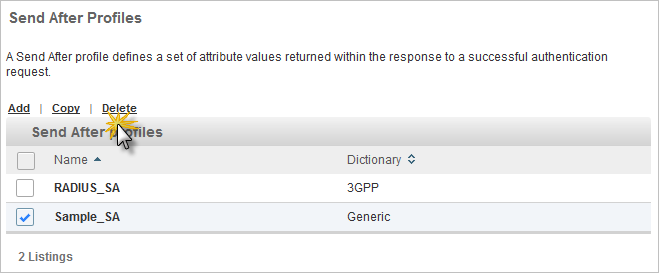
Delete a Send After Profile
-
Log on to the ActivID Management Console as an ActivID Administrator.
- Select the Configuration tab and, under Policies, select Authorization.
-
Select Send After.
-
Select the check box of the Send After profile that you want to delete, and click Delete.
-
When prompted, select Yes to delete.