Issuing Devices
This section provides details on how to self-issue devices using the ActivID CMS User Portal:
Use this scenario if you have a blank, bound device to personalize. A bound device means the device is associated with a specific user. You can also use this scenario to self-issue a mobile smart card using an NFC or Bluetooth connection.
-
In your browser, go to the Web page provided by your ActivID CMS administrator for connecting to the ActivID CMS User Portal.
-
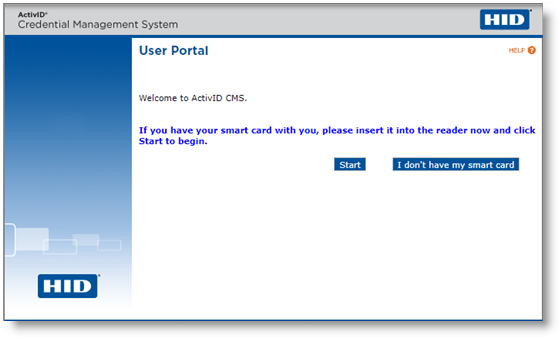
Click Launch User Portal. The Welcome page appears. The first time you connect to the ActivID CMS User Portal from the workstation, a security message might appear before the Welcome page. If this happens, then click Yes to continue.
-
Insert your smart card and click Start.
-
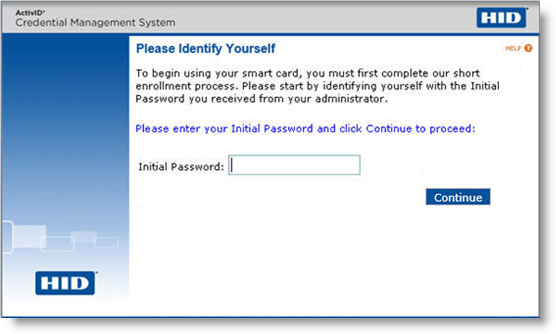
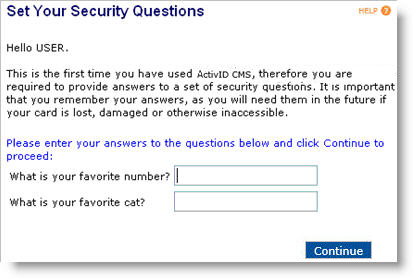
Depending on the state of the device and how the ActivID CMS administrator configured the ActivID CMS User Portal, you might be prompted to enter the LDAP Lightweight Directory Access Protocol password instead of an Initial Password or to provide answers to security questions (see the following illustration).
-
Answers to the security questions are case insensitive. This means that you can type the answers using uppercase letters (TOTO), lowercase letters (toto), or a combination of both uppercase and lowercase letters (ToTo, Toto, or TotO).
-
Spaces between letters in the answers to security questions are ignored by the ActivID CMS User Portal.
- The ActivID CMS User Portal saves the answers to the security questions, which are associated with the user profile in ActivID CMS. You should record the answers to the security questions and keep them in a secure location. If you log in to the ActivID CMS User Portal without the device, you must know these answers.
-
-
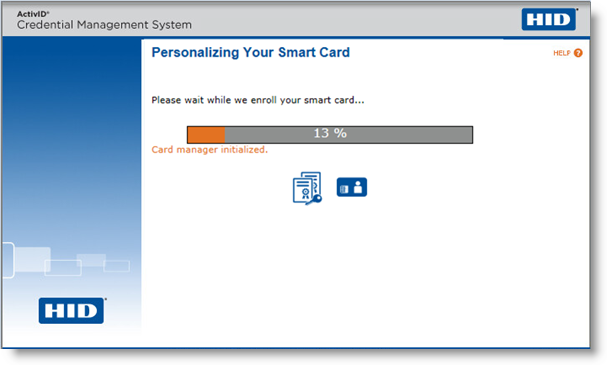
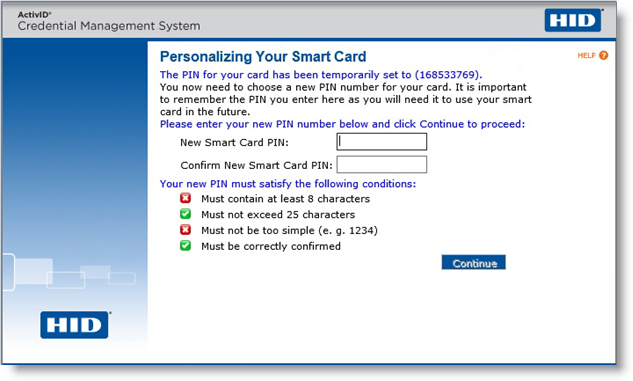
Enter the Initial Password, the LDAP password, or answers to the security questions, and then click Continue. This starts the device personalization process. A progress bar is displayed. When the process has been completed, a page similar to the following message appears.
-
Enter and confirm a new PIN for the device, and then click Continue.
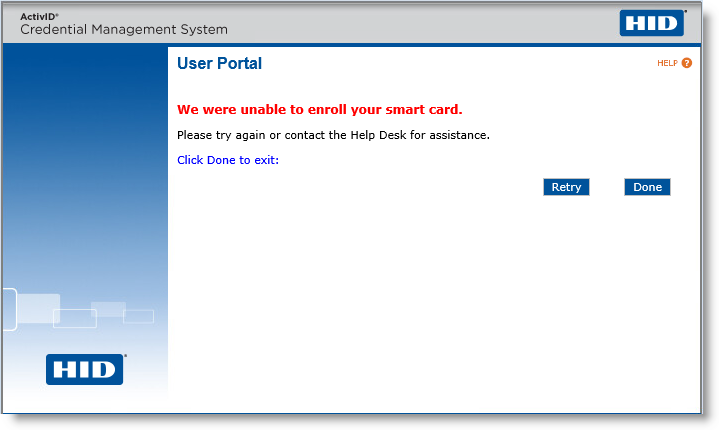
If the issuance is not successful, a warning is displayed:
-
(Optional) You can click Retry to attempt the issuance again.
Note: In order for the Retry button to be available, the Enable issuance retry for user option must have been enabled using the Operator Portal. -
When a confirmation message appears, click Done.
- Enrollment of Virtual Smart Cards in the User Portal has been enabled using the Operator Portal.
A virtual smart card has been created for the user on the computer where the User Portal is to be used for self-issuance.
A device (physical or virtual) is not already bound to the user in ActivID CMS.
Self-issuance and self-binding must be enabled.
Only one virtual smart card policy is enabled.
Use this scenario if you have a virtual smart card to personalize. A virtual smart card appears as a physical smart card that is always-inserted. It is created in the native Trusted Platform Module (TPM) present on the device’s motherboard. For more information about creating virtual smart cards, refer to Managing Virtual Smart Cards in the ActivID CMS online documentation.
-
Connect to the ActivID CMS User Portal by following steps 1 and 2 in Self-Issuing a Device.

-
Click Start.
-
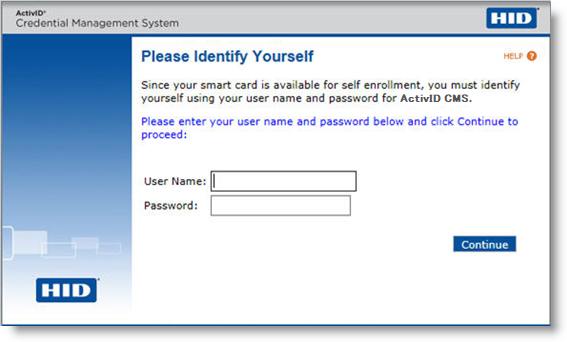
Enter the User Name and Password used to authenticate to your directory service and click Continue.
-
Wait for the enrollment process to finish.

-
Enter and confirm a new PIN for the virtual smart card, and then click Continue.
-
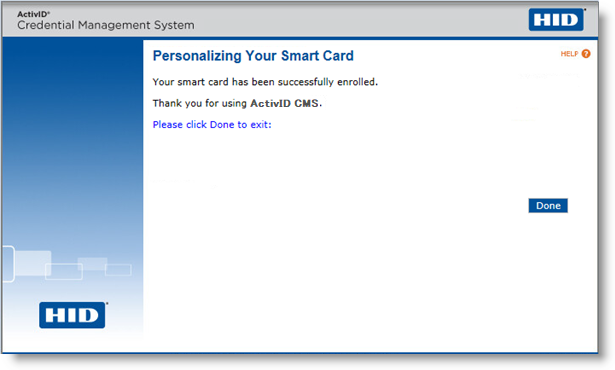
When the confirmation message appears, click Done.
