Custom Installation
This section describes how to customize the ActivID CMS installation (that is, how to install the server components only). You will choose to install server components only when you wish to install the ActivID CMS databases manually (using the database scripts), or when you install a peer server.
Install the Server Components Only
You have completed all prerequisites in the Installation Prerequisites section.
You have completed the installation of the ActivID CMS databases.
This can be achieved either by performing a previous full installation of ActivID CMS (if you plan to install a peer server), or by manual installation using database scripts. For detailed information about database scripts, refer to the release-note.txt file in the DB Scripts folder of the ActivID CMS installation package.
-
Complete step 2 through step 6 in Install ActivID CMS and Its Databases.
-
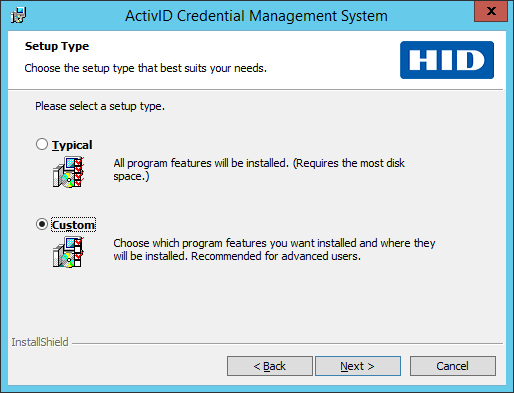
On the Setup Type page, select Custom.
-
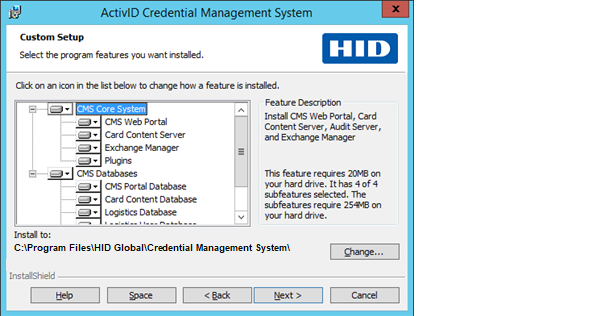
Click Next.
The Custom Setup page appears:
-
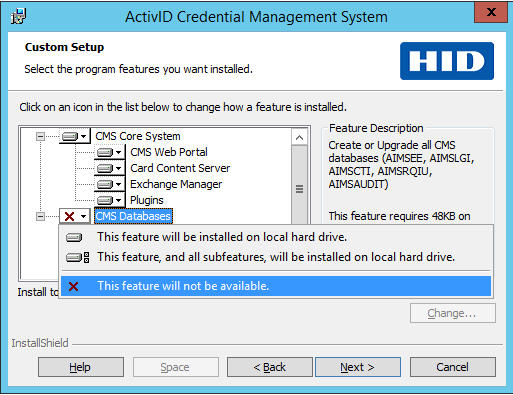
In the feature list, click CMS Databases, and then click This feature will not be available.
-
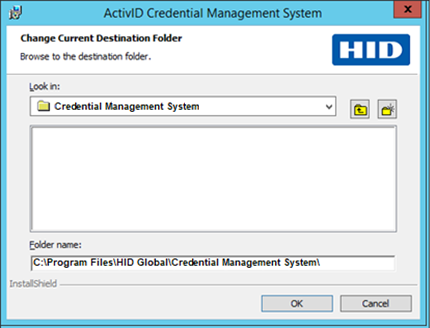
If you want to change the installation directory, click Change.
The Change Current Destination Folder dialog field appears:
-
Browse and locate the folder, and then click OK.
-
Click Next.
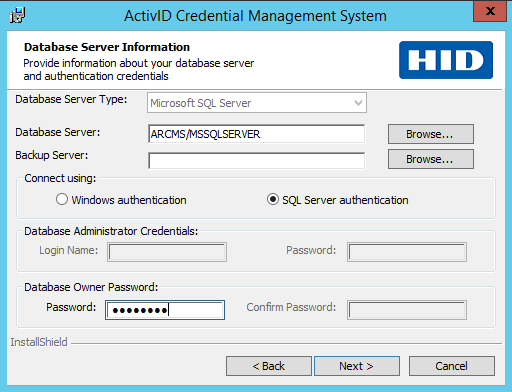
The Database Server Information page appears:
-
Complete step 8 through step 32 in Install ActivID CMS and Its Databases to finish the installation of the ActivID CMS server.
Some fields of the Database Server Information page are unavailable. This results from the fact that you are only installing the ActivID CMS server, not the databases. Therefore, ActivID CMS prompts you to provide the database location and the database owner password.


