Install ActivID CMS and Its Databases
-
Log on to ActivID CMS server with a Windows account with local administrative rights.
Note: To install ActivID CMS with SQL in Windows authentication mode, you have to log in as User or Administrator of the domain; if you use a local account, you are not able to install ActivID CMS. -
In the ActivID CMS distribution, run the ActivID Credential Management System.msi program.
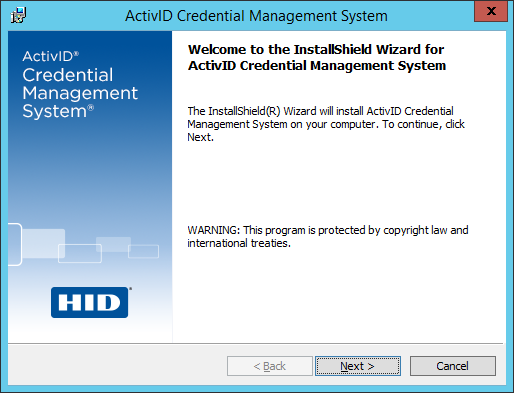
Note: If you do not want to grant the ActivID CMS database administrator privileges, you can create and configure ActivID CMS databases manually using the scripts found in the DBScripts folder of the ActivID CMS distribution. Refer to the release-note.txt file in the folder for a description of all the scripts.The Welcome page appears:
-
Click Next.
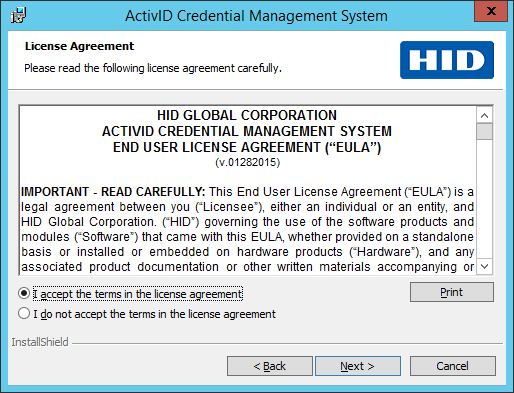
The License Agreement page appears:
-
Read the license agreement. If you wish to proceed with the execution of the license agreement, select I accept the terms in the license agreement. If you do not wish to proceed with the execution of the license agreement, click Cancel to quit the setup.
-
Click Next.
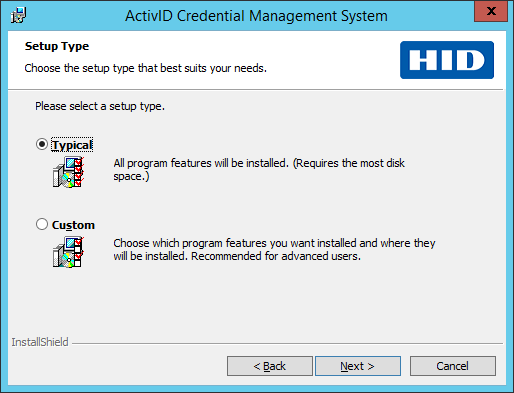
The Setup Type page appears:
-
Select Typical, and then click Next.
A typical installation installs both the ActivID CMS binaries and configures the databases for use with ActivID CMS. If you prefer to have your database administrator perform these functions, select Custom, and proceed to Custom Installation.
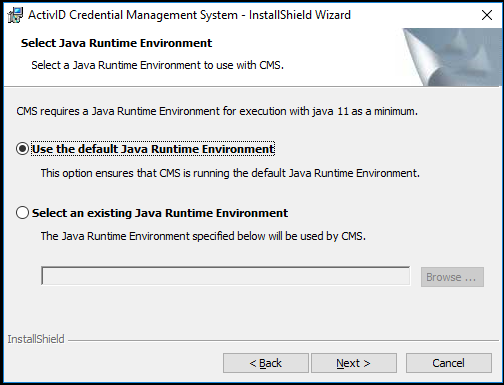
The Select Java Runtime Environment page appears:
-
Select Use the default Java Runtime Environment, and then click Next.
This option automatically installs the default Java Runtime Environment (JRE) provided with the ActivID CMS set-up. If you prefer to use a JRE that is already installed on the machine, choose Select an existing Java Runtime Environment and indicate the path to the home directory of the JRE to be used.
Important: It is not possible to change the JRE subsequently if the Use the default Java Runtime Environment option is chosen during ActivID CMS installation.Note:If you choose not to use the default JRE, you must make sure that the JRE selected using the Select an existing Java Runtime Environment option meets the minimum requirements for ActivID CMS.
JRE 11 is the minimum requirement for ActivID CMS 5.3 and higher.
You can also customize the JRE after installation using the CMS_JAVA_HOME environment variable, but only if the Select an existing Java Runtime Environment option was used during ActivID CMS installation.
The Database Server Information page appears:
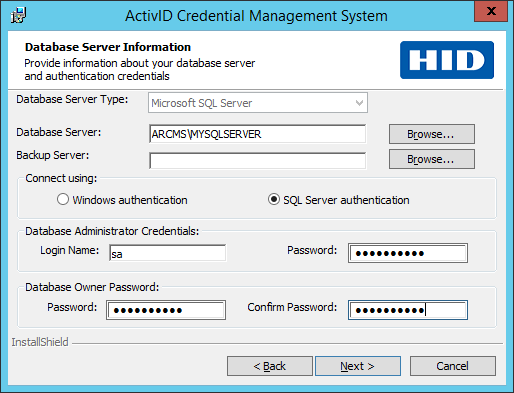
Now, you must configure the database server information to specify the database location and the authentication credentials. ActivID CMS uses this information to create databases in your database management system.
Important: ActivID CMS only offers to install a database for which it has found the client on the machine. If it finds only one client, for instance MS SQL, then “Microsoft SQL Server” becomes the only option in the drop-down list.
What If My Server’s Name is Not in the List?If the name of your server does not appear in the server list, then enter the IP address (and Instance name for Oracle database) in the Database Server field on the Database Server Information page. For SQL servers to be detected, the corresponding SQL Server Browser service must be enabled and started.
What is the Database Administrator Password Used for?
The Database Administrator Password is used by the installation to create six databases (AIMSEE, AIMSAUDIT, AIMSLGI, AIMSCTI, AIMSRQI, and AIMSUSER) during setup. This password is not stored by ActivID CMS after the setup.
What is the Database Owner Password Used for?
The Database Owner Password is used to access each of the six databases. Each of the six databases has an owner named after the database name (for example, AIMSEE) with the Database Owner Password that you are defining here.
-
Make sure that the Database Server Type drop-down list is set to the correct database type (Microsoft SQL Server or Oracle).
-
In the Database Server field, enter the database server IP address (for example, 192.168.10.63).
-or-
Next to the Database Server field, click Browse to locate your server on the network. (The Browse function is available only if you installed the Microsoft SQL Server Client or Oracle Client Tools.)
-
If you have a database backup server, enter the database server IP address in the Backup Server field, or click Browse to locate your server on the network.
-
Under Connect Using, select SQL Server authentication or Windows authentication. This specifies which connection mode is used by ActivID CMS to connect to the databases. For more information about database authentication modes, see Database Authentication Type.
-
If you select Windows authentication mode, in the User Account and Password fields, enter the login name and password of the Windows user account for the ActivID CMS database owner respectively.
-
If you select SQL Server authentication mode, under Database Administrator Credentials, enter the login name and the password of the database Administrator. Under Database Owner Password, create a Database Owner password and confirm it.
Note: If the SQL Server authentication mode is selected, the SQL Server must be explicitly configured to accept SQL authentication. -
-
Click Next.
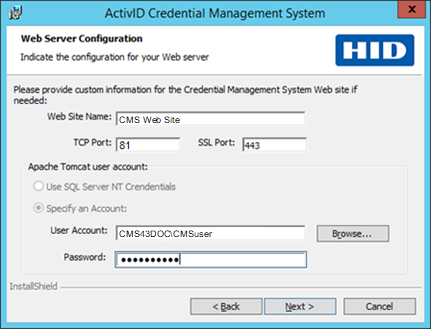
The Web Server Configuration page appears:
 Note:
Note:-
The above example shows the Web Server Configuration page if you selected SQL Server as the database authentication mode.
-
The ActivID CMS user is a standard user configured as indicated in Running ActivID CMS as a Standard User.
-
-
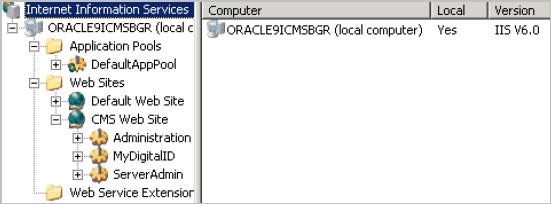
In the Web Site Name field, enter the same website name that is used to create the ActivID CMS website in IIS. You can leave the default CMS Web Site, or choose another name.
The website name appears in the IIS console under Web Sites. It is not related to the Web server public certificate.
For example:
-
In the TCP Port field, enter a port number, or leave the default value.
The TCP port is required by IIS to create the ActivID CMS website. Be sure that the port is not being used by another application to avoid interfering with other applications.
-
In the SSL Port field, enter the port number (or leave the default value) that is used by the users to connect to the ActivID CMS Operator Portal and User Portal.
Important: Make sure that your Windows firewall does not interfere with the selected TCP and SSL ports. -
Under Apache Tomcat user account:
-
If you selected Windows authentication on the Database Information Server page, you must re-use the same credentials (Use SQL Server NT Credentials option is selected).
-
If you chose SQL Server Authentication on the Database Information Server page, then the Use SQL Server NT Credentials option is unavailable, and you must provide an account for anonymous browsing.
Note: This is the account under which ActivID CMS operates within IIS and CMS Server services. It does NOT have to be a Domain Administrator account. Local Administrator account is required. There is an exception when using Microsoft CA; in this case, the account needs to be a Domain User (with Local Administrator privileges on the machine where ActivID CMS is installed). For more details about the required privileges for this account, see Required Account Types and Privileges. -
-
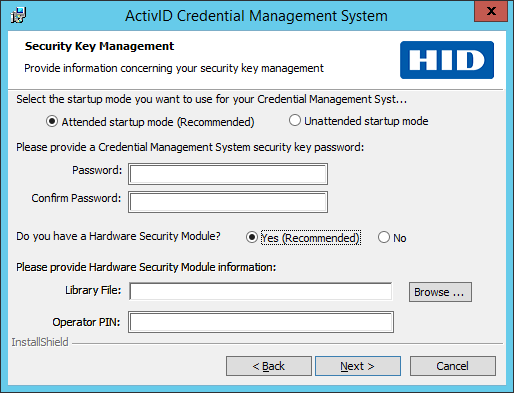
Click Next. The Security Key Management page appears:
-
Select the startup mode for the servers. For more information about startup modes, see Attended Startup Mode vs. Unattended Startup Mode.
-
In the Password field, create the ActivID CMS Security Key password.
The Security key password is a password that protects a cipher key which encrypts sensitive fields in the six ActivID CMS databases.
Without this password, ActivID CMS cannot decrypt the content of the databases, thus fails to launch.
If you install ActivID CMS in unattended mode, then this password is stored in an ActivID CMS configuration file, obfuscated.
If using attended mode, an ActivID CMS administrator has to provide the password at each startup.
The Security Key Password must contain at least six characters and not exceed 30 characters.
-
In the Confirm Password field, re-enter the password. (If peer servers are implemented, you must provide this same password for each instance of ActivID CMS that starts.)
-
Select Yes (recommended) or No for the Hardware Security Module (HSM) option. For more information, see About HSMs.
If you select Yes (recommended), then browse for the appropriate HSM Library File. Then, enter the HSM PIN in the Operator PIN field. If you select No, then a warning message appears when you click Next.
The Library file refers to the HSM drivers that must be installed manually. Each HSM comes with its own installation program for installing the HSM drivers. For information about how to install the HSM drivers on the ActivID CMS server machine, refer to your HSM documentation.
Note: With ActivID CMS, the required HSM drivers to be used are 64-bit drivers.The PIN protects the access to the keys stored in the HSM. You must specify the HSM Operator PIN that was set when you initialized the HSM with the Key Management System (not applicable for network HSMs).
-
Click Next.
The SSL Configuration page appears:
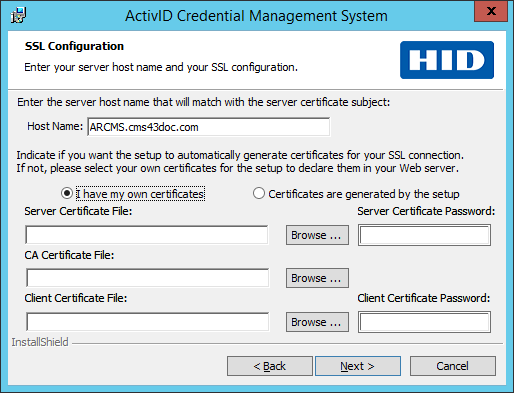
Certificates and RSA key-pairs are used by ActivID CMS to establish an SSL connection between the server, the portal, and the operators’ browsers.
-
In the Host Name field, enter the host name of the server.
For example:

The Host Name must match the Web server certificate’s subject name. For instance, if you have already issued a Web server certificate to the name "cmspool1.corp.com," you must enter the same name here.
If you are using your own certificates for your SSL connection, then the name you specify for the host must be the Web server certificate’s subject name that ActivID CMS creates.
-
If you want to use your own certificates for your SSL connection, leave I have my own certificates selected (default).
-or-
If you want to automatically generate certificates for your SSL connection, select Certificates are generated by the setup, click Next, and then go to step 31. These certificates are stored in %PROGRAMDATA%\HID Global\Credential Management System\Local Files\Certificates.
For more information about the SSL certificates, see Required Certificates.
Important: It is recommended that you use your own certificates, (that is, certificates generated by a trusted CA).
If you need to use certificates generated by the setup, make sure to replace them as soon as possible. For more information, see Replace a Certificate Generated by Setup by a Trusted CA-generated Certificate. -
Browse for the Server Certificate File.
The server certificate is used by ActivID CMS when communicating between server components, and also in the SSL authentication to any client browser (ActivID CMS operators and users). It is a .pfx file that contains the Web server certificate and its private key. This must be created beforehand.
-
In the Server Certificate Password field, enter the password required for opening the .pfx file.
-
Browse for the CA The Certificate Authority (CA) issues and manages security credentials and public keys for message encryption in a networks environment. Certificate File.
The CA certificate is a root certificate of the CA commonly trusted by ActivID CMS server and client browsers. It ensures successful SSL authentication between the server and the clients. It is a .cer file containing the root certificate of your CA that you generated and stored on the ActivID CMS server. It is not protected by a password.
-
Browse for the Client Certificate File.
The client certificate is used by ActivID CMS when communicating between server components, and also by the first ActivID CMS operator (ActivID CMS administrator) to connect to the ActivID CMS Operator Portal. It is a .pfx file issued to the account that becomes the original and first ActivID CMS administrator.
-
In the Client Certificate Password field, enter the password required for opening the .pfx file.
-
Click Next.
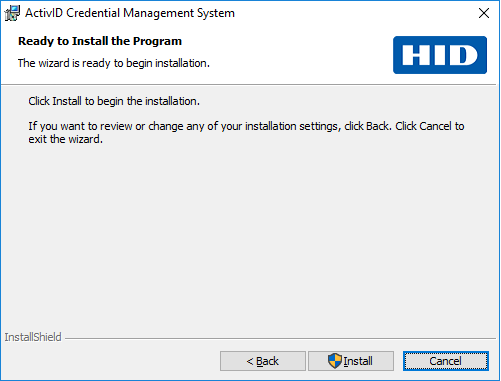
The Ready to Install the Program page appears:
-
Click Install.
-
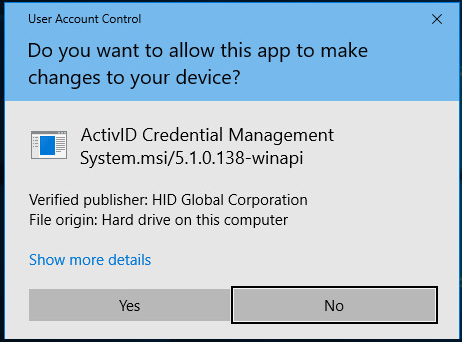
When the User Account Control screen appears, click Yes:
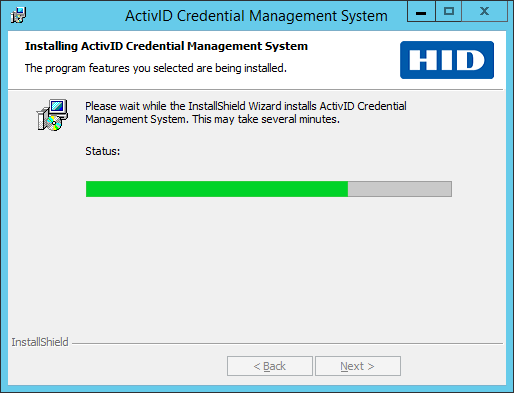
The Installing ActivID Credential Management System page appears:
After the install is complete, the InstallShield Wizard Completed page appears:
-
Click Finish.
The setup restarts the IIS and CMS Server services.
Note: You may be required by the setup to restart.If you selected:
-
Attended startup mode during setup, you must provide the Security Key password, Database Owner password, and HSM PIN (if using an HSM) in order to start the ActivID CMS server.
When ActivID CMS is configured in attended mode, the value of Securedata.mode property is set to “securesite”. This property is found in the securedata.properties file in:
%PROGRAMDATA%\HID Global\Credential Management System\Local Files\services\repositories
For more information, see Provide Passwords in Attended Startup Mode.
- Unattended startup mode during setup, you do not need to provide any passwords, and ActivID CMS retrieves them from an encrypted location on the disk.
Important: The URLs for the Operator Portal and User Portal must both be added as Trusted Sites in the user’s browser. -


