Upgrading from ActivID CMS 5.10 or Higher
ActivID CMS 6.1 only supports upgrades from ActivID CMS 5.10 or higher. If you intend to upgrade from an earlier version, you will need to upgrade to ActivID CMS 5.10 or higher first. For details, refer to the relevant ActivID documentation.
-
The installer backs up the existing ActivID CMS folder to the Backup folder under the existing Credential Management System folder. Any files that differ from the standard ones are kept.
-
If you had created any additional files (for example, additional plugins), they will be restored automatically.
-
A log file listing the differences between the previously installed settings files and the new installation settings is generated at the end of installation.
-
After an upgrade of CMS, the CMS extension in Edge or Chrome may not work correctly. In this case, cleaning the browser cache could solve the issue.
Upgrade Prerequisites
-
Back up your existing database.
-
During the upgrade, your database management server must be up and running.
-
Make sure you know the Database Administrator and ActivID CMS Security Key passwords as you are prompted for these during the upgrade process.
-
Make sure the ActivID CMS website anonymous user account has the “Log On As A Service” privilege. See Setting Up “Log On as a Service” Privilege for more details.
-
Verify that your operating system and database are supported. See the list of supported environments in ActivID CMS System Environment. If applicable, upgrade the Windows version and the database before upgrading ActivID CMS. Refer to the sections applicable to your database version (Configuring Oracle Databases for Use with ActivID CMS or Configuring Microsoft SQL Servers for Use with ActivID CMS) for information about database upgrade.
Upgrade to ActivID CMS 6.1
ActivID CMS 6.1 only supports upgrades from ActivID CMS 5.10 or higher. The ActivID CMS upgrade includes a database upgrade.
Depending on how CMS is installed, one of two different procedures have to be followed:
-
Typical Installation: When CMS was installed following the typical installation procedure, the database upgrade takes place automatically. Follow the steps in Upgrade Using Setup.
-
Custom Installation: When CMS was installed following the custom installation procedure, with only the server component installed, the database needs to be manually updated beforehand. Follow the steps in Manual Upgrade.
Important: The URLs for the Operator Portal and User Portal must both be added as Trusted Sites in the user’s browser.Note: If you want to upgrade to ActivID CMS with its latest hotfix in one operation, refer to Install ActivID CMS with a Hotfix.Note: The upgrade procedure described applies to an ActivID CMS installation on Microsoft SQL Server and Oracle databases. However, the screen shots in this procedure were taken on ActivID CMS installed with Microsoft SQL Server, using SQL Server authentication.
-
Run the HID Credential Management System.msi program in the ActivID CMS 6.1 distribution.
Note: The program name has changed with respect to previous versions ("HID Credential Management System" instead of "ActivID Credential Management System"). -
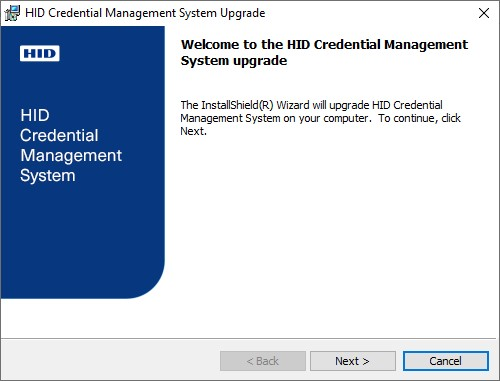
Go through the wizard until the Upgrade page appears:
-
Click Next.
The Database Server Information page appears:
-
Enter the database passwords:
-
Under Database Administrator Credentials, enter the Login Name and the Database Administrator Password.
-
Under Database Owner Password, enter the Password for the Microsoft SQL Server or the Oracle database owner accounts used by ActivID CMS to connect to the database server. (This is the password you defined when installing your previous version of ActivID CMS.)
-
-
Click Next.
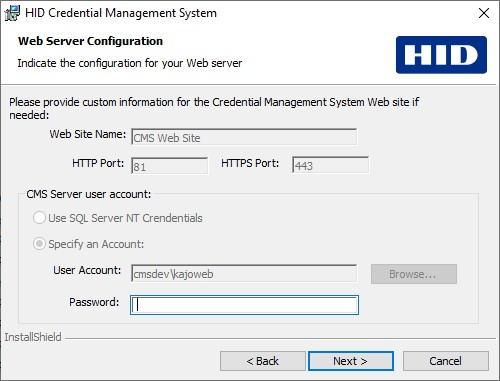
The Web Server Configuration page appears:
-
Under CMS Server user account, enter the password for the user account defined during the setup of your previous ActivID CMS installation. The account needs to have a "Log on as a service privilege". See Required Account Types and Privileges and Setting Up “Log On as a Service” Privilege for more details.
-
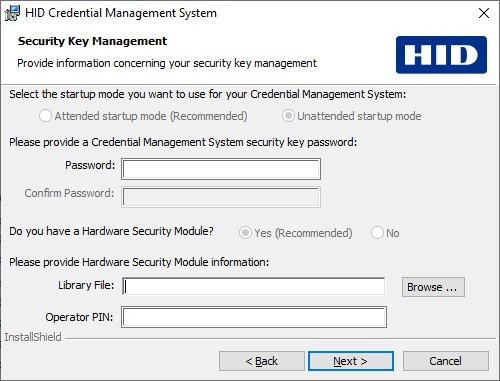
Click Next. The Security Key Management page appears:
-
In the Password field, enter the ActivID CMS Security Key Password defined during the previous ActivID CMS installation.
This is the Security Key Password you want to set for your ActivID CMS system. The Security Key Password protects a cipher key that encrypts the sensitive fields in the six ActivID CMS databases. It is required to start the ActivID CMS portal.
-
If the Hardware Security Module option was selected in the initial installation, you can browse for the appropriate HSM Library File. Then, enter the HSM PIN in the Operator PIN field. If you selected No (for the HSM option), then a warning message appears when you click Next.
The Library File refers to the HSM drivers that must be installed manually. Each HSM comes with its own installation program for installing the HSM drivers. For information about how to install the HSM drivers on the ActivID CMS server machine, refer to your HSM documentation.
Note: With ActivID CMS, the required HSM drivers to be used are 64-bit drivers.The PIN protects the access to the keys stored in the HSM. You must specify the HSM Operator PIN that was set when you initialized the HSM with the Key Management System (not applicable for network HSMs).
Note: For upgrade with an Entrust platform, a reconfiguration is to be done in the entrust.ini file to use the achsmf.dll file located in (%SystemDir%\system32) since Entrust components are now using 64-bit HSM drivers. Refer to Configuring ActivID CMS for Use with Entrust Authority Security Manager for more information on the configuration of the entrust.ini file. -
Click Next.
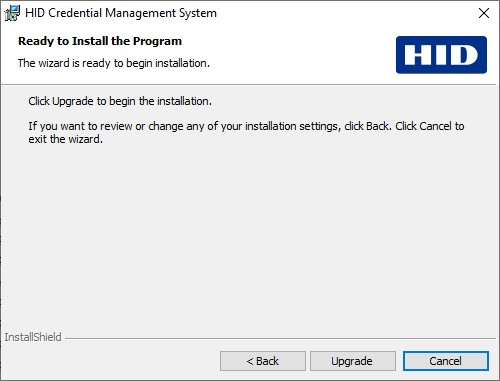
The Ready to Install the Program page appears:
-
Click Upgrade to start the upgrade process.
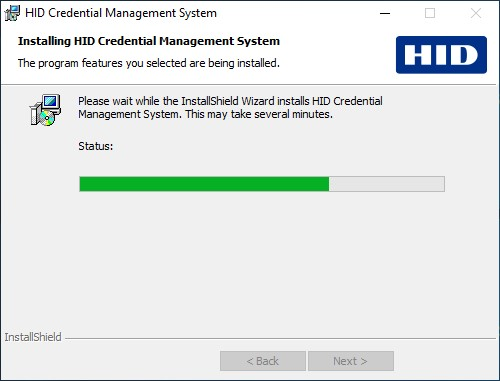
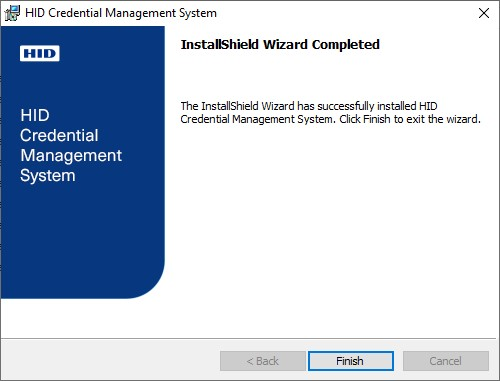
After the install is complete, the InstallShield Wizard Completed page appears:
-
Click Finish.
-
Reboot the Windows server for the changes to take effect.
If attended startup mode was selected during setup, see Provide Passwords in Attended Startup Mode in order to start ActivID CMS.
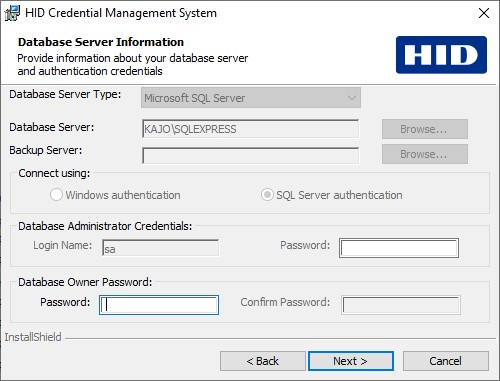
The Database Server Type and Database Server are preset based on the detected database used with the previous ActivID CMS version and cannot be changed. Depending on the authentication mode (Windows vs. SQL Server), some of the fields on this page may differ.
The following procedure applies to an ActivID CMS installation on Microsoft SQL Server and Oracle databases. However, the screen shots in this procedure were taken on ActivID CMS installed with Microsoft SQL Server using SQL Server authentication. The procedure has two main steps:
-
Upgrade the ActivID CMS database manually by using the script packaged with the product.
-
Run the ActivID CMS installer to perform the software upgrade.
Before upgrading, be sure to refer to the release-note.txt file in the DBScripts folder of the ActivID CMS distribution for detailed instructions.
You can upgrade ActivID CMS using database scripts on:
-
Microsoft SQL Server using Windows authentication
Note: To upgrade ActivID CMS with SQL in Windows authentication mode, you have to log in as User or Administrator of the domain; if you use a local account, you are not able to upgrade ActivID CMS.
-
Microsoft SQL Server using Mixed Mode authentication
-
Oracle Database 12c, 18c or 19c
-
On the ActivID CMS distribution, go to the \DBScripts\sqlserver folder and copy all the files onto your hard disk.
-
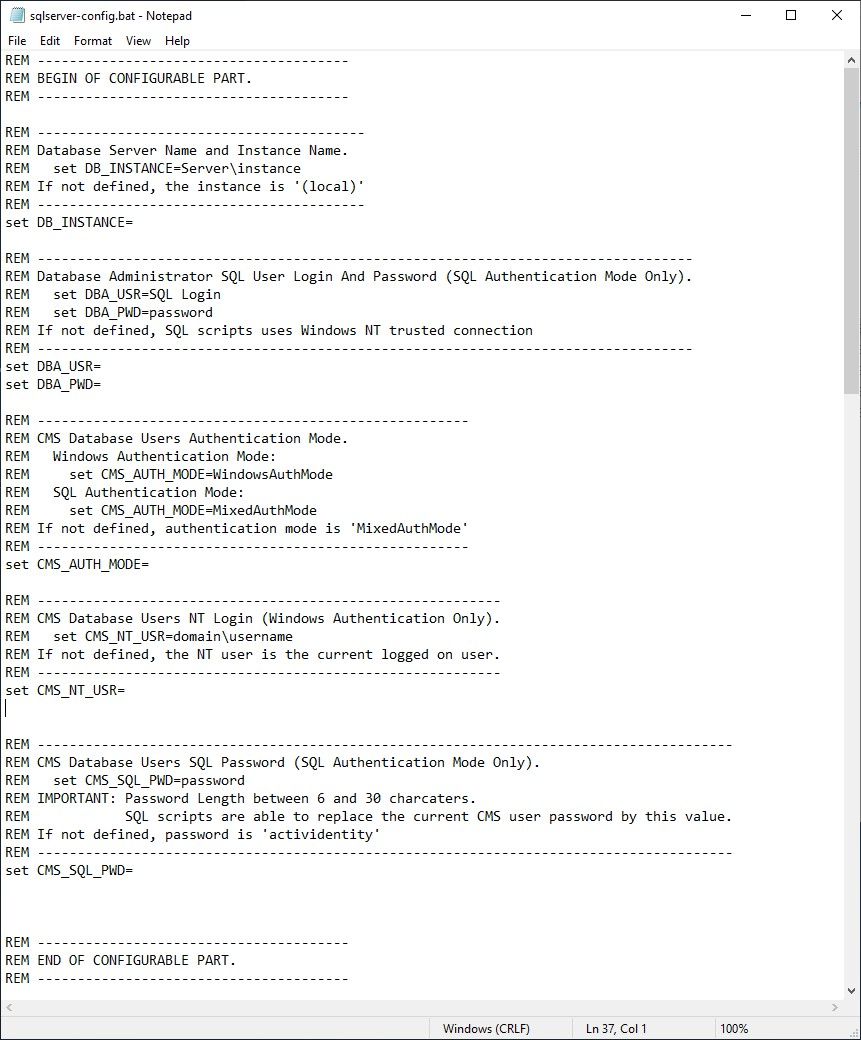
Right-click the hard-disk copy of the sqlserver-config.bat file, and then click Edit.
-
Set the values for the following variables:
-
DB_INSTANCE (Set the ActivID CMS Database Server and Instance name)
-
CMS_AUTH_MODE (Set to "WindowsAuthMode")
-
CMS_NT_USR (Set the ActivID CMS database user’s NT username)
-
-
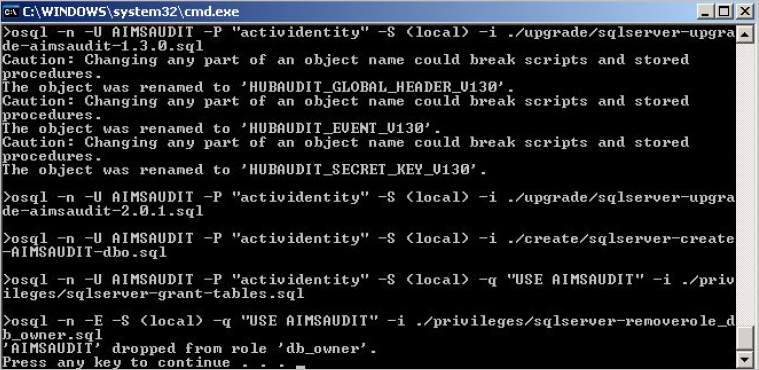
Run the sqlserver-upgrade.bat file.
-
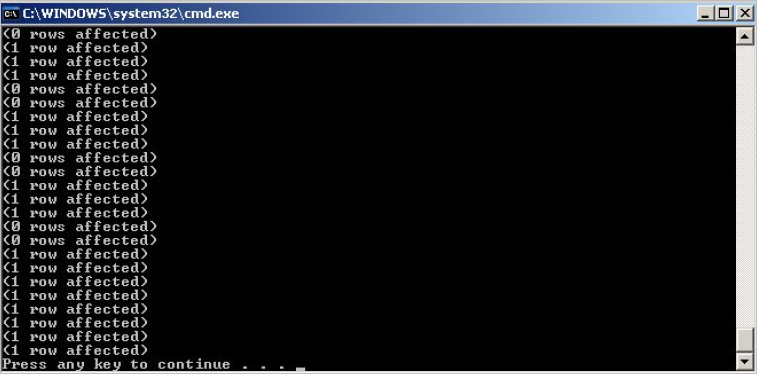
Run the sqlserver-populate.bat file.
-
On the ActivID CMS 6.1 distribution, go to: \DBScripts\sqlserver and copy all the files on your hard disk.
-
Right-click the hard-disk copy of the file sqlserver-config.bat, and then click Edit.
-
Set the values for the following variables:
-
DBA_USR
-
DBA_PWD
-
DB_INSTANCE
-
CMS_AUTH_MODE (Set to MixedAuthMode)
-
CMS_SQL_PWD
-
-
Run the sqlserver-upgrade.bat file.
-
Run the sqlserver-populate.bat file.
-
On the ActivID CMS 6.1 distribution, go to: \DBScripts\oracle and copy all the files on your hard disk.
-
Right-click oracle-config.bat, and then click Edit.
-
Set the values for the following variables:
-
INPUT_DBA_USR
-
INPUT_DBA_PWD
-
INPUT_DATABASE_INSTANCE
-
INPUT_DBO_PWD
-
INPUT_DATAFILES_PATH
-
INPUT_INDEXFILES_PATH
-
-
Define the password values in the oracle-config.bat file:
-
If the password contains a percent sign (pass%word), add an additional percent sign (pass%%word) to the password value.
-
If the password contains a > or < sign (pass>word), add a caret sign (^) before each > or < sign (pass^>word) to the password value.
-
-
Run the oracle-upgrade.bat file. (Do not call the oracle-upgrade.bat file twice on the same ActivID CMS database because it installs the AIMSRQI database from zero.)
-
Run the oracle-populate.bat file.
-
Run the oracle-expimp-aimsrqi.bat file.
-
Complete the upgrade by installing ActivID CMS 6.1 in custom installation mode without the database component. Follow the steps in Install the Server Components Only.


