Configuring a FIDO Application
This section describes how to configure a FIDO application for a device provided the device profile supports this type of application.
-
Go to the Device Policy - Creation page.
-
In the Action column, next to FIDO, select Add, and then click Configure.
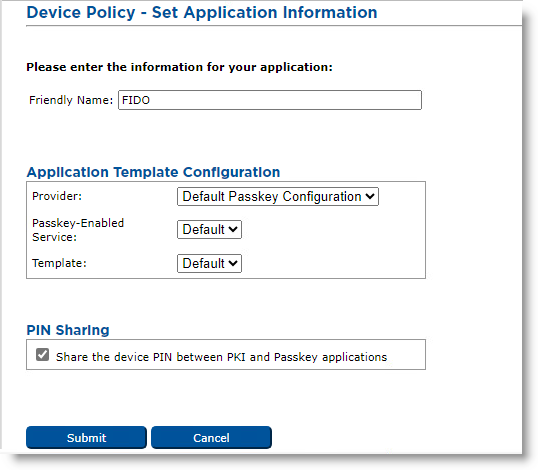
The Device Policy - Set Application Information page appears:
-
Friendly Name—Enter a name for the application.
-
Provider drop-down list—Select the type of passkey provider.
Note: If a passkey-enabled service has not been configured for Microsoft Entra ID, this list only displays the Default Passkey Configuration option. -
Passkey-Enabled Service drop-down list—Select the service that will manage the passkeys for this application. If you are not using the Default Passkey Configuration, this service must have been configured in ActivID CMS previously. For details on configuring a passkey-enabled service, see Adding a Passkey-Enabled Service.
-
Template drop-down list—Select the appropriate template.
- Share the device PIN between PKI and FIDO applications—Keep this box checked if you want the PIN to be shared.
- Click Submit.
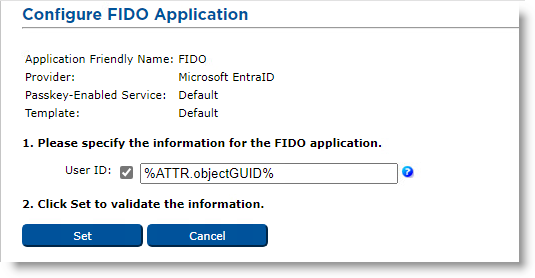
- If you are using Microsoft Entra ID as the passkey-enabled service provider, an additional screen appears where you can specify the directory attribute you want to use as the User ID for the FIDO application:
-
Enter the User ID and click Set.
Note: The User ID should correspond to the identifier of the user for the Entra ID tenant.


