Configuring the Keyfactor EJBCA Certificate Authority
This section describes how to configure the ActivID CMS Operator Portal for Keyfactor EJBCA.
For detailed instructions on creating directories and CAs in ActivID CMS, refer to Procedures for Managing Directories and Procedures for Configuring Connections to Certificate Authorities.
-
Log on to the ActivID CMS Operator Portal with an ActivID CMS Administrator certificate.
-
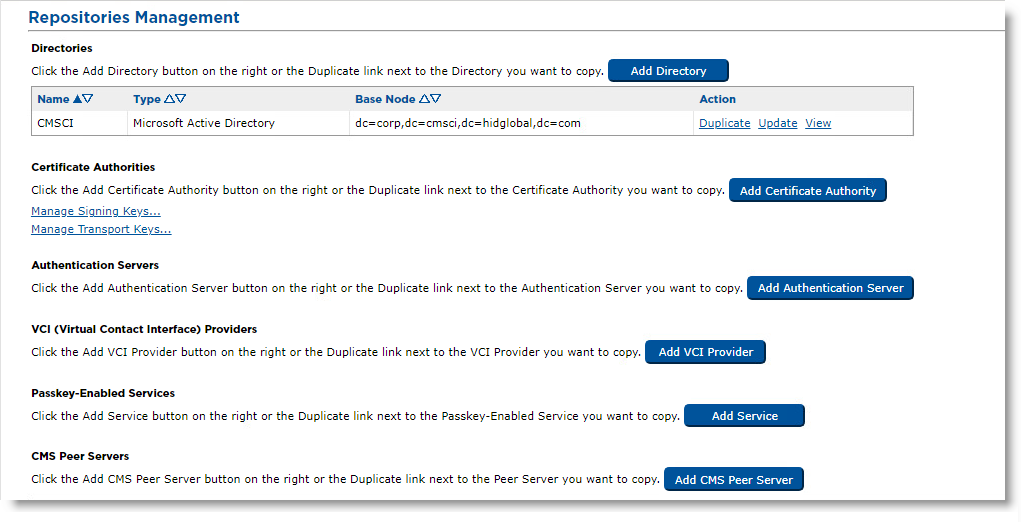
Go to the Configuration tab, and then click Repositories.

-
Click Add Certificate Authority.

-
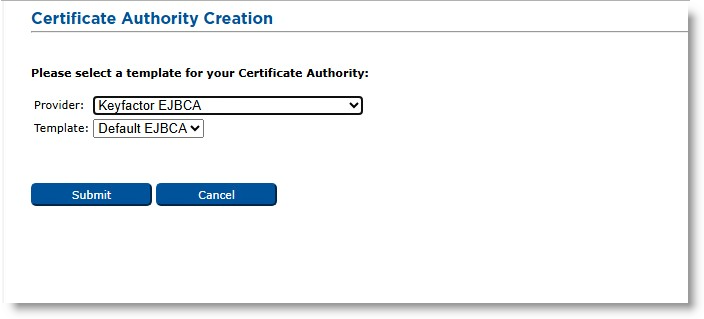
From the Provider drop-down list, select Keyfactor EJBCA.
-
In the Template drop-down list, leave Default EJBCA.
-
Click Submit.

-
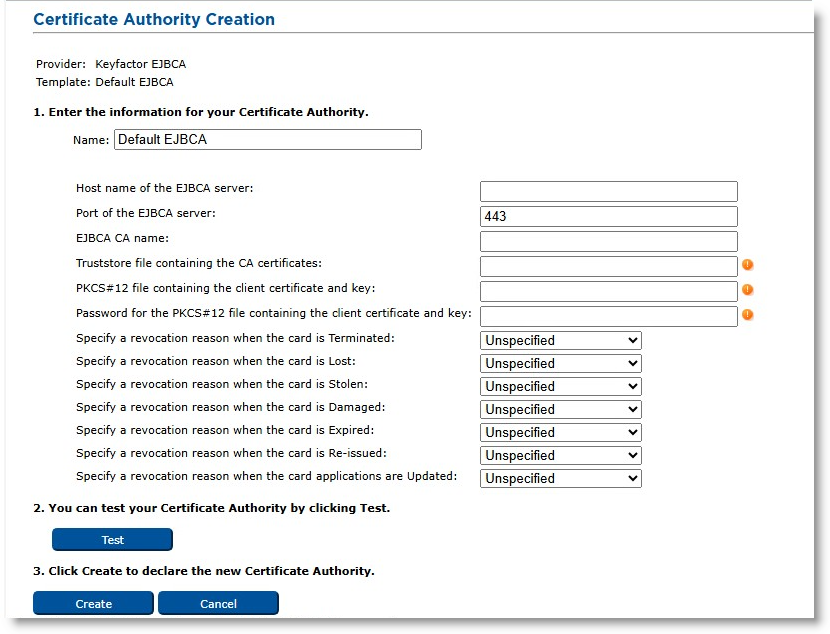
Enter a Name for the Certificate Authority.
-
Enter the Host Name of the EJBCA Server.
Note: The host name is the Fully Qualified Domain Name (FQDN), i.e., the full server name of the on-premises EJBCA server. -
Enter a Port of the EJBCA Server or leave the default value.
-
Enter the EJBCA CA Name (see Creating the CA in EJBCA for details on this value).
-
Enter the Truststore file containing the CA certificates (see Creating the CA in EJBCA for details on this value).
-
Enter the PKCS#12 file containing the client certificate and key and the Password for the PKCS#12 file containing the client certificate and key (see Enrolling the CMS Agent on the EJBCA Server for details on these values).
-
Set the desired revocation reasons for the different card states.
-
Click Test to verify the CA configuration.
-
Click Create to apply your changes.


