Initial Configuration
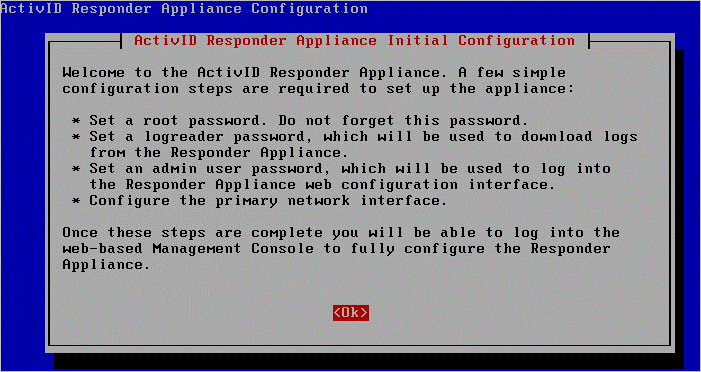
After power up, the Validation Responder Appliance initial configuration page is displayed on the system console. This start-up configuration process initializes the following system settings:
-
The system root password,
-
The system logreader password used to download logs from the Validation Responder Appliance,
-
The admin account password used to log on to the web-based Validation Responder Appliance Management Console, and
-
The primary network interface.
-
Review the introduction, select OK and press Enter.
-
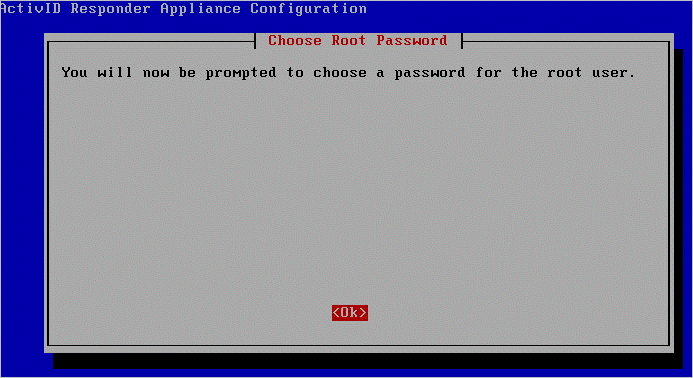
At the Choose Root Password screen select OK and press Enter. Enter and confirm a password for the root user.
Important:The root user is used to log on to the underlying Validation Responder Appliance operating system.
It is NOT used for login to the Validation Responder Appliance Management Console, and it is not needed during day-to-day operations of the Validation Responder Appliance.
Do not lose this password. You must have it if you require support.
-
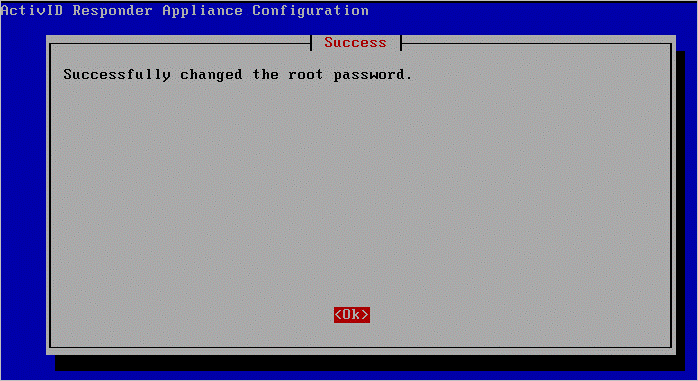
Select OK and press Enter.
-
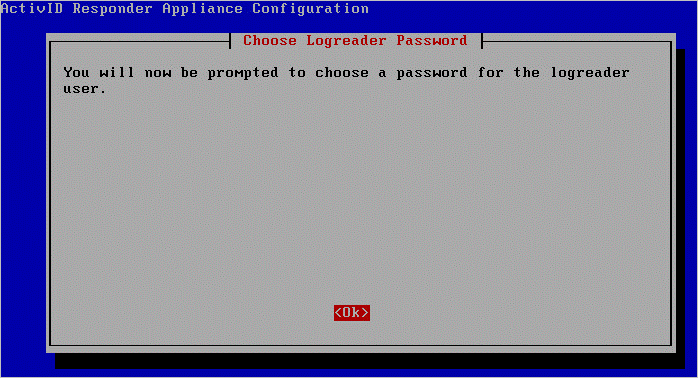
At the Choose Logreader Password screen select OK and press Enter.
The logreader user is an underlying Validation Responder Appliance operating system user used to retrieve OCSP logs. See section Task 3: Save OCSP Request Logs for more information on using the logreader user.
-
Enter and confirm a password for the logreader user.
-
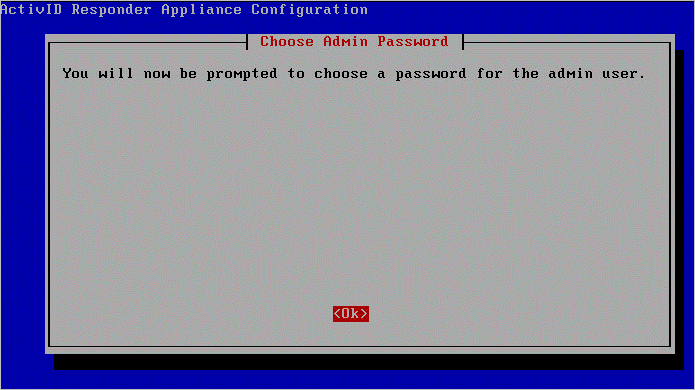
At the Choose Admin Password screen select OK and press Enter.
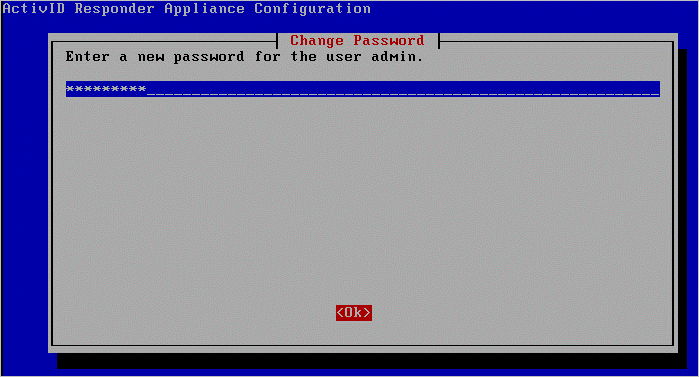
The admin user is used to access the Validation Responder Appliance Management Console.
-
Enter a password, select OK and press Enter.
-
When prompted with a success message, select OK and press Enter.
-
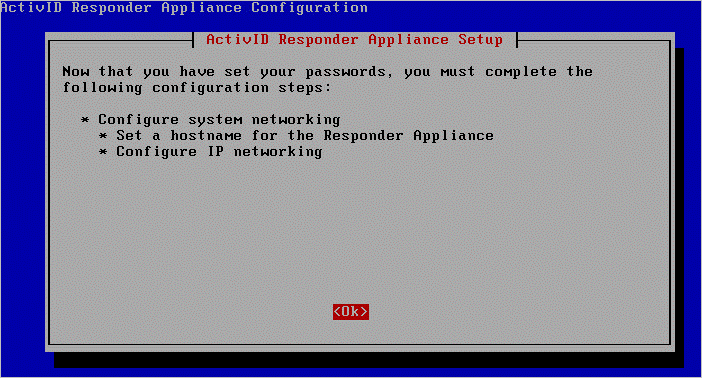
At the ActivID Responder Appliance Setup screen, select OK and press Enter.
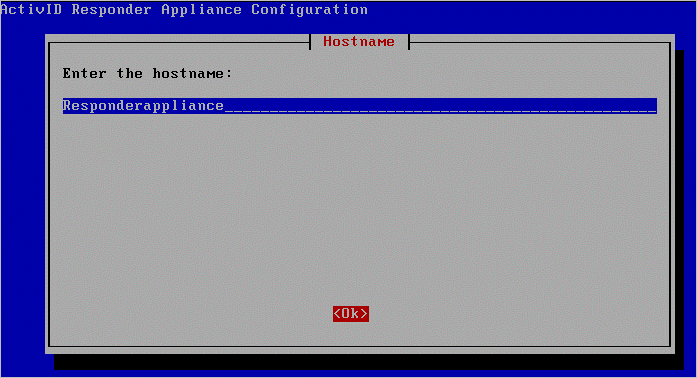
You will be prompted to enter a hostname for the Validation Responder Appliance.
-
Enter a hostname, select OK and press Enter. When prompted by a success message, select OK and press Enter.
-
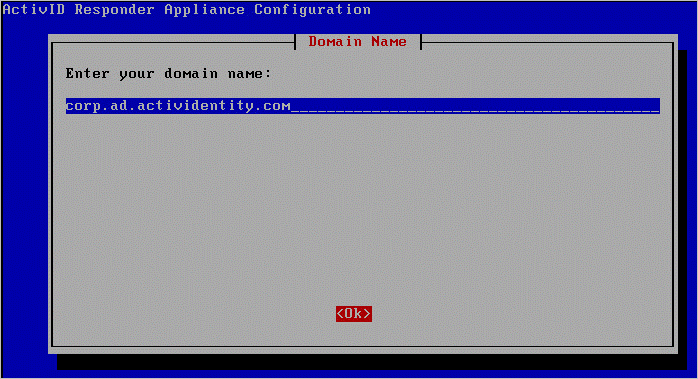
At the Domain Name screen, enter the network domain name for the Validation Responder Appliance, select OK and press Enter.
-
When prompted by a success message, select OK and press Enter.
-
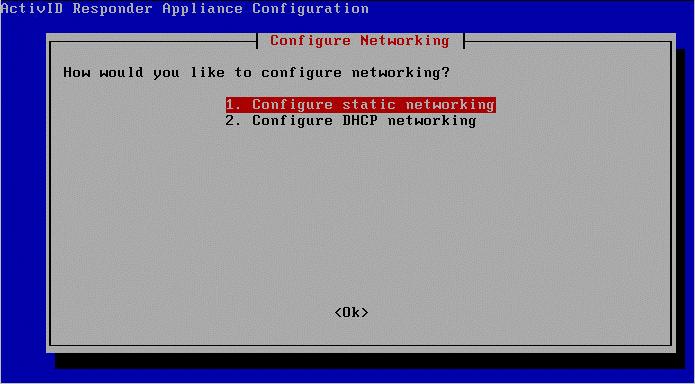
At the Configure Networking screen, select whether the Validation Responder Appliance’s primary network interface should use static networking or DHCP networking, select OK and press Enter.
-
Perform the steps for one of the following two options.
Option 1: Static networking configuration
-
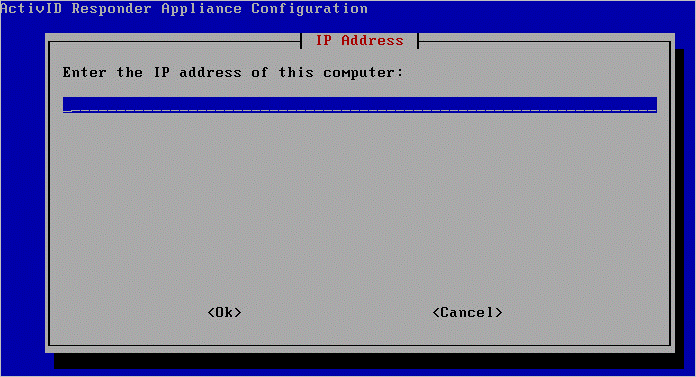
Enter the IP address of your computer, select OK and press Enter.
-
Skip to step 15.
Option 2: Configure DHCP Networking
-
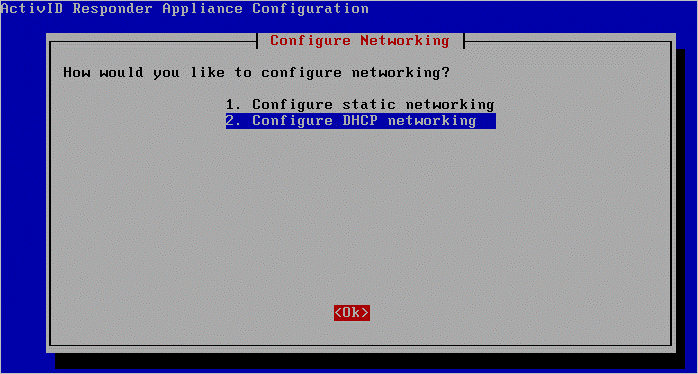
Select Configure DHCP networking, select OK and press Enter.
The Validation Responder Appliance will attempt to configure the primary network interface using DHCP.
-
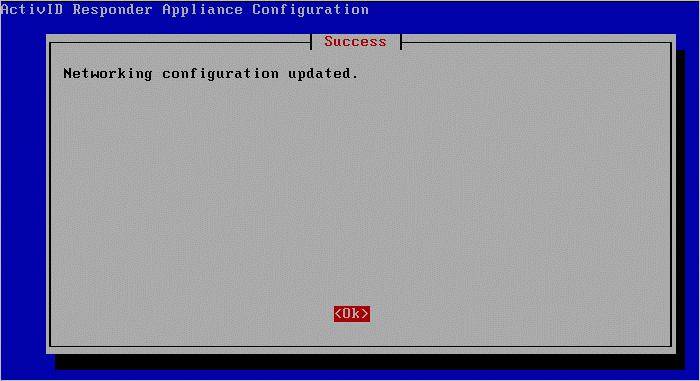
When you see a success message, select OK and press Enter.
-
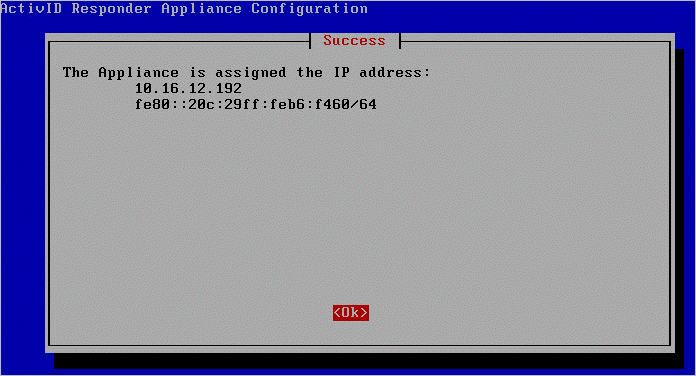
The IP address that the Validation Responder Appliance received will be displayed, as illustrated next.
Take note of this IP address, as it will be required to access the Validation Responder Appliance Management Console. Select OK and press Enter.
-
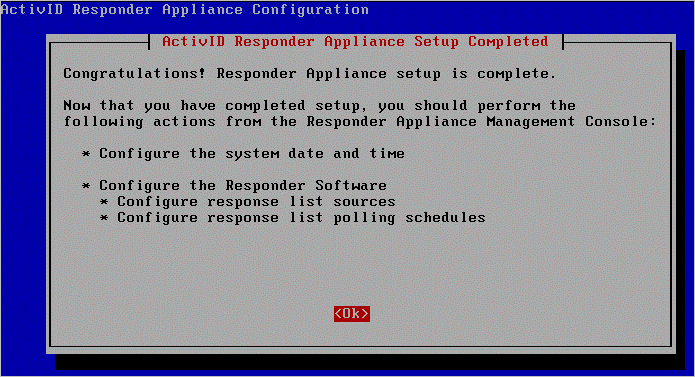
After you have completed configuring either static or DHCP networking, you will be prompted to confirm your entries. Select Yes to configure the primary network interface with these settings, or No to return and modify your selections.
-
Select OK and press Enter.
After initial configuration has been completed and the Validation Responder Appliance has been connected to the network, routine Validation Responder Appliance configuration, management and monitoring are performed through the web-based Validation Responder Appliance Management Console. Do not attempt to configure the system date and time, response list sources, and the response list polling schedule from the system console.
Launch the Management Console to configure other settings.
If you want to connect to the Validation Responder Appliance via SSH, then perform the following steps:
-
At the appliance console screen, press Alt+F2 to get a shell prompt.
-
Login as root with the password that you have set above.
-
Invoke a vi editor: vi /etc/ssh/sshd_config
-
Change the value of PermitRootLogin from “no” to “yes”.
-
Restart the SSHD service: /etc/init.d/ssh restart.


