Configuring Custom Attributes
The Administration Portal allows you to configure custom attributes to create and manage user account.
Creating New Custom Attribute
In order to add a new custom attribute for user account creation, follow the below steps:
-
Click Settings
in the left navigation bar to open the Settings page.
-
Click Custom Attributes on the Settings page, then custom attributes page appears.
-
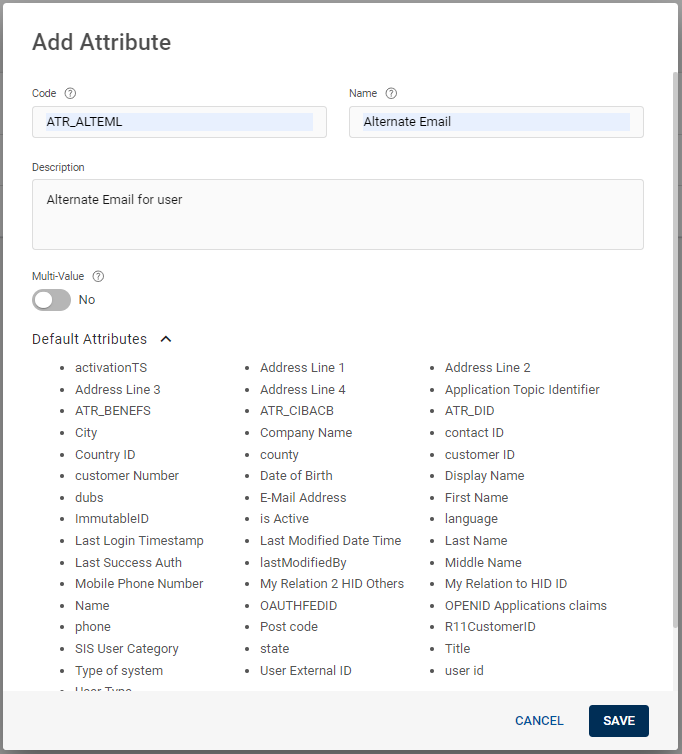
Click ADD ATTRIBUTE, then Add Attribute pop-up window appears and enter the below information.
Important:Before creating a new custom attribute, check the list of Default Attributes section (click on the arrow to expand and see the list of default attributes).
You cannot create a custom attribute with a same code. Each code related to the custom attribute should be unique.
- Code: It is an unique identifier for a custom attribute. It cannot be changed once the custom attribute is created.
-
Minimum Length: 3 characters
Allows alpha/numeric characters or combination of both.
-
Maximum Length: 50 characters
Allows alpha-numerics, special characters, and space characters or combination of these characters. Only special characters are not allowed, for example: $@/:;[]`{|}~^¦!#%&()"'<>?_+ etc
- Name: It is recommended that the name is easily identifiable and corresponds to the repository attribute to which it will be mapped.
- Description: Describe the custom attribute.
- Multi-Value: Switch this On to support multiple values in the OpenID Connect claim. Ideal for scenarios where a user's attribute, like roles or permissions, requires multiple concurrent values. You cannot alter this Multi-Value toggle switch after creation.
- Click SAVE to add the new custom attribute.
Viewing a Custom Attribute
To view a custom attribute, follow the below steps:
-
Click Settings
in the left navigation bar to open the Settings page.
-
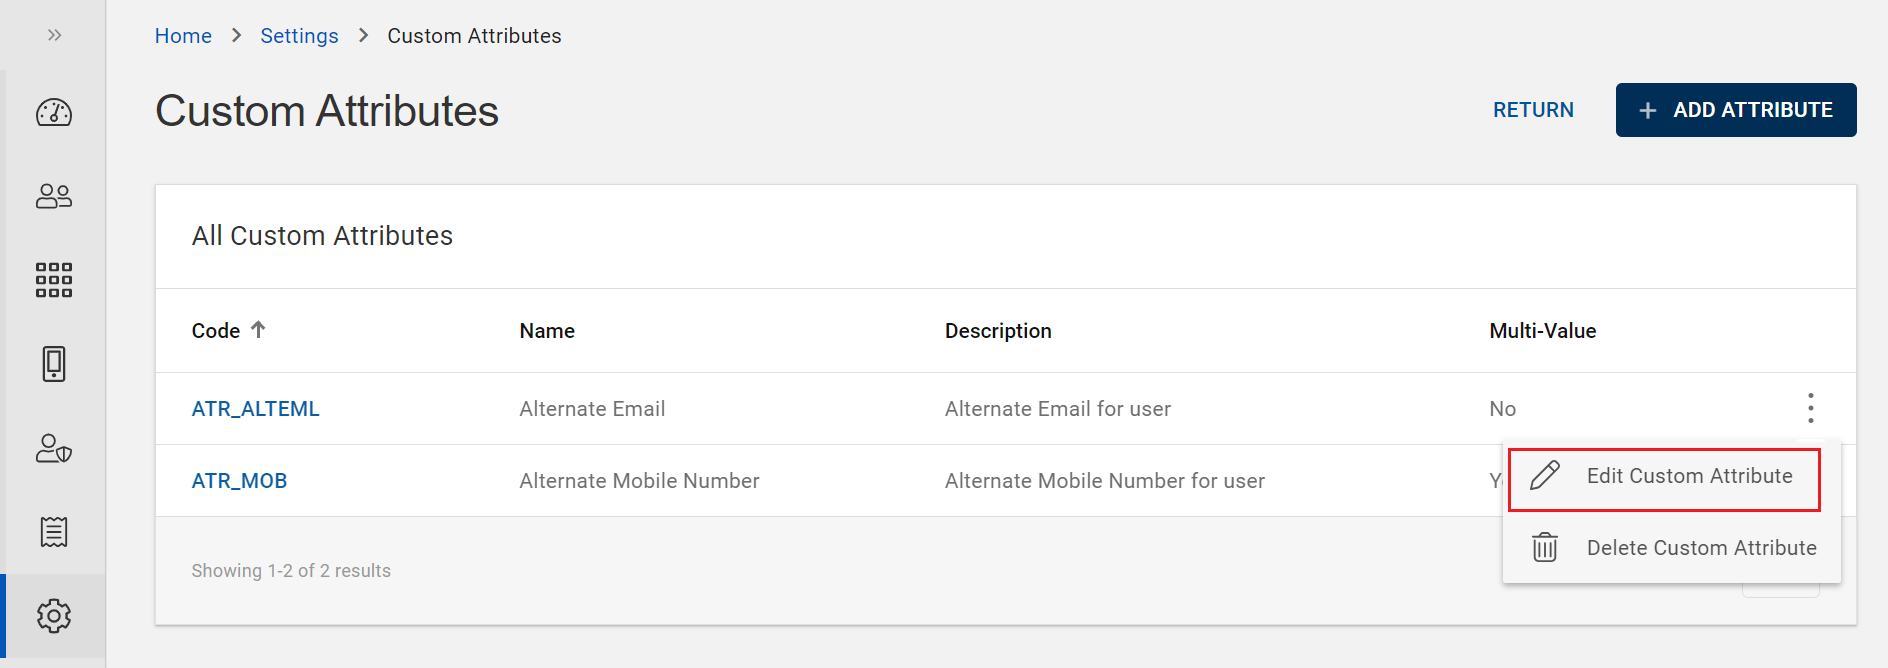
Click Custom Attributes on the Settings page, then you can view the list of custom attributes.
You can get the below details in the custom attributes view page:
-
Code: It is an unique identifier for a custom attribute.
-
Name: Name of the custom attribute.
-
Description: Description of the custom attribute.
-
Multi-Value: To support multiple values in the OpenID Connect claim.
Note:If required,
-
Click on "Edit Custom Attribute" to edit a custom attribute. Refer to Editing a Custom Attribute.
-
Click on "Delete Custom Attribute" to delete a custom attribute. Refer to Deleting a Custom Attribute.
-
Editing a Custom Attribute
To edit a custom attribute, follow the below steps:
-
Click Settings
in the left navigation bar to open the Settings page.
-
Click Custom Attributes on the Settings page, then you can see list of custom attributes.
-
From the list of custom attributes, choose and click on the row of a custom attribute you want to edit.
or) you can also click on "Edit Custom Attribute" shown in the action menu (
) of a custom attribute.
-
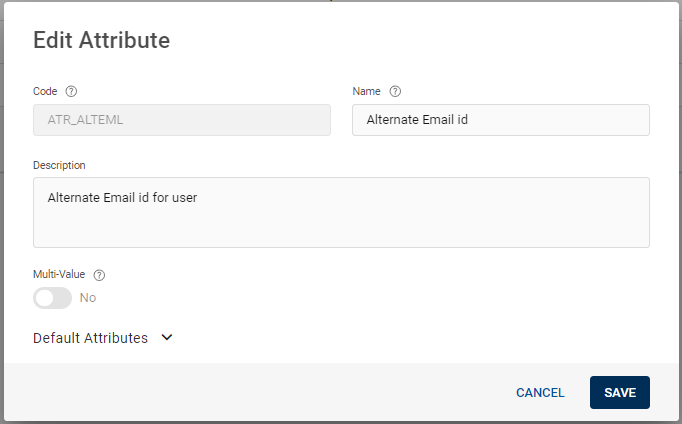
Edit Attribute pop-up window appears and edit the below information based on your requirement.
-
Name
-
Description
Note: The Code text box information is not editable and also, you cannot alter the Multi-Value toggle switch. -
-
Click SAVE to save the changes.
Deleting a Custom Attribute
To delete a custom attribute, follow the below steps:
-
Click Settings
in the left navigation bar to open the Settings page.
-
Click Custom Attributes on the Settings page, then you can see list of custom attributes.
-
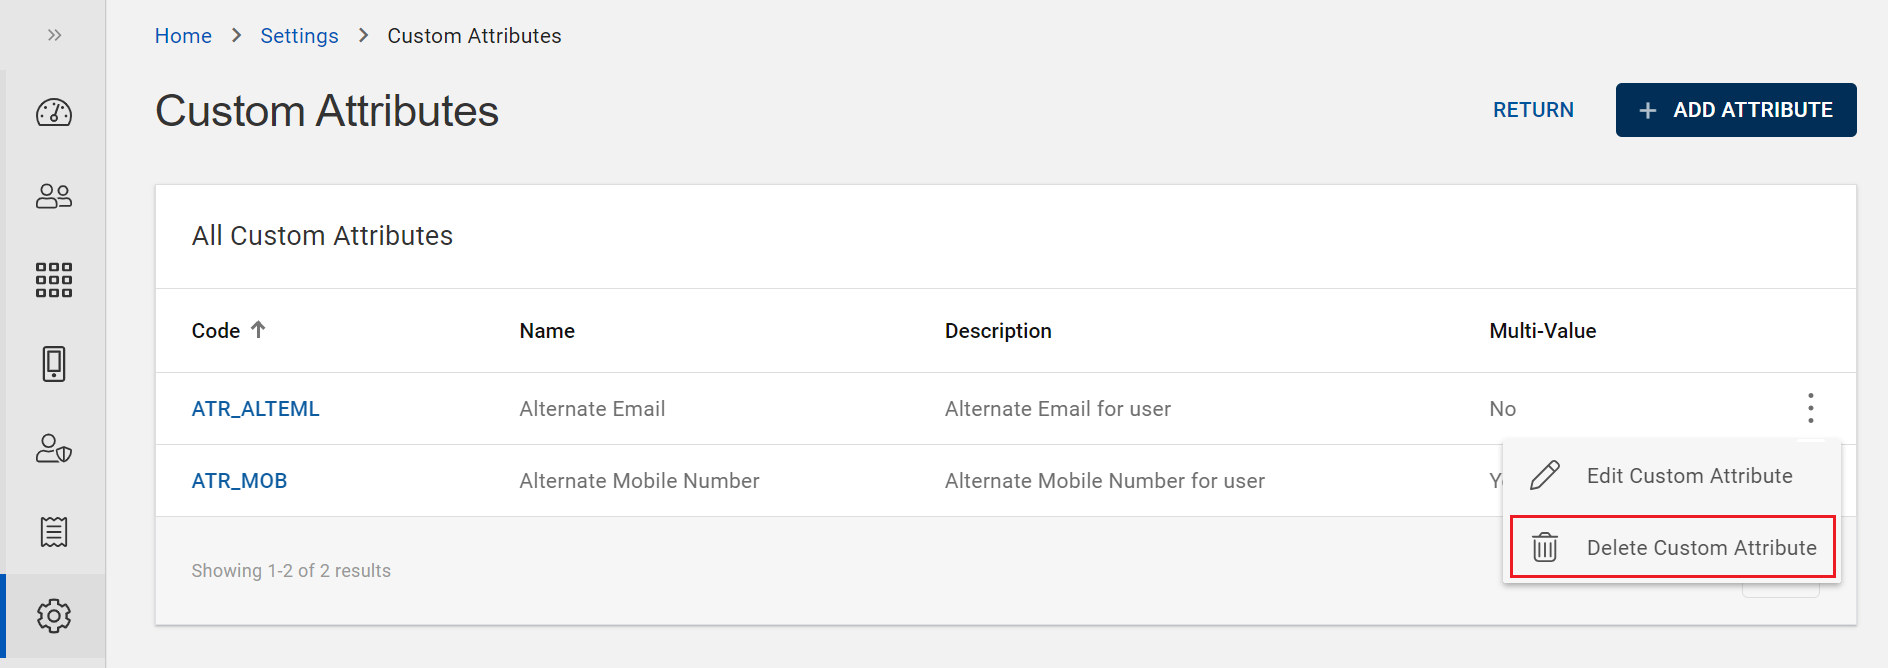
From the list of custom attributes, choose a custom attribute you want to delete.
Click on "Delete Custom Attribute" shown in the action menu (
) of the custom attribute,
-
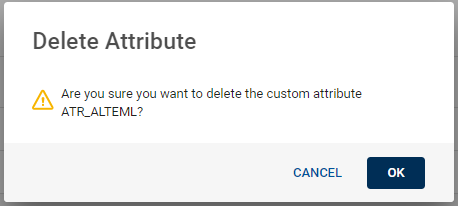
Delete Attribute confirmation pop-up window appears. Click OK to delete the custom attribute.

