Editing Customized Brand
When required, you can make the changes to your custom brand by following the below steps:
-
Click Settings
 in the left navigation bar to open the Settings page.
 -
Click Customize Brand & Content on the Settings page to view the list of brands.
-
From the list of brands, choose a brand you want to edit.
-
View Brand page opens. Click EDIT to edit the custom brand.

-
Edit Brand page opens and do the required changes in Layout and Content tabs.
You can change the orientation, background colors, background image, and logo based on your requirement in Layout tab.
Note: You can change the background colors for Left & Right orientation and background image for Center orientation.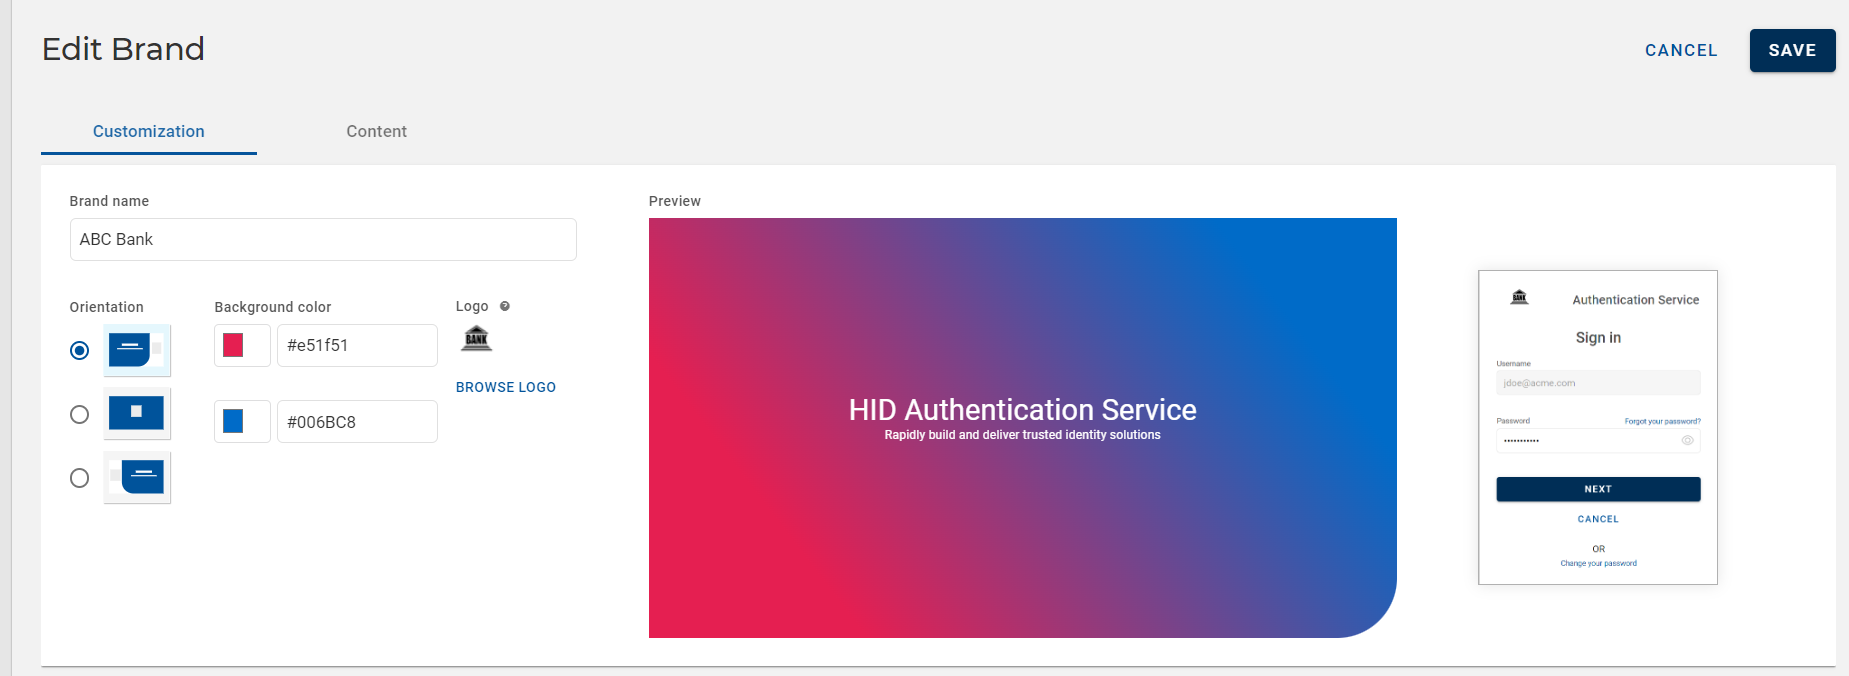
-
In Content tab, you can edit the content of login screen, consent, error messages, and all the authentication types.
Apart from the default languages "English" and "French", you can also add the following four languages with ADD LANGUAGE.
-
German
-
Portuguese
-
Spanish
-
Swedish
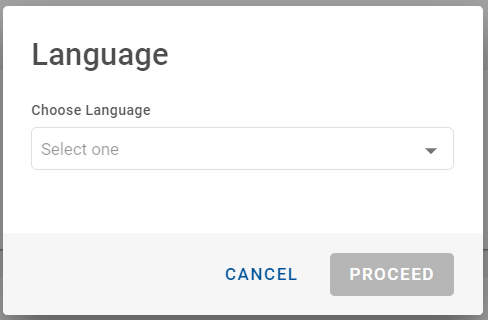
Choose a language from the drop-down and click PROCEED to add the language. Once the language is added, you can fill all the fields of the other sections of "Content" tab.
-
-
If required, you can delete the previously added language by clicking DELETE LANGUAGE.
Delete Language confirmation dialog box appears, click OK to delete the language.
Important: You cannot delete the default languages "English" and "French".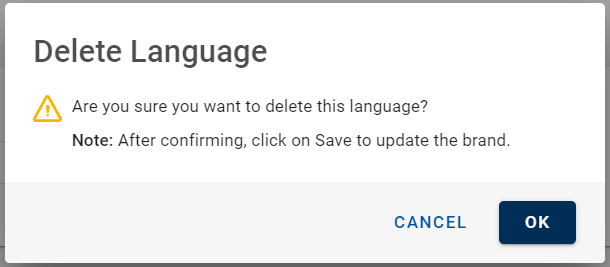
-
Click SAVE to save the changes and get back to the list of brands page.


